Since its launch a few months ago, many millions of users have migrated from Windows 10 to Windows 11 updating their equipment to the latest version of the system. However, there are some important differences between the two, especially in the interface. Here we can find certain elements that many miss, especially regarding the aforementioned graphical interface.
A clear example of all this can be found in the widely used icons to which we have become accustomed for years in Windows 10 and that have changed in the new version. This is something that for some extends to other elements such as the Taskbar, which has also undergone significant changes. With everything and with it in these lines we are going to focus on the use of the aforementioned old icons that we can use in the latest Windows.
To give you an idea of what we are talking about, we are going to tell you how you can continue using the Windows 10 icons in Windows 11. This is a simple trick that you can use quickly as well as effectively to achieve this objective that we are discussing. Initially, what we are going to do is replace the Windows 11 core icon file with that of the previous version of the operating system. Next, we will see how to achieve this that we mentioned.
It may be the case that you are one of those users who normally tries to fully customize the interface of your operating system by different means. Therefore, you will possibly love this trick that we are going to show you for the icons.
Bring Windows 10 icons back to Windows 11
Let us see how we can apply Windows 10 icon theme on Windows 11 without using any third-party software to do so. All we are going to need is to make some changes to the system files, as we will see.
We just have to follow the following steps to change and use the Windows 10 icon set in Windows 11. The first thing we do is to locate ourselves in the following Windows 11 disk path:
C:/Windows/SystemResources
Here we copy the file called imageres.dll.mun and we make a backup copy of it to keep it in a safe place. This will help us to recover it in the future in case there is a problem with the change or if we want to use the usual icons of the new version of the operating system here again. After that we download the new imageres.dll.mun file from this GitHub repository.
At this point we have to open a command prompt window and go to the location where we have downloaded the new file. Here we have to execute this command that we show you:
move imageres.dll.mun C:WindowsSystemResources
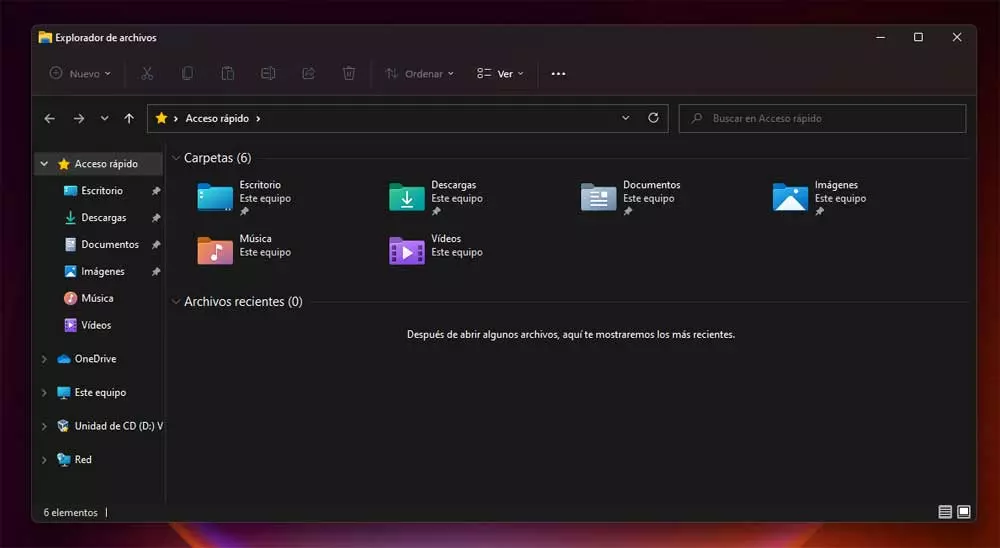
Once this copy process is finished, all we have to do is restart the operating system. From that moment we will be able to see the Windows 10 icons on our Windows 11 PC. We must bear in mind that this is a change that affects icons such as the Recycle BinThis PC, documents and other important Microsoft Software folders.
At the same time, so that all this can be carried out effectively, we recommend that you use the system administrator account to make these changes.


