The main reasons that can lead to the operating system displaying the error message CRITICAL_PROCESS_DIED They are usually related to a failure in the device drivers (graphics card, Wi-Fi, scanner, etc.), chipsets or other hardware devices have not been installed, a RAM memory failure or, simply, Windows errors . It may also have stopped completely because of a background process or because your data has been incorrectly modified.
On some occasions, after an error has occurred, the system reboots and reboots seemingly without problems. However, in others, the system may not start correctly and we enter a cycle of continuous reboots, so it will be necessary to start it in safe or fail-safe mode to be able to identify the reason causing the problem and remedy even a frustrating situation . That is why below, we are going to see how we can solve the appearance of this error in Windows.
How to fix this error
Next, we are going to show some actions that we can carry out, to try to solve the problem of the appearance of the blue screen with the CRITICAL_PROCESS_DIED error.
Use the Hardware and Devices Troubleshooting Tool
Windows has several tools that are specialized in solving problems. One of them is “Hardware and devices”, which cannot be accessed from the “Configuration” menu, so it is necessary to launch it from a command line. To do this, just press the keyboard shortcut “Windows + R” and the command “Run” will be launched. Later we write the following command and press Enter.
msdt.exe -id DeviceDiagnostic
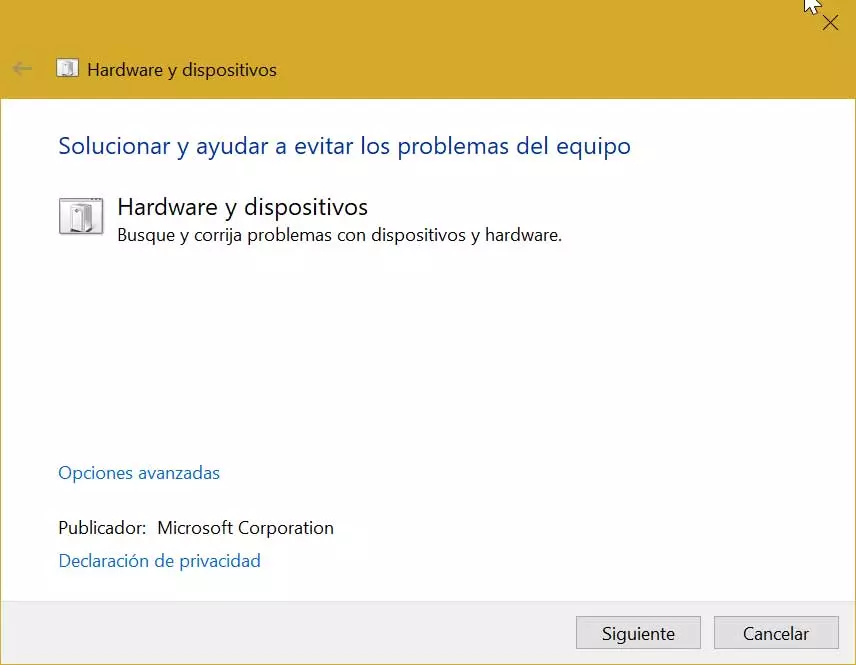
In the new window that will appear, click on the «Next» button and the system will look for possible problems for a few minutes and once finished it will inform us about it.
Run the DISM utility
If the problem persists, we can switch to using DISM (Deployment Image Servicing and Management), a command line tool that will allow us repair Windows images, so that we can solve any problem derived from a bad system image without having to reinstall it.
For this we write cmd in the search box of the Start menu and run the “Command Prompt” with administrator rights. Once the application is open we must write the following command and press Enter.
DISM / Online / Cleanup-Image / RestoreHealth
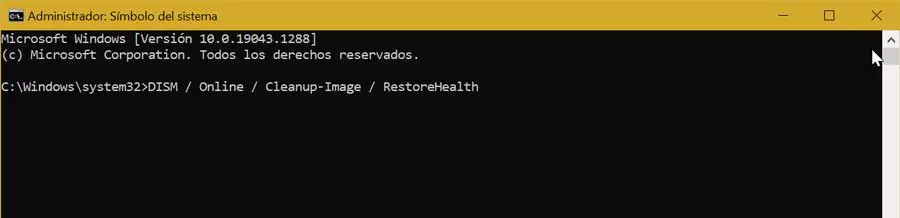
Once this is done, the process will take place and usually takes a long time to complete, usually between ten and thirty minutes. Later, at the end of the scan, we proceed to restart the computer.
Use the System File Checker (SFC)
We can also choose to run the System File Checker. It is a utility that can cure a wide variety of Windows-based problems. To do this, it takes care of repairing system files that are corrupt or that are incorrectly modified. To execute it, we must write cmd in the search box of the Start menu to bring up the Command Prompt tool, which we launch as “Run as administrator.”
Once open, we will write the following command and press Enter:
sfc/ scannow

Once this is done, the tool will try to scan your system for errors, so the process may take a while to complete. Subsequently, a list will appear with the problems and steps that the analysis followed to solve them. Finally, we reboot the system and check if the problem has been solved.
Update corrupt drivers
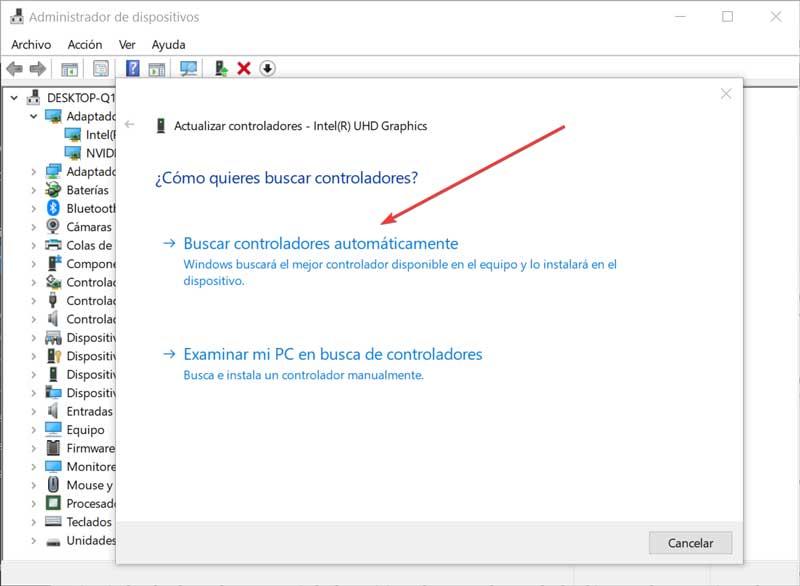
Some bad drivers or drivers are one of the most common causes of the CRITICAL_PROCESS_DIED error. Therefore, we must verify that none of them require updates. In order to verify it, we must access the Device Manager, pressing the keyboard shortcut “Windows + X”.
Next, we must explore the list of drivers to see if any device contains a yellow exclamation point next to it. In that case it means that there is a problem with that driver and it is necessary to update it. To do this, click on it with the right button, which will bring up a small contextual menu where we select “Update”. In the new screen we indicate that Windows update the driver automatically.
We can also update them manually, downloading them from the manufacturers’ pages or using a third-party tool such as “IObit Driver Booster”, which will allow us to update all the drivers automatically.
Check that the hardware works without problems
It may be that the cause of the error is a hardware failure, so any internal component of our computer may be responsible, be it the CPU, RAM or a simple card connected to the PCI port.
To check that the components are in good condition we can use a tool like Memtest86, with which we can know if the processor and RAM are in optimal conditions, being able to download it from the developer’s website.
To rule out that the problem is related to the graphics card we can use any benchmark, as well as an application that allows us to know the SMART status of the hard disk as CrystalDisk Info, which we can obtain from this link to its main web page.

Also, it doesn’t hurt to use a program like AIDA64, which will be responsible for showing us all useful information about our PC, such as the voltages of the power supply and many of the components, so it will be of great help to find possible system errors or monitor them. We can download it from the website of the creators of the program.
Set up a clean boot of the system
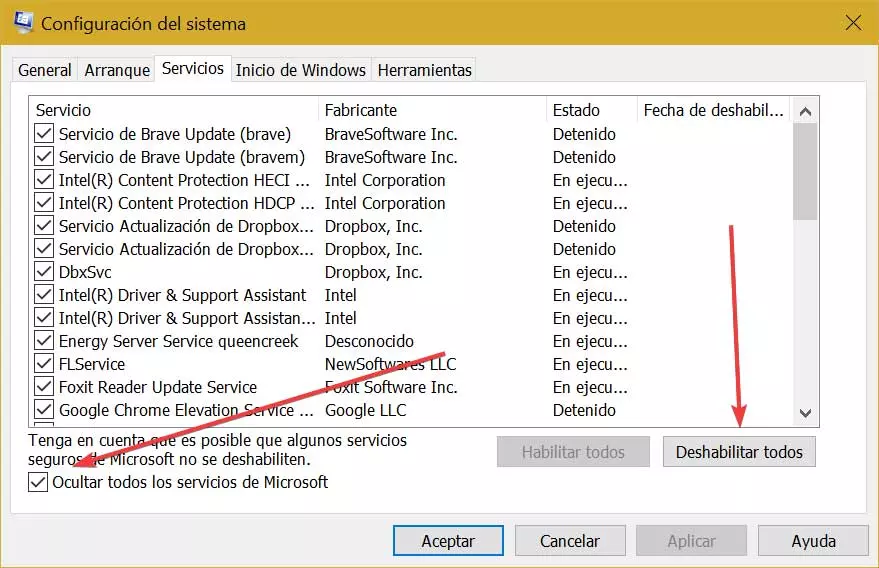
We can configure Windows so that the operating system is only capable of start with what it takes to function normally. To do this we press the keyboard shortcut “Windows + R” which will help us launch the Execute command. Here we will write msconfig and press Enter to open the “System Configuration” window. Once in it we click on the “Services” tab.
Next, we will go to «Hide Windows services» by clicking on its corresponding box in the lower left part of the window and in this way we will avoid that we can deactivate something that we should not. Later, we will deactivate everything else, which will be the third-party services that load at startup. We can do it individually or by pressing the “Disable all” button.
Once this is done, we proceed to restart the computer and in case the failure continues, we must follow the previous steps. Otherwise, the failure has been produced by a program that we have installed, so we will have to repeat the operation, but activating the services one by one until we can identify the culprit and thus solve the problem.
Restore the system to a previous state
Sometimes this error appears due to failures in the RAM memory or some element of the system that has been modified. Therefore, the best way to solve it is to restore the system to a previous state where everything worked correctly. In this way, any change that has occurred in the system causing this error is reverted and with it the problem should disappear.
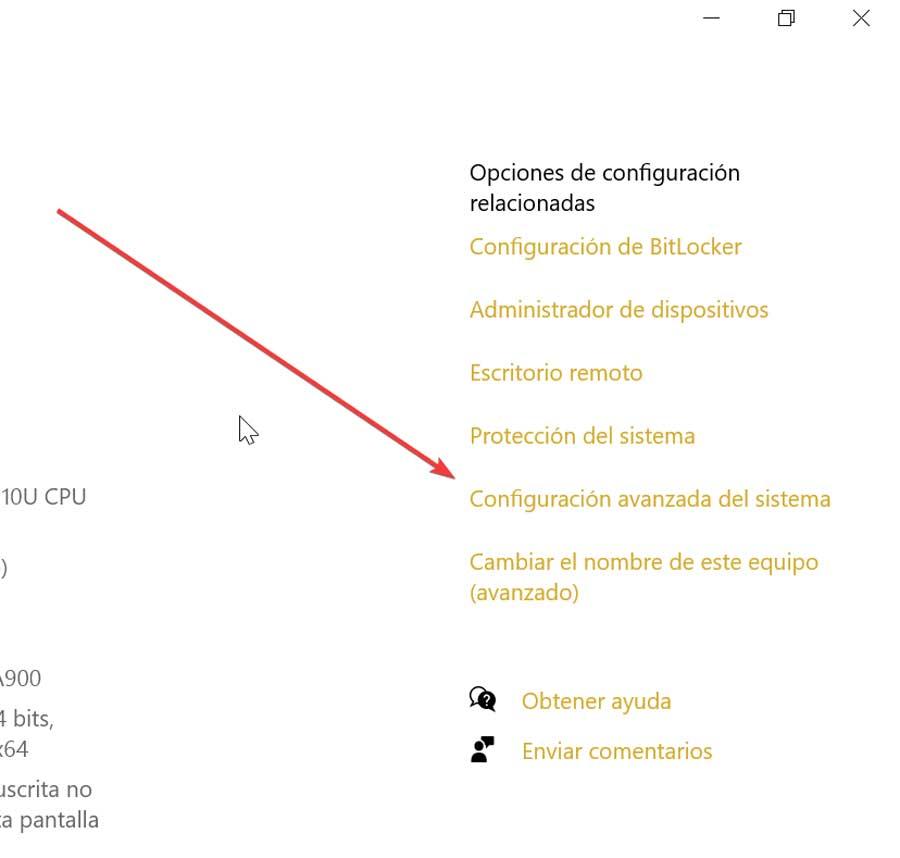
To begin, we must write control panel in the search box of the Start menu and select it. On the next screen, we group the elements by small icons and select “System”. Once there, click on the section of “Advanced system settings”, located on the right side.
Later, the window with the “System Properties” will open, where we will click on the “System Protection” tab. Here we click on the button “Restore the system”
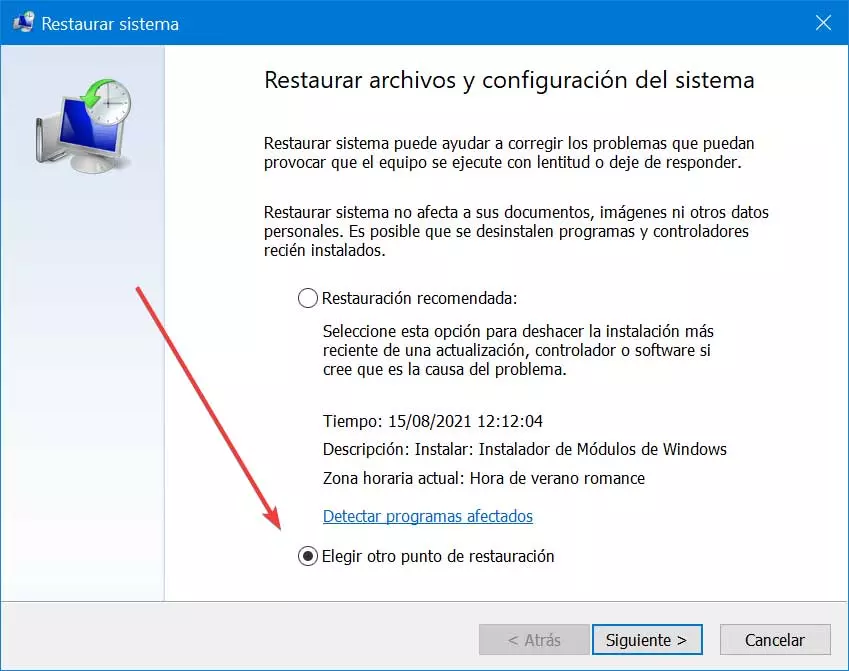
Once open, click on «Next» and in the next window we can activate the available restore points. We only have to select the desired point and click “Next” again to start the entire restoration process.
Other solutions if all else has failed
Finally, if everything else has failed and we cannot solve the CRITICAL_PROCESS_DIED error, we can only check that the problem has been caused by some virus or malware, that, although it is not usually the norm, we cannot rule it out at this point either. For this we must use an updated antivirus, if possible in failsafe mode for greater security.
In addition, it is also convenient that we test if our PC fails while using a LIVE operating system such as Ubuntu or Tails. In the event that with these Linux systems loaded from RAM, the system works correctly, we only have to format our computer and reinstall Windows from scratch, which will put an end to the problem permanently.