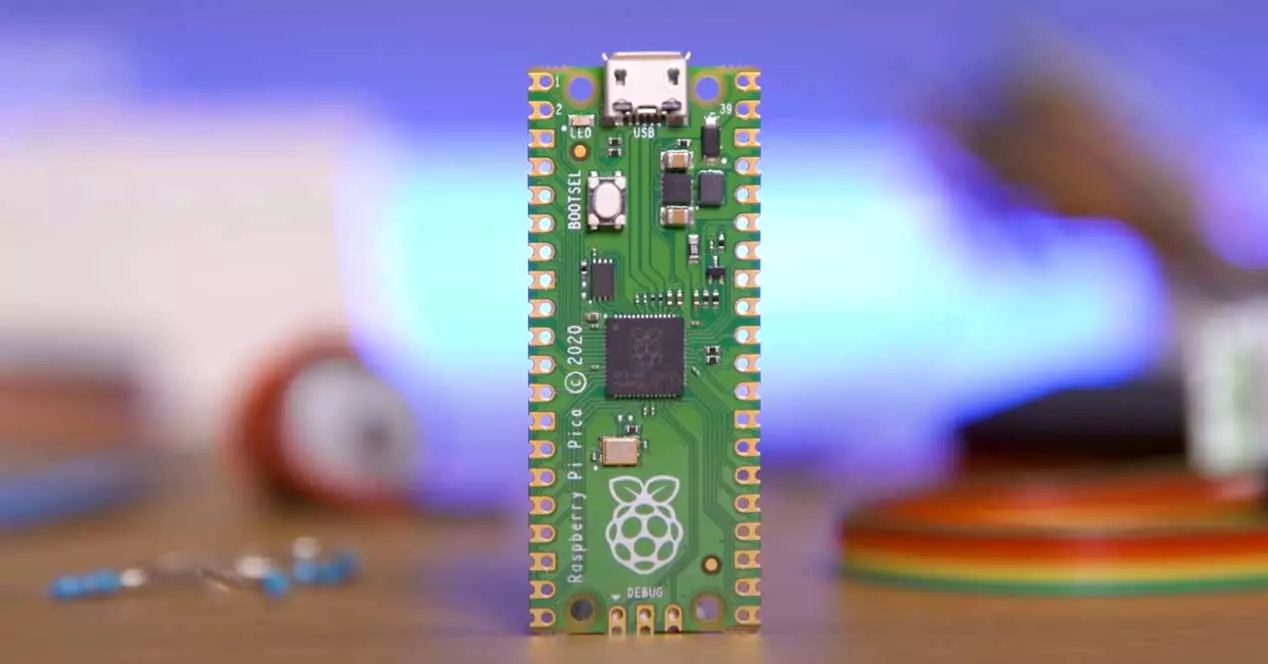
We already had a wide range of Raspberry Pi on the market in different formats and with different functions, but the biggest difference between this «Pico» model with respect to all the others is that we are not dealing with a mini PC but with a microcontroller, which is closer to Arduino than to what we know from Raspberry Pi. This solution, therefore, is designed to work in embedded systems of all kinds, but the difference is that does not have a “proper” function individually.
The best projects to use a Raspberry Pi Pico
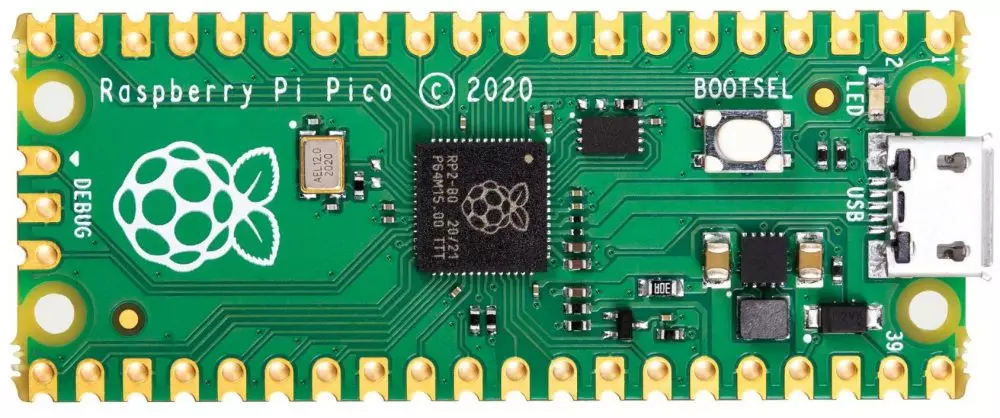
Thus, the Raspberry Pi Pico is the first microcontroller of the Raspberry Pi Foundation, and what makes it unique is the RP2040 chip that houses inside, the first custom SoC manufactured by this manufacturer. That greatly limits its possible functions and, as we said, makes it closer to Arduino (but at an even lower cost) than what we knew so far from this small device, so we are going to see some projects that you could embark on if you have a.
Keep in mind, however, that what we are going to list below are project ideas, as well as a guide on how to carry them out, but we do not intend this to be a tutorial but rather a source of inspiration so that you can create your own devices with a Raspberry Pi Zero. With that said, let’s go.
Intruder detector (presence sensor)
Microcontrollers are ideal for simple tasks that require high reliability; Your burglar alarm doesn’t need to be smart, it needs to work, and there a Raspberry Pi Pico might be ideal. The Cryontech YouTuber we inserted above understands this very well and has created a beginner’s guide, covering everything from how to build the circuit with a PIR sensor and a buzzer to make a sound whenever motion is detected to examples of how to use it.
Bop It Controller for Minecraft
YouTuber Seth Altobelli was digging around with the Pi Pico and realized it was the key to making his dream come true: controlling Minecraft with a Bop It. This project takes the popular late 90s rhythm game and updates it with a Pi Pico and an accelerometer to create a… Remote? Each of the original buttons on the Bop It are also connected, making this all, of course, a controller.
The Pi Pico’s ability to function as a USB Human Interface Device (HID) means it can be plugged in like a regular keyboard and mouse and can be used as probably the most cumbersome and error-inducing Minecraft controller ever. .
The Raspberry Pi Pico can create a VGA video output
One of the benefits of the Raspberry Pi Pico’s high clock speed is that it allows it to be a controller even for VGA displays. In the video that we have inserted above, Robin Grosset takes us through the software and hardware configuration required to create retro videos from scratch using modern technology.
An interesting aspect of this build is the ladder resistor that works in conjunction with the Pi Peak’s built-in digital-to-analog converters (DACs) to create the VGA signal.
Home automation with Raspberry Pi Pico
Home automation or home automation is something that has obsessed manufacturers for years, but at home it is also an excellent way to start learning how technologies work. In the tutorial we have inserted above, Nikunj Panchal covers all aspects of creating a Bluetooth setup with a Pi Pico, including an easy way to create a mobile App to control it.
In this tutorial, relays are used to control voltage devices on the grid, so be sure to take the necessary safety precautions if you decide to do so, as the grid voltage can even cause death. With that said, once you know how to use relays safely, you can use them to control just about anything!
Midi Controller
YouTube channel Blitz City DIY partnered with Adafruit to create the Pi Pico MIDI Fighter, a retro-style Midi controller that uses buttons normally found on older arcade machines.
This project consists of a Raspberry Pi Pico, a small LCD screen, and a joystick controller to control the profiles and pads, along with 16 RGB LED-backlit arcade buttons. The build uses a 3D printed casing with a handle and a small window to display the device running the show.
The Adafruit build page shows a step-by-step guide to collecting the parts and building the device, as well as all the Python code required to make it work.
Retro gaming on a Raspberry Pi Pico? Why not?
https://www.youtube.com/watch?v=FB4kOBt8ARo
YouTuber ETA Prime shows us how a Raspberry Pi Pico, in combination with a VGA expansion board, can be used as a retro gaming device. The games of the NES Nintendo and the GameBoy can be loaded through the MicroSD card, although not all games are compatible with this emulator, everything is said.
This setup uses a USB controller, but there is a way to use the console’s original controller… With another Pi Pico.
NES to USB converter
This compilation from the Print ‘N’ Play channel will teach you how to turn an original NES Nintendo controller into one with a USB interface that will work seamlessly on modern PC and gaming systems.
Most of the Raspberry Pi Pico beginner’s guides focus on MicroPhyton, but in this project they focus on CircuitPython, a variant designed by Adafruit for educational purposes. Fortunately, it still comes with several libraries that make it easy to convert from NES to USB, and in the video you will find all the code you need to get it up and running.
An audio synthesizer
Eurorack modular synthesizers are wonderful pieces of engineering, but they are also extremely expensive. Rory Allen, also known as Allen Synthesis, hopes to help with this financial pain thanks to his modular EuroPi frame.
Designed to create voltage control (CV) signals to modify and change other synthesizers, the EuroPi has fully user-customizable firmware. Allen sells the EuroPi PCB on his official website, but the project is completely open source so anyone can do it at home from scratch.
You can also use it for a macro keypad
Macros are useful to avoid having to remember awkward key combinations and to put shortcuts at your fingertips. In this video they use a Raspberry Pi Pico to build the brain of a macro keypad, but with one difference… It uses an LCD screen.
This screen shows what each key does and also incorporates a rotary encoder to switch between modes for different software shortcuts. It also comes with a 3D printed case designed with OpenSCAD open source software.
A car that follows lines
Autonomous robot racing is becoming a sport in its own right, and the most contested area is precision line tracking. Creating a competitive robot takes considerable time and a commitment to learning, but you can create something basic in a fairly simple way.
On the RoboCircuits channel they designed a robot PCB to follow lines using dual infrared sensors, a L298N motor controller with toy wheels, and of course a Raspberry Pi Pico. The two infrared receivers compare their outputs to make sure the robot never leaves the line on its way.