A Smart Mirror is, as its name in English indicates, a smart mirror that is capable of showing you the time, date, outside weather, upcoming appointments on your calendar and much more while, of course, showing you your own reflection. If you feel like it and you have enough time and skill, you can even integrate a voice assistant and introduce as many components as you want, but that will depend on you.
What is needed to create a Smart Mirror?
Creating a Smart Mirror project will cost you around 300 euros if you intend to start from scratch, but if you take advantage of a Raspberry Pi that you have in a drawer dead of disgust without using and a mirror that you already have at home, the price of the bill can be reduced a lot and for less than 100 euros you could have it. Obviously you can also spend more money, depending on if you want to buy a new mirror, if you want to integrate a microphone and speakers so that it is also a virtual assistant, etc.
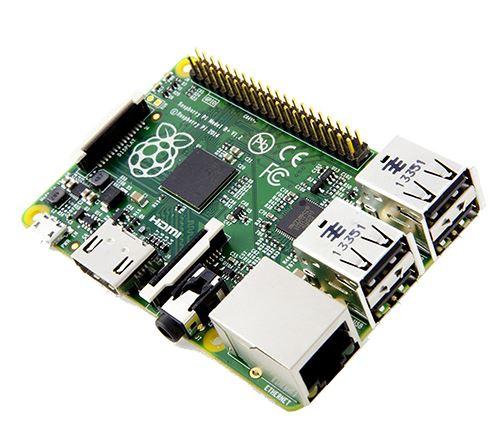
As we have indicated at the beginning, the main component for this project is a Raspberry Pi, since in essence a Smart Mirror is nothing but a mirror with a screen behind that has to be controlled by “something”, and that something is the Raspberry, a small mini PC that barely takes up space and is capable of running systems Linux-based operating systems that have enormous support from the developer community. In general, any model should work, but it is recommended to use a Raspberry Pi 4 for its greater power.
Whatever the type of Smart Mirror you intend to build, you will need a series of elements that are common to all projects of this nature, so below we are going to list the minimum components that you will need.
What we have in hand is a smart mirror, so obviously you will need a mirror (surprise!), But a normal mirror will not do you but one of the so-called two-way (On the one hand it reflects the image but on the other you can see what is on the other side), since we will need to see the image of the monitor that we will place from behind. Ideally, you should go to a hardware store or similar to order it because its thing is that it has the same dimensions as the screen that you place behind, and that is the next thing we are going to try.
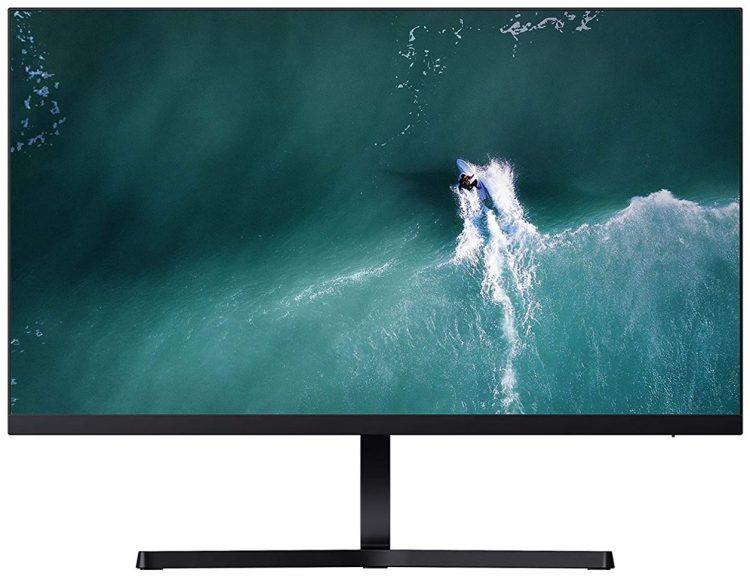
As we have mentioned, it is necessary to place a screen behind the two-way mirror, which will be in charge of displaying the information; his thing is to put a LCD screen of an old monitor that you already have (always flat screen, of course), and the size of this screen will depend on the size of the two-way mirror that you must order. The size you want to use is up to you, and in fact you can even use an old Android tablet if you want.
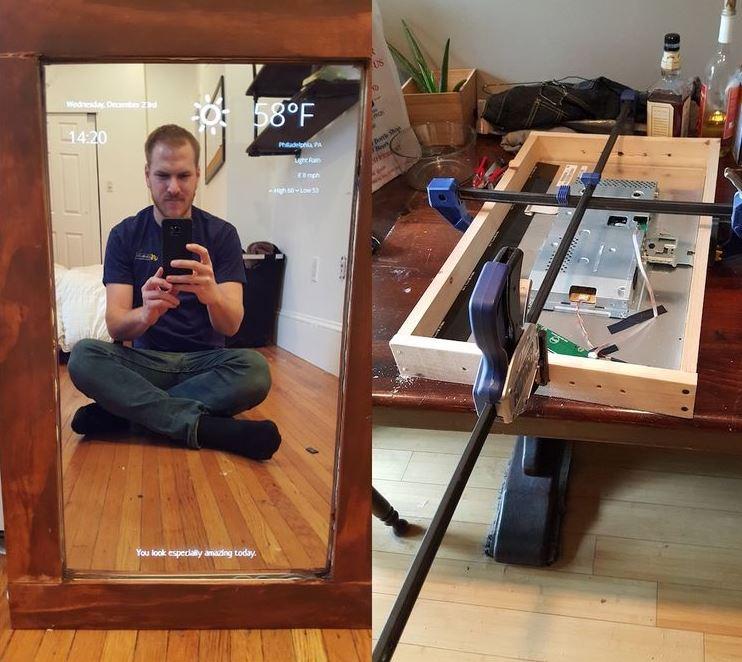
Another common element that you will need is a frame, preferably from wood because if it were metallic you could not customize it for the wiring that you will need to put. The frame is necessary both for aesthetics and to fit the “hidden” components, as well as to be able to hang the mirror on a wall. Obviously you will also need basic tools such as screwdriver, screws, sandpaper, woodworking tools, etc.
How do you make a smart mirror with a Raspberry Pi?
As we mentioned at the beginning, there are many ways and options that you have when making a Smart Mirror based on Raspberry Pi, so what we are going to do is list the projects already made that seem most interesting to us. that you can take the ideas you need according to the type you intend to do.
We start with the original Smart Mirror, created by Michael Teeuw and called MagicMirror². As it was one of the first Smart Mirrors ever created, it is all very well documented in a series of tutorials written by the author, so you will have no problem making your own project as long as you are a little handyman, since it is everything explained in a simple way. The default modules include a clock, calendar, weather forecast, and courtesy message, and it’s all built in so you don’t even have to configure the Raspberry.
On the other hand, we also have the project MirrorMirror made by Dylan Pierce, and is considered by the entire DIY community to be the best guide to creating a Smart Mirror from scratch. Pierce broke with the norm and configured Chromium to run at startup after installing Raspbian, but in any case we recommend that you read the full publication that we have linked to before launching to build your own because it has some nuances to take into account.
On the other hand, we also have a project that allows us to interact with the Smart Mirror using voice commands, in this case adding an Android smartphone or tablet to the equation. The project is done by Evan Cohen, who has provided comprehensive documentation on how to build, install, and operate your smart mirror. Here is a video where you can see how it works.
Finally, the last project that we want to highlight is built by Eben Kouao, and it is not only a smart mirror with a touch screen but it also has built-in facial identification to identify the person in front of it. Building a Smart Mirror with a touch screen is not easy or cheap as the thickness of the two-way mirror makes it impossible to use a standard capacitive screen, but Eben incorporated an infrared frame for this touch capability, with an LED on one side and light detectors in the other, thus being able to know where it has been touched in the mirror.
With the inclusion of the camera module for the Raspberry Pi, the mirror can see the user and identify him using an OpenCV face detection module. You have all the documentation on this web page.