Troubleshooting steps
Next, we are going to see different options that we have to be able to solve the main problems that we can find when printing.
basic solutions
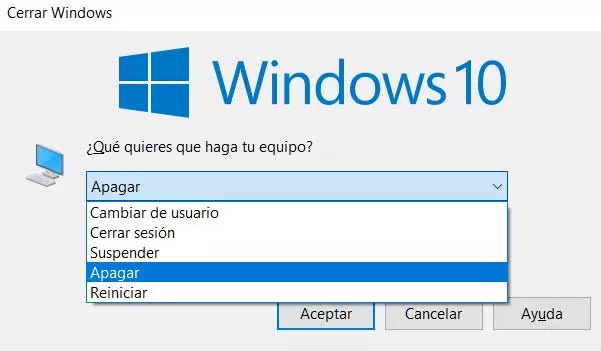
The first thing we must do is opt for the most basic solutions, such as restart windows. In this way, we will be able to solve minor bugs such as the case that two or three services overlap each other. Rebooting updates all services as well as their settings.
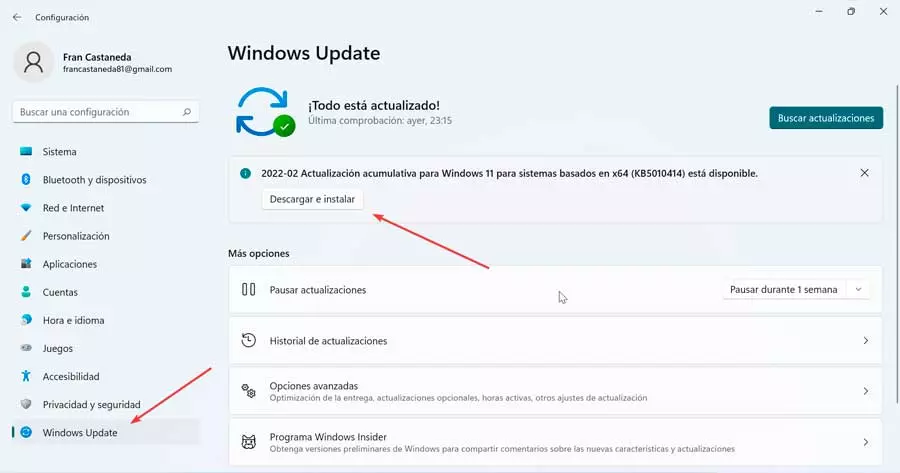
It is also important to check that we have installed the latest system updates. To check if we have any pending updates, we access the “Settings” menu by pressing “Windows + I”. Later we press “Update and security” in Windows 10 or “Windows Update” in Windows 11, and in the new window we check if there are pending updates and we run them.
Check printer connectivity
Once we have verified that the restart does not solve the problem, we must verify that the printer is connected and that all the cables, both for power supply and for connection to the computer, are correctly connected. Likewise, we must check if a flashing light appears on the printer that could mean the presence of an error, such as a lack of paper, ink, toner, etc.
In the event that we have a wireless printer, like most Wi-Fi devices, we must ensure that it is connected to its own wireless network before other devices can print to it.
Check and reset the print queue
If everything is correct, we must check if there is any document that we have sent to the printer that is causing problems. To do this we must access the Configuration page by pressing the keyboard shortcut “Windows + I”. Then click on the Devices (Windows 10) or Bluetooth and devices (Windows 11) section and then on Printers and scanners.
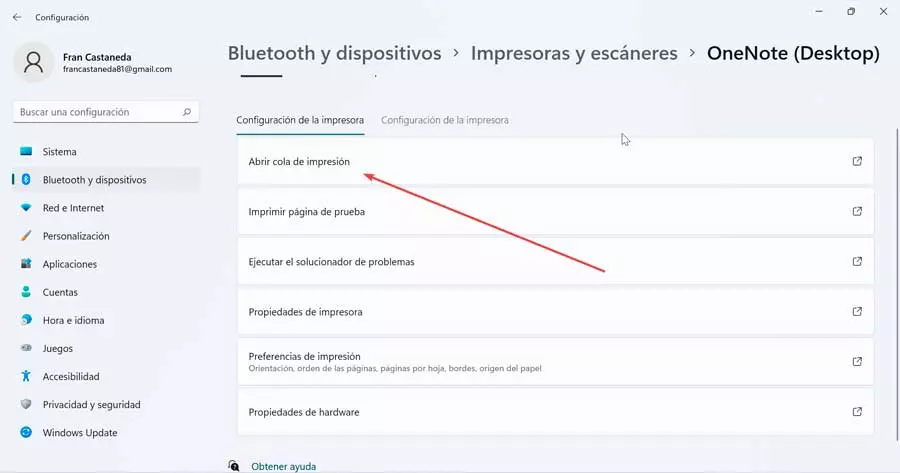
Once here we select the printer and click on the button open print queue. From here, the operating system will show us all the jobs we have submitted. In the event that we have any pending, it is best to cancel everything and try printing again, to check if it is already carried out correctly.
Restarting the printing of the document can also solve our problems when printing. For this we must open the print queuen of the printer and select the Document tab. We right-click on the job and select the Restart option.
Run the troubleshooter
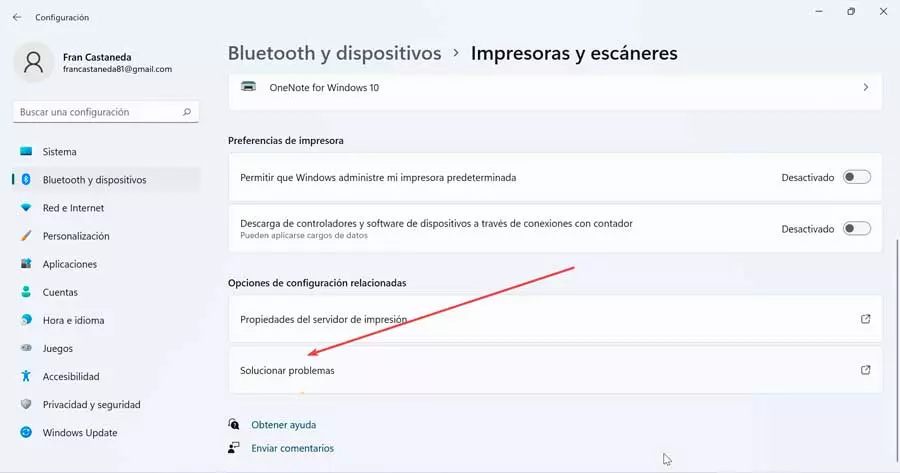
Both Windows 10 and Windows 11 have their own troubleshooter specially designed for detect and solve possible errors with the printer. To do this we just need to click on the Troubleshoot button. The system will automatically check if there is a problem with the printer and try to solve it without us having to do anything. From the Printers and scanners section of the Configuration menu, click on the “Solve problems”.
Similarly, if we click on the Hardware Properties option, a window opens where we can see the status of the device and check if the operating system has detected any problem that may be causing us to be unable to print.
Use System Services Manager
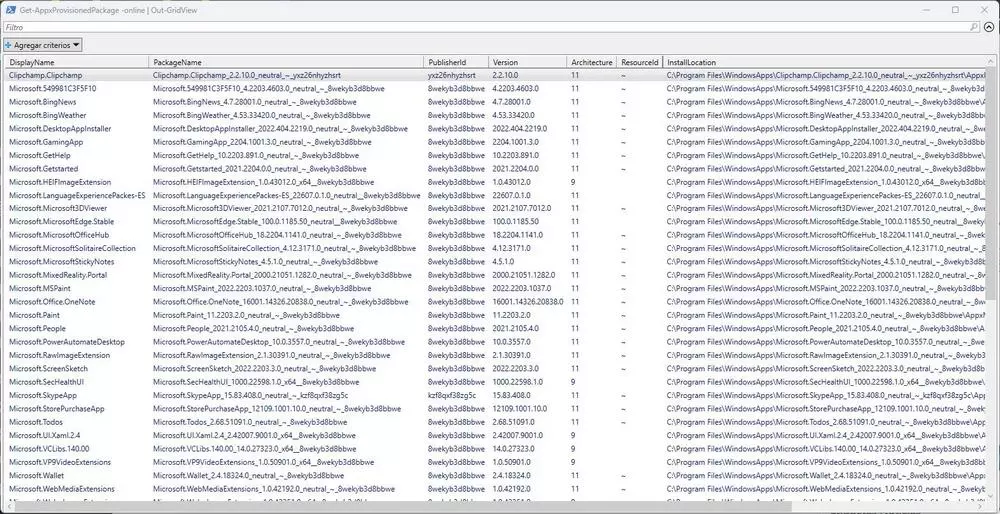
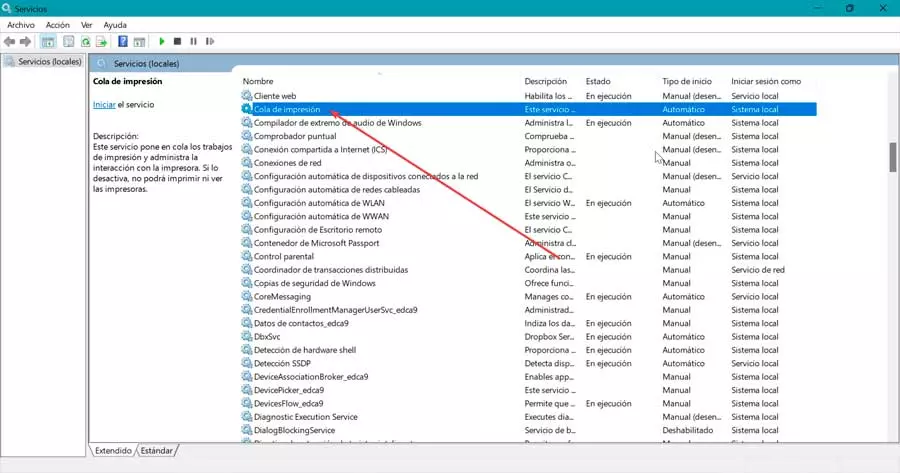
In case the problem persists, we can choose to open the System Services Manager and check if the Print Queue service is running. To do this, we will press the Windows + R keyboard shortcut to launch the Run command. Here we write services.msc to open the Service Manager. Now we locate the Print Spooler service and check if it is found “In action”.
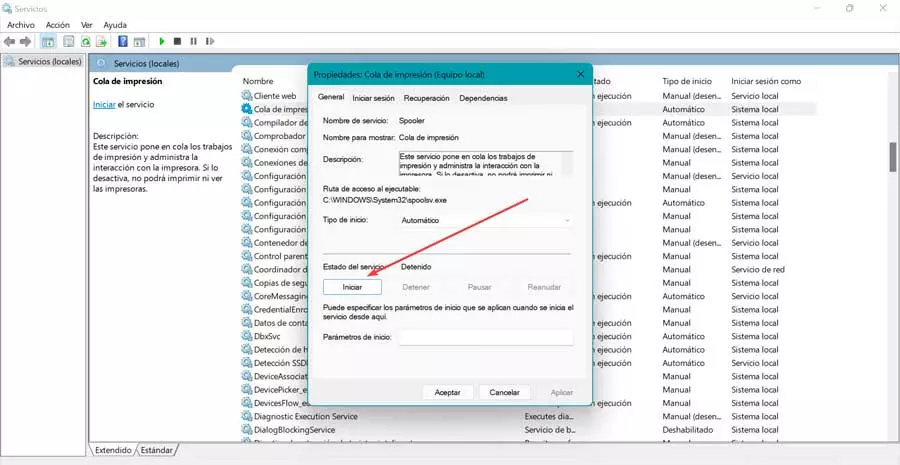
If this is not the case, we double click on it and in the Service Status section, click on Start to restart it and try to print a document again.
Update drivers
The problem can also be caused by damaged, deleted or outdated device drivers. We cannot forget that these small pieces of software are responsible for allowing the operating system to recognize the connected device correctly.
That is why the printing error can start from the driver of our printer being outdated. To update it we must access the Device Manager by pressing the keyboard shortcut Windows + X. From here, we display the Print Queue section. Right click on your printer and click on update driver.
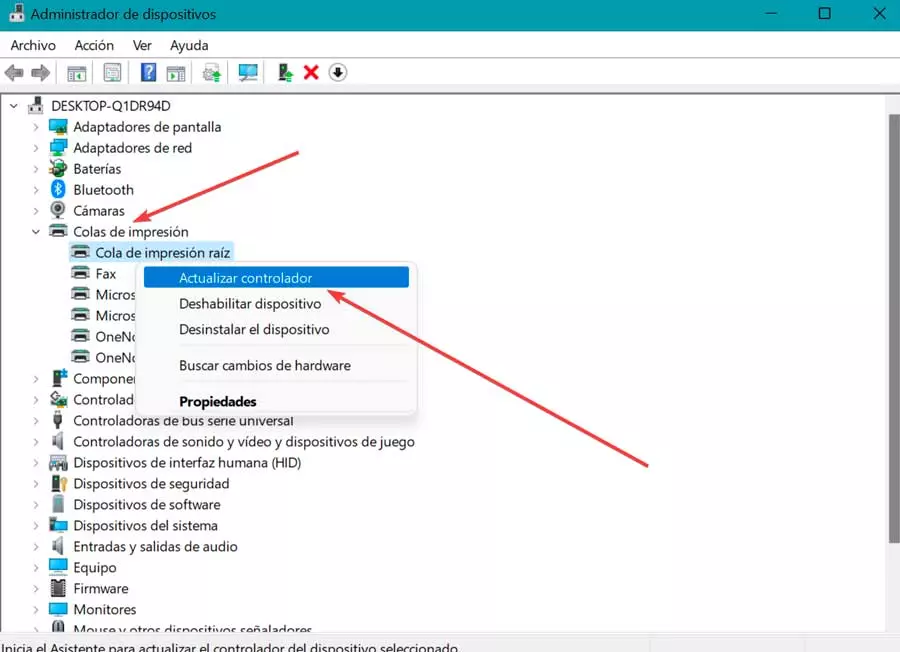
This will bring up a window where we can choose to have Windows search for the drivers automatically or download them manually from the manufacturer’s website and use the Browse my PC option to select and run it.
Restore the system to a previous version
If we cannot solve the problem and we still cannot print correctly with our printer, we can choose to restore the system to a previous version that we have saved where everything worked correctly. In this way, whatever the problem that prevents us from being able to print correctly should be fixed.
We will do this by accessing the Control Panel. Later, in the group by tab, we select “small icons”. Next, we click on “System” and then on “Advanced System Settings”which we find on the right side of the window.
![]()
This will cause a new window to open where the “System Properties” is displayed. Here we will click on the “System Protection” tab. Finally, we click on the “System Restore” button. Now we only have to select a previous restore point that we have saved and click on “Next” to start the process.