However, on some occasions it may happen that when we try to install different fonts on our PC, when copying and pasting the font in our Windows fonts folder, they do not appear so we cannot use them. In case we have this problem, we are going to show you the necessary steps to take to solve it.
Installed fonts are not displayed in Windows
When we install fonts correctly on our system, they should appear in the Windows Fonts folder. From there they are enabled so that we can use them permanently. In the event that this does not occur, it may be due to various factors. On the one hand, the Fonts key in the registry may have been deleted or corrupted. It can also happen that the Fonts option is not enabled by default, that there are problems with the cache or that the error is caused by a particular application.
Whatever the origin of the problem, the truth is that we cannot use the fonts that we have added, it can become quite annoying, especially if we do not know what to do to solve it. Therefore, below, we are going to see some tricks that can help us to solve it.
Fix font not displayed issue
In the event that we have problems viewing the fonts that we have added in Windows, we can use the following actions to try to find a solution as quickly as possible.
Check if the font has been installed correctly
If we have installed the font correctly and the application with which we need to use it does not show it, it may be because not compatible with the same. Therefore, the first thing will be to check if it has really been installed correctly, something we can do by testing other applications.
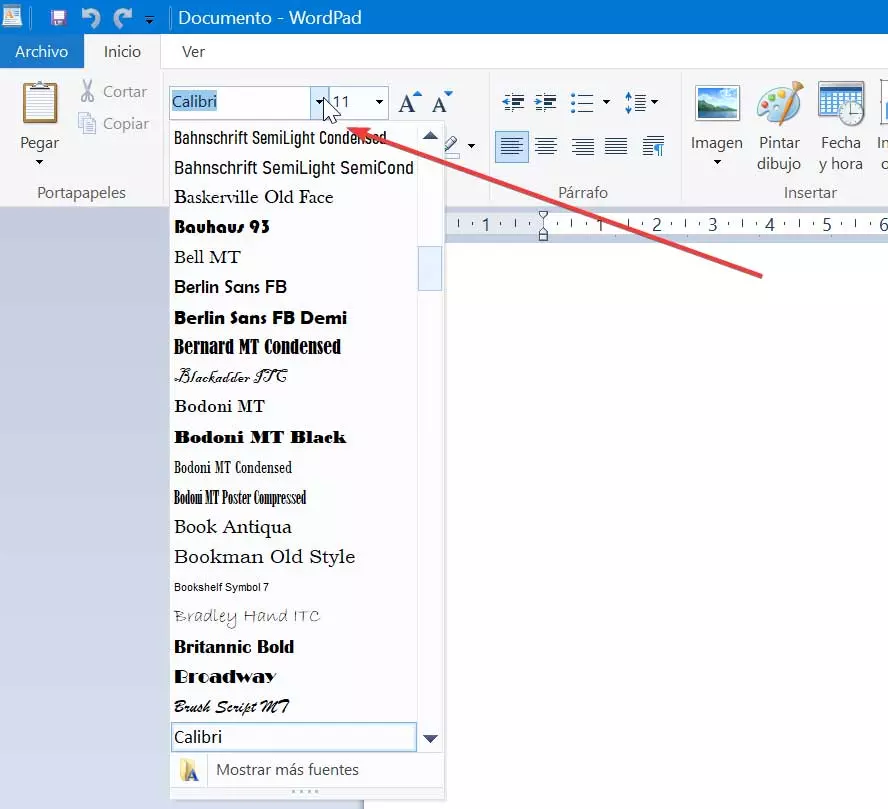
To do this, we can use the WordPad application that is installed by default in Windows. We just need to type WordPad in the search box of the Start menu and select it to open it. Now, click on the fonts tab and check if the font that we have installed appears. If the font is listed, the application we are trying to use it with may not be compatible.
Restart the application with which we want to use the font
Every time we install a font in the system, so automatic it must be recognized by all the applications that we have installed in it. Therefore, when opening the application and listing the list of sources it should appear in it. In case the font does not appear, we must try to solve it by restarting the application. It is enough to close it and reopen it to verify if the newly installed font appears within its corresponding list.
Check the font type
When installing a font in our system we must bear in mind that not all have the same format. There are three popular fonts that are compatible with Windows 10 as they are OpenType, Web Open and TrueType. In the event that we are using a different type of font, it is likely that it will not be detected, so it will be necessary to use a different font. Depending on the type of extension of the font file, we will be able to know what type it is:
- OTF: in this case it is an OpenType font.
- TTF: This extension corresponds to TrueType fonts.
- WOFF – This is an open source source web format.
All these types of fonts are compatible with Windows 10 so we must make sure that the downloaded font has one of these types of extensions.
Reinstall the font correctly
The problem with the font may also be due to the font not being installed correctly. The fonts are easy to install, which does not imply that something has gone wrong and has not been installed correctly, so we must proceed again to copy it in the right place.
To do this, we are going to open the Windows File Explorer and navigate to the following path:
C: / Windows / Fonts
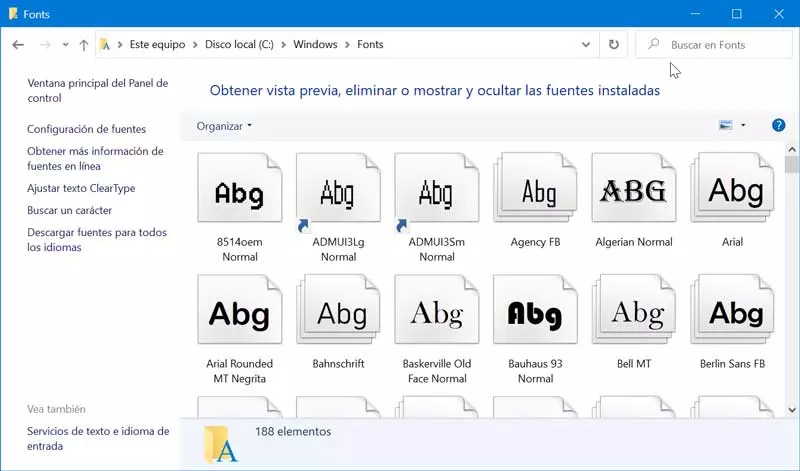
Next, we are going to copy and paste the font file that we have downloaded in this folder. In the event that a message appears warning us that we are going to replace a file, we confirm. We can also remove the font from the location and re-copy it again. If we have carried out the steps correctly and we have inserted the new font in the correct folder it should be able to be used with any compatible application.
Remove problematic update
If we have error problems with the fonts on our Windows 10 computer, we may the problem is caused by a system update. Sometimes updates can cause problems so the best way to solve it is by removing the update.
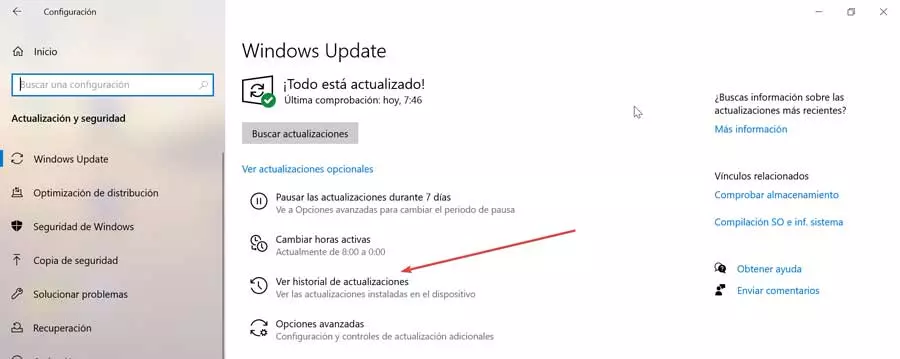
Next, we are going to access the Settings menu, by pressing the keyboard shortcut “Windows + I” and select the “Update and security” box. Within the “Windows Update” section we will select the option “View update history”.
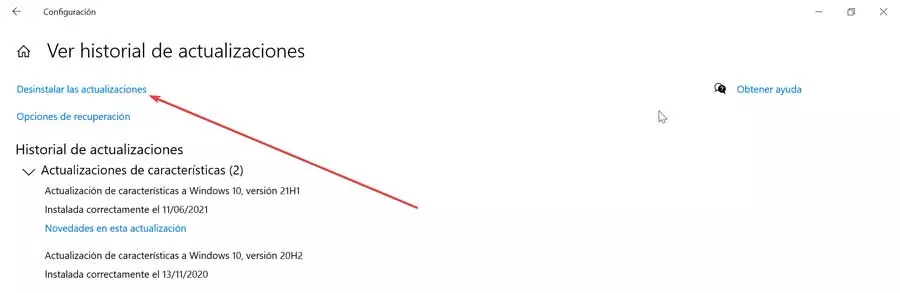
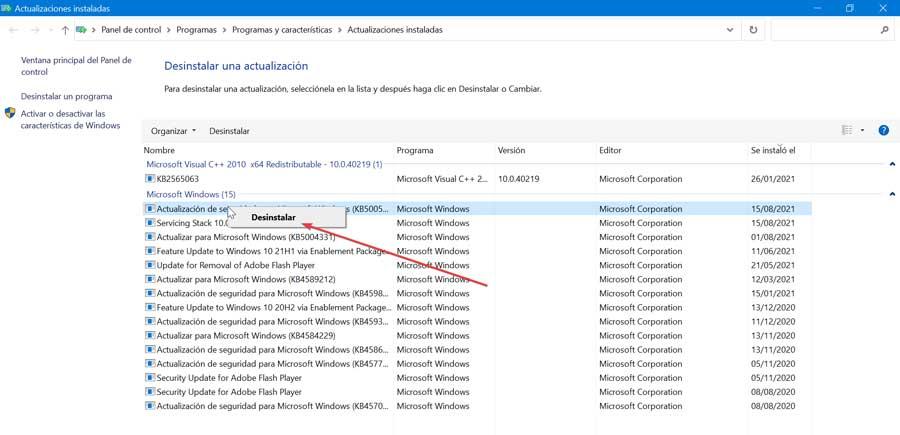
In the new screen we select the option to Uninstall updates and a list with all recent updates will appear. All you need to do is right-click on an update to delete it. Once this is done we must check if the problem has been resolved.
Delete the FNTCACHE.DAT file
Another option that we can try to eliminate font errors is extremely simple, since only enough is delete the FNTCACHE.DAT file in order to solve it. To do this, we are going to open the Windows File Explorer and navigate to the following address:
C: / Windows / System32
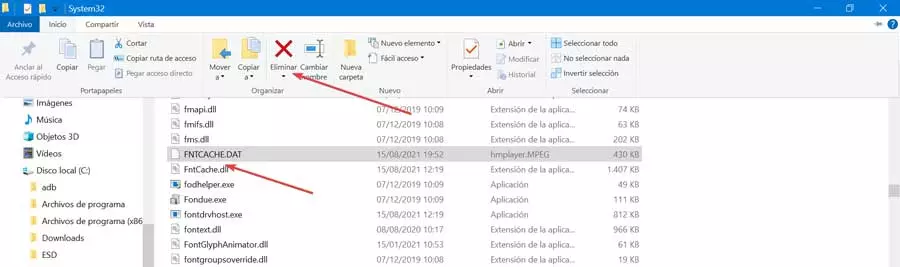
Once here we must locate the FNTCACHE.DAT file. We select it and press the “Delete” button at the top. Finally, we restart the PC and check if the problem has been solved.
Rebuild the font cache
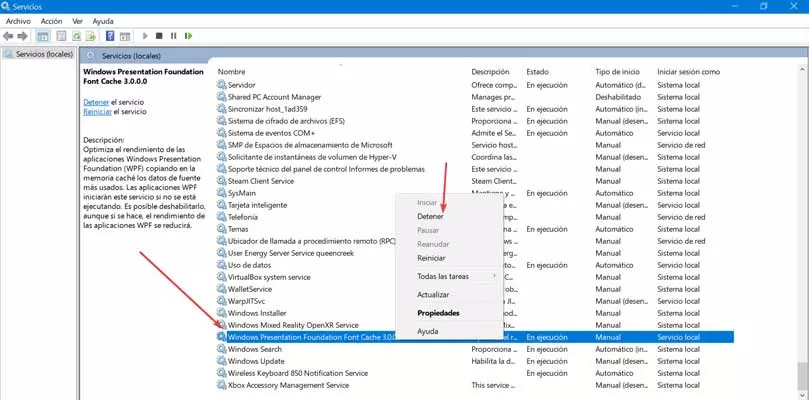
If none of the above has worked, it may be because the font cache is corrupted, so we must delete temporary files to rebuild the cache, something that we will do in a simple way from the Windows Services tool.
The first thing will be to press the keyboard shortcut “Windows + R” to launch the Execute command, where we will type “services.msc” and press Enter. Within the Services application we will locate the service “Windows Presentation Foundation Font Cache 3.0.0”. We select it and click on it with the right button to select the Stop option.
Next, we press “Windows + R” again and enter the following path as it appears in the image, pressing Enter to continue:
%windir%/ServiceProfiles/LocalService/AppData
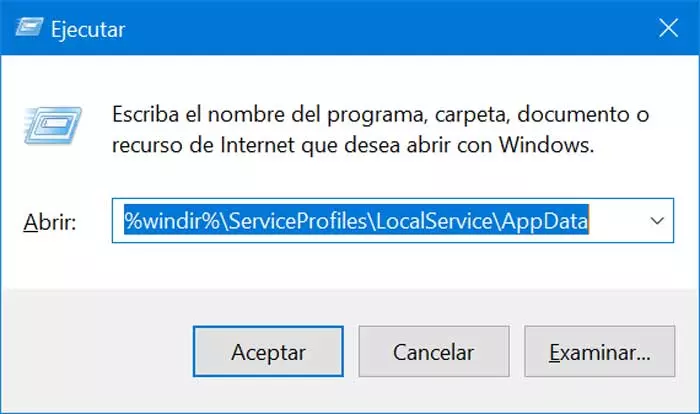
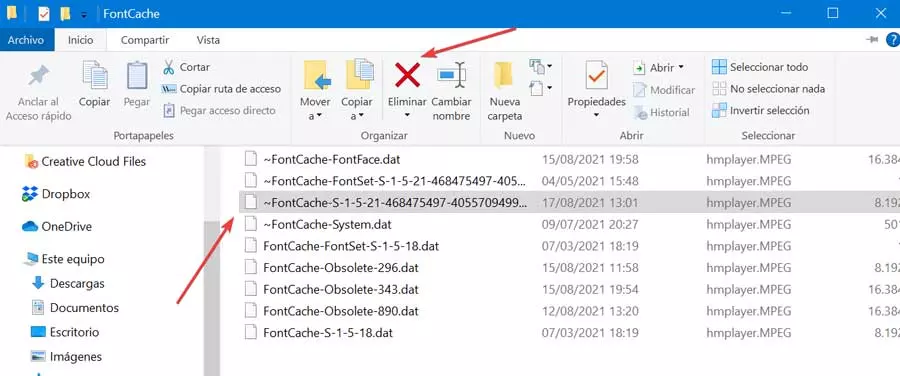
We navigate to the «Local» directory and locate any file that contains the prefix ~ FontCache-, select it and click on the «Delete» button. Once this is done, the problem should be fixed.