Another possible flaw is simply that we are not flashing with the correct version of the program in question. Many times the average user downloads a version of a program that he has read on the Internet, but is not sure if this version is 100% compatible with his GPU and OS.
The program opens, does all the steps but when it comes to checking the integrity of the file and the destination BIOS it doesn’t do it well, it doesn’t identify the chip correctly and the flashing ends up being a disaster. Sometimes a rather curious error has occurred that has allowed a system reboot and the consequent corruption of the BIOS, and it is nothing more than not using the software as an OS administrator, other times the GPU has simply not been disabled from the administrator of devices before said flashing, which on many occasions has caused the so-called brick.
Repair the BIOS of a GPU
Although it may seem that everything is lost after a brickeo, it really is not like that, at least in part. Repairing a BIOS requires a new flash and this is sometimes not easy at all, so what we will do is start with the simplest way and if it fails, add different solutions at their corresponding points.
It should be mentioned that we must avoid any external software that is on the PC, of any kind, including antivirus or antispyware, since they could interpret the flashing as an attack on the GPU, which we do not want.
If the GPU gives image
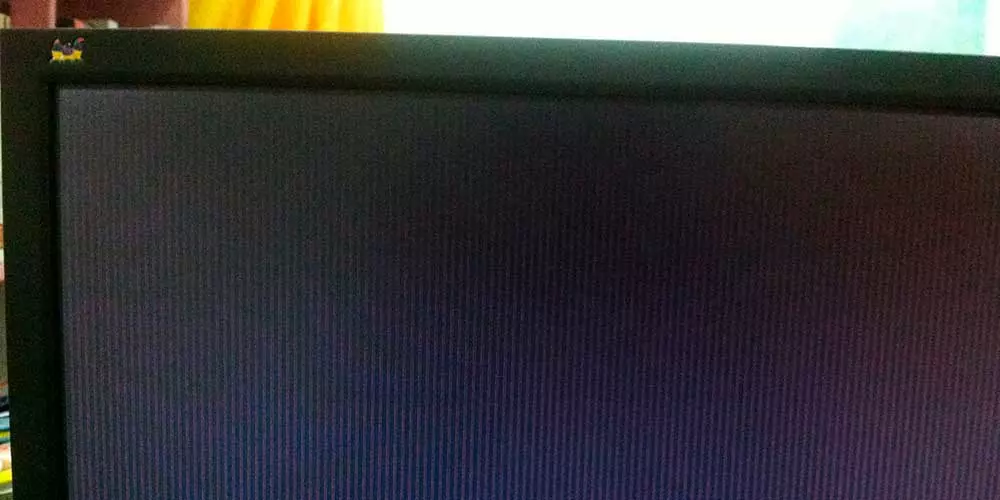
Many times flashing makes a part of the graphics card’s bits useless, so it continues to give an image but the driver is not able to recognize it because a part is missing or corrupted on the chip. At this point, the solution is simple, and goes through disabling the graphics card in the Windows device manager as the first step.
The next step is to take the backup BIOS that we should have done before flashing and re-flash it making sure that the software and the file are not corrupted and are compatible with our GPU. Not a few think that this is the case and end up realizing that the version of the program does not work.
Opening the software in the Windows interface or directly in CMD as administrator in both cases, we would proceed to flash the BIOS again, where it should not give any error. After this, we would restart and the GPU should be recognized by the driver, installing in the background again.
This step is valid for AMD or NVIDIA graphics cards with ATIFlash or NVIDIAFlash, as long as we do not cross a GPU from the red team with the software for the green team, because although the program should not detect a GPU from the other manufacturer … We have seen everything.
If the GPU does not give an image
Here things get complicated, since we would have to resort to Windows safe mode with another GPU, which should be primary on our motherboard (usually upper PCIe slot) while the affected GPU should be in a different and lower slot to be as secondary.
This is important and should not be done the other way around by not moving the GPU, since the allocation of the PCIe addresses matters. In any case and already within Windows and with the image of the second GPU, we will have to flash the BIOS on the damaged GPU, indicating to the software where it is within the available options.
The flashing should not present any problem, after which we must restart the PC, enter Windows and see with GPU-Z that our GPU is now recognized, with its BIOS version and of course with its driver.
Change the card switch
You may not know it, but it is possible that your graphics card has two BIOS available, which are changed from a switch that is normally at hand and that just by changing its position will send us to the other BIOS of a second chip included in license plate.
That does not repair the first one, but it allows us to use the card until we can calmly repair it, in case there is a solution.
GPU is not imaging and is not detected
It may be the case that the GPU has been totally bricked, it does not give an image or is recognized as secondary, so a flashing of any kind is impossible, since surely not even the motherboard BIOS will be able to see it.
In this case we are talking about a full-fledged brick and as such it will require an expensive process in euros and somewhat slower. There are two options here: we do it ourselves or we find someone to do the process for us. But what is there to do?
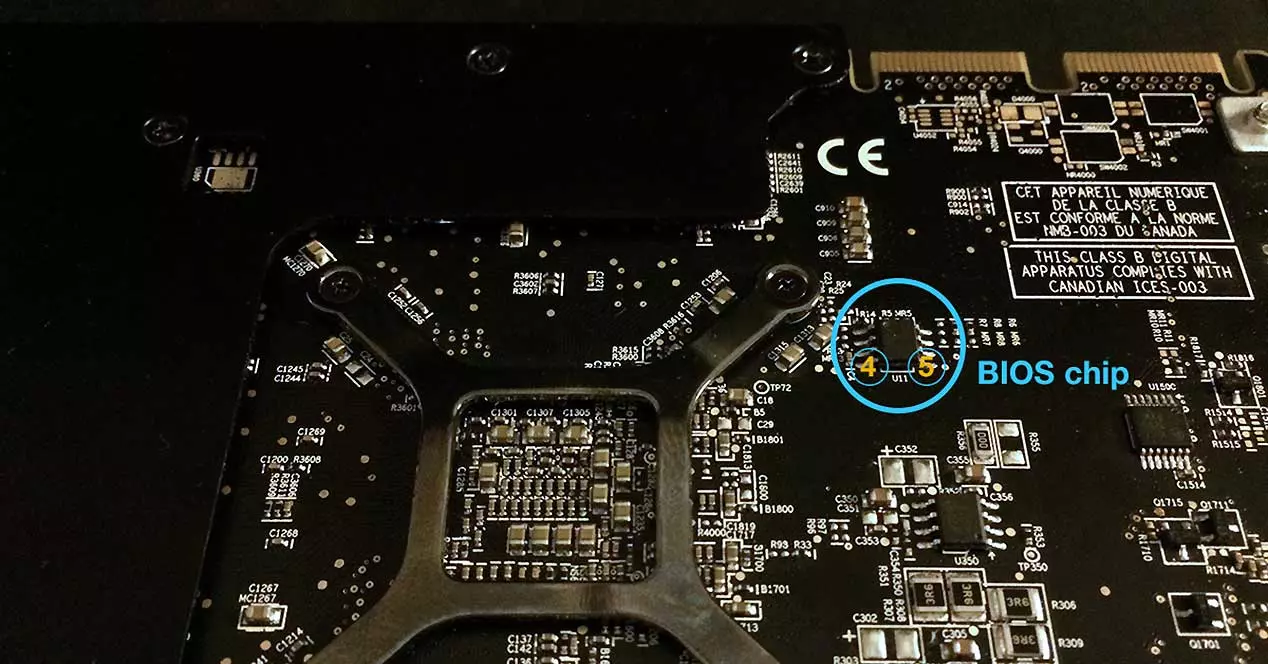
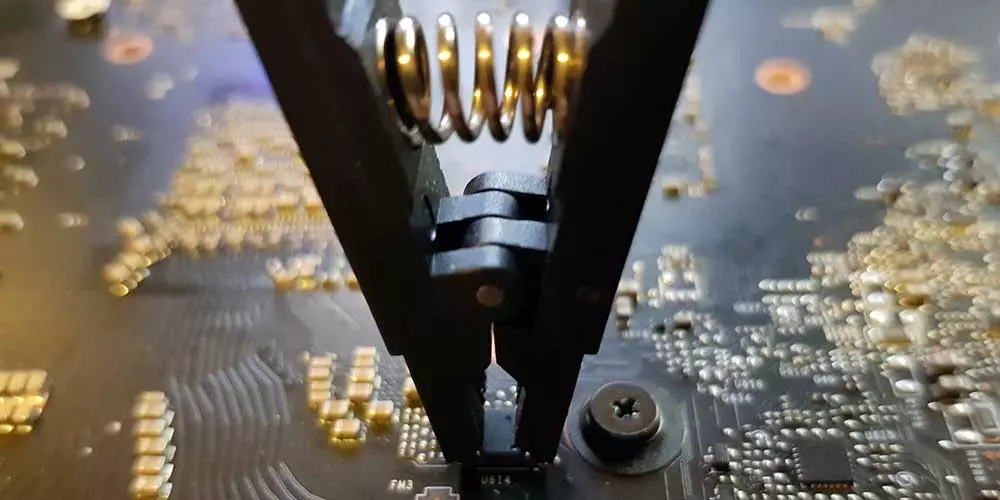
Flash with a reprogrammer EEPROM the chip specifically. These chips vary between manufacturers, GPUs and generations, but are usually of the type SOIC-8 Flash NOR o Small outline integrated circuit of 8 pins. There are 10 also and in not a few models there are more than one, two or even three chips, but at the point where none works, we will have to resort to said programmer.
This is already somewhat advanced, because you have to know how to work with the programmer since you have to bridge the pins of the chip with it to later give it power and be able to flash it, being unlocked.
It is true that it could also happen that the chip has been physically damaged and that there is no apparent solution. In these cases, you have to desolder the chip, buy a new one, flash it with the correct BIOS and re-solder, although there are many models that with their pinout and the correct clamp this is not necessary as such.
It is impossible to repair the BIOS of your GPU
If we reach this point where we cannot repair the BIOS of our GPU and that we have flashed when loading after the restart, it has assumed a series of incorrect values that have affected the card, specifically the GPU and have been able to cause an overpowering or overfrequency leaving card disabled.
In these cases, it only remains to process the RMA if we have tried all of the above, because now, the card is a paperweight that even with a reballing would not be able to revive.