How to calibrate your TV in 5 easy steps to improve picture quality. Surely when you receive your new TV just bought, with the desire you have to enjoy it, the first thing you do is turn it on and leave it in Standard or Vivid mode and leave it that way for the rest… right? mistake and fat.
In this mini guide we are going to learn how to get the most out of our Smart TV with 5 simple steps that everyone can do at home. If anyone wants to go deeper, you can continue with this guide with several tips of what to do and what to activate or not activate together with their reasons. Today we bring you a basic image tutorial to configure our Smart TV in a simple and easy way, without having to learn complicated concepts.
If someone wants to do a precise and perfect calibration of the image of your Smart TVnothing better than a professional calibration with a probe, which will leave your television of reference of film studio and that you can contract by clicking here.
How to calibrate your TV in 5 easy steps to improve picture quality
The first thing will be to download this file that we have prepared for you with a collection of patterns and tests by clicking here. With the files already downloaded, we just have to unzip them on a pendrive with the Winrar program, for example. We copy all the content to a flash drive and connect it to the TV. And now we will play each of the files as we indicate. With this, we will be able to adjust the image settings of our television in a basic way.
We recommend that you do all these steps with the best settings for your television, which you can find in the Tutorials section of our websiteusing the search engine and entering the model of our Smart TV.
Checking that black is not raised (if you have an OLED)
 This step is only necessary to perform on an OLED TV. We will start by playing the file 02-0% Black.mp4, in a completely dark room (yes, absolutely no light can enter). We will get completely close to the TV (a few cm from it) and we should see…nothing. As if the TV was completely off.
If we see it completely black, it would be indicating to us that indeed our TV comes with the perfect black level and we are not raising the most important parameter of an OLED television: its pure black. If we do see a very dark gray light, it is that we have touched something that we should not or that we must adjust the black level (see next point).
Setting white: don’t burn bright details
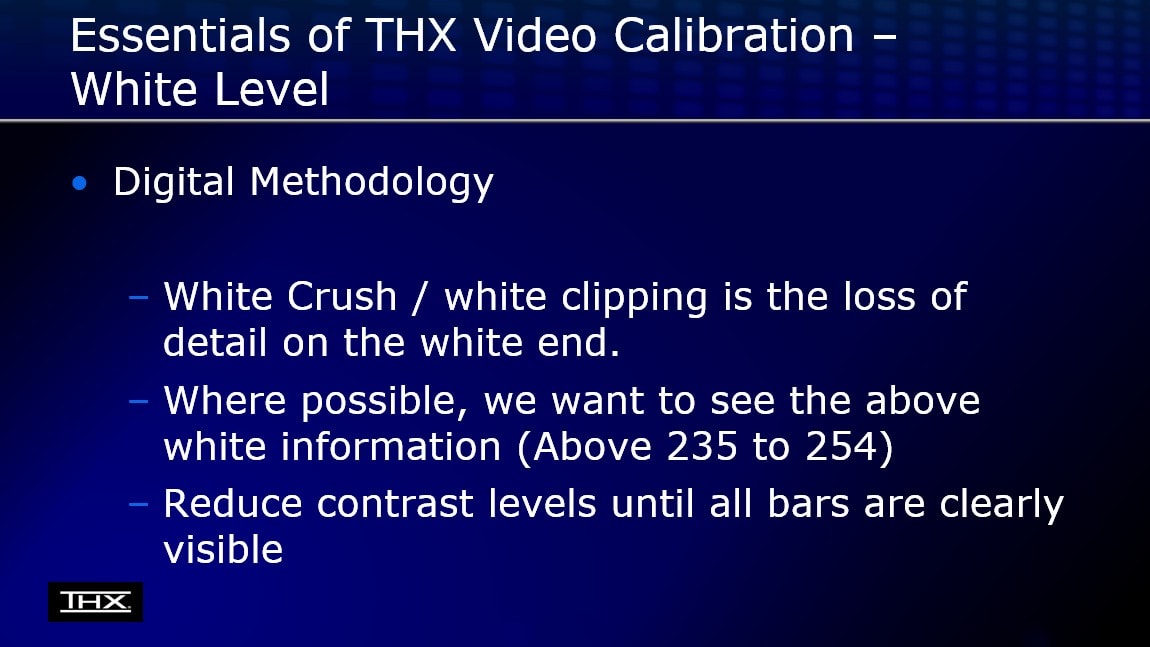
Continuing with the most basic things of the image, the next one would be the white level, for this we will reproduce the file 3-White Clipping.mp4. In this case, and although we tell you otherwise in the video, we will have to adjust this pattern until we see all the information. Yes, until let’s see all the bars up to 253:
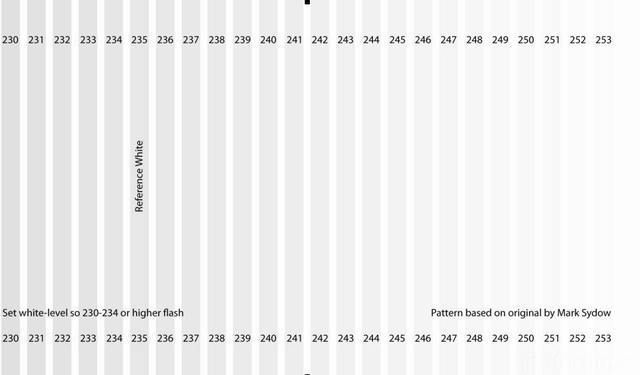
That is, the image above is correct. We must, therefore, adjust the contrast allowing to see all those flashing bars of white clipping. Basically, with this we avoid white clipping (burning the details in the white areas) and even color, since this problem is usually common with certain brands if we adjust the pattern up to 235. For this reason, THX and other audiovisual companies recommend always see all bars, up to 253:
 Black level: shadow detail
 Black level: shadow detail
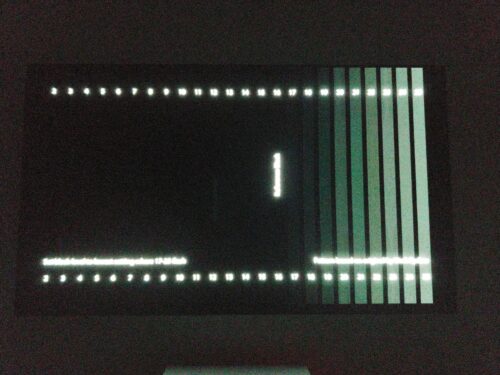
This step is probably the most important of all. We must again be in total darkness to adjust it correctly. We will start by opening the file 1-Black Clipping.mp4 and again we will stick to the television as close as possible to it. As you can see in the image, we should see the bars blink from 17 to 25 (17 very weakly) and 16 to its left, completely black.
It’s quite possible that we’ll see fewer bars flicker than we should – bad news, we’ve got shadow detail crush. We only have to correct it in two ways so that it is as good as possible:
The difference between seeing the level of detail in shadows that we should see and what we shouldn’t is absolutely amazing and we will be able to see details in grays and blacks that we were previously losing… without losing the pure and infinite black that OLEDs have (see previous point ). For sample, an image:

Adjusting the sharpness
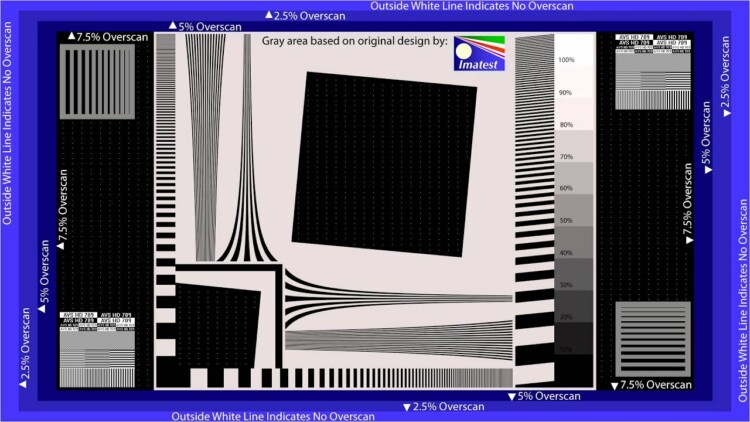
This is one of the most complicated settings to understand, since it is difficult to see with the naked eye. Two things must be distinguished. That if, we will need to be reproducing the file of sharpness:
- The Overscanor what is the same, the zoom. In other words, we should see the entire surface of our available TV, without any of it being “cut”. If you see that you lack information or image, look for the control or adjustment of Zoom, Scan or Overscan on the TV and put it in such a way that the whole image is seen completely.
- On the other hand, we have the sharpness. If we raise the sharpness too much, we will see how with the pattern reproducing, the lines begin to “unfold” and numerous saw teeth appear throughout the lines. If so, adjust the sharpness of your television until those defects disappear.
Get the most out of Xbox Series X and PS5
If you are lucky enough to have a console and a Smart TV OLED CX or C1 (or even C9), we strongly recommend that you you go through the article and video that we published a few months ago for these models. Even if you don’t have those models, you can get a lot of information from the information that we leave you here:
- Turn off power savingDepending on the television model, it will be in one area or another, but it is vital to always leave it deactivated.
- Disable everything related to AI, Artificial Intelligence or the like.
- Turn off all filters such as Dynamic Contrast, Dynamic Color, etc.
- Rename the HDMI input to PC Mode or Console Mode to get as little input lag as possible and/or full 4:4:4 chroma key.
- Activate the option UHD Deep Colorwhich is usually in the HDMI ports configuration section.