Why use other DNS
Normally users use the DNS provided by the operator. The Internet connection may work well without having to change them and we will not have any problems. However, sometimes we could have speed problems and one of the changes that we could make is change servers that uses our connection.
Also, when exchanging for other DNS servers we can also improve security and privacy. There are options that protect these two factors that are so important on the Internet. They can even block access to insecure websites, something that could be interesting if we want some network user to download malware. It is a matter of finding which ones are best for us and also take advantage of this possibility as a complement to protect our systems and prevent the entry of malicious software.
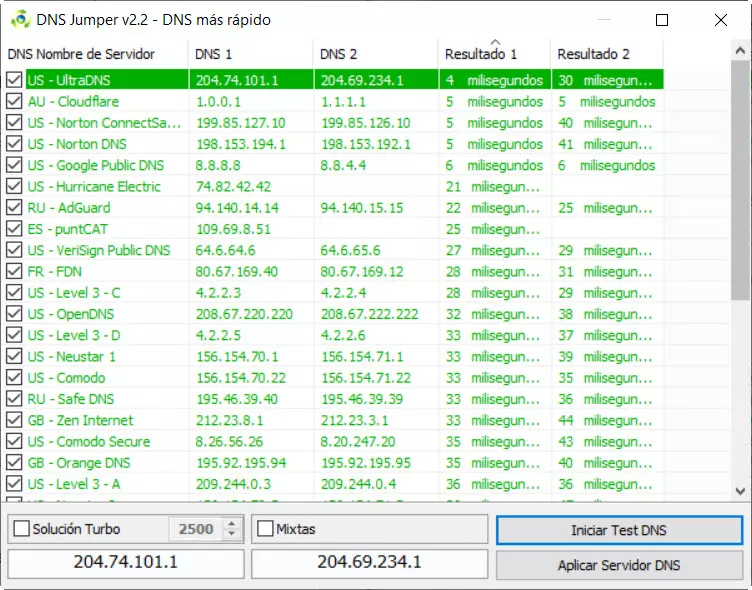
We can name some very popular options such as the DNS of Google or those of Clouflare. They are widely used and many users change them on their computers. This is something that we can easily do on operating systems like Windows. Also in others both on desktop computers and mobile devices.
In this way, by changing them, we can achieve a higher speed sometimes. We can load a web page faster or have no errors when trying to access a certain online service or platform. Even, as we have seen, also improve security and privacy when connecting to the network. But this would only have an effect on the device itself and not on the general network.
Remember that DNS servers act like translators basically. That is, they serve so that users only remember the name of a page instead of the corresponding IP address. For example, we just have to put redeszone.net instead of remembering a long sequence of numbers. DNS servers act like a phone book and are responsible for translating that information.
Steps to change DNS servers from the router
We have explained that we have the option to change the DNS from our computer, as for example we could do in Windows 10. It is a simple and fast process. Now, with this, what we are going to achieve is that our computer uses other DNS that we have put, but not the rest of the network.
The router will continue to use the operator’s servers or those it has configured. We may be interested in changing them and that all devices, unless specifically configured, can take advantage of those servers that we have changed. We can easily achieve this. We are simply going to have to access the configuration of the device and from there enter the corresponding section.
Access the router
It should be noted that these steps that we are going to show may vary slightly depending on the router model that we have, but it will be very similar. The first thing to do is enter the device, for which we will need to know the default gateway.
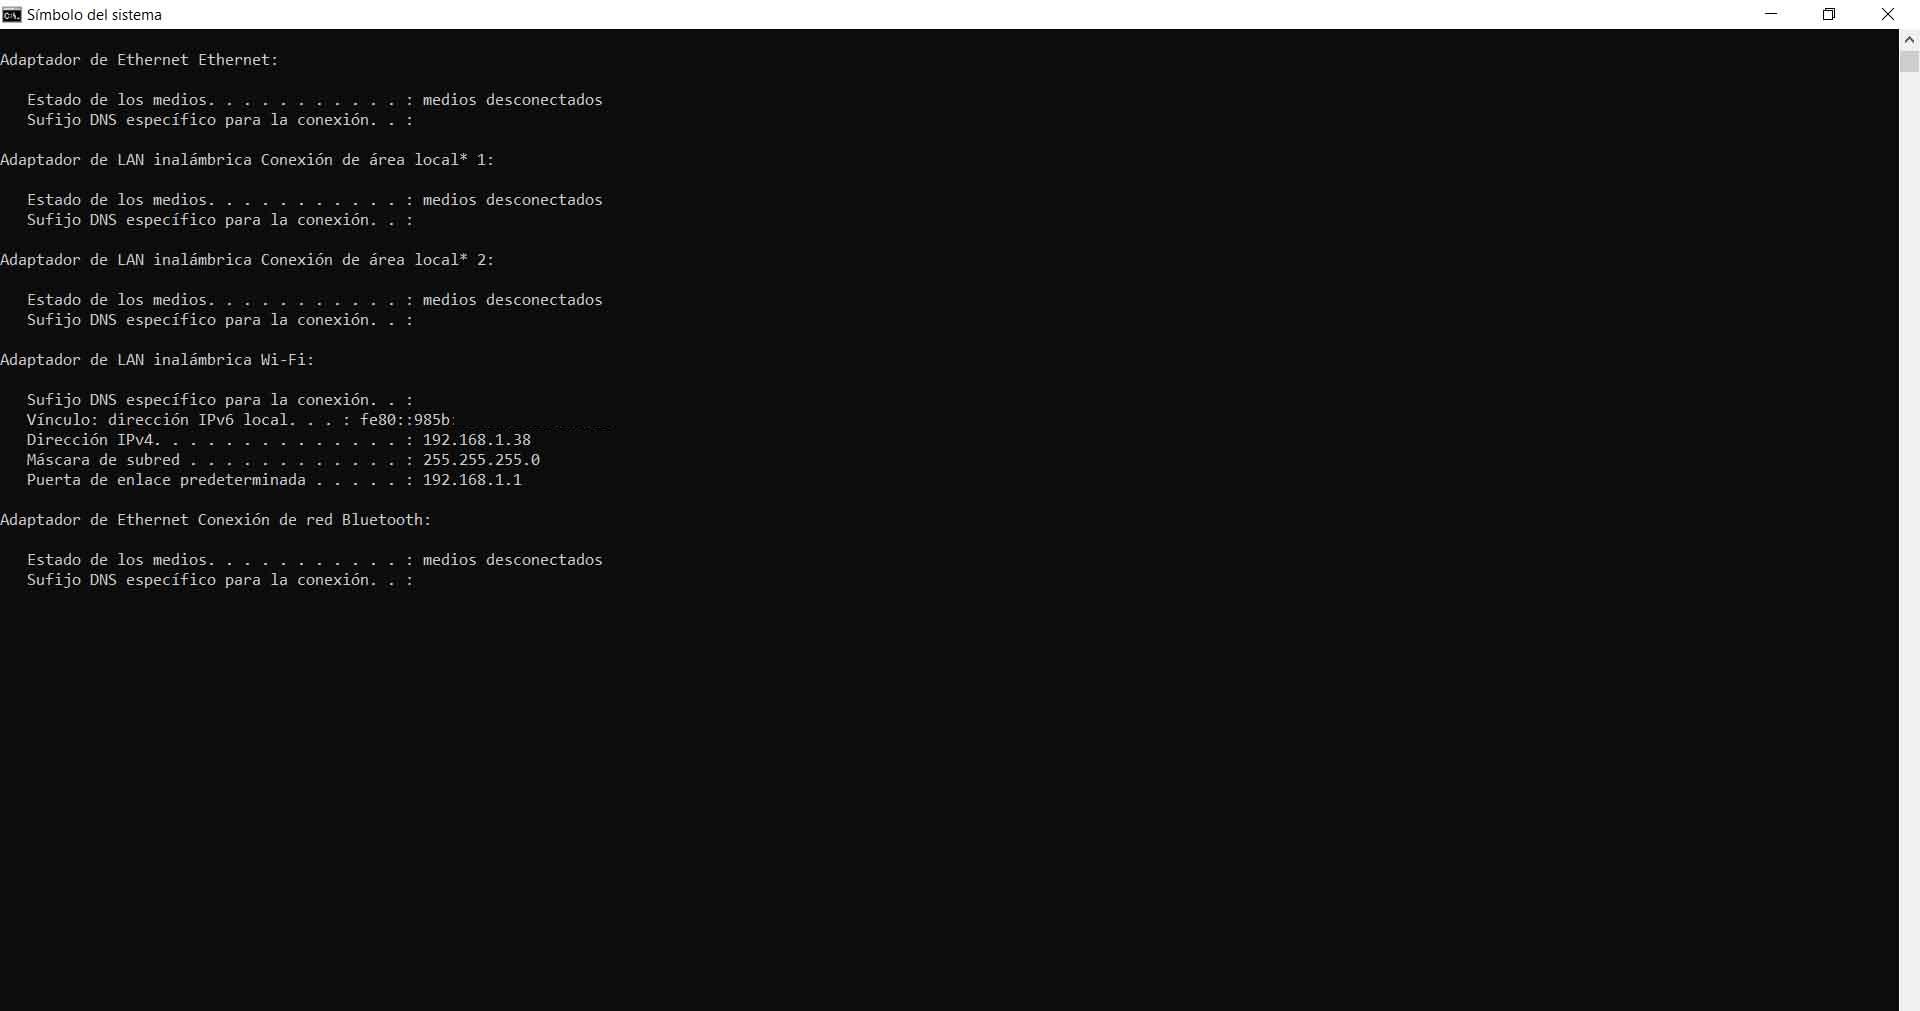
Generally, the default gateway to access the router is 192.168.1.1, but it could be a different one depending on our model. To find out what exactly it is, we can go to Start, access the Command Prompt and execute the command ipconfig. There it will show us a series of data related to the network, among which the default gateway will be found.
We simply have to point it out and open it from the browser. It will ask us for a password, which is usually of the type admin, admin123, 123456 and the like. The router usually has a generic key to access it. Of course, our advice is always to change that password and, as we would do with Wi-Fi, generate a totally random one, which has all kinds of symbols and is totally secure.
Change DNS inside the router
Once we have been able to access the router, the next thing will be to change the DNS. This is our ultimate goal. It is a quick and easy process. Normally you will have to access the Advanced configuration from the terminal. You have to go to the menu and select the corresponding option.
When we are inside we will go to settings, connections, advanced options or some similar term, depending on the router we are using. But what we are going to need to look for is DNS and DNS Server or DNS Servers.
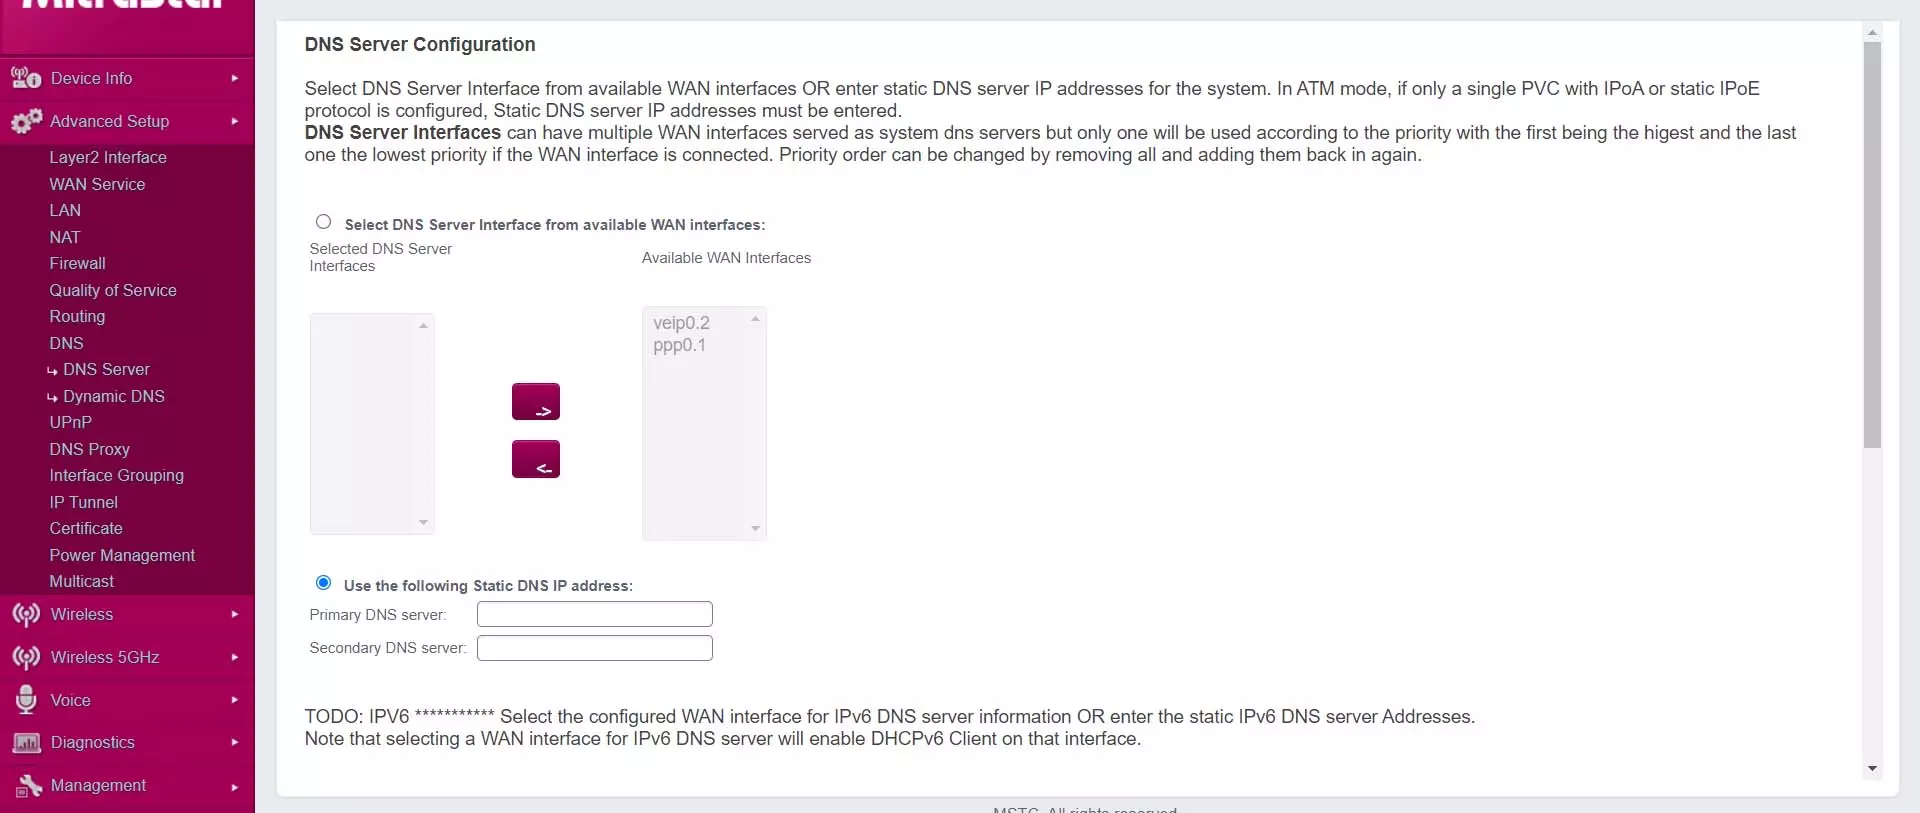
After accessing this section we will find an image like the one we see above. It will show us the DNS that we are using, which will generally be those of the operator. What interests us in this case is to change them for others, such as those of Google, Cloudflare or those that we want to use according to our objective.
We will have to put both the primary and secondary DNS. Later we will have to accept and apply the changes. From that moment on the DNS servers that our router will use will be others.
We must be aware that this parameter is very important, so we should not change it for whatever we can think of or see. You have to make sure that you are really going to improve our Internet connection and, in case we notice problems, go back to the originals or use different ones. There are a lot of public DNS servers, but not all will work the same at certain times.
In short, by following these steps that we have mentioned, we can change the DNS from the router. It is something that we can take into account on certain occasions if we see that the Internet connection does not work well and we are looking for a higher speed. We can change it easily and we also have a wide range of options available.