What can you expect from these features
To put in context the type of editing that can be performed on the iPhone or iPad natively, we must say that not a professional editor. You will find many interesting functions and that in fact we will describe in the following sections, but the truth is that you will not find tools as powerful as if you would find in third-party applications that are precisely focused on this type of work.
Now, does this mean I’m a bad editor? Absolutely. Although it is simple, it has very interesting functions and above all easy to use, as well as fast. In a third-party editor and depending on the requirement of the edition, it could take much longer to render the result and here it is instantaneous. Even if you use third-party editors on a regular basis, the iPhone editor can serve you at any given time for a quick retouch.
Editing photos from the native iOS app
The first thing you should know is where the editor is and that is that, although it is not hidden or requires advanced knowledge, it is not shown as visually as perhaps some would expect. To access it you must open the app Photos and locate the photograph in question that you want to edit. Once you find it, make it big and click on “Edit” in the upper right (if you don’t get the option, click on the photo again). Once you have got there, you will find the following options that we describe below.
Retro mode scenarios
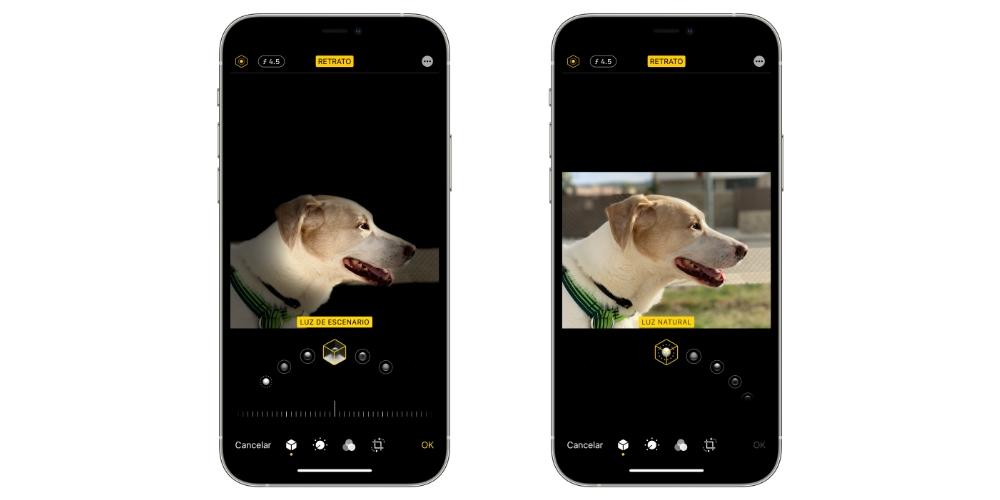
Only in photographs taken in portrait mode with the iPhone or iPad you can find this option. It is the one that is just in the upper part on the left. It basically serves to switch between the different types of portrait lighting. To choose one, you just have to change between the options that appear at the bottom and which are the following:
- Natural light (default for portrait mode)
- Studio light
- Contour light
- Stage light
- Mono stage light
- Mono high key light
It should be noted that at the bottom of these options there is a kind of timeline that refers to the level of intensity you want to give the effect, being greater the further to the right you put the bar.
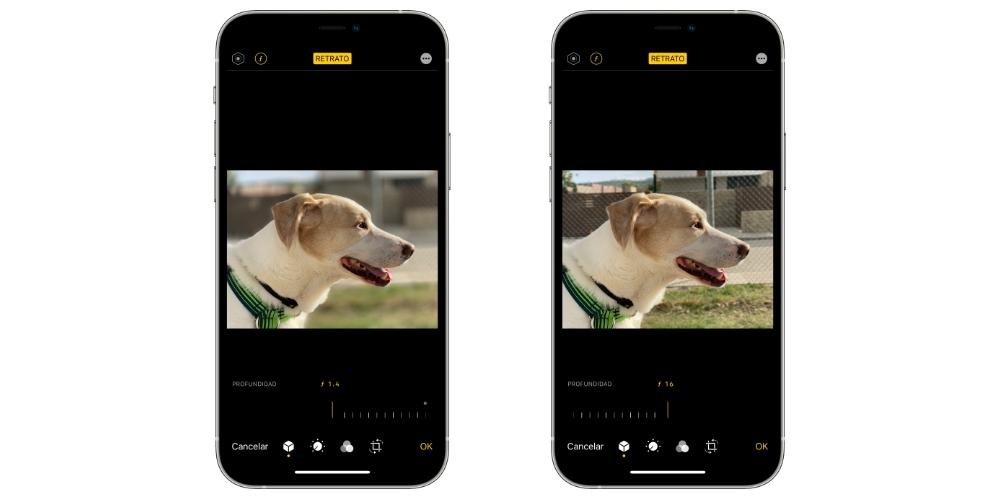
Change the depth level
This function is also only enabled for photos taken with Portrait Mode. What it allows is more or less blur the background or, what amounts to the same thing, change the intensity of the bokeh effect. This option appears after the previous one with an icon that is shaped like a circle with a letter “f” in the center.
At the bottom you will find a bar in which the more you slide to the right, the less blur you will see that occurs in the photo, while if you move it to the left you will find that there is more blur. You will see that there is a dot just above this bar and it is what serves as an indication of what the default blur level is with which the snapshot was originally taken.
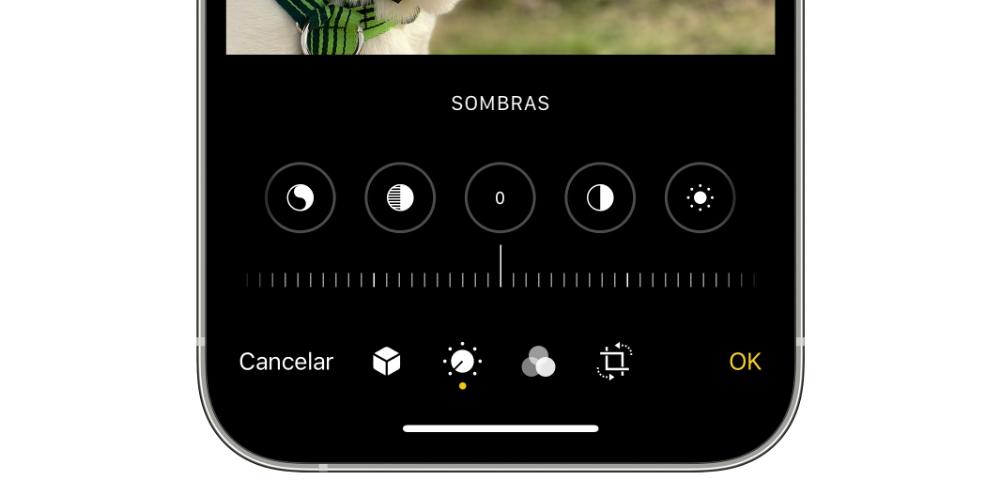
Brightness, color and more settings
In all photographs, regardless of whether they are portraits or not, we find various editing settings. All of them are fixed in the same way as the previous ones, with a lower bar that can be moved to achieve a greater or lesser intensity of the adjustment in question. The first of them is him automatic which is the one that is marked as standard based on how the iPhone or iPad interprets the photo using artificial intelligence. Those that allow customization are these:
- Exposition
- Brightness
- Clear areas
- Shades
- Contrast
- Brightness
- Black dot
- Saturation
- Vivacity
- Temperature
- Dye
- Sharpness
- Definition
- Noise reduction
- Degraded
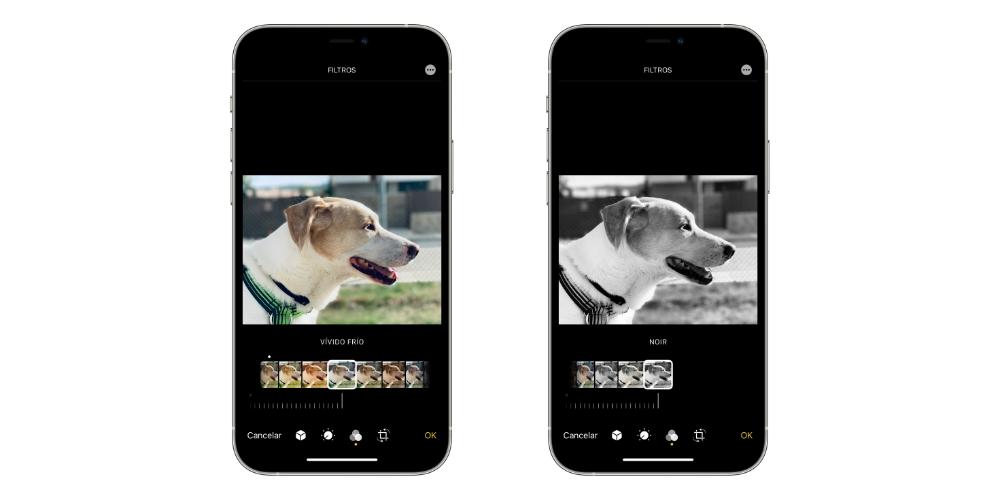
Filters available
How could it be otherwise, in the native editor of iOS and iPadOS we can also find the always interesting filters that change the tonality of the images making them look different. it’s possible combine them with other settings as previously commented. To find them you have to click on the symbol with three circles located in the lower central part. There you will find these filters:
- Original
- Vivid
- Warm vivid
- Vivid cold
- Dramatic
- Dramatic warm
- Dramatic cold
- Monkey
- Silver
- Not to go
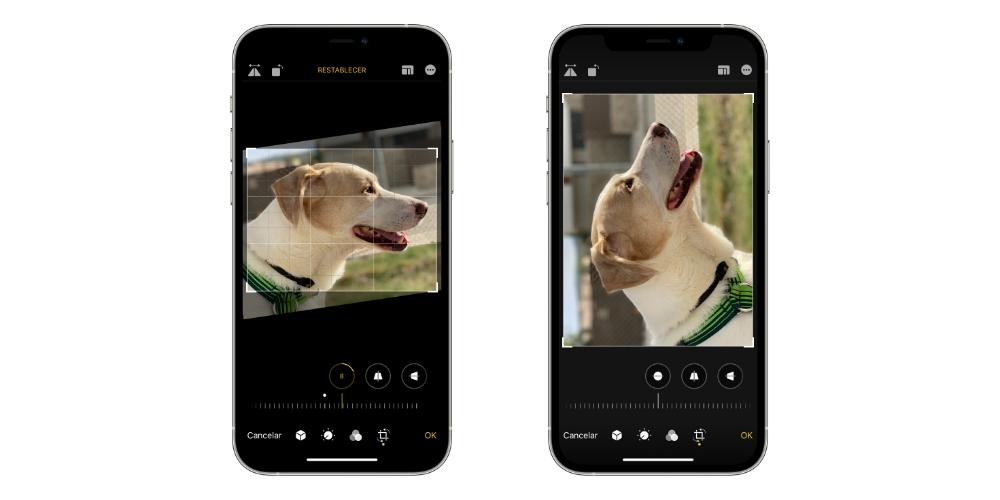
Twists and adjustments of photos
If your photograph it has turned around or go out with him mirror mode, you can also tweak these settings. To do this, you must click on the third and last icon that appears at the bottom when you are in editing mode. These other icons will now appear, giving you access to the following actions:
- Mirror mode: either to remove this effect or to put it on. It basically consists of flipping the photograph horizontally. It’s the icon in the upper left.
- 90º turns: as you press the second icon in the upper left row, you can rotate the photo from 90 to 90 degrees.
- Automatic: This option that appears in the top center automatically adjusts the frame of the photo.
- Image format: The icon that appears to the right of “Automatic” will allow you to select one of the following formats for the photo:
- Original
- Free
- 1: 1
- 9:16
- 8:10
- 5: 7
- 3: 4
- 3: 5
- 2: 3
- Image cropping: You can cut out the part that interests you from the image yourself with the guides that you will find on the sides of the preview.
- Straighten it: the options to change the angle of the photo are in the first icon in the lower left, having a bar with which to adjust it.
- Vertical and horizontal perspective: To change the perspective of the image you must go to the next two icons that appear after the previous one, also having a bar with which to modify it.
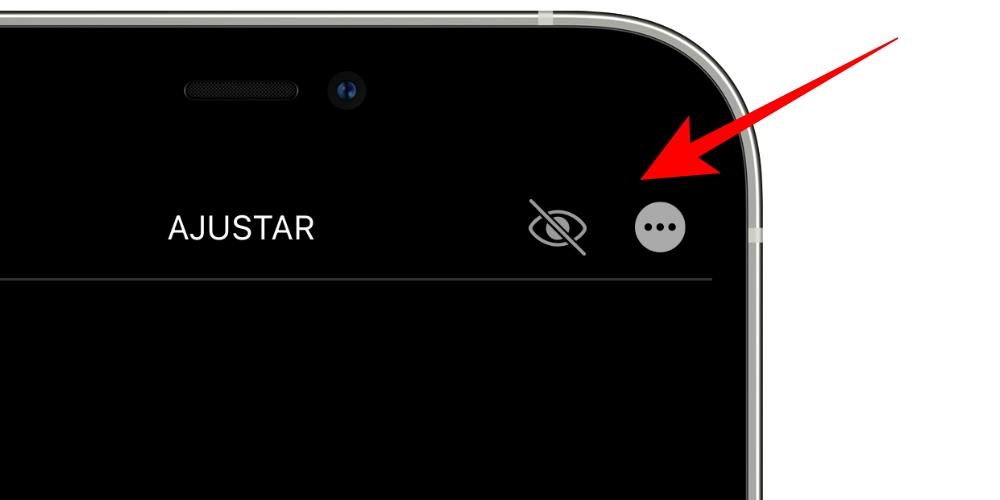
Two other settings
Although the most important thing is discussed in previous sections, we cannot ignore two settings that we also find within the editing options in the Photos app and that can be useful in many cases.
- Dialing: If you click on the three points located in the upper right, the options will open to mark the photo as if you were writing with a pencil, a marker or a highlighter, being able to choose any color range and making the markings you want as if you were before a paper photo.
- Red eyes: When you see an icon of a crossed out eye, it will be that you can enable this option which, as its name suggests, will eliminate the red eyes of those people who appear in such a photograph. These types of effects occur especially when taking photos with a flash.
Live Photo Editing
The iPhone 6s and later have the option of taking “Live Photos” that although they are shown statically, they are really images that when you see them from the iPhone or iPad gallery and click on them you will see that they are animated as if they were small video clips. These can be edited in the same way as the previous ones, but they also offer other interesting options exclusive to them.
Effects edit
If you are viewing a Live Photo from the native iPhone or iPad app, we recommend you slide it up when it is open to open some of its options. The first ones you will see are precisely those called effects, and you can choose any of these:
- Live: it would stay like this, being a static photo that only looks animated when you open it or click on it.
- Loop: you can convert the image into a GIF by continuously playing the motion.
- Rebound: the well-known boomerang filter is in this setting making the photo look like a GIF, but instead of starting over, do the opposite effect. So the photo will be looking like a clip that plays, rewinds and plays again and so on.
- Long exposition: This effect is ideal when photographing certain scenes such as waterfalls or lights of cars that pass at high speed, showing a single photograph as if it had been taken with a long exposure lens.

Choose the exact frame
As we explained before, in the end the Live Photo does not stop being like a small video clip composed of several frames. By default, the system shows as main the one that it considers to show the greatest sharpness and stability. However, you can choose the one you want by clicking on “Edit” and then on the icon formed by several circles and which is located at the bottom left (to the right of “Cancel”).
It should be noted that in order to choose the exact frame that you want to be displayed, you must not have changed the “Live” effect that we mentioned in the previous section. If you have already changed it, don’t worry, because you can go back to put it again and perform the same steps again to change the frame. This setting is ideal to capture just the moment you wanted if the iPhone did not, such as the typical jumping photos if you want to stay right with the frame in which you are floating.