If you buy a new PC, you will have little choice when it comes to storage, because practically all of them will use solid state drives. If you have a somewhat older computer, you should know that replacing a hard drive with an SSD is one of the most interesting upgrades you can make to improve it and extend its useful life.
There are dozens of articles that we have been offering you about this solid storage technology that has made hard drives obsolete, including an analysis of the best drives on the market and a recent Buying Guide with all the features that a user should know and a selection of offers. Today we bet on a more practical article where we are going to remind you of the four steps to effectively replace a hard drive with an SSD.
For the walkthrough. we will focus on a laptop, but it would be just as simple to do it on a desktop and the benefits of its installation thinking of improving the forceful performance in any case, in operating system boot times, in opening applications, in recovery from sleep modes or transferring files between internal drives or to external solutions.
1.- Choose and buy the SSD
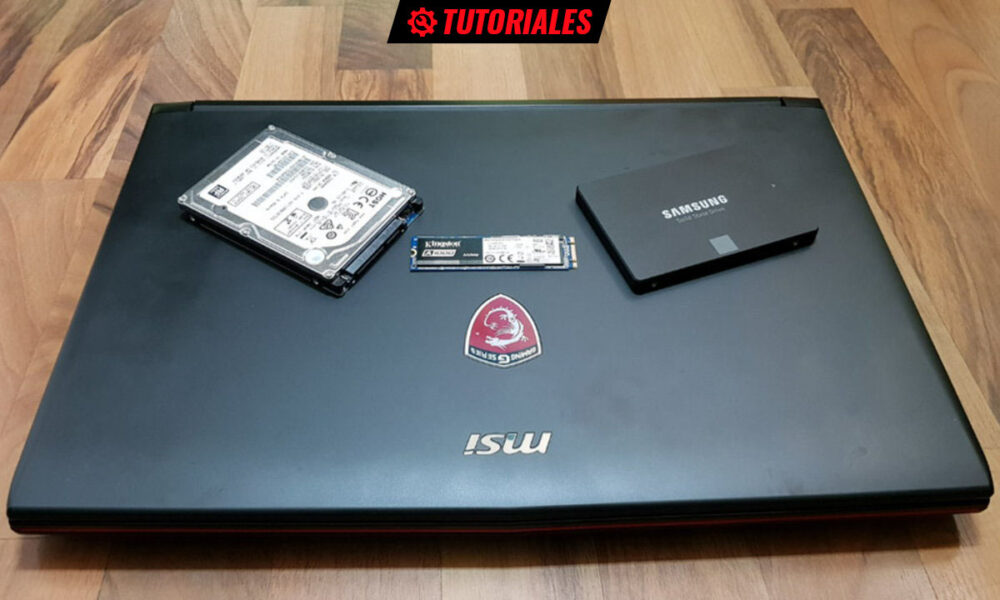
Until a couple of years ago, the possibilities (by offer and price) of buying an SSD went almost exclusively through the standard 2.5-inch format and the SATA interface. Today the offer is much broader, the units connected to PCIe occupy the majority of new releases and are the recommended format as long as your computer supports them.
If your laptop has M.2 – PCIe connectors available, there is no debate, this is the form factor you should buy. The improvement in performance, consumption and weight is remarkable and in addition, you could always take advantage of the 2.5″ bay as a secondary unit to increase storage, be it with other SATA SSDs or even with the old hard drives that you have cornered.
If you are going to mount a 2.5-inch SSD, you will only have to assess its thickness, although you will not have a problem because they are all offered in 9 or 7 mm sizes. As for capacity, it will depend on your needs and budget.. There are dirt-cheap 120 or 240GB drives if you want to mix it up with other drives, and great prices at 500GB or 1TB if you’re going to mount it as a single drive.
All the big SSD manufacturers (WD, Kioxia, Samsung, Kingston…) will offer you a good guarantee and performance. In terms of prices, the NAND flash memories on which they are based have fallen in price and this has been passed on to the end customer. Very cheap units can be found in any type of format and capacity.
2.- Save the data
If the purchase of the SSD is motivated by the failure of a hard drive, we will not be able to do much. Remove it immediately and use specialized tools from the manufacturer or third parties for low-level formatting or others on another computer. If the failures are partial, we would also remove it to try to save data with recovery applications.
If the hard disk is in use and works well, before any replacement action we have to consider carrying out disk backups. This will depend on the needs of each one. We see several possibilities:
- The most complete would be total cloning of the hard disk to preserve the operating system, applications, files and user settings. Many SSD manufacturers offer apps for it and third-party developers offer free apps. You’ll need an external drive to do this or directly to the SSD with conversion kits and/or cabling that passes data from a USB to the SSD’s interface, usually SATA.
- If you don’t need a clone, you can use the recovery discs provided by your laptop manufacturer.
- If you don’t have recovery discs from the manufacturer or want to create custom backups, all current operating systems offer tools to perform Backups which on the other hand is a very convenient task that is part of the maintenance of the system itself. There are also good third-party apps that can be used.
- If you are going to perform a clean installation from scratch from DVD/USB that you have prepared with the operating system, simply check the disk to save your personal files (documents, photos…), which you can archive on any medium or in the storage service in cloud you use.
If you need, you can check this guide to move Windows from HDD to SSD keeping all data.
3.- Mount the SSD
Once we have saved the data we need and have the boot disk or backup copy at hand to install the system, we go to the assembly. Each laptop is a world, but checking its back we won’t have too many problems to locate the location of the hard drive.
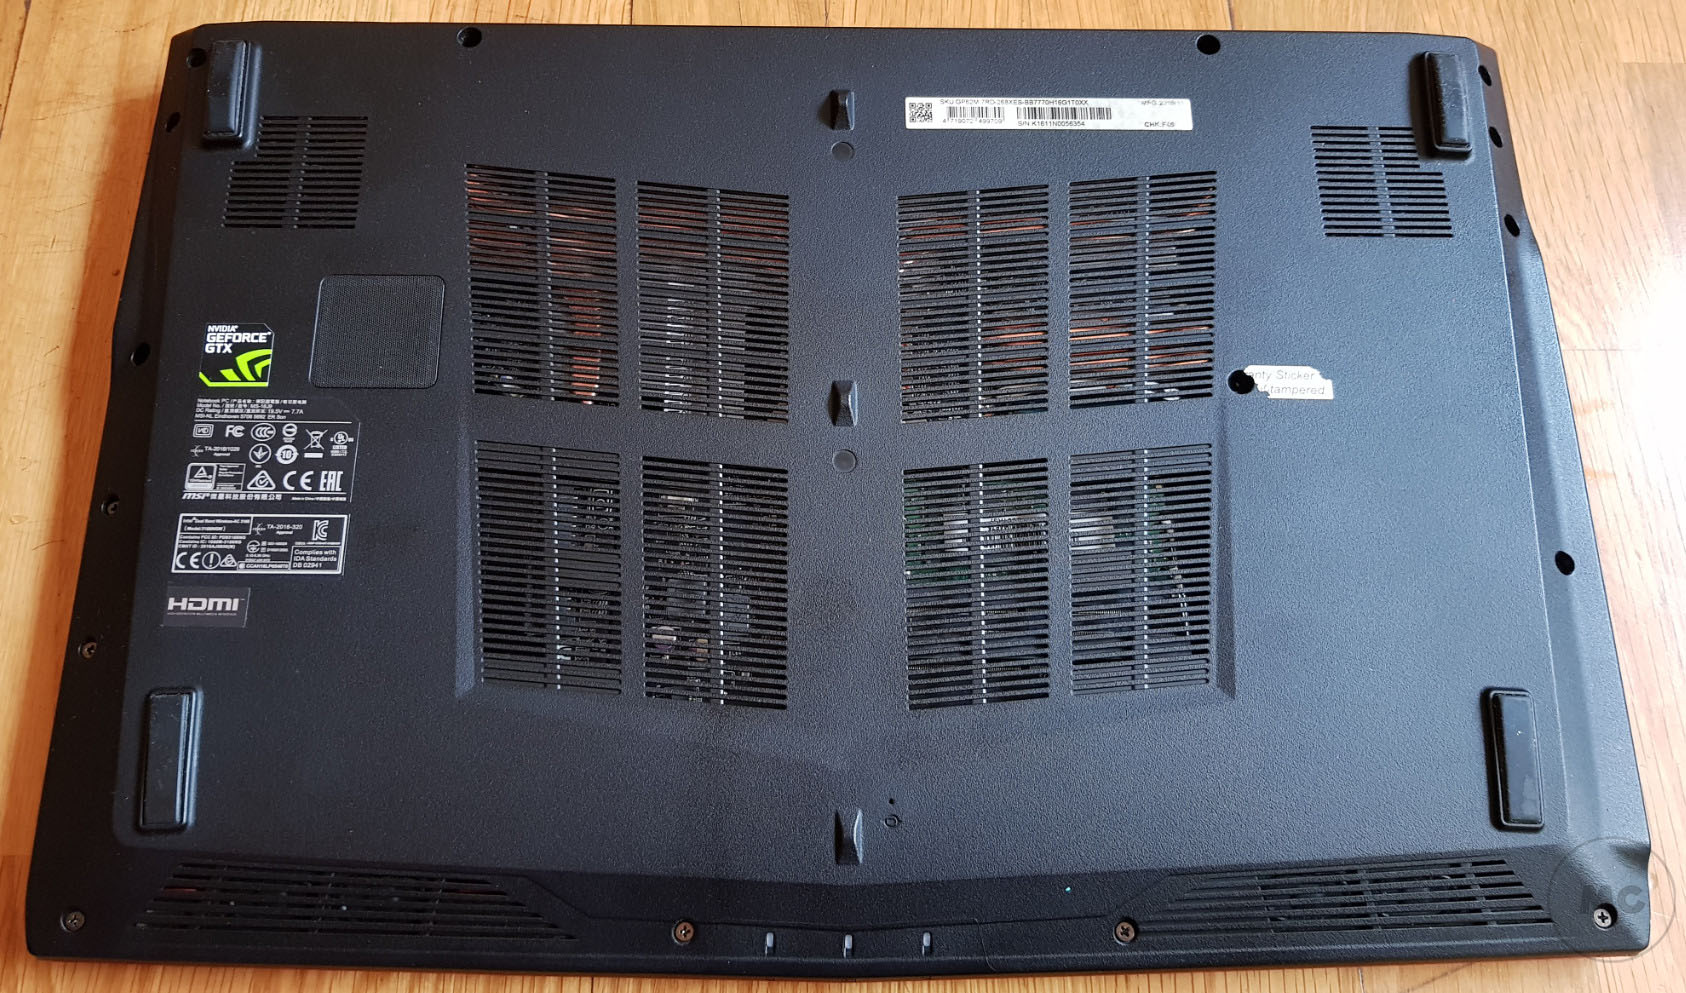
There are models that have a dedicated hole for the storage unit and others in which the entire lid has to be removed. Remove any type of peripheral connected to the laptop, the power cable and the battery if any. Check the back and remove the screws to access its interior.
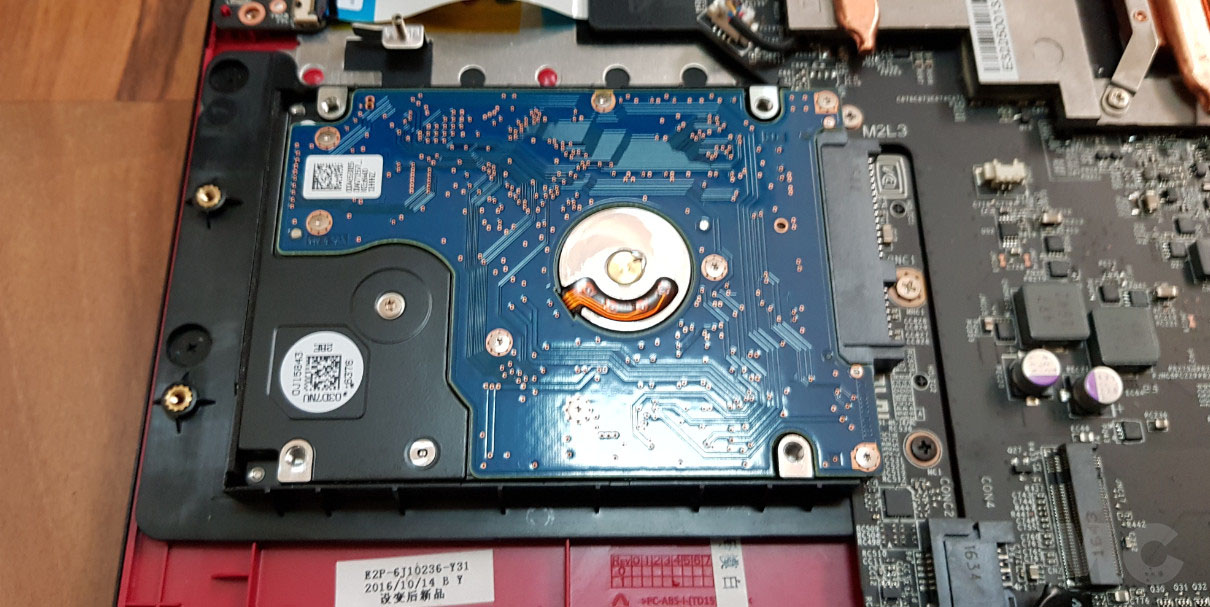
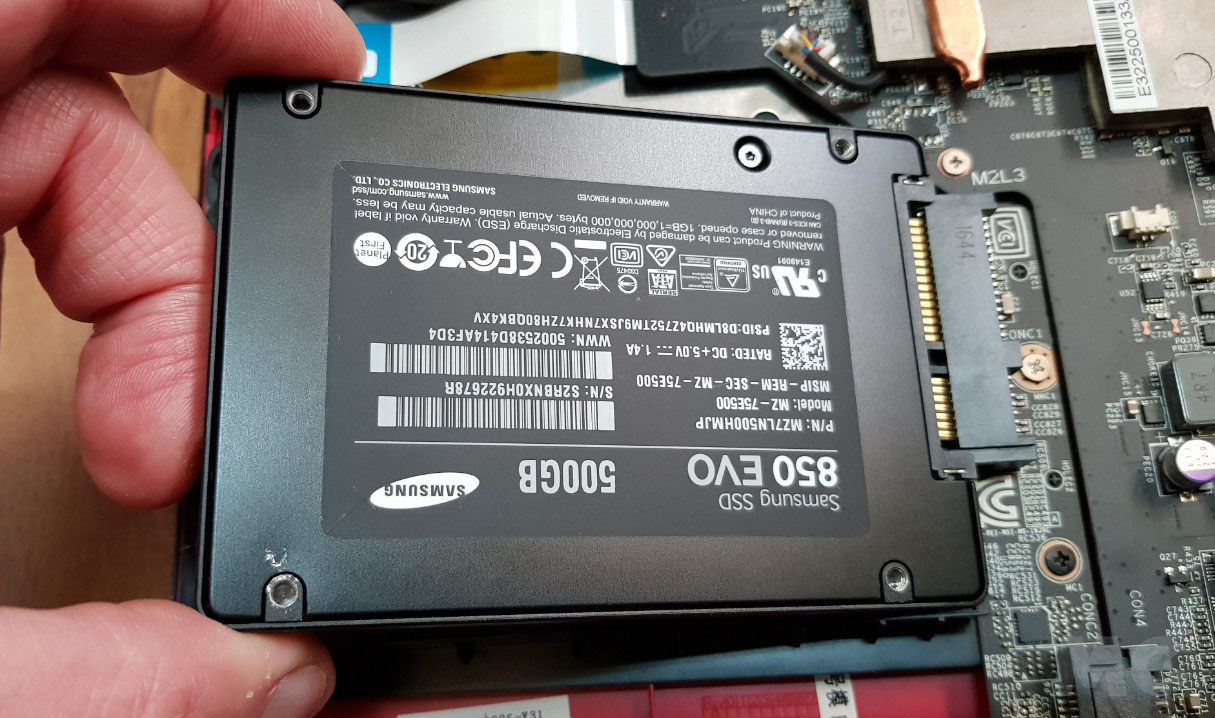
It will not be difficult to locate the installed hard drive, as you can see in this MSI Leopard laptop that we used as an example. If you have chosen a SATA SSD, remove the hard drive retainer and replace with the SSD.
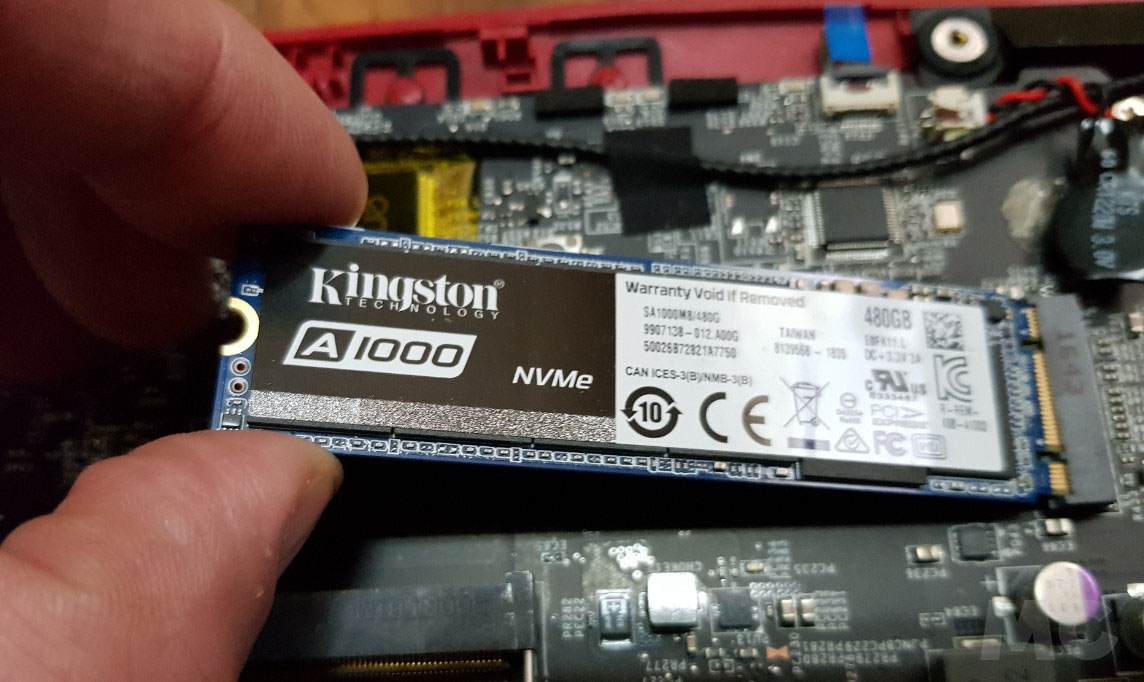
If you have decided to mount an M.2 (because in this case it also has an available slot), it is even simpler, by clicking the SSD in the connector and securing it with a single screw.
Little more remains to be done than to reassemble the lid of the laptop, connect the battery, power cable or peripherals that we had installed.
4.- Configuration, installation of the system and data
If you have used a PCIe SSD and will keep the hard drive (or other SSD) as well, make sure the PCIe be the first boot device. This section is configured in the BIOS/UEFI.
If you have previously made a clone, you will only have to boot the computer. If you have not done a clone and have opted for a partial backup, you will have to install the operating system and/or applications, restoring the backup or installing from scratch. It is done the same way with any version of Windows or Linux.
After the first boot it is recommended properly configure the SSD to work on the computer because it has some quirks about hard drives. We have already discussed some of them in other articles, such as deactivating defragmentations or making sure that we have the TRIM command activated.
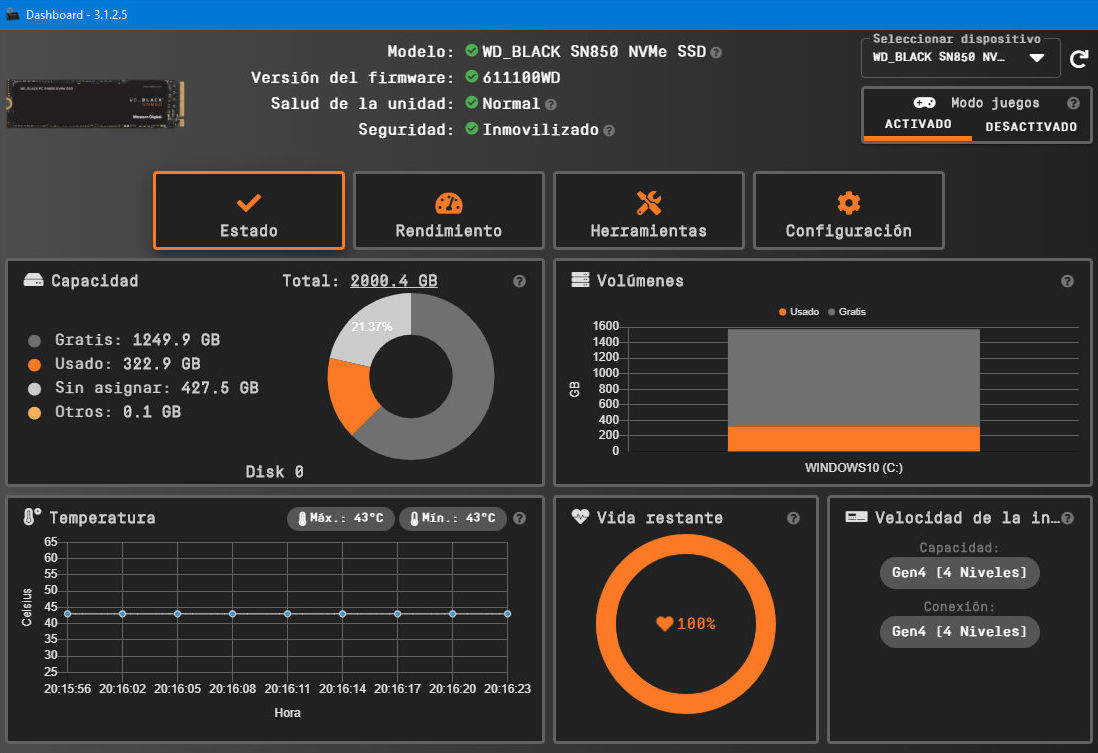
Most SSD manufacturers offer an application for its configuration that it is recommended to activate, because it allows you to configure the unit for optimal performance, view its status, keep the firmware updated or encrypt the data on the disk if we need it.
Do not hesitate. Replacing a hard drive with an SSD will offer you enormous advantages, the most direct in the storage section. This type of update can be performed in the same way on a laptop as on a desktop PC. The use cases are varied. A single PCIe (or SATA) SSD can be mounted or together with other SSDs or hard drives. It is recommended to install the system and main applications on the fastest SSD as the first boot drive. From there, different possibilities open up to cover the internal storage of a PC with guarantees.