Screen recording is a powerful way to share what’s happening on your screen—whether you’re creating tutorials, recording video calls, capturing live streams, or saving game footage. However, many users encounter an annoying and frustrating problem: the dreaded black screen issue. Instead of recording the content, the screen recorder captures only audio or shows a blank black screen where the video content should be. If you’re wondering how to screen record without a black screen, this guide will walk you through everything you need to know.
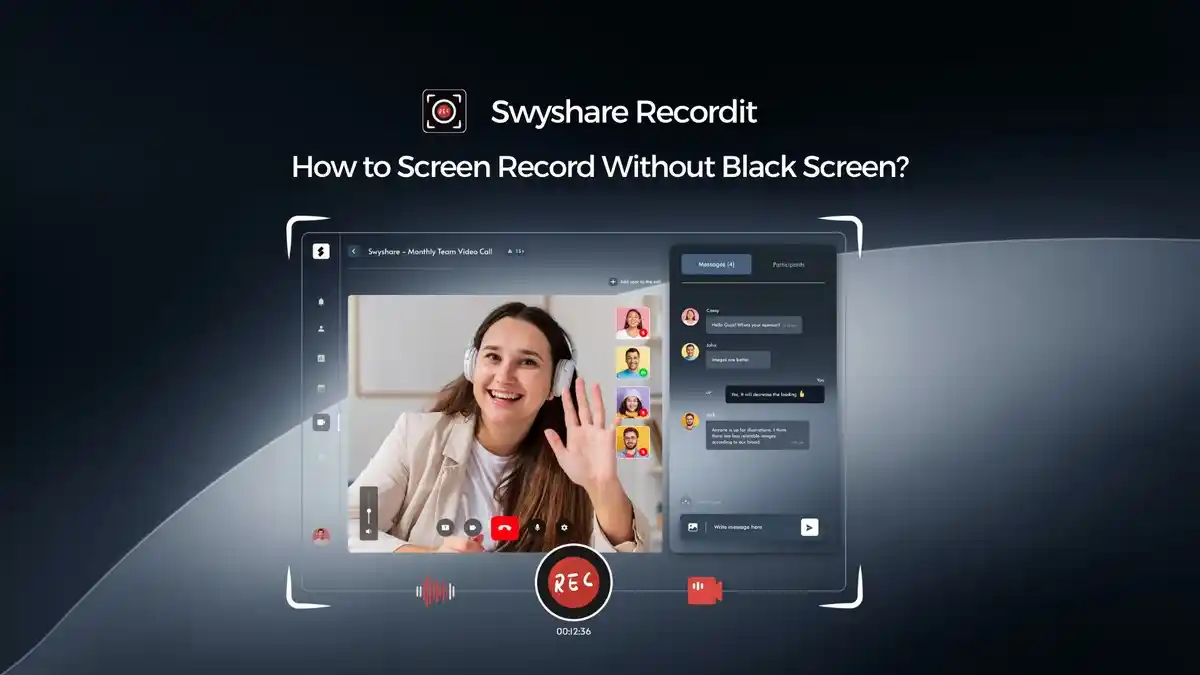
1. What Is the Black Screen Problem When Screen Recording?
The black screen issue typically occurs when your screen recording software fails to properly capture video output. This might happen when:
- Recording protected or DRM-encrypted video (e.g., Netflix, Hulu)
- Your screen recorder lacks necessary system permissions
- Graphics hardware acceleration interferes with screen capture
- Outdated or incompatible GPU drivers are in use
- Conflicts exist between screen recorder and browser/video player
- You’re using low-performance or unreliable screen recording software
Whether you’re using Windows or macOS, this issue can seriously hamper your productivity or creativity. But thankfully, there are easy solutions.
2. Best Easy-to-Use Screen Recorder Without Black Screen – Recordit
If you’re tired of troubleshooting complicated settings, Swyshare Recordit is the ultimate lightweight and black-screen-proof solution. Recordit is a simple and user-friendly screen recording tool that works flawlessly on both macOS and Windows.
Key Features of Recordit:
- No Black Screen Guarantee: Designed for screen capture, not media ripping.
- Select Capture Mode: Select to record whole screen, specific window or use mouse to highlight the portion of the screen.
- Customized Capture Options: Select to turn on system audio, microphone or webcam.
- Popular Formats Export: Record and instantly export as MP4, GIF or MP3.
- Shortcut Keys: Quickly start and stop recordings with customizable hotkeys.
- Lightning-Fast Performance: Optimized for fast startup and instant upload.
Unlike many bloated software tools, Recordit focuses on delivering clean, crisp recordings with minimal system impact. Best of all, it avoids common black screen pitfalls by sticking to what it does best—recording your screen, not bypassing video DRM.
3. Use Cases for Recordit
Whether you’re working remotely, learning online, or managing a creative project, Recordit offers a simple, reliable way to capture your screen without the hassle of black screen issues. Here are some popular use cases where Recordit truly shines:
Educators and Students
- Record quick video lessons or explanations.
- Share visual feedback on assignments.
- Create GIF demonstrations for presentations or tutorials.
Remote Teams and Professionals
- Capture bugs or UI issues for developers.
- Demonstrate workflows or processes to team members.
- Create internal training materials or onboarding videos.
Designers and Creatives
- Showcase UI/UX flows to clients or collaborators.
- Record time-lapse GIFs of design progress.
- Capture walkthroughs of design tools and features.
Content Creators and Bloggers
- Record how-to guides and visual tutorials.
- Capture snippets of websites or app usage.
- Turn recordings into GIFs for blog embeds and social media.
Developers and Testers
- Report bugs with clear visual context.
- Show code behavior in action during debugging.
Gamers (Lite)
- Capture gameplay from non-DRM or windowed games.
- Record short highlight clips to share online.
4. How to Screen Record Without Black Screen Using Recordit?
Getting started with Recordit is straightforward, and below is a step-by-step guide to recording your screen without any black screen issues:
Step 1: Download, Install, and Launch Recordit
To get started with Recordit, simply download it from the official site, install it on your Windows or Mac device, and launch the app from your system tray or menu bar.

Step 2: Customize Capture Options
- Turn On Audio, Microphone, or Webcam – Enable input sources as needed.
- Set Output Options – Choose between GIF or MP4 formats.
- Hotkeys – Use or assign shortcut keys for quick start/stop recording.

Step 3: Start and Stop the Recording
- Choose your capture mode by selecting to record the entire screen, a specific window, or by dragging the mouse to highlight a custom portion of the screen.
- Tap “Start Recording” to initiate screen capture, and select “Stop Recording” to finish.

Step 4: Find and Manage Your Recordings
Once a recording finishes, the “Files” tab will open automatically with your screen capture.

Step 5: Take Screenshots (Optional)
While Recordit focuses on screen recording, you can still capture individual frames from the screen with the software “Screenshots” feature.

5. FAQs about Recordit
1. Is Recordit safe to use?
Yes, Recordit is safe and widely used by professionals and educators. The app does not contain malware or adware, and all your recordings are saved locally.
2. Is Recordit free?
Yes! Recordit offers a free version with basic features, and you can upgrade to Recordit Pro to remove watermarks and extend recording time.
3. What video quality does Recordit support?
Recordit supports screen recording in resolutions up to 4K, depending on your monitor and system capabilities.
4. Does Recordit work on low-end PCs?
Absolutely. Recordit is lightweight and doesn’t require high-end specifications, making it perfect for older or budget devices.
5. Is there a mobile version of Recordit?
No, Recordit is currently only available for Windows and macOS. If you need to record your phone screen, consider using built-in screen recorders on iOS or Android, or third-party apps designed for mobile screen capture.
6. Conclusion
If you’ve been struggling with black screens when trying to record your screen, you’re not alone. Many popular screen recorders fall short when it comes to compatibility, speed, or usability. But Recordit stands out by offering a reliable, black screen–free recording experience without the headache of tweaking settings or installing codecs.
With its intuitive interface, quick recording export, and high performance, Recordit is the best screen recorder for anyone who wants to capture their screen without black screens.
Whether you’re a student recording tutorials, a professional creating presentations, or a gamer sharing content, Recordit is the perfect tool to simplify your workflow and eliminate frustration.
Try Recordit today and start screen recording the smart, black-screen-free way.


![Top 7 Free Data Recovery Software for Windows [2024]](https://techunwrapped.com/wp-content/uploads/2024/07/Top-7-Free-Data-Recovery-Software-for-Windows-_2024_-390x220.jpg)