The truth is that over the years the use of these hardware products has not stopped growing around the world. Largely thanks to the convenience and versatility that they present to us when it comes to storing digital content. Well, as you know, we have the possibility of making a backup copy of your pen drive creating an image of it. Then we can take that saved image and clone several USB sticks with the same content.
This is something that can be very useful in both personal and corporate spheres. That is why below we are going to show you how you can create an image of any USB drive using the system Windows 10 as base.
Differences between copying and cloning a USB
The first thing to keep in mind is that next we are going to talk about a simple copy of files from a USB memory. In the event that this is your real goal, it is best to use the conventional method of dragging and dropping content in Windows File Explorer. This will allow you to transfer the corresponding files to and from the USB sticks that we have connected.
However, what we are going to talk about later, it is aimed at users who need to make a complete backup or clone a USB memory. Say that for example this will be extremely useful when creating a bootable USB drive. The difference here is that you can’t just drag and drop its contents to another USB drive to serve as a boot. The reason for this is that in this case you also need the registration of master boot drive and partition tables.
Therefore even if the source USB drive is not bootable, it is necessary to make a clone if it has more than one partition and we want them to be exactly the same. Thus the resulting image consists of all visible and hidden files and unused space on the primary drive. The image also includes free space, that is, the unused remnants of drive space that Windows 10 allocates to a single file. Similarly if you need to copy files from a single drive USB not bootable to multiple drives with identical capacity, cloning may be the fastest solution.
How to clone a USB stick
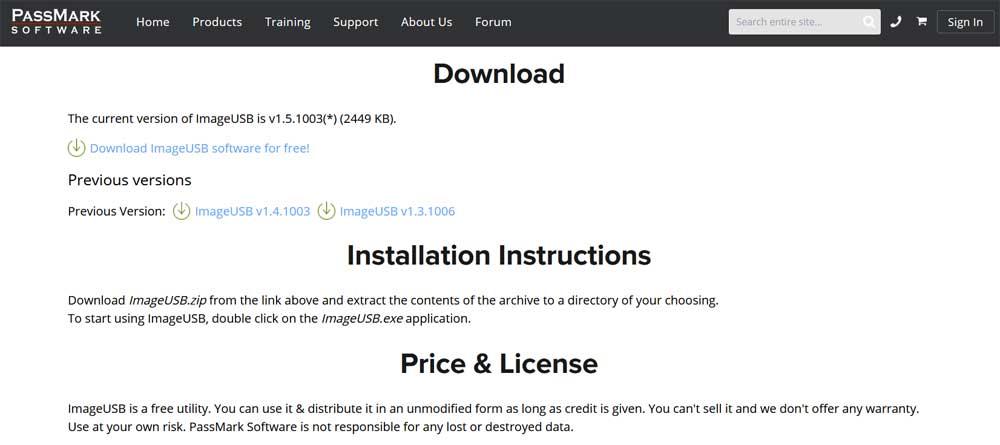
Once we are clear about the difference between copying a USB memory and cloning it, we will see how we can do the second of the actions. For all this, the first thing we are going to need is your third-party software, so we download and extract the free ImageUSB application from this link (https://www.osforensics.com/tools/write-usb-images.html). In fact, in addition to being free, it should be noted that it is a portable app.
This means that this program does not install in Windows 10, we just have to unzip the ZIP file to a disk location.
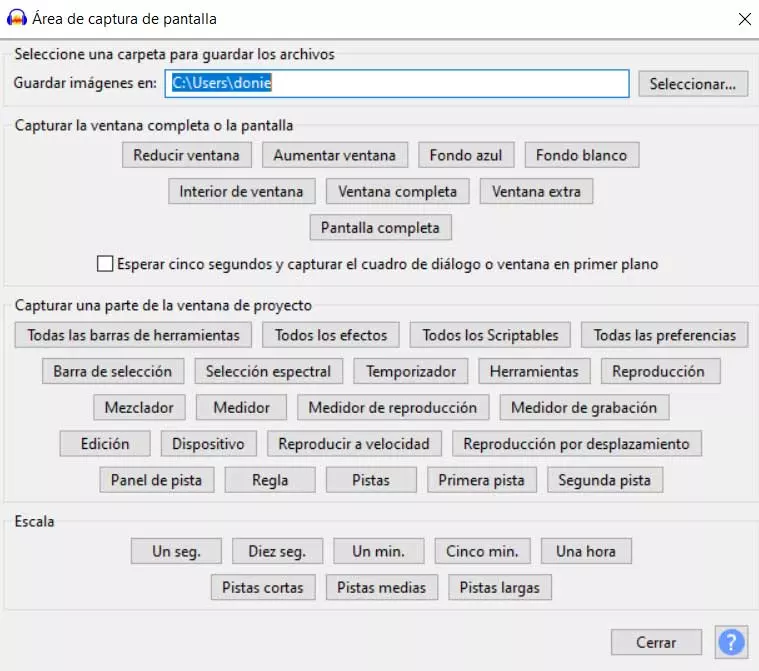
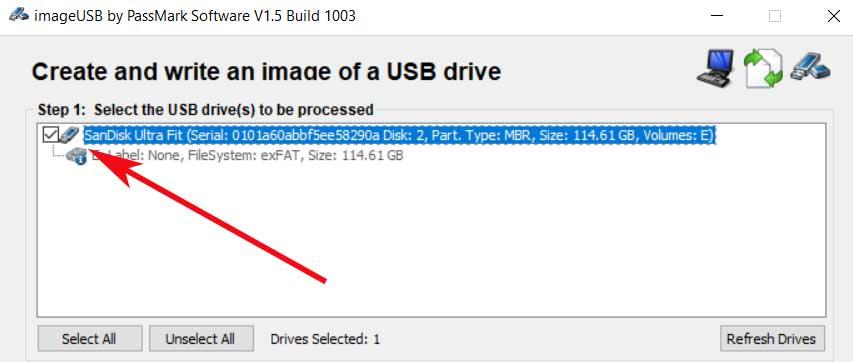
Next, the first thing we do is insert the original USB memory and start the program by double clicking on the file ImageUSB.exe. Thus, when the program opens on your screen, the first thing to do will be to check the box next to the source USB device that we see in the list.
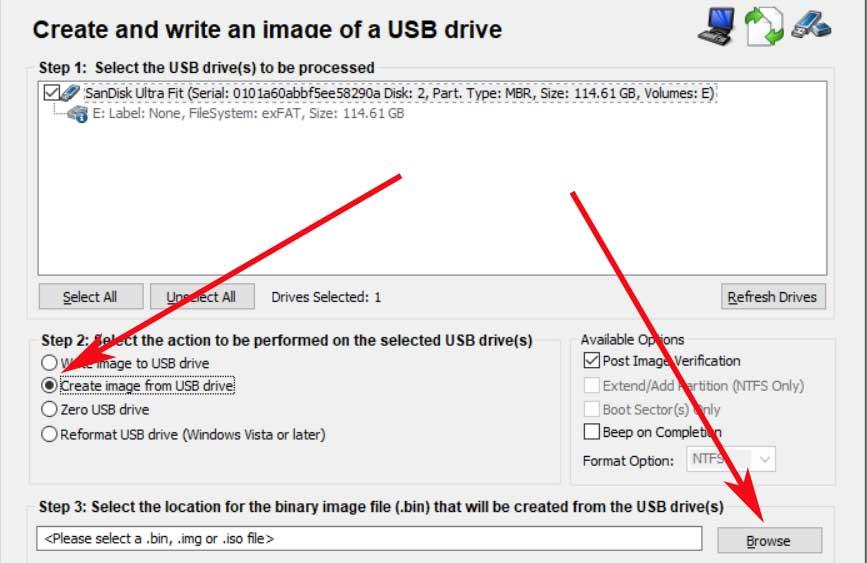
Once we have marked the source drive, then we select the Create image from USB drive option just below that box. Now what we do is click on the Browse button. This will help us to select or create a destination location for the new image that we are going to create and save. At the same time we will also have to assign a file name to it. Of course, we must bear in mind that what we cannot do here is change the extension of the new file, .BIN.
Start the cloning process
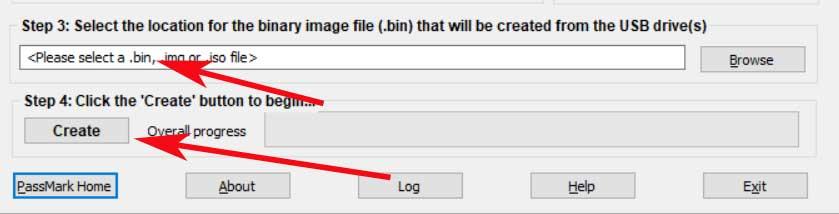
After taking the steps that we have described, now we can click on Create located at the bottom of the main interface of the program. But before this, we have to make sure that we have chosen well the file name and its disc location to start the process of saving the image of the USB memory. At that moment, a pop-up window will appear on the screen in which we accept the message that appears to verify and confirm the details of the task.
Verify the integrity of the new image
At this point, it is worth mentioning that we can take a look at the Avaliable Options section that is located on the right of the window. Here we see that the post Image Verification option is checked by default. Well, you have to know that with this function activated, the program scans the file at the end of the image creation process to verify its integrity.
In the event that the file does not pass the analysis, we will have to create the image again. At the same time in this section we will see a setting called Beep on Completion that emits a sound when the job has finished successfully.

Copy the image to another new USB memory
Now what we are going to do is transfer that image that we just created to another USB memory. The first thing we need here is a USB drive with a capacity that matches the original device. (http://rxreviewz.com/) We cannot install the image on a drive with a different capacity than the one we used to create this picture.
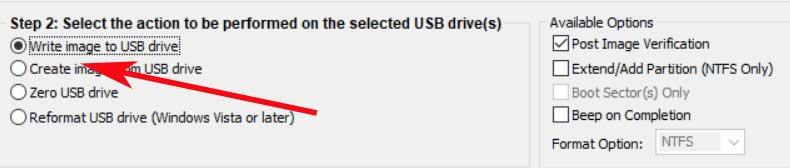
Then we put the previously commented program in motion again. When it opens on the screen, in this case we opted for the Write image to USB Drive option.
Again we click on the Browse button, now in order to locate and select the image file previously stored on the PC. Once we have located the image stored on disk, we select it and click the Write button at the bottom to begin. We must bear in mind that the ImageUSB program will erase everything stored in the destination USB memory and will replace its content with the image data. In addition, we can repeat this same process with as many USB memories as we want, as long as they are the same size.