Please note that disassembling the PS5 DualSense controller will automatically void your warranty, so our advice is if it’s giving you trouble, first try manage the warranty if he still owns it. In addition, if you decide to disassemble to repair the remote yourself, you should know that you run the risk of something being damaged by poor handling and making it unusable, so do it under your entire responsibility.
How to open to repair the PS5 DualSense controller
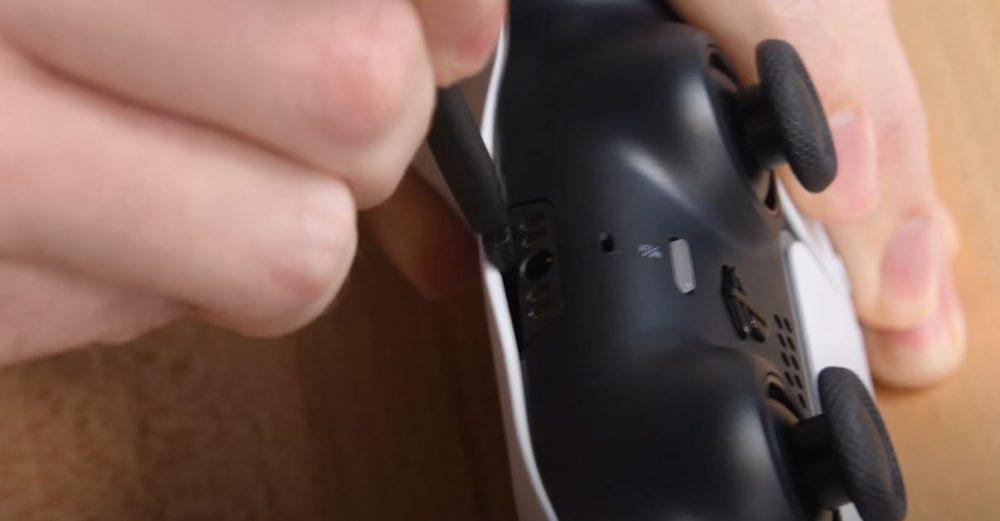
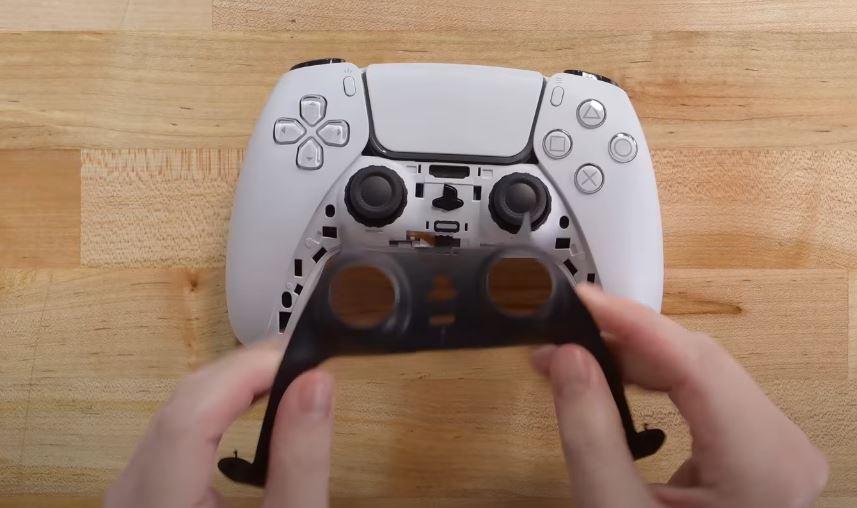
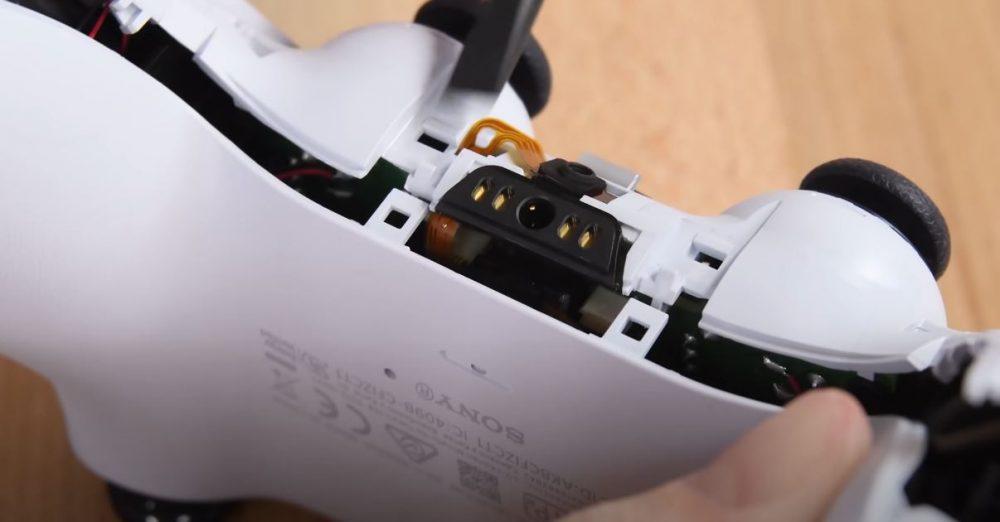
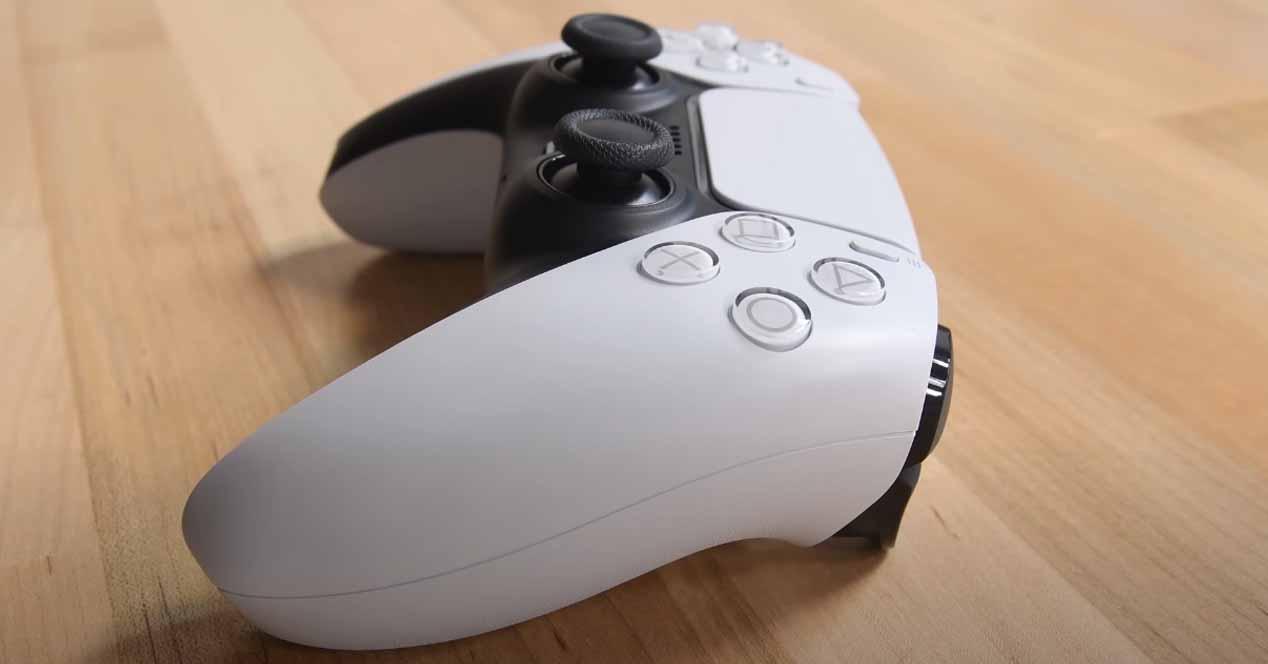
The PS5 controller does not have visible screws to simply unscrew and be able to access its interior, so you will need a flat tool and, if possible, made of plastic to insert it between the case and the back cover of the same and make a lever, as you can see in the picture above. In this way you can remove the lower black cover that will reveal the first screws that we can remove.
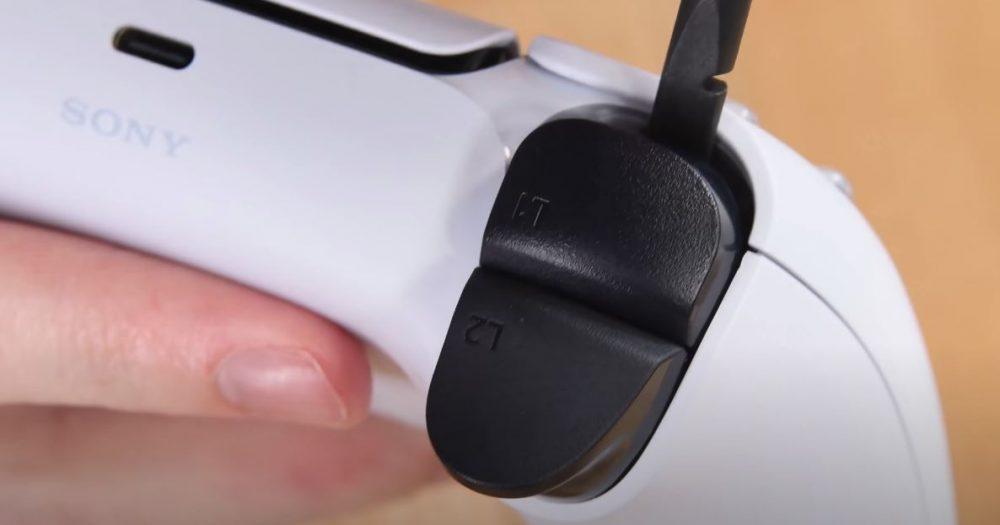
Similarly, you will need to pry the top triggers (L1 and R1) to remove the plastic piece that will reveal two more screws in these areas.
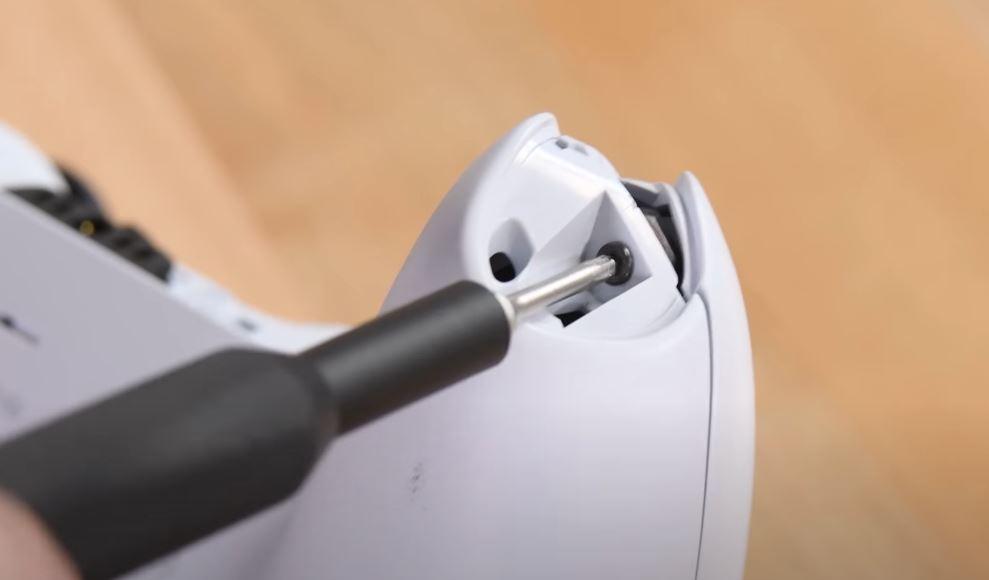
Now you will see that there is a screw under each of the L1 and R1 buttons, as well as one more screw in each lower area of the knob grip as shown in the following image.
Once these four screws have been removed, you can use the flat plastic tool again to unlock the retention tabs that the remote has in the lower area and thus remove the back cover completely.
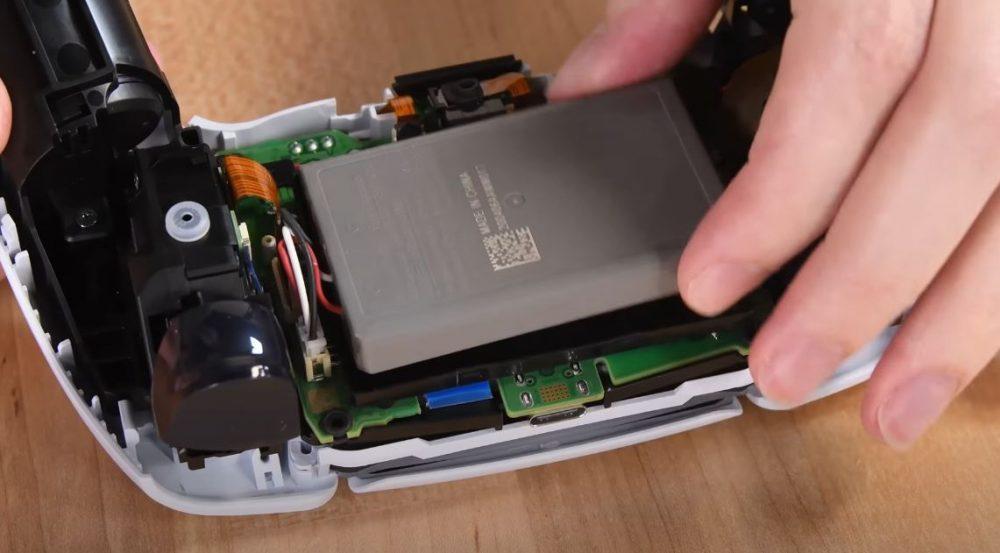
The first thing we will see after removing the back cover is the large battery that the remote has, a battery that we can simply remove with our fingers since it is not glued and only has a connector very similar to the one we can find in any other device, so we simply pull the connector and we can remove the battery (and change it for a new one in case it is necessary if what you wanted to repair is that the battery of the PS5 controller did not work well).
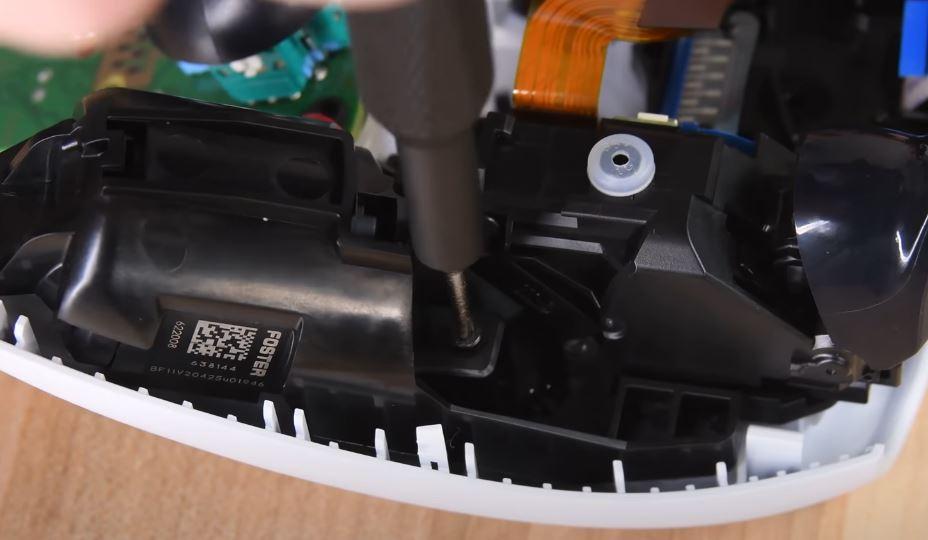
The next step is to remove the plastic piece on which the 5.7 Wh battery that carries the PS5 controller sits, and for this after removing it you will see that there is simply a screw to remove.
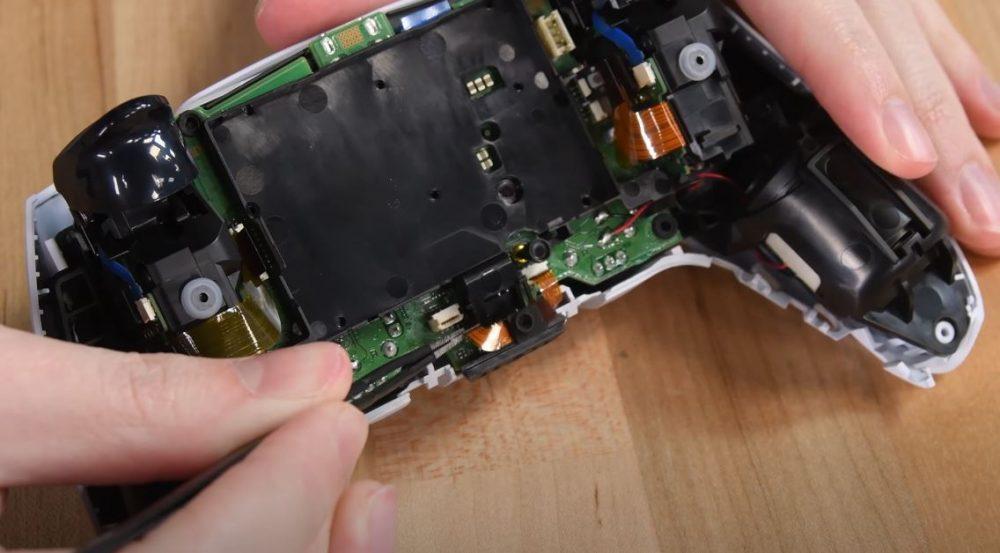
Before removing the black plastic piece, you must disconnect, with the help of flat tweezers, the connector from the lower ports of the remote.
Now, remove the black plastic piece and you will already have access to the control PCB, which you can also pull up simply with your hands, but you must be careful because as you will see the two joysticks are anchored to the PCB and also a cable comes out towards each side, to the grip of the controller.
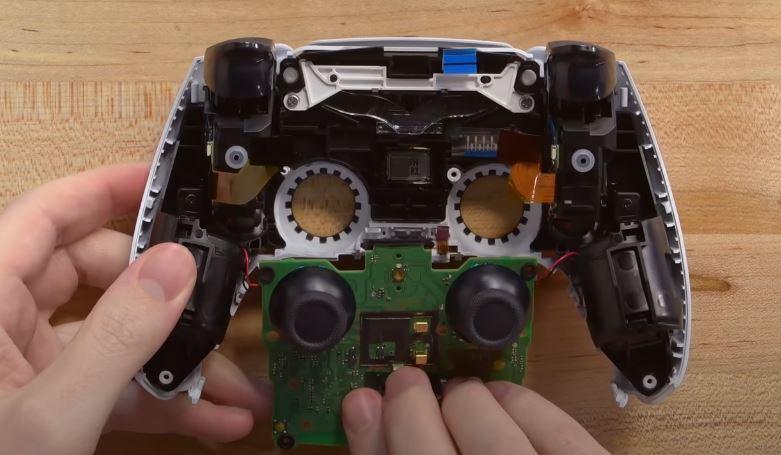
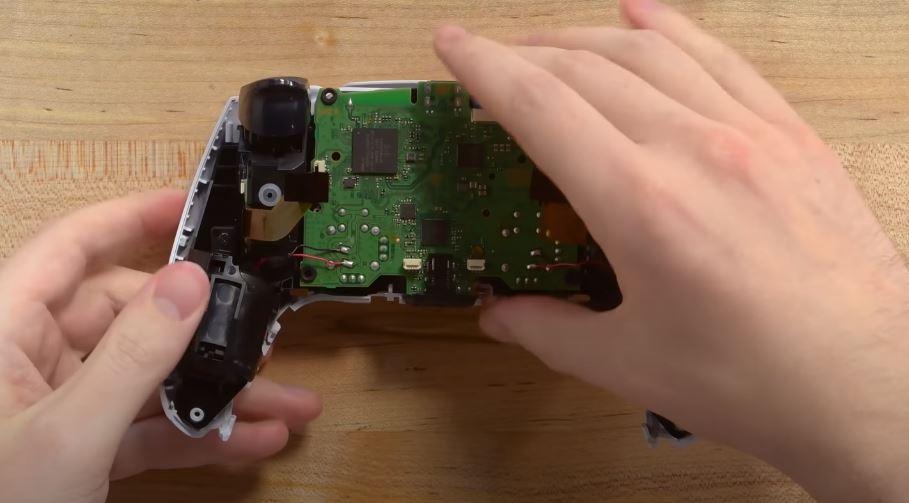
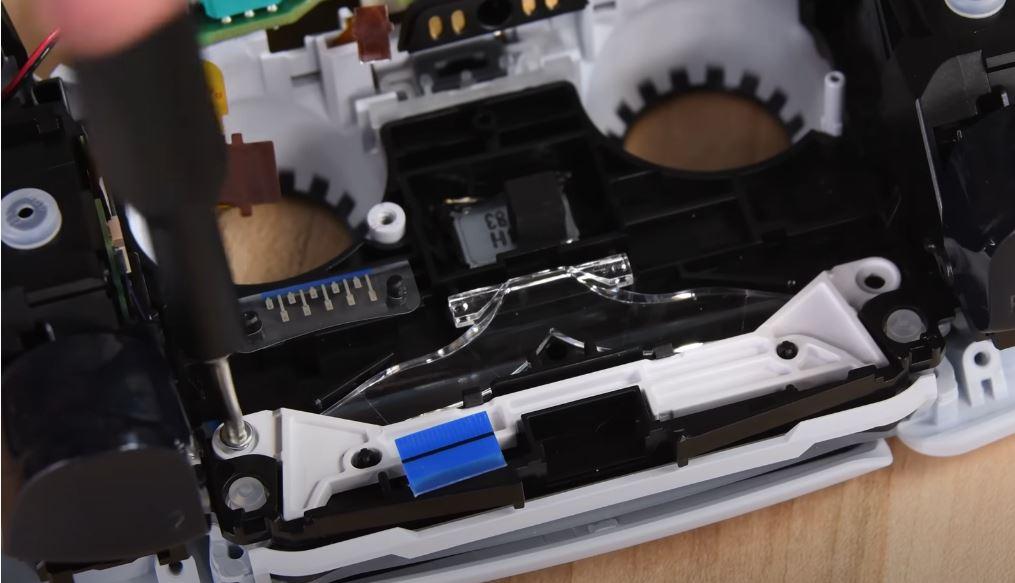
If what you needed was to repair the LED lighting on the controller of the PS5, now is the time. Once the PCB is removed, you will see that you have access to the piece in the upper part, which you can remove by removing two screws and you can disassemble the entire piece including the transparent plastic that blurs the LED lighting of the remote.
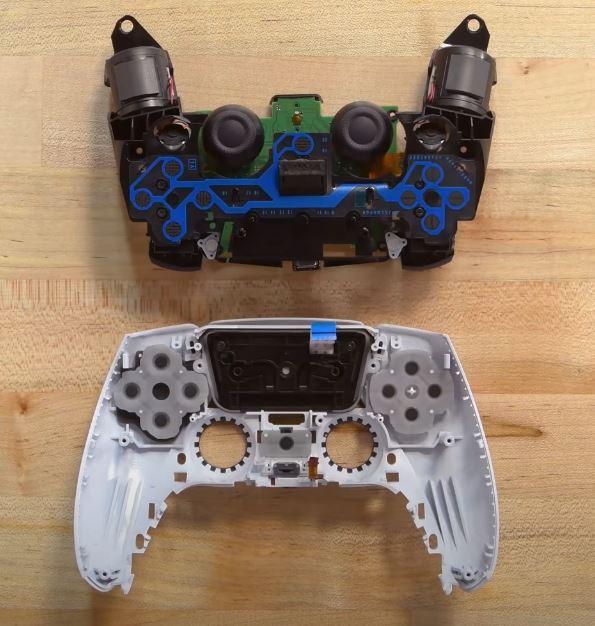
Now, by unscrewing one more screw on each of the sides, we can separate the remote from the front white plastic piece and, finally, remove it completely from its housing.
Once this is done, you will be able to remove the top cover, and you will have access to change both the keypad and the D-Pad and even the touch panel if this is the element of the PS5 controller that did not work well and you needed to repair.
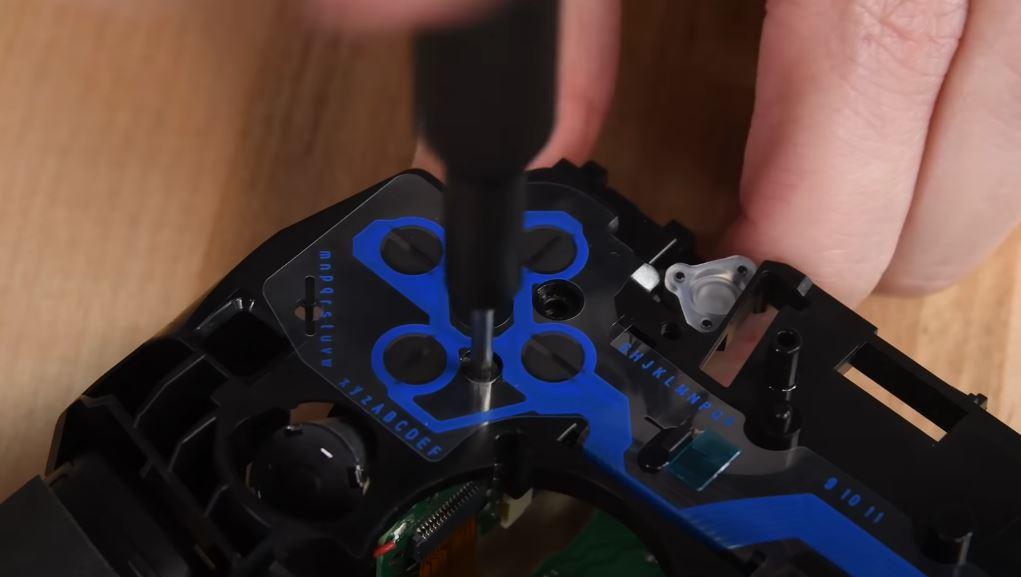
Now you can also remove the screws in the area of the buttons and D-Pad in case you need to change this part.
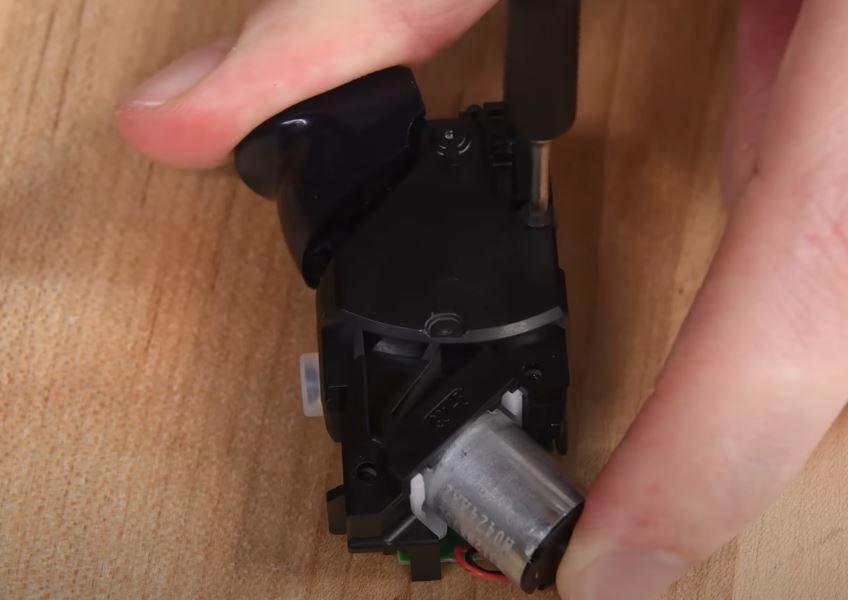
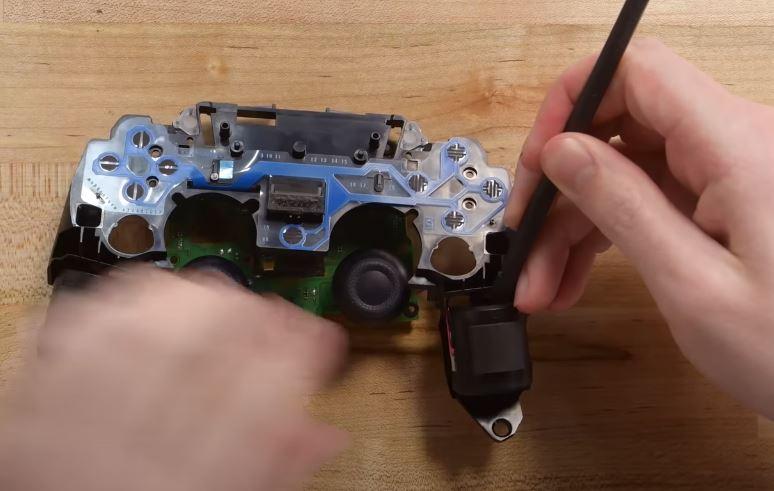
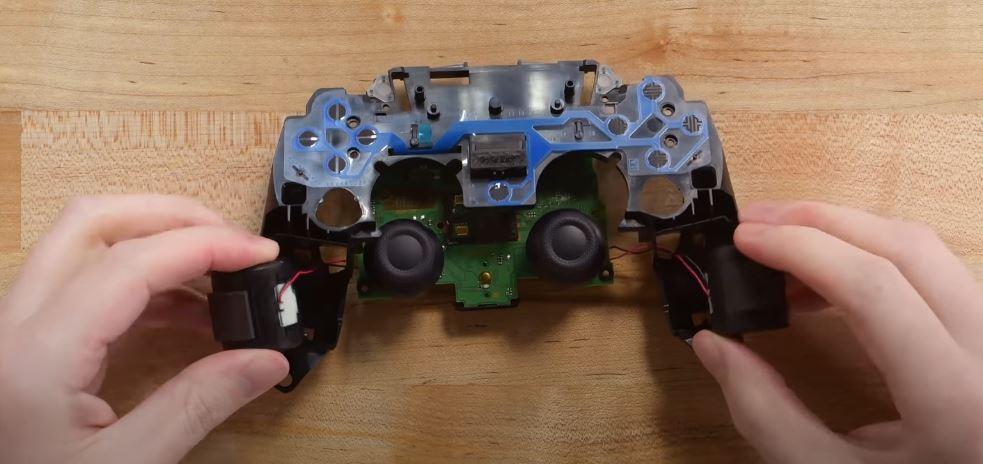
When you remove these screws you will see that at the same time the triggers and their motors are released, which you can also disassemble or directly change if you have managed to get the appropriate spare parts.
If the component of the PS5 controller that you needed to repair is the haptic vibrators, now you can also remove them and in this case they do not go with screws but embedded in the plastic part, so you can simply help yourself with the flat plastic tool at the beginning to remove them. of your site and be able to change them for new ones.
Of course, the vibration motors are connected by cable to the PCB and not by connectors, so in this case you will have to desolder them and solder them again if you intend to change them.
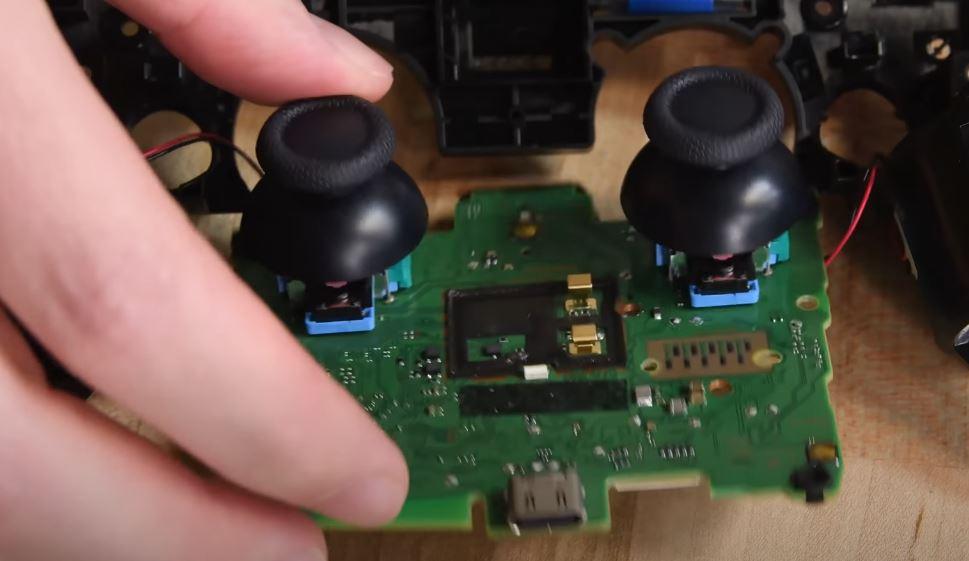
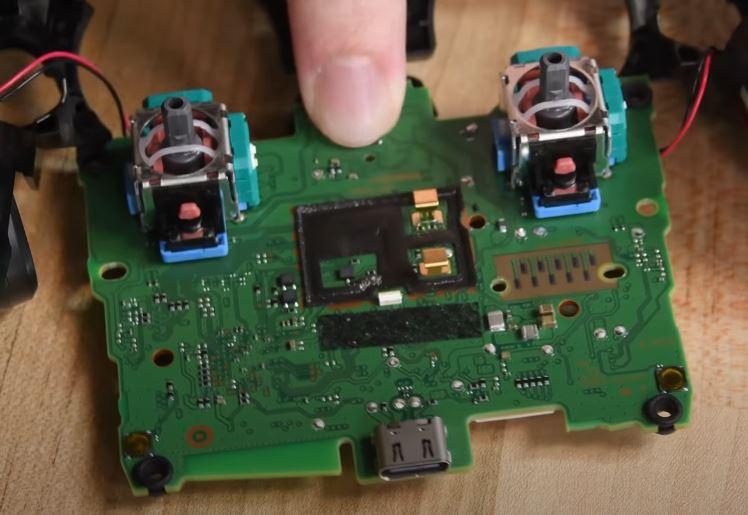
Finally, to finish “gutting” the DualSense controller of the PS5 we have to disassemble the joysticks, which are soldered to the PCB.
The rubberized plastic pieces can be easily changed because they are removed simply by pulling them up, giving you access to the mechanism. Of course, if you wanted to repair the mechanism itself, you would have a good problem because it is soldered to the PCB, and at iFixit they recommend that if this component is failing or bother trying a repair, it is best to buy a new remote control.
Of course, if simply the rubberized plastic parts were too worn and you wanted to change them, now you know how to do it.
In short, the PS5 DualSense controller is not excessively complicated to disassemble and repair, but some of the components do have a lot of difficulty, such as joysticks or haptic vibration motors, since in that case we will have to go soldering and desoldering. However, changing the trackpad, buttons or joystick covers is something that almost any user could do, with special mention of the battery that can be changed quite easily and without having to completely disassemble the controller to access it. .
