One of these tools is called Immersive Reader or Immersive Reader, available to Microsoft 365 subscribers and Office 2019 users on both Windows and macOS and Word for iPad. The purpose of this tool is none other than to help users improve things like word comprehension, pronunciation, and accurate reading.
Immersive Reader Features
We can define this functionality as a different way that Microsoft makes available to us in Word to read a document. With your help we can improve our reading, pronunciation and fluency skills. It also allows to eliminate visual distraction by improving focus, in a way that helps us to be more concentrated. To do this, the tool is responsible for reading the text aloud, dividing it into syllables and increasing the space between lines and letters.
This feature also allows you to help learners of English or other languages with pronunciation, as well as build confidence in readers who are learning to read. In addition, it offers text decoding solutions for students with learning differences, such as dyslexia.
Among the possibilities offered by the Immersive Reader is the ability to change the background color, so that it is easier to see the letters, divide the words into syllables, highlight part of the text and use the narration function to listen to the text out loud while highlighting words so we can easily follow him.
But the Word Immersive Reader does not only have fixed functions, but also can be customized, to adapt the tool to our preferences. This is something we will go over to review next.
Enable Immersive Reader
The Immersive Reader function is available in the upper toolbar of Microsoft Word, although we may not have even realized it, since it is a fairly unknown tool for many users. To locate it, it is necessary to access the “View” tab. Once here, within the Immersive column, we will find the “Immersive Reader” button.
Once we have clicked on the button, a new window appears to be able to use the Immersive Reader with different options and tools that will allow us to customize its operation. From there we can change the width of the column, the color of the page, the spacing between syllables, among other options that we will see how to do next.
Customize in Word
Once we are inside the Immersive Reader function, we will see how we can customize each of the tools that make it up.
Column width
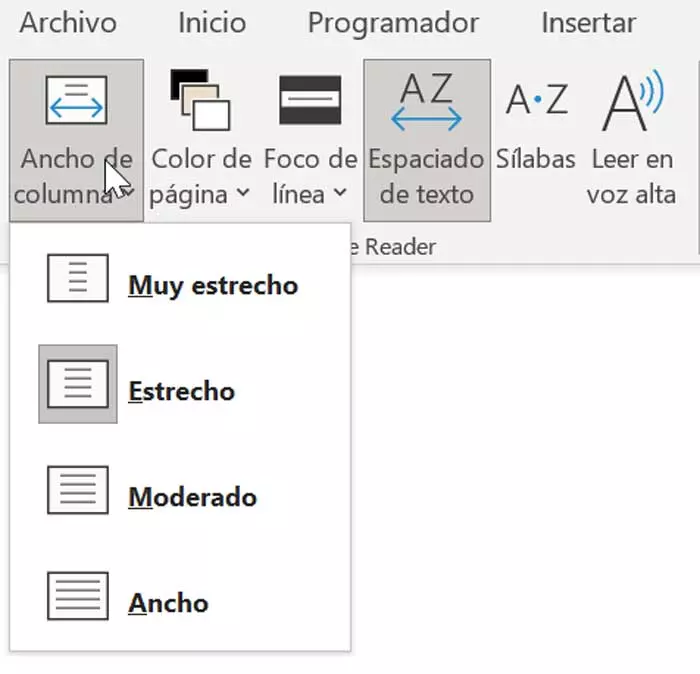
In the upper bar within the Immersive Reader section, starting from the left, we find the Column Width function. From this section we can control lines of text that can affect both the readability and visibility of the content.
If we click on the button, we can choose between different types of views for our text: “Very narrow”, “Narrow”, “Moderate” and “Wide”. Depending on the type chosen, the number of words of the text that appears in each line is modified, so that we can choose the one that allows us to read the words more comfortably.
Page color
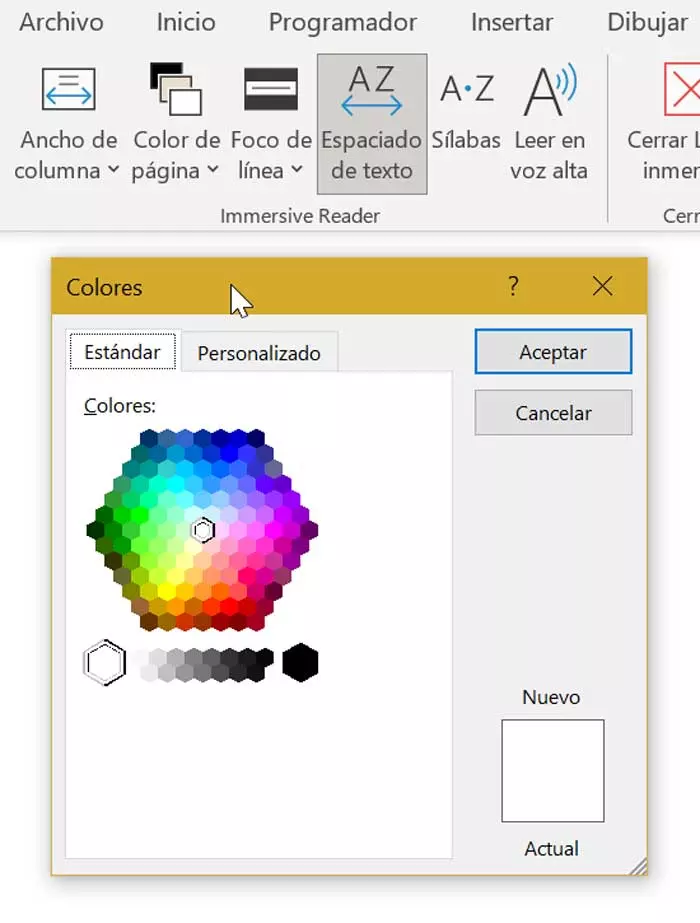
Until now the usual thing was to write and read in Word on a predetermined white background. Now, with the Immersive Reader we have the possibility to change the background color of the page to be able to choose the one that best suits our eyes at the time of reading. For example, if we have trouble viewing documents with black text on white.
When clicking on the Page Color button, a new menu will open showing us a color palette from which we can choose the one we like the most. If we place the mouse cursor over any of the colors we will get a preview of what the result would be like. So we can go testing which color suits us best without having to leave and re-enter the function. When choosing a color it is important that we make sure that its impact on our eyes is the least when reading the text.
Line focus and text spacing
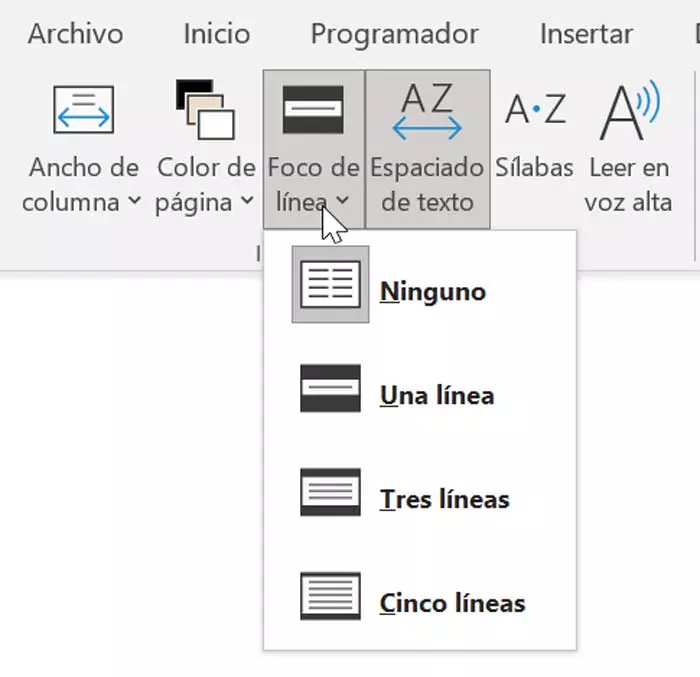
The next function we come across is Line Focus. As we can interpret by its name, we can bring your focus one or more lines, highlighting the text while dimming the background. Thus we obtain what its name indicates, a line focus for better concentration and avoid visual distraction while reading. We can choose between one, three or five lines, or select None if we do not want to use this configuration.
By using Text Spicing, we will be able to increase the white space between each character, word, paragraph and line of our content. We only have to make a simple click on the button as they do not contain any more options to choose from as if it happens in other configurations seen. If we click on the button again we can return to the original spacing of the text.
Syllables and Read aloud
Syllables work like text spacing, so this function can divide words into syllables. This will help us even more with pronunciation and we will be able to identify words quickly. Just click the button to display the syllable break text. To return to the original view, just click on the same button.
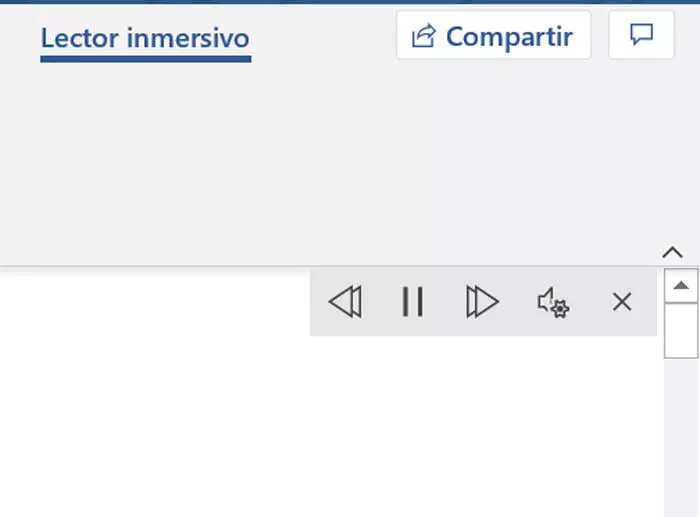
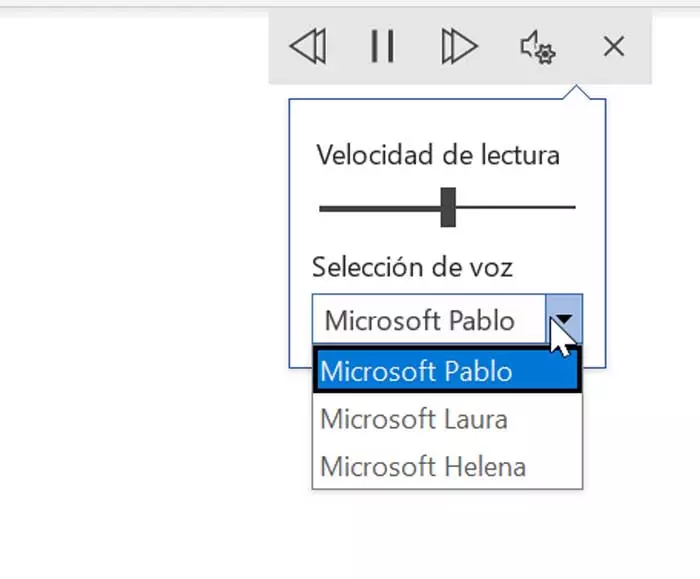
Reading aloud is the last option available, allowing the document or text is read aloud. It is useful for users with vision problems or for the pronunciation of words. Once we click on the button, a bar will appear from where to play, pause, rewind or advance in a simple way. Likewise, by pressing on the gear microphone we can adjust the reading and voice speed, as well as select a different voice.

