But beware, RetroArch comes completely empty. It will be up to you to find ROMs to insert them into the app’s library. As you know, we can’t help you here, but it shouldn’t be complicated after searching the Internet for a while.
What is it useful for?
RetroArch is something like “the unique ring of emulators”. Its objective is that you continue to have access to your video game catalog on any machine you own, without depending on the original hardware that was associated with that title. RetroArch allows you to enjoy classic games on more modern supports, without relying on the horrible Game Boy screen or the awkward Nintendo 64 controller, to name a few examples. It’s also interesting if you don’t have a TV with analog input and want to play classic console titles. And, finally, it is one of your last resorts if you have a damaged video game (whether on disc, card or cartridge) or one that you bought virtually at a marketplace which has already closed to the public.
What consoles can RetroArch emulate?
RetroArch is capable of running cores of Libretro. Not all cores are available for all devices, but in general, these are the most important consoles that you will be able to emulate with this software. Each console supported by RetroArch has one or more Libretro cores associated with it. Below you will see a list of supported consoles for the software and cores necessary to emulate games of said platform:
Sony
- PlayStation: Mednafen, DuckStation and PCSX ReARmed.
- Playstation 2: PCSX2 and Play!
- playstation portable: PPSSPP.
SEGA
- Master System: PicoDrive and Genesis Plus GX.
- mega drive / Genesis: Genesis Plus GX.
- Saturn: Yabause and Mednafen.
- dream cast: Reddream and Reicast
- Game Gear: Genesis Plus GX
Nintendo
- NES: higan, Emux, Jnes, FCEUX, Nestopia and QuickNES.
- SNES: Bsnes, Higan and Snes9x.
- Nintendo 64: Mupen64Plus.
- Nintendo GameCube: Dolphin.
- nintendo wii: dolphin.
- Nintendo Game Boy / Game Boy Color: Emux, Gambatte, SameBoy, TGBV Dual and Higan.
- Nintendo Gameboy Advance: Mednafen, gpSP, Meteor, mGBA and VisualBoyAdvance
- nintendo ds: DeSmuME and MelonDS.
- Nintendo 3DS: citra.
- pokemon: PokeMini.
Atari
- Atari 2600: Stella.
- Atari 5200: Atari800.
- Atari 5200: ProSystem.
- Atari Jaguar: Virtual Jaguar.
- Atari Lynx: Mednafen and Handy.
- Atari Falcon: Hatari
Others
- 3DO: 4DO.
- Arcadian: MAME, mess and FinalBurnNeo.
- Commodore 64: VICE.
- MSX: fMSX and blueMSX.
- Neo Geo Pocket / Color: Mednafen.
- ZX Spectrum: Fuse.
What devices is it available for?
RetroArch is supported by multiple operating systems and devices of all kinds. The list is huge, although the installation will have its difficulty depending on where we are going to make it work.
computers
Whether you have a desktop, a Windows laptop, a Mac, or even a Raspberry Pi, getting RetroArch running on it is relatively easy. On the official website itself you can download the installer for the following systems:
- WindowsNote: Retroarch is compatible with Windows 7, 8, 8.1, 10, and 11, both 32-bit and 64-bit versions. However, there are also versions for older Microsoft systems like XP or Vista, as well as the tools to compile the program if you want to make it work on even more retro machines.
- macOS: You can use RetroArch on Mac computers with Intel processor, Apple Silicon (M1, M1 Max and other Apple ARM-Based SoC) as well as computers from the PowerPC era. In the first two cases, the software will run on Metal.
- LinuxNote: Like good free software, RetroArch also works like a charm on Linux machines.
- raspberry pi: Although there are specific Linux distributions for emulation with RetroArch, you can also install the app independently if you use Raspbian.
Mobile devices and TV-Box
If you have a mobile phone with Android, you can download RetroArch from the Google Play Store. For iOS, RetroArch can also be installed on a iPhone, iPad, or Apple TV, but you have to go through a jailbreak process first.
For Android devices, RetroArch is also compatible with TVs and dongles with Android TV and Google TV.
Consoles
RetroArch is also available for many consoles. However, installing it on these devices is not an operation for everyone. This is because in most cases we will have to modify the console and install a custom firmware to later install a “Homebrew” like RetroArch. The supported consoles are the following:
- PlayStation: Vita, PSP, PS2, PS3 and PS4 via custom firmware.
- Nintendo: 2DS, 3DS, GameCube, Wii, Wii U and Switch via custom firmware.
- Xbox: One S, One X, Series S and Series X having privileges as publisher in the Microsoft store to install your own applications on the console.
- Steam: either to run the emulators on any computer or to use the Steam Deck officially.
How to use RetroArch: Emulator Settings
RetroArch’s interface is practically identical on all platforms. It has a sidebar where we will be able to move between different menus and to its right the lists will appear where we will configure the emulator, run the games and organize our library.
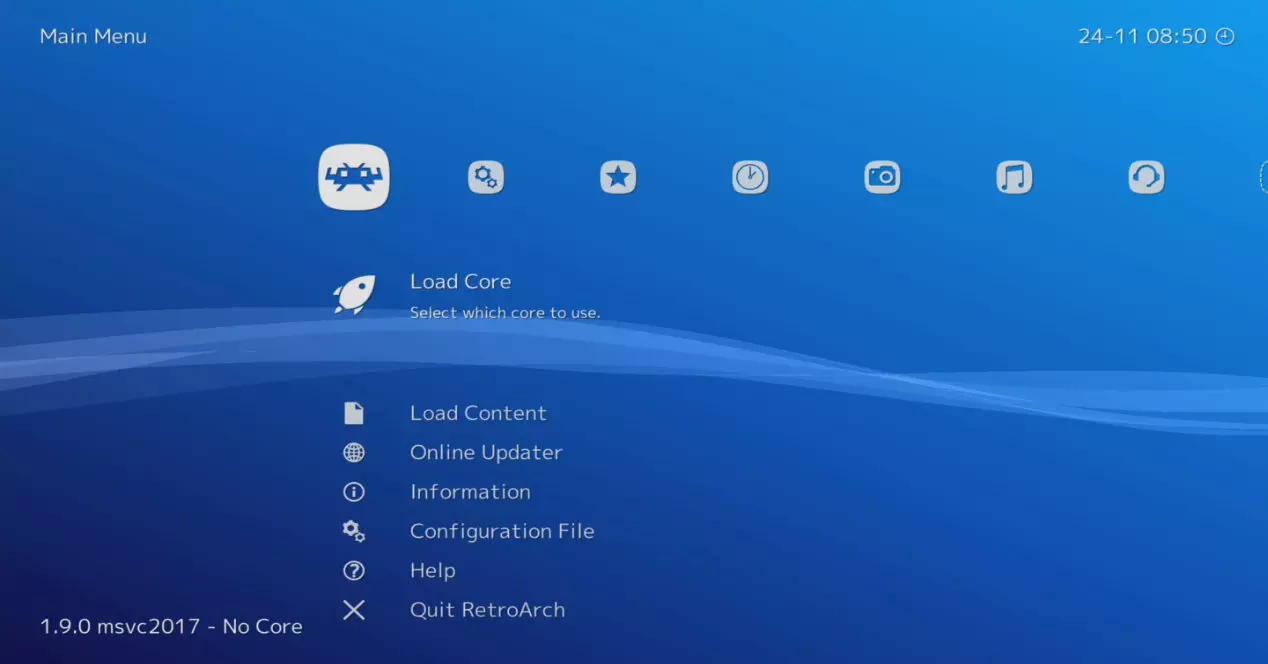
Main menu
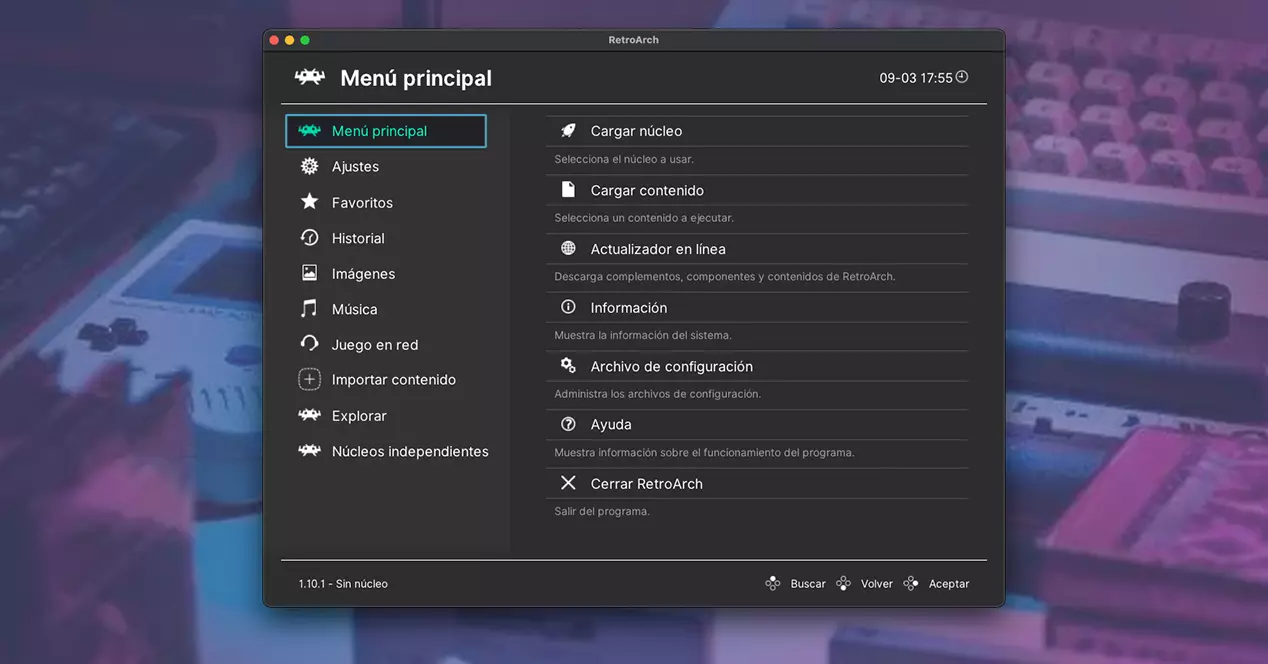
In this first menu you will have a miscellany of quick options which you can also adjust from the Settings menu. You will also be able to update RetroArch, load new kernels and add new files to the system.
Settings
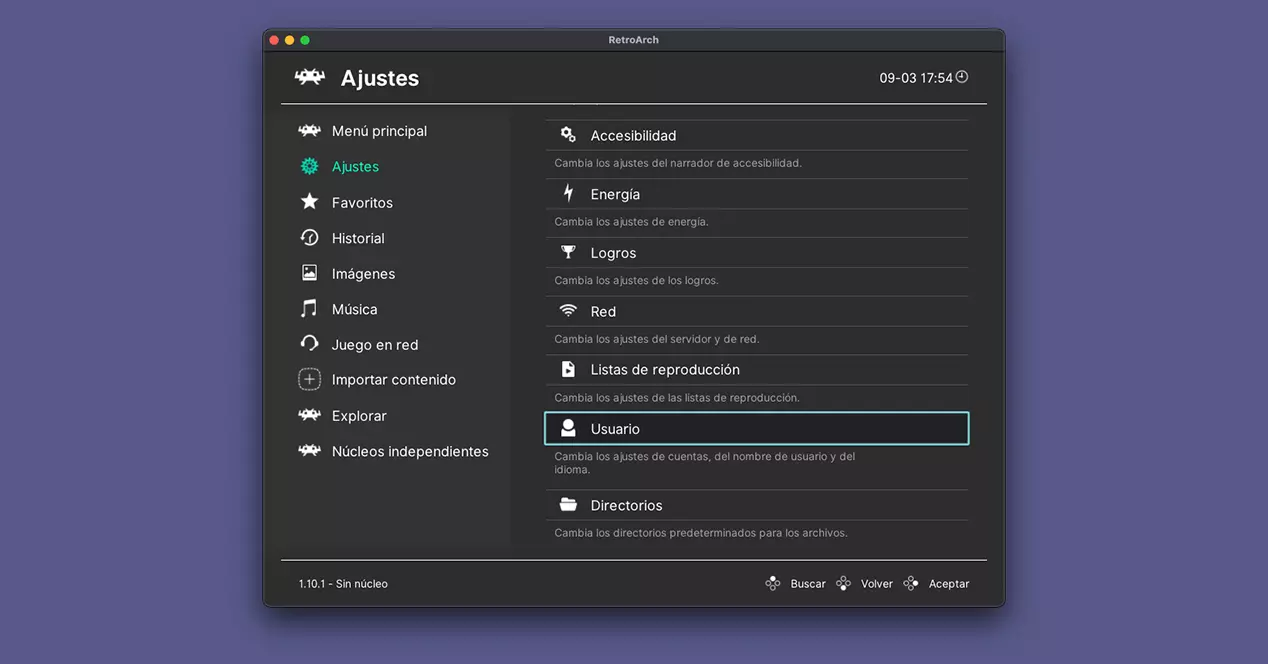
Herein lies all the complexity of RetroArch. Covering each of the configurations in this section could give us enough to do a doctoral thesis, so we will stick to the basic sections that you must touch to make the emulators work correctly at the user level. First of all, the first thing you should do is set the language to Spanish. To do this, go to Settings > Users > Language and set the Cervantes language if it has not been applied by default. That done, let’s talk about the most important settings:
- controllers: in this first section you will be able to control everything related to drivers within your emulator. You will be able to adjust the input controllers, the controller, the video, the camera and other technical aspects. If this all sounds Chinese to you, you’d better leave it alone.
- Video and Audio: In these two options you will be able to adjust the audio and video output of RetroArch. Video scale, force full screen, force synchronization in case your device is giving an analog signal to the TV…
- controls: Here you can modify both the total number of users you have in RetroArch and the configuration of the controls. You can remap the buttons, assign an Xbox controller as the main one or play with a keyboard and mouse, among thousands of options. It also gives us the possibility to adjust the dead zone, assign a button for the turbo and disable the vibration in case it bothers us.
- latency: you should not modify anything in this section if you do not control the theme very well. Allows you to delay frames, assign audio latency, and other very strict settings.
- Setting: This section will ask us if we want to save a global configuration file or if we prefer to use independent files for each kernel.
- Saved here you can adjust automatic saves of ‘save states’ and other similar more advanced options.
- File Browser: allows you to create filters to later locate the files in the explorer, as well as to show or hide certain system folders.
- Recording: Allows you to use an integrated recording engine, either to process the video later or to stream the games directly on platforms such as Twitch automatically.
- User interface: Offers the possibility to change the visual appearance of RetroArch to a more user-friendly interface with title images, animations and custom themes.
- AI service: This feature is likely to be disabled by default. It is used to stop the game and automatically translate the text that appears in the image.
- Energy: This feature is available on mobile phones and consoles. Allows you to adjust the energy options.
- Net: From this option you can create your own local game with other players, as well as protect your connection with a password so that only the users you want can participate. It also allows you to use an Internet server as an intermediary if you have one.
- User: Here the various RetroArch profiles are created, privacy settings are applied, and the interface language is selected.
- directories: It is a huge list where RetroArch will tell you where the assets it uses for operation are. You can change them if you want, although with care.
How to use RetroArch: Cores
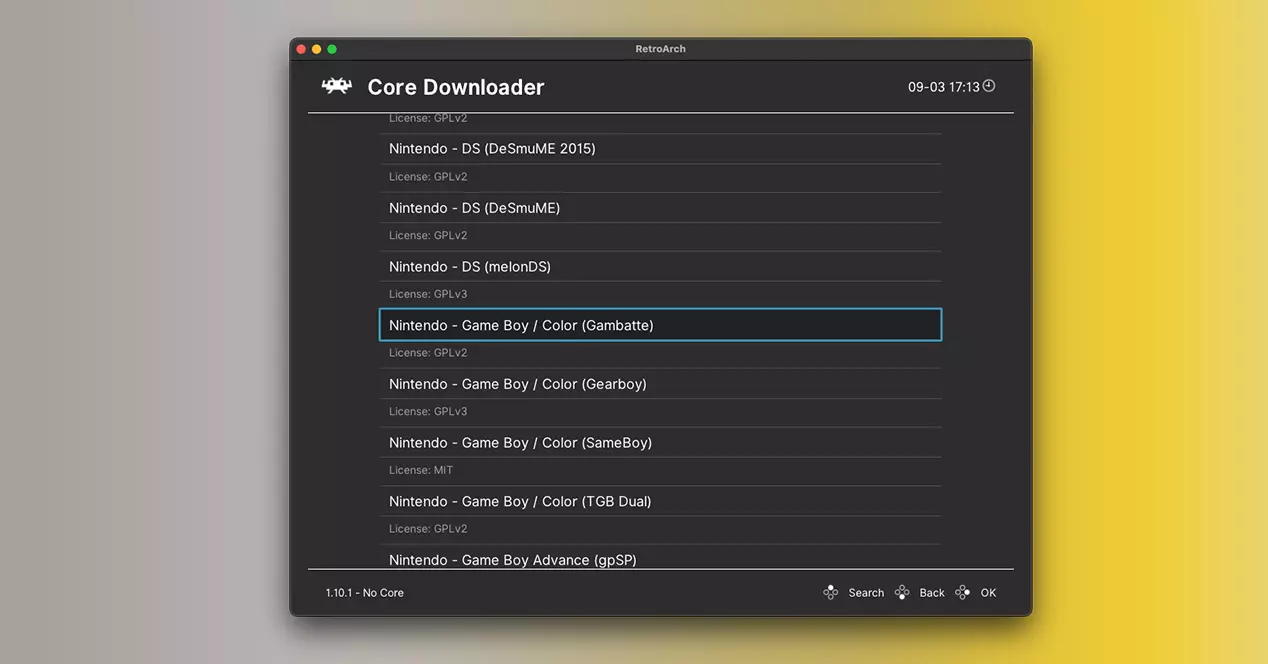
To get RetroArch working, you’ll need the cores of the different emulators. By default, the application comes completely standard, and we will be the ones who have to download each kernel that we are going to use.
At this point, you have several options. If you have space to spare, you can search the Internet for a folder with all the cores and manually add it to your emulator. If you are only going to emulate a couple of consoles, the most sensible thing is that you download the ones you are going to use.
So that this process is not so messy, we will give an example. A game I own that I can’t play because the cartridge no longer allows saves due to the internal battery is pokemon gold. Well, I would need a core for Game Boy Color, which is the console that originally moved that title. Taking a look at the cores that we put above, we will choose Gambatte. Next, we will go to Main menu > Charge Core and we will download said core for Game Boy Color. If you have downloaded it manually, you can upload them using the option Charge Core.
You will have to repeat these steps for each core you are going to use. Although, as we told you before, if you don’t want to complicate your life, look for a complete pack, copy it into the RetroArch directories and load them from the Main Menu.
How to use RetroArch: Game Emulation
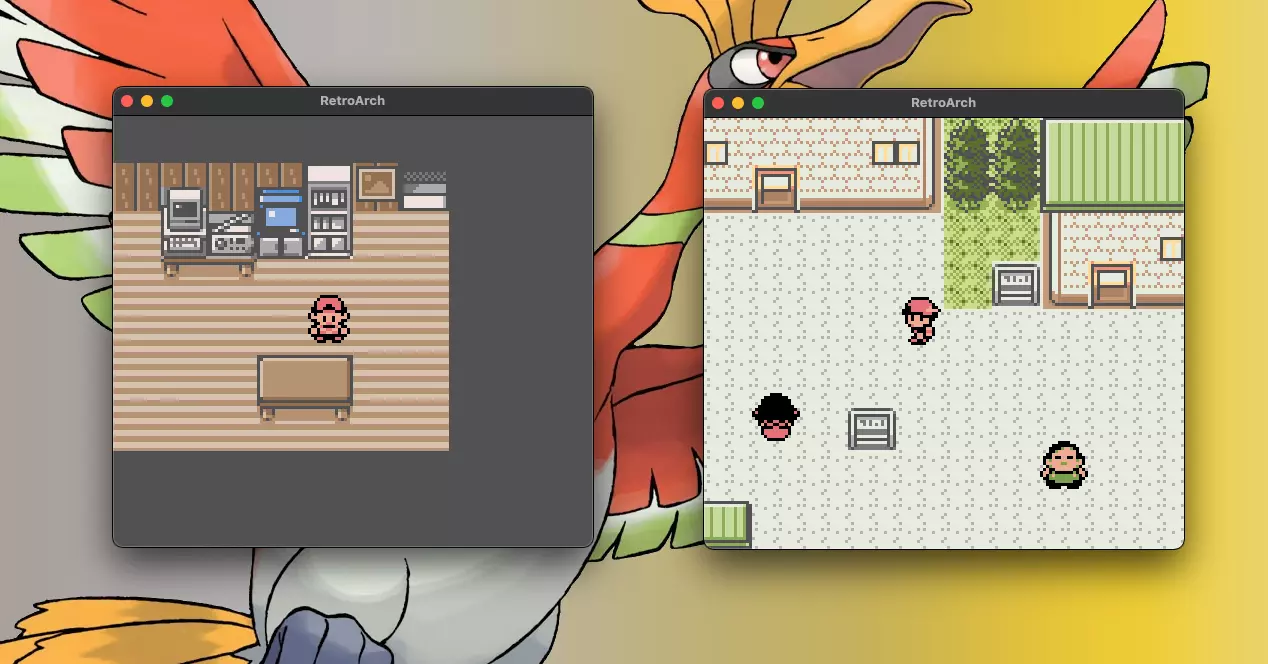
Start the emulator
Once you have loaded your cores, you will have everything ready to emulate. You will need to download your own backups from the Internet and place them inside a folder on your system. Once you do, go to Main menu > Upload Content. From here you can access the ROM that you have previously obtained. Once you hit Start, you will execute the content.
quick menu
The quick menu will be activated in one way or another depending on the keyboard or controller you have configured. From here you can close the emulation, save ‘save states‘, load games and even proceed to capture the image.
create lists
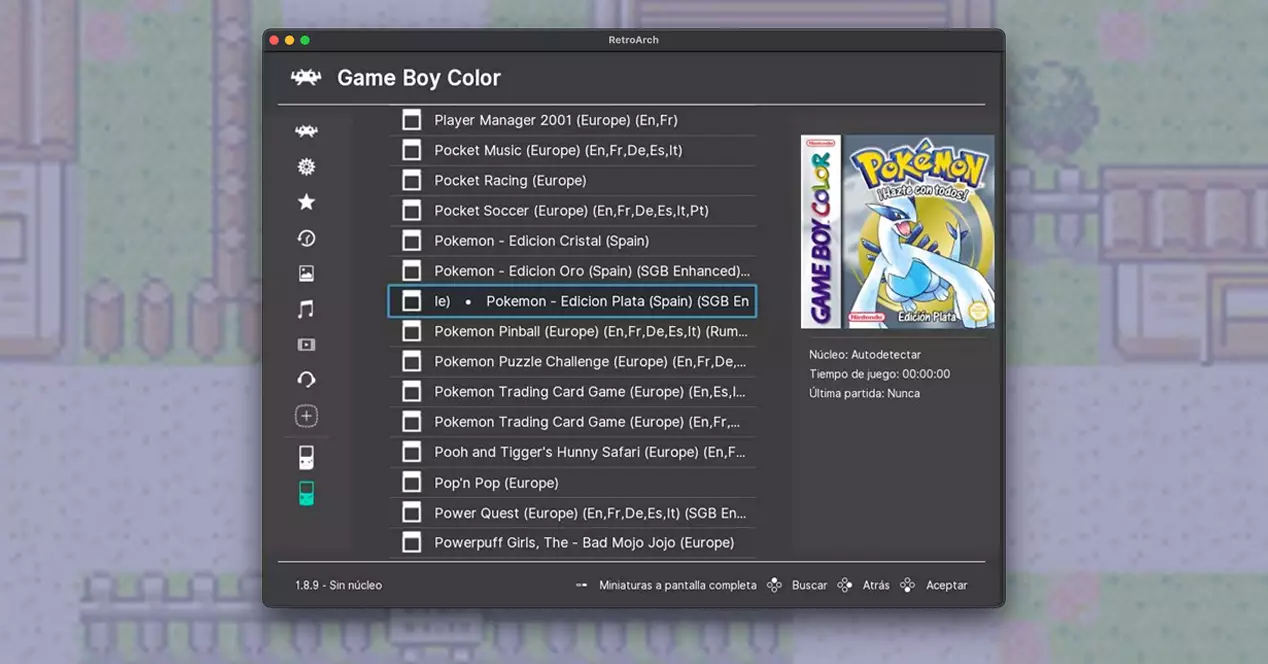
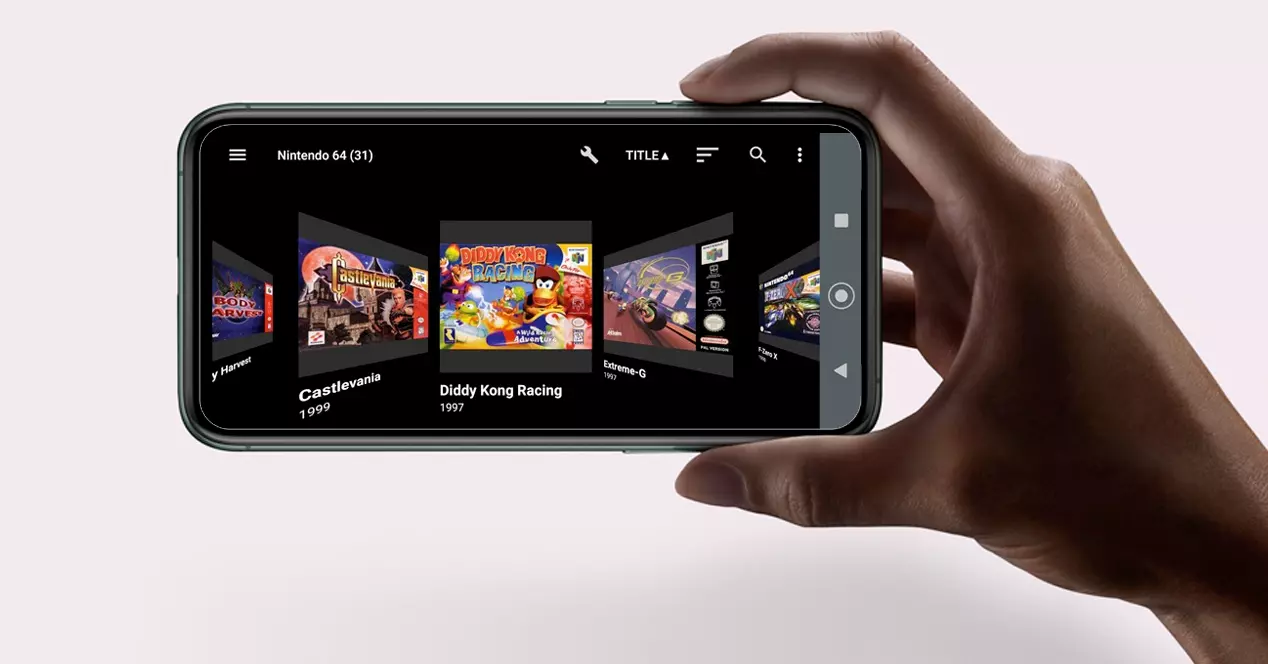
Another star feature within the RetroArch emulation is the ability to create lists of games running using the same cores. Lists appear at the bottom of the sidebar. In our case, we can create a list of Game Boy Color games and have all the titles that we have available appear there.
To create the lists we will click on the ‘Import Content’ option in the sidebar. Then click on ‘Search in directory’. The file explorer will open and you will be able to scan different folders. Select the folder where you have located all the roms of the same type and accept. Then, all the games that belong to the same console will appear grouped in your main menu.