This desktop application will allow us stream any stored file in the cloud or from a file link directly in our favorite player. It is also responsible for moving the deleted files to a special folder located both on our computer and in our MEGA cloud so that we can restore them if necessary.
We can choose if we want to synchronize the entire cloud in a folder or configure several synchronizations that we select between the folders on the computer and those on the cloud. In addition, it allows us to configure the upload preferences of the account itself and access a summary of available space for our account, as well as establish a limit on the transfer.
How to download and install
MEGASync is the official client gratuitous from MEGA is cross-platform and is available for both Windows, such as macOS and Linux. Also, it is compatible with both 32-bit and 64-bit systems. We can download the application for free directly from its official website.
This will cause us to download the file MEGAsyncSetup64.exe which we must execute so that its installation is carried out through its wizard quickly and without any complications.
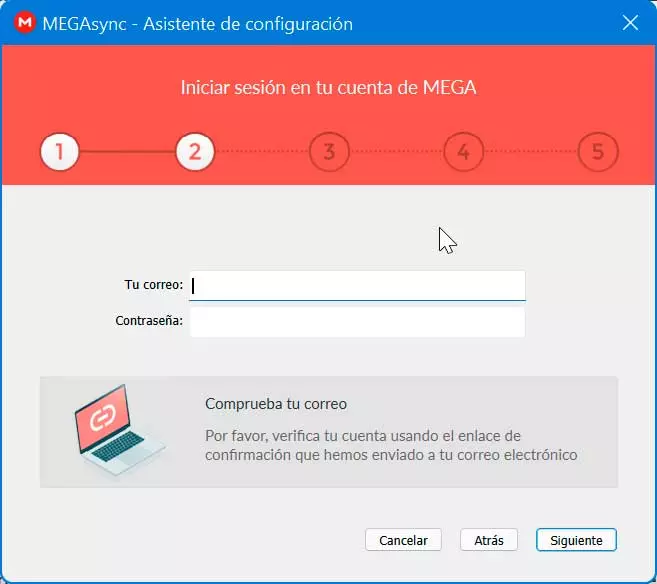
In order to start using it, we will need to log in to our MEGA account with our username and password, or if we don’t have one, we must create a new account.
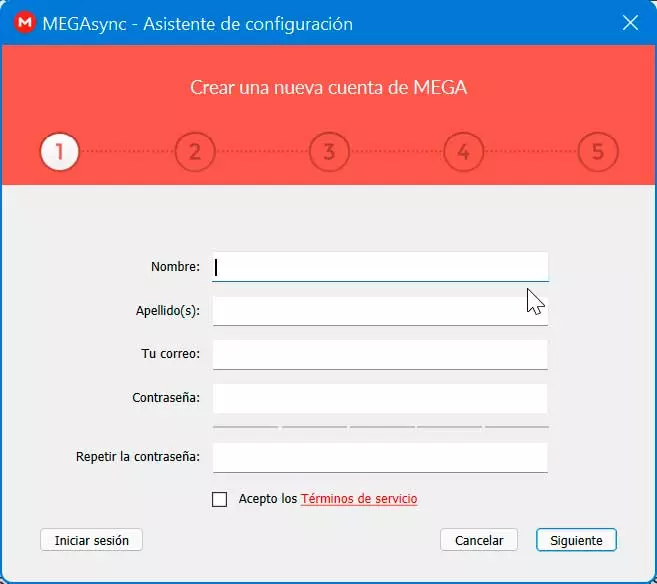
When creating a new account we must enter our data such as name, surname, an email account and a password.
Then it will send us a confirmation link to our account that we must validate to activate our account. Then we enter our email and password.
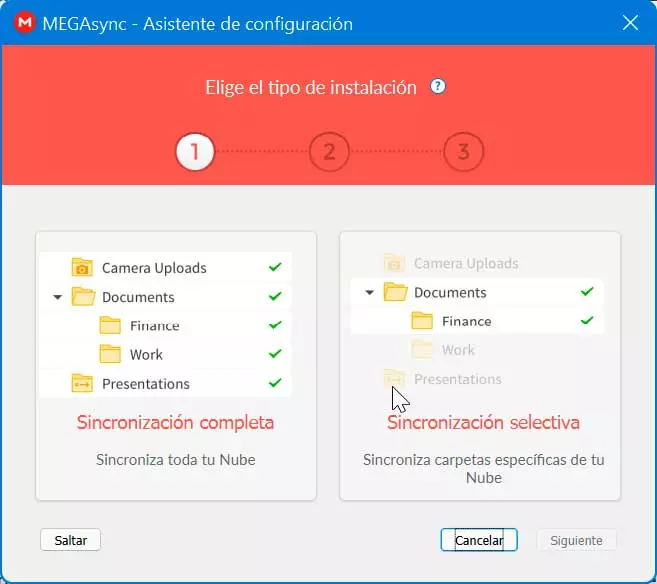
Later we can choose the type of installation either with a complete synchronization of the folders or select the one that we want to synchronize manually.
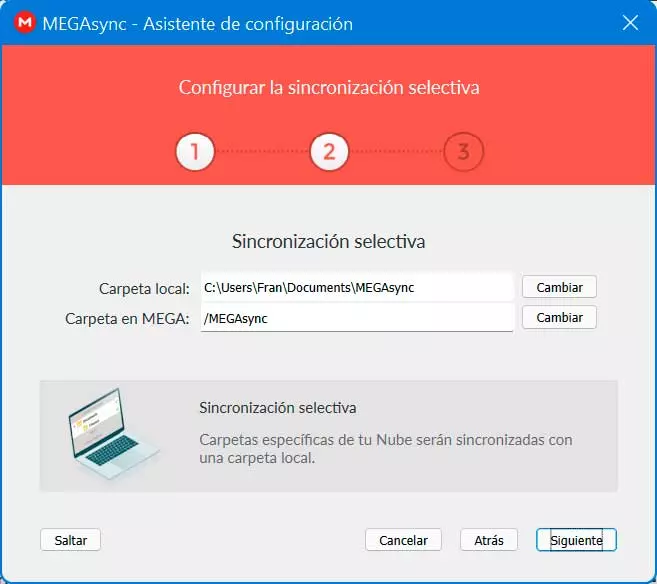
Now, we go on to choose the local folder and the MEGA folder to start the synchronization and once this is done we can start using MEGASync.
Subscription plans and prices
As we have mentioned, our MEGA account has a large storage capacity since we can get up to 20 GB for free when creating our account. In the event that we need more storage space, we can choose one of their payment plans, depending on the one that best suits our needs:
- ProLite: It offers us 400 GB of storage and 1 TB of transfer, for 4.99 euros per month.
- Pro I: we get 2 TB of storage and 2 TB of transfer for 9.99 euros per month.
- Pro II: We receive 8 TB of storage and 8 TB of transfer for 19.99 euros per month.
- Pro III: We will have 16 TB of storage and 16 TB of transfer, for 29.99 euros per month.
For companies, MEGA also has a rate of 10.00 euros per month per user in exchange for 15 TB of storage and unlimited transfers.
How MEGA Sync works
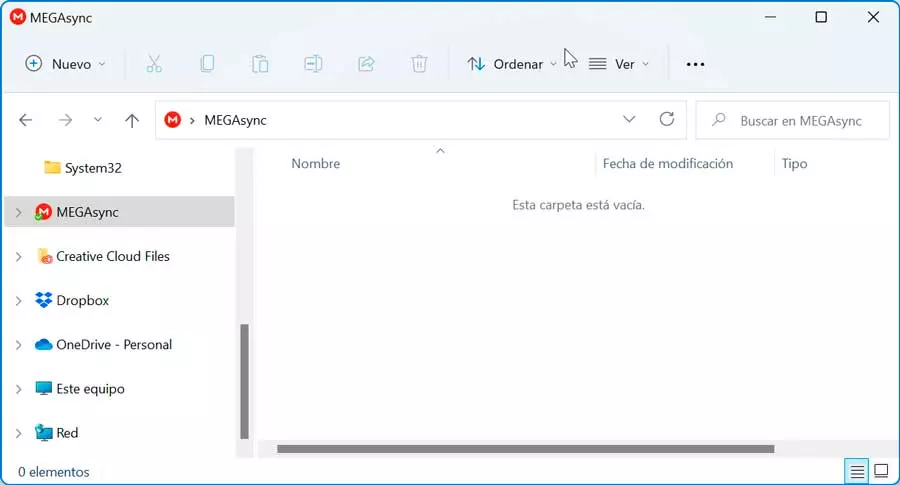
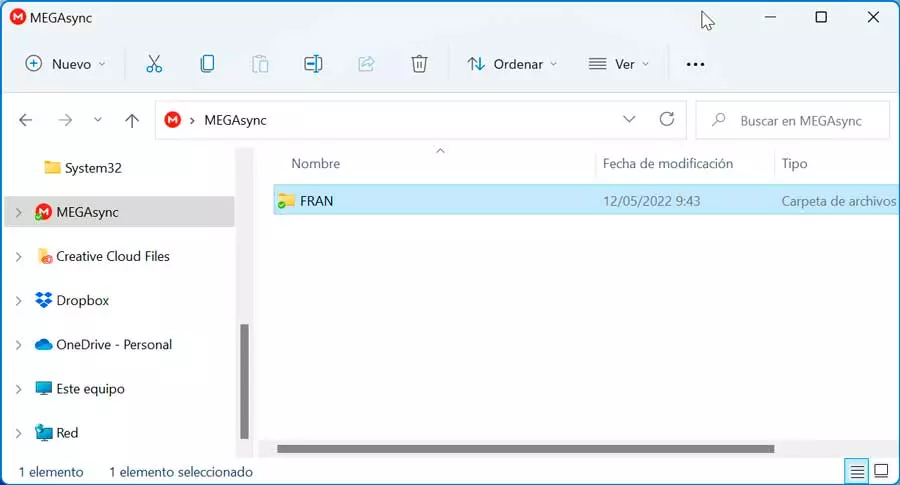
Once logged into our MEGASync we see how in File Explorer we find a new folder called MEGA. Everything you copy to this folder will be instantly and automatically synced with our MEGA account.
We can add files to your account using regular Windows operations. For example. we can copy, move or drag your files from our computer to the MEGA folder to automatically upload and store them in our account
To do this, we can click on the file, press «CTRL + C» and then open the destination folder and press «CTRL + V«. To delete a file, we simply have to click on it, drag it to the recycle bin or press “DEL” on the keyboard. The files that we delete from this folder will also be deleted from our cloud drive.
The application also allows us to create local folders within our MEGA folder so that we can organize our files and offer us a better structure. These files can be added through normal Windows operations to create new folders. We right click on the folder, select «New» and then select «Binder«. We assign the name we want to the folder and it will appear in our cloud drive automatically. In this way, we can add, copy, move or delete files in and from this folder.
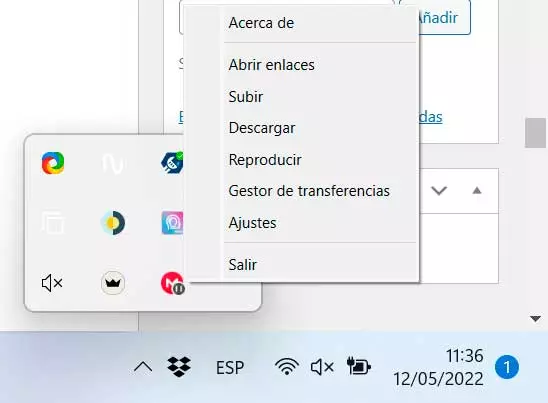
The application always runs in the background, so we will see an icon located in the system tray. If we right-click on it we can carry out different tasks.
Upload files from PC to MEGA
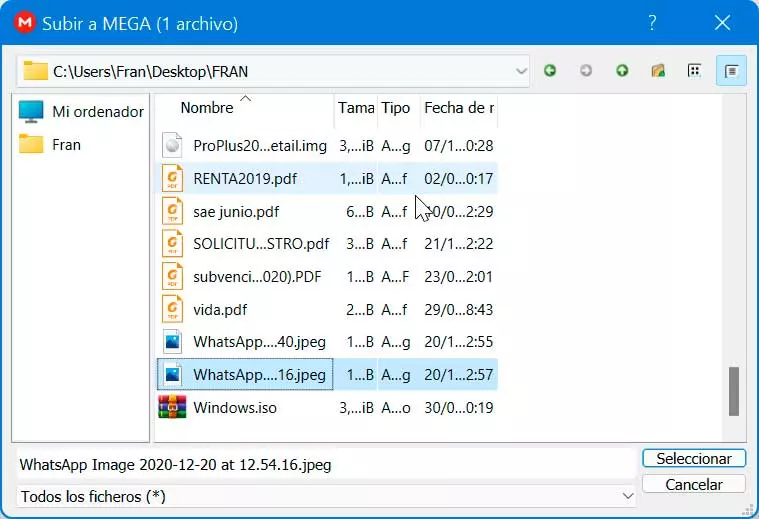
One of the options that we have available is the possibility of uploading files from the PC to MEGA, for which we click on the Upload tab. This will make a small File Explorer window appear, since we can select the files or folders that we want to add. Once chosen, click on the Select button.
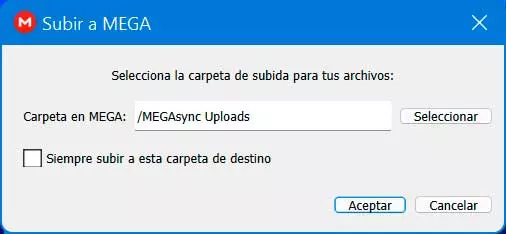
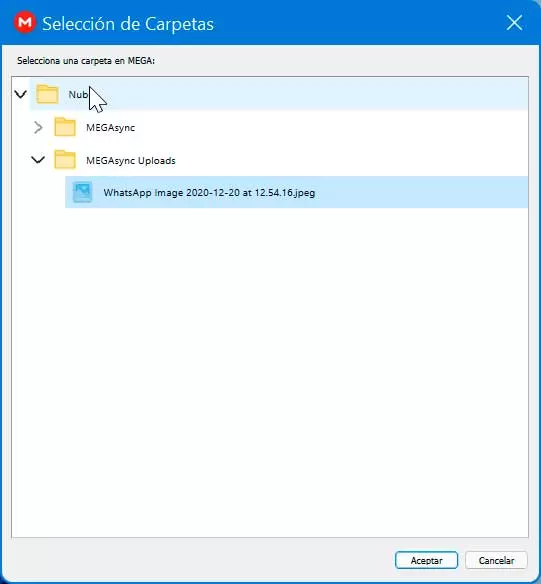
Next, a new window will appear where we must select the folder where we want the files to be uploaded. One is included by default, although we can change it for another one that we have in the cloud and even check the corresponding box if we prefer to always use that folder as the destination for uploads. Finally, click on OK.
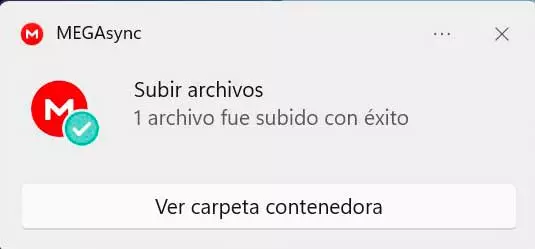
Once the upload is complete, we will be able to access the file from our MEGA account in the browser.
Download files to PC
The application also allows us to download files from the cloud to the PC without having to enter our account from the web browser. To do this we must click on its Download section. This will make a new window appear, where we will see a main folder called Cloud which we can display and access the rest of the folders that we have created. We simply have to select the desired file to download and click on the Accept button.
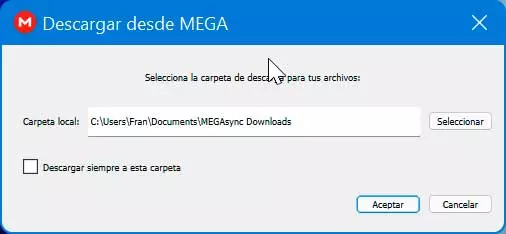
Next, a new window will appear where we can select the download folder for the selected files. One is included by default, although we can change it for any other on our computer. We can also check the corresponding box if we want if we want the downloads to always be carried out in that folder. Finally, click on OK.
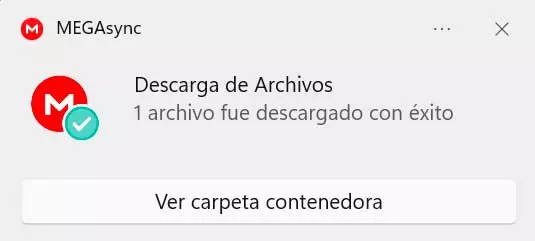
Once downloaded, a confirmation message will appear indicating that it is available in the chosen folder.
transfer manager
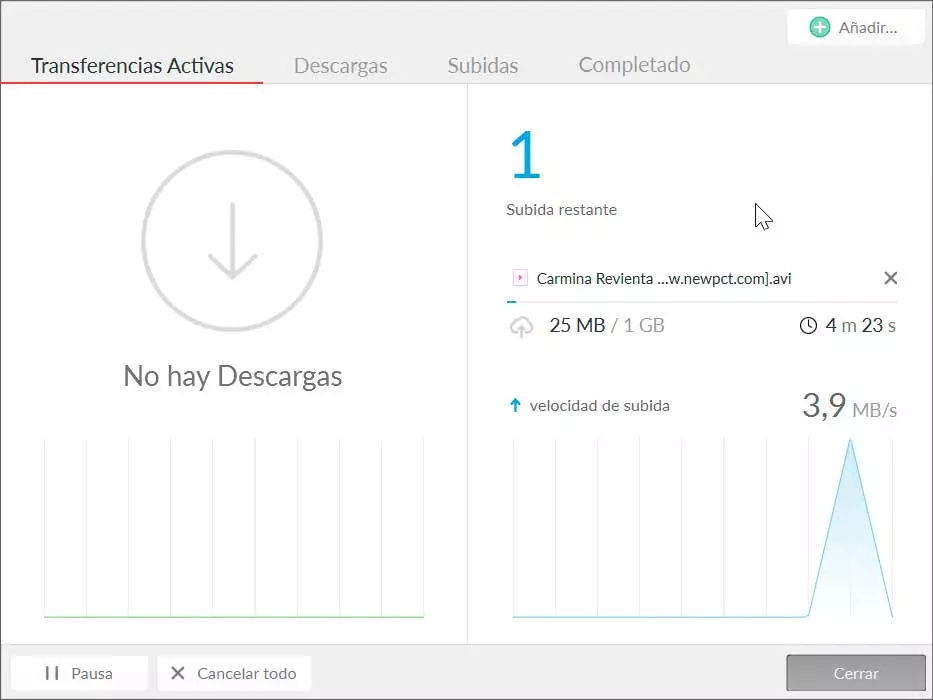
MEGASync also has its own transfer manager from where you can keep track of file control that we are uploading and downloading from the cloud. It can be very useful when we send many large files at the same time, as it will inform us of the transfers that we have active, along with the speed and estimated time. We may also pause or cancel the transfer.
It also has its dedicated space for uploads and downloads so that we can see each process separately. Finally, we have the Completed tab where you can see all the processes that have finished, along with their size and elapsed time.
open links
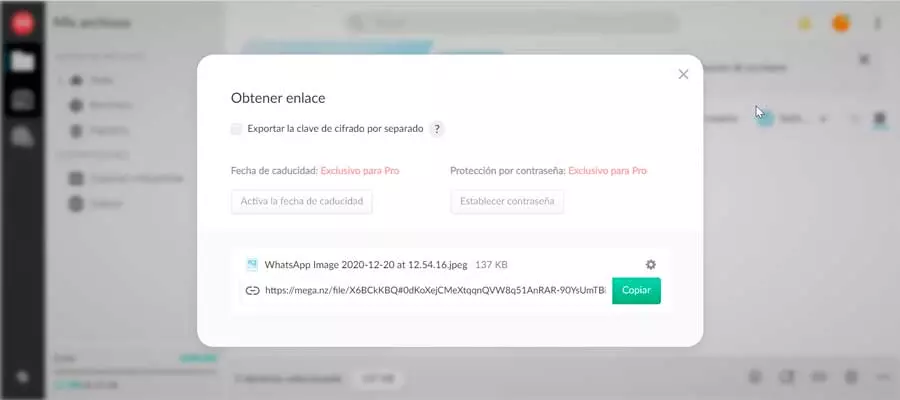
From this section we will be able to open links that we have previously created from the MEGA cloud. In it we can select any file and obtain a link to be able to share with other usersallowing us to add an expiration date.
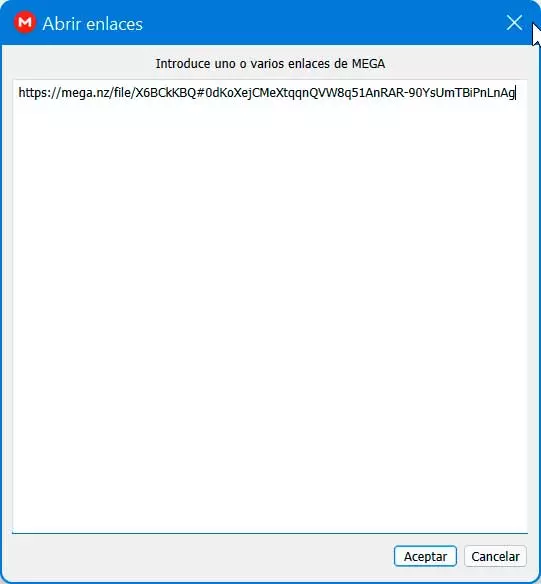
We can copy the link that we have obtained in this new window called Open links and it will appear in it. Once this is done, click on the OK button.
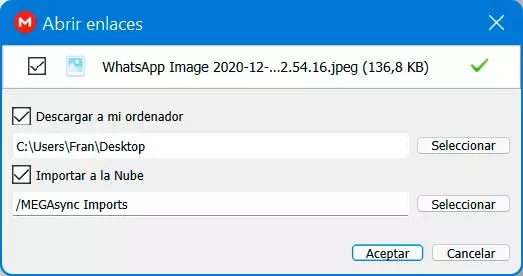
This will make a new window appear from where we can choose if what we want is to download it to our computer, import it to the Cloud, or both at the same time. We can also select the folders where they will be saved. To carry it out, click on the Accept button.
Stream
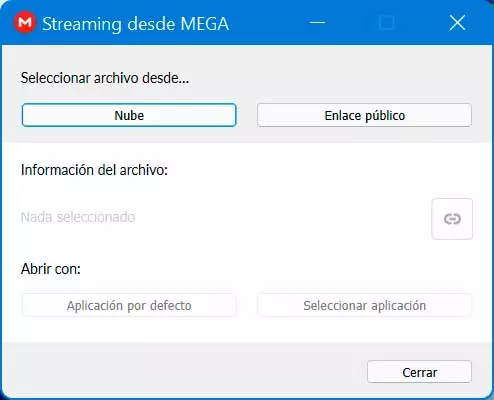
From the Play section we will be able to open and play any file whether we have stored in the Cloud or as Public Link. Once the file is selected, we can choose to open it with the default application that we have configured in Windows or choose to select an application ourselves. It is especially suitable for playing audio or video files without downloading them.
Other alternatives
MEGASync is the official MEGA client so that we can manage our files stored on the computer, so that we can have better access to each one of them. But if for whatever reason we are not satisfied with its use, we can also make use of some alternatives with which we can have our files synchronized in the cloud.
- MEGA Link Downloader: free application for Windows with which you can upload and download files from MEGA.
- MegaDownloader: is a free file download manager from MEGA to organize our transfers.
- JDownloader: is one of the most used and free download managers that allows us to download all the download links copied to the clipboard.
