Running Android 13 on PC is a good choice for developers working in the Google ecosystem and also for enthusiastic users who want to discover what’s new in the latest mobile operating system and still can’t install it natively on their smartphone.
Google makes it easy by offering free Android Studio software and the AVD Manager tool that lets you virtually run multiple Android devices at once. In this article we will remind you of the basics to start development tasks or simply see what’s new in the latest version of Android if you’re curious.
What is Android Studio and AVD Manager?
Android Studio is an application development tool for Android. It offers an Integrated Development Environment (IDE) that helps developers code Android apps easily. As for the AVD Manager (Android Virtual Device Manager) that concerns us for this practical, it is a utility included in the general package that allows developers create a virtual android smartphone or android emulator to test mobile applications.
Android Studio is ideal as it is owned by Google, receiving timely updates with the latest operating system features including the latest available version of Android. The same can be said of AVD Manager and its ease of installing Android 13 on a virtual smartphone. There are other emulators for Android, some more efficient like Bluestacks, but they are not as well updated and for now they do not support Android 13.
hardware requirements
To install Android Studio you need a PC with Windows and quite affordable hardware requirements if we except the RAM memory section, because like other emulators it is quite a RAM guzzler and It needs all you can give it:
- CPU x86_64. 2nd generation or newer Intel Core; o AMD with Hypervisor support.
- Minimum screen resolution of 1280 x 800 pixels.
- 8 GB of RAM or more.
- 12 GB total available disk space for IDE, Android SDK, and Android Emulator.
- A 64-bit system running Windows 8/10/11.
Install Android Studio
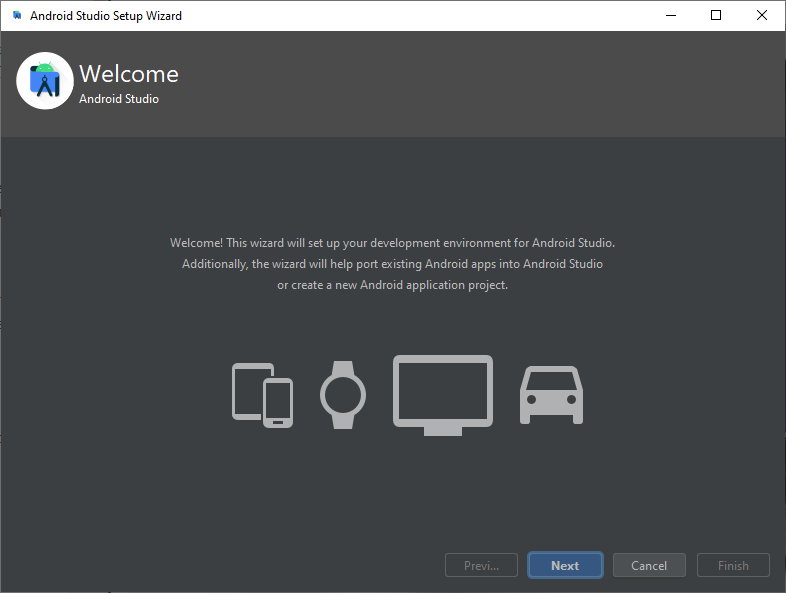
The first installation of Android Studio can be a bit confusing to start with, but there are beginner guides to follow where you just have to follow the steps.
If you are going to use Android Studio for development tasks, you must first install the Java JDK and configure the environment to start working on it. The Java Development Kit (JDK) is a package required to create Java-based applications. In addition, it also includes tools for developers to test applications programmed in this language.
It is simply a matter of downloading the Java JDK for Windows from the Oracle site and installing it. You also need to set up a Java environment so that Android Studio can easily find the location of Java on your computer.

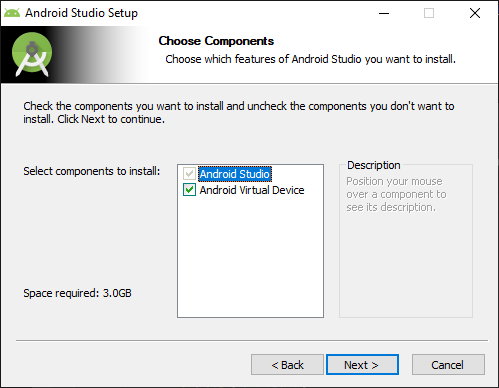
From there installing Android Studio and the emulator is very simple, accessing the Android developer site, downloading and installing Android Studio.
Android 13 on PC with AVD Manager
The emulator allows you to perform almost all the essential functions of a mobile with native installation, such as installing third-party applications, browsing the Internet, or media playback features. It is obviously a partially functional tool to experiment with a full Android installation.
It’s slow compared to a real Android device and only some devices emulated in AVD Manager are compatible with the Google Play Store, but it’s usable for testing or just curious. Of course, like any type of virtualization, it needs resources from your machine. If you use it on a good PC, give it everything you can, especially RAM memory.
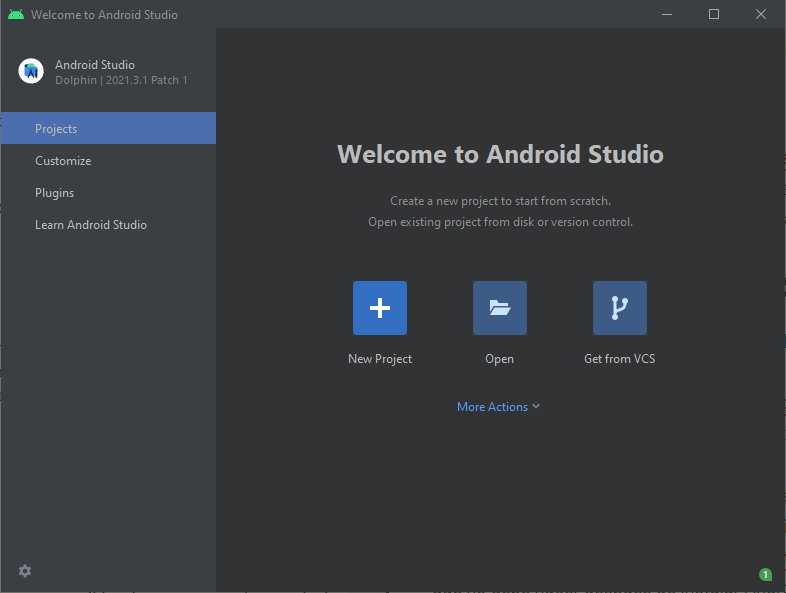
Access AVD Manager and create an Android emulator is done as follows:
- Open Android Studio and go to More Actions > Virtual Device Manager > Create Device.
- You will see that there are available to emulate phones, tablets, wearables or television or automotive systems. Select any device from the list, the Pixel 6 Pro for example.
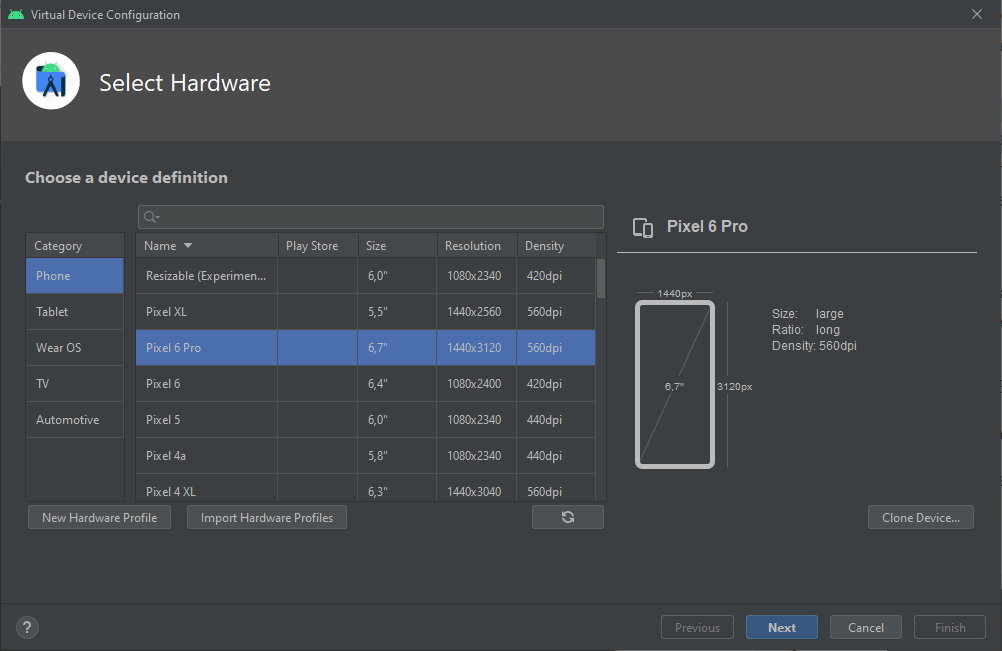
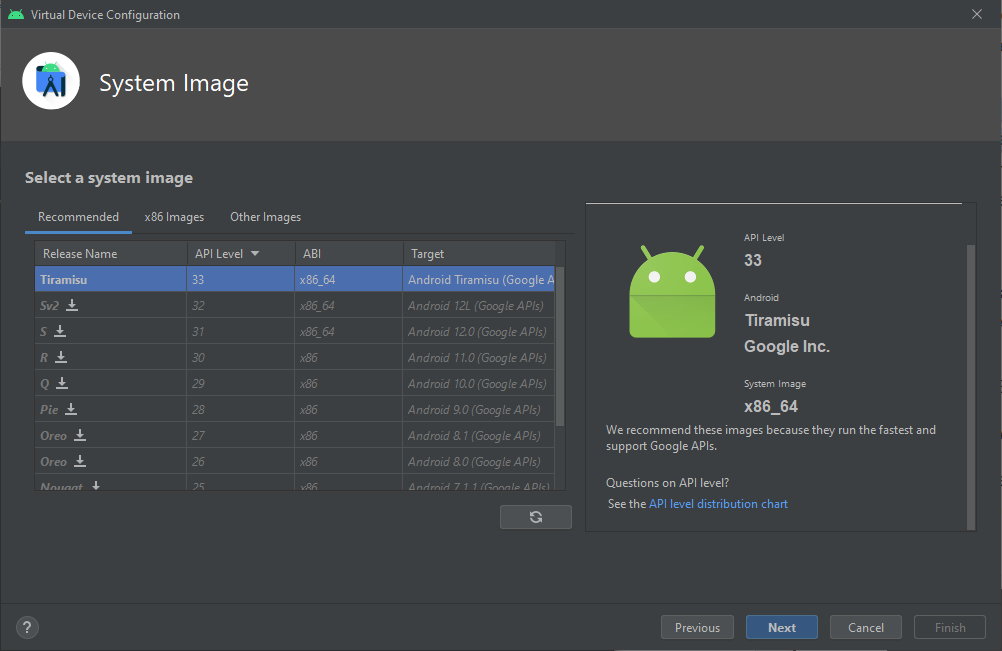
- Click on the download icon next to the Android 13 codename i.e. Tiramisu. The installer will then install the necessary components for the emulator.
- Select Tiramisu from the list of system images.
- In the options list you can customize the name of the virtual device and modify some settings, such as screen orientation, CPU cores, memory or storage settings for the emulator.
- Click finish to exit setup.
- You can now launch the Android emulator by clicking the play icon in Device Manager.

The default AVD Manager settings are too low to experience Android 13 properly. As we said above, we recommend increasing the general configuration, such as RAM and number of cores. You can modify them by clicking the Show advanced settings button.
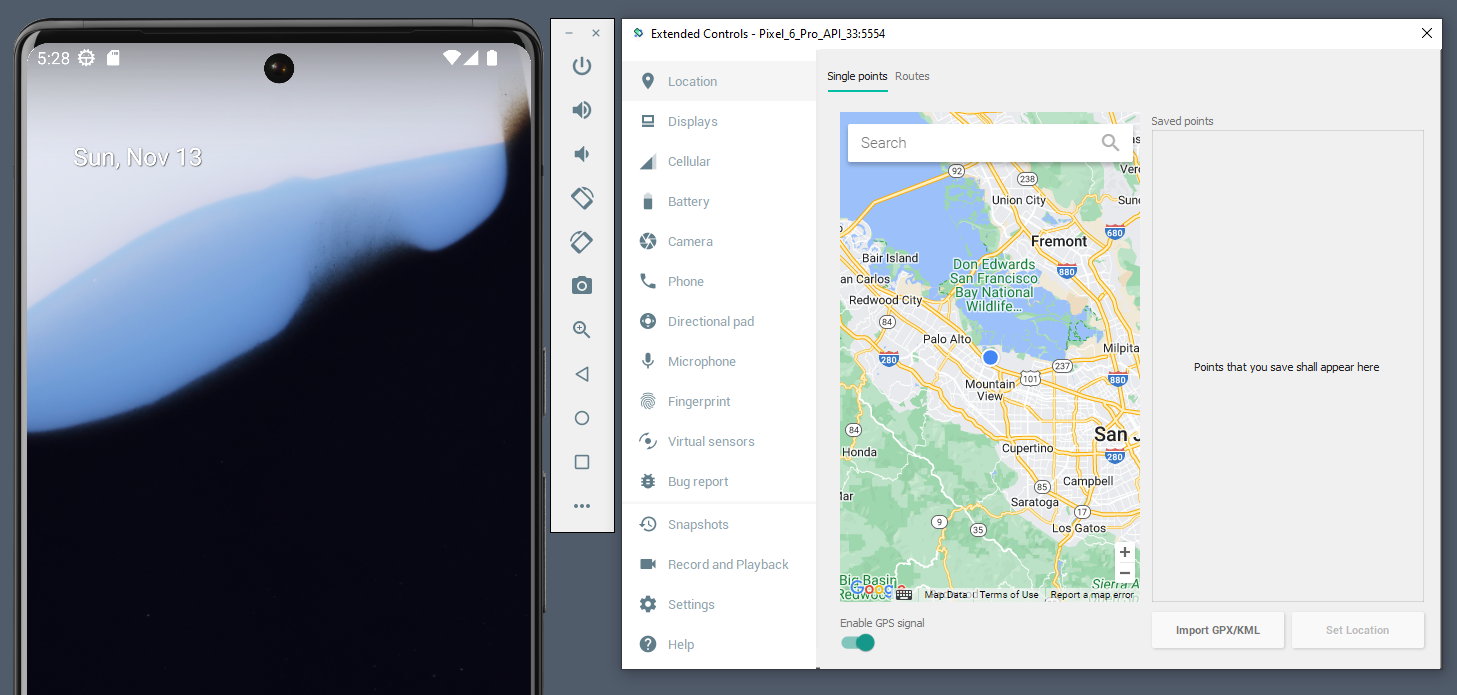
You can also customize the emulated device by clicking on the three-dot menu and adjusting the extended controls on it.
You can’t expect lightning speed performance and as we said other emulators like BlueStacks work better, but this Android Studio AVD Manager is the natural solution to develop or test Android 13 on PC.