The quickest and easiest solution when our computer is showing occasional symptoms of exhaustion is to close the applications that we are not going to use in order to free up RAM memory. Another option is to close all the browser tabs that we need at that moment, since, depending on the browser we use, consumption can be excessively high.
Find programs that take up more space
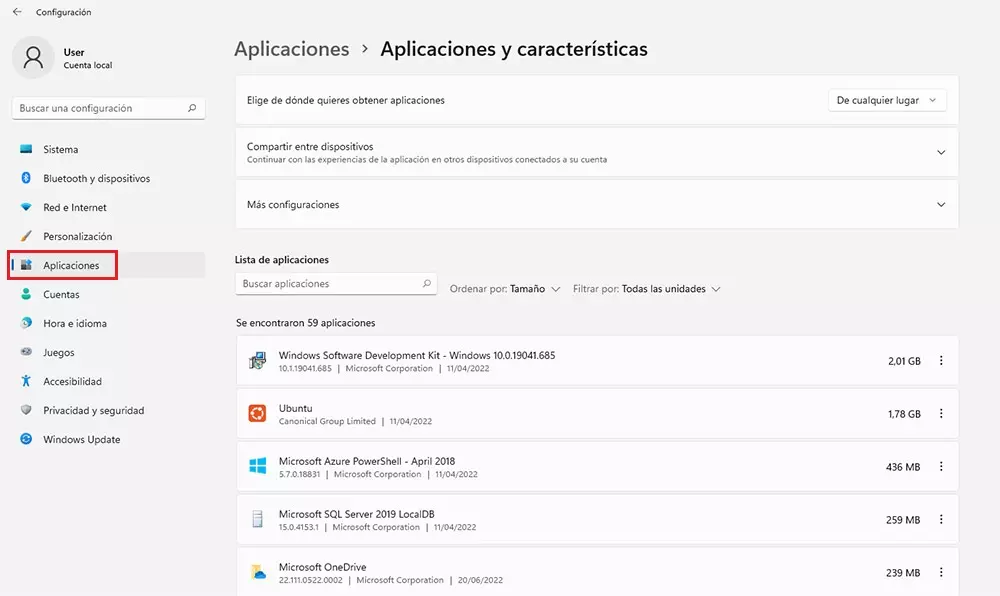
If we want to know how much storage space is occupied by each and every one of the applications that we have installed on our computer, we can use the native Windows function available for this purpose. This option is found within the Windows configuration options (Windows + i), in the Applications > Applications and features section. In the section on the right, all the applications that we have installed on our computer are shown along with the space that they are occupying on our storage unit.
If we click on Organize and we select Size, the applications will be displayed from the largest to the smallest space occupied on the hard disk. This process is the same in both Windows 10 and Windows 11, although with a different graphical interface. In this way, we can quickly find out which are the applications that take up the most space on our hard drive and, if necessary, proceed to delete them to free up space.
If we usually worry about installing only applications that we use, the solution to the problem of occupied space on our computer, we will not find it in this menu since it is found in the data stored on the computer, unless the storage unit is low in capacity. In this case, the easiest solution is to replace it with a larger one.
Storage Sense: Free up space natively
Windows makes available to its users a tool called Storage Sense, an application that, properly configured, will handle free up space automatically on our computer when we are reaching the limit of free space that Windows needs to work properly. Although this feature is available in both Windows 10 and Windows 11, Microsoft has reduced the number of options available in the newer version by enabling them natively without giving the user the option to disable them.
To access and configure the operation of this function, both in Windows 10 and Windows 11, we must enter the Windows configuration options and access the System option.
Configure storage sensor in Windows 10
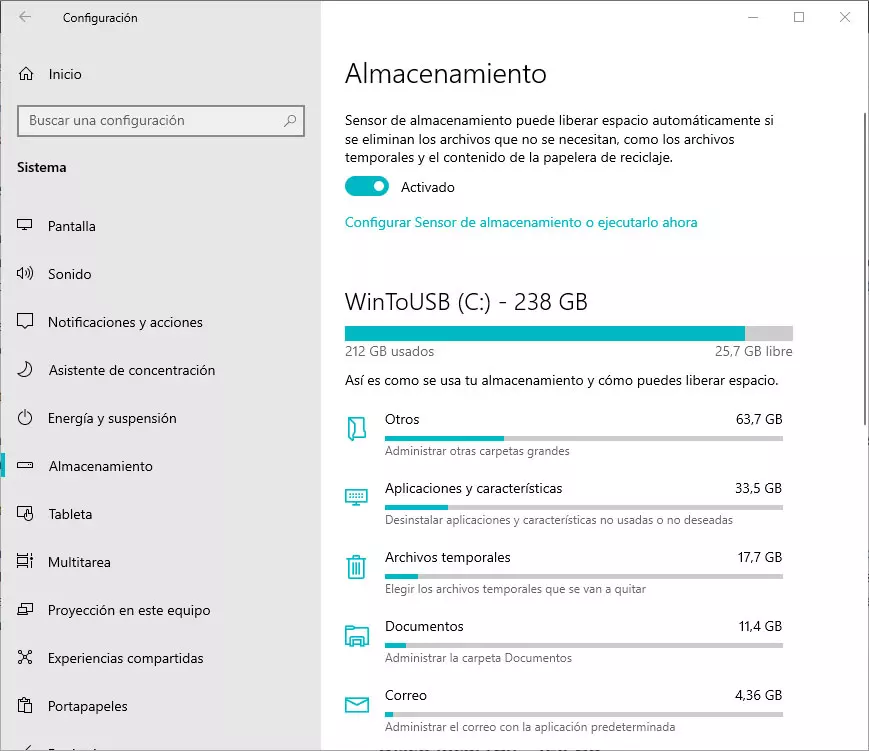
Within the System section, to access the Windows storage sensor and configure it correctly based on the use we make of the equipment, we must click on the Storage option. Within this section, the space occupied by applications, temporary files, mail and files are shown. To activate the operation of the storage sensor in Windows 10, click on the Enabled button and then click on Set up Storage Sense or run it now.
Next, Windows offers us three options to configure the operation: Run Storage Sense, Temporary files and Cloud content available locally.
- Run Storage Sense. The default option selected is When there is little free disk spacebut we can configure this function to activate every day, weekly or monthly.
- Temporary files. Checking the box Delete temporary files that my apps don’t useIt frees up a lot of space. In addition, it also allows us to select the time in which all the content available in the recycle bin is automatically deleted from the system and if we want the content downloaded in the Downloads folder to be deleted after a certain time. This option is natively disabled.
- Cloud content available locally. If we use a cloud storage platform, such as OneDrive, the storage sensor erases all content locally so that it is available only through the cloud after 30 days from the last time we opened them.
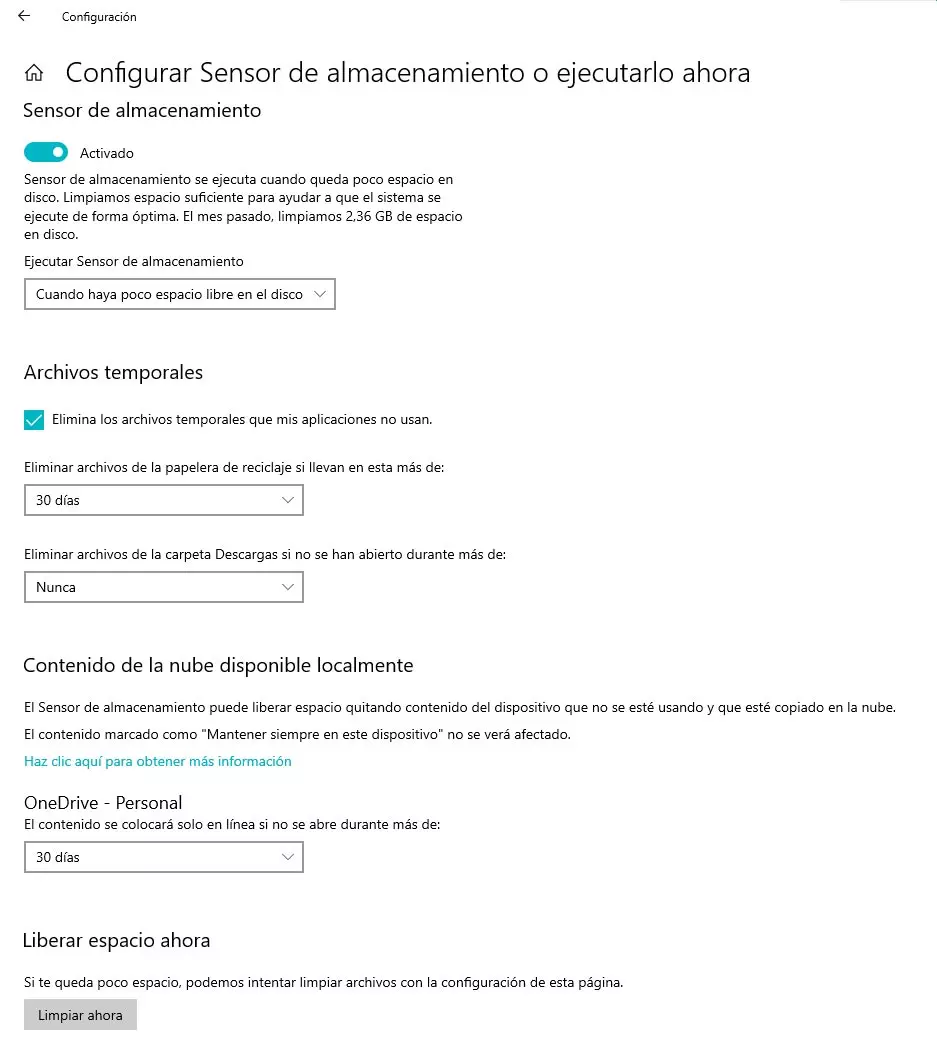
Once we have configured the operation of the storage sensor in Windows 1o, click on the button clean now so that it executes based on the configuration that we have established.
Configure storage sensor in Windows 11
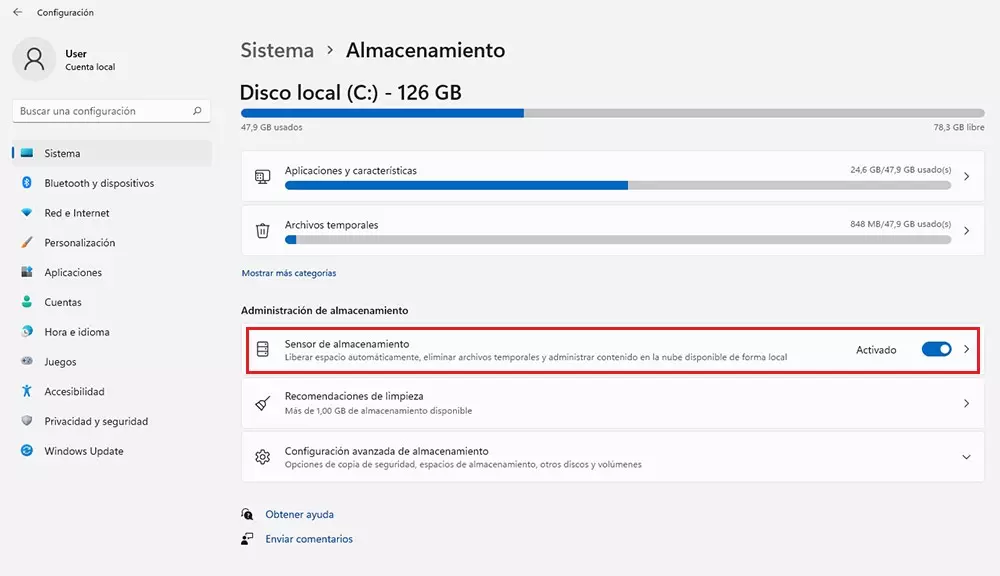
Once we are inside the Windows 11 configuration options, click on the System menu. Within this menu, we access the Storage option. Next, a summary of all the space occupied by both applications and temporary files that can be deleted to free up space and stored data will be displayed. The space occupied by all the images, videos and files stored on our computer is also shown. To access the Storage Sense configuration options in Windows 11, we turn on the switch available in the Storage Sense menu.
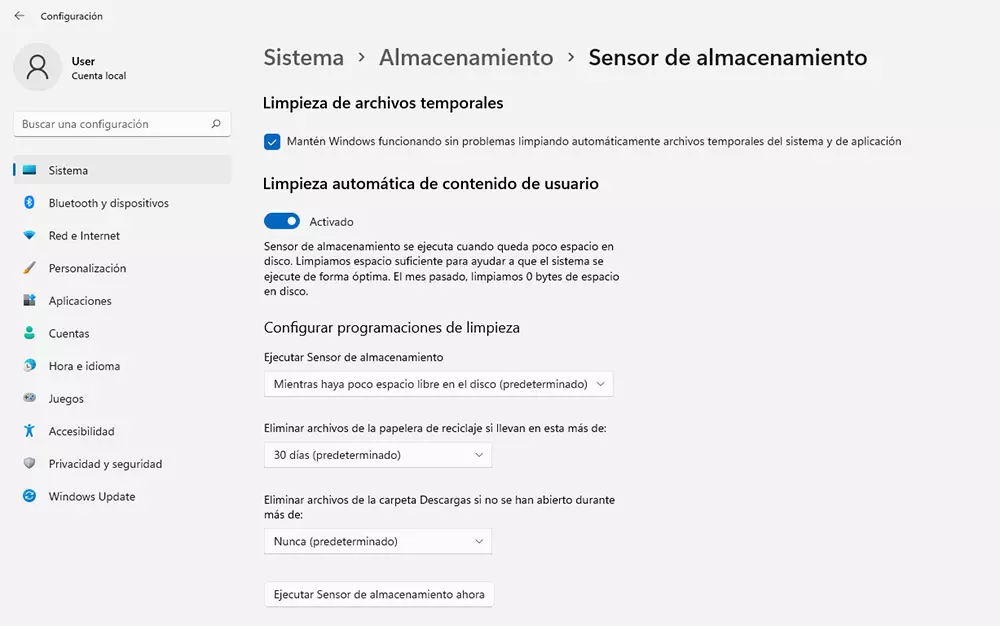
Within the Storage Sensor menu we have two options to configure: Temporary File Cleanup and Automatic User Content Cleanup The option Clean up temporary files, is responsible for removing all temporary update files mainly available in our copy of Windows. The other section of the storage sensor in Windows 11 is the Automatic cleanup of user content.
Once we activate this function, activating the Activated switch, Windows allows us to configure the operation of the storage sensor through 3 options:
- Run Storage Sense. This option allows us to configure when we want the Storage Sensor functionality to start working. The option recommended by Windows is While disk space is low. Although we can also program the operation to be done daily, weekly or monthly.
- Delete files from the recycle bin without carrying them in it more than. If we usually work with a large number of files, we can set the files in the recycle bin to be deleted daily, instead of the 30 days default by the system.
- Delete files from the Downloads folder if they have not been opened for more than. Another option to periodically free up space on our hard drive is to set the time elapsed from when we download a file to the Downloads folder until Windows can delete it from the system.
Once we have configured all the storage sensor options, we can click on the button Run Storage Sense so that it comes into operation based on the configuration options that we have established.
Delete unnecessary files in Windows with programs
But, it is not always the applications, system or temporary files that are taking up a large amount of storage space on our computer, rather it is the files that we have copied, created or downloaded that are to blame. To find these files, we can use the applications that we show you below.
Bulk Crap Uninstaller
The Windows uninstaller has always been characterized as not being an ideal tool for remove any trace of all installed applications. In most cases, it leaves the directories undeleted with some files inside them, files that, depending on their size, can occupy an important part of our computer. The solution is to use Bulk Crap.
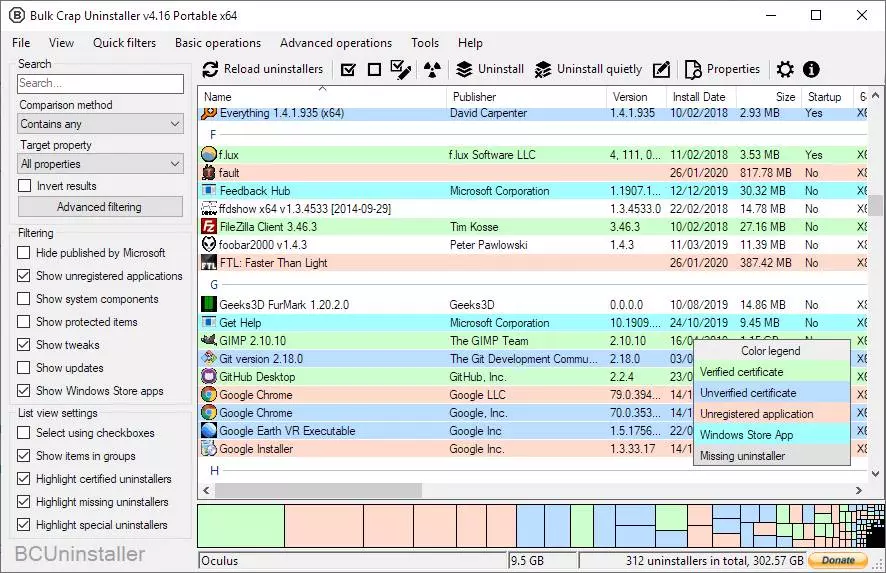
Bulk Crap Uninstaller is an open source application that allows us to remove installed apps in Windows without leaving any trace of its presence, beyond the existing trace in the registry and that no application is able to eliminate correctly.
With a very successful interface, even if you don’t know much about Windows, eliminating any Windows application along with any trace of its existence on your computer will be a piece of cake. The Bulk Crap Uninstaller app is available for download via this link.
BleachBit
BleachBit is a completely free application with which we can analyze how much space each of the folders on our computer is occupying so that, if that were the case, delete the content to free up spacewhether they are temporary files, junk files that do not correspond to any installed application and others.
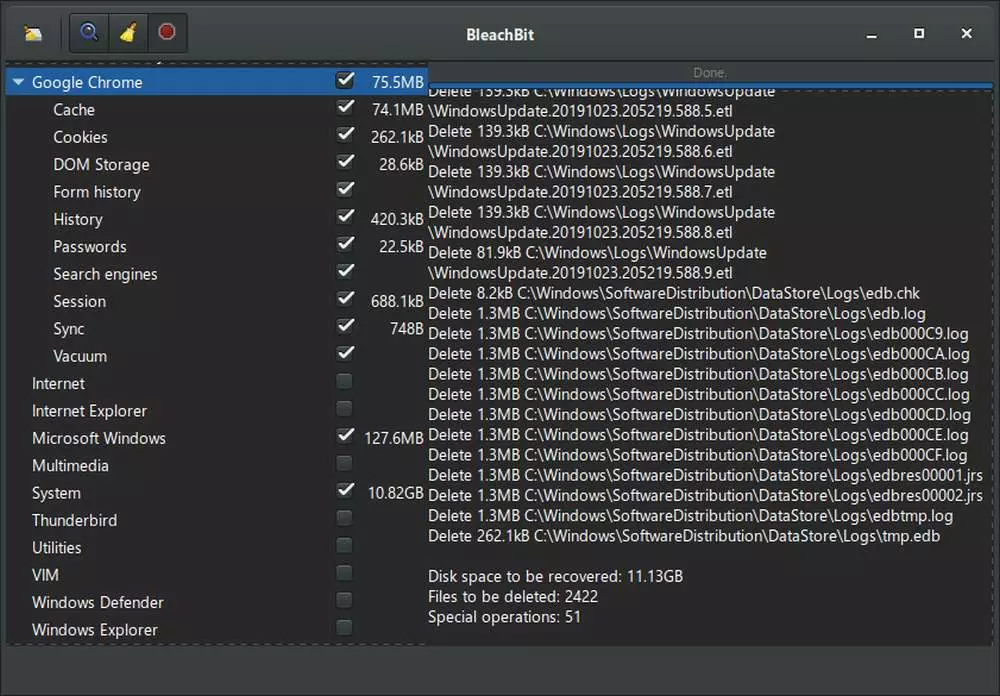
It also scans the space occupied by the temporary files of the browsers that we use, the cookies and the cache. This application is intended for users who have more than basic knowledge of Windows, since the interface is not very intuitive to say. We can download the BleachBit application directly from its website.
CCleaner
One of the most complete applications to delete applications and any type of content from a Windows PC is CCleaner, an application available at free and paid versionalthough with the free application it is more than enough for most users.
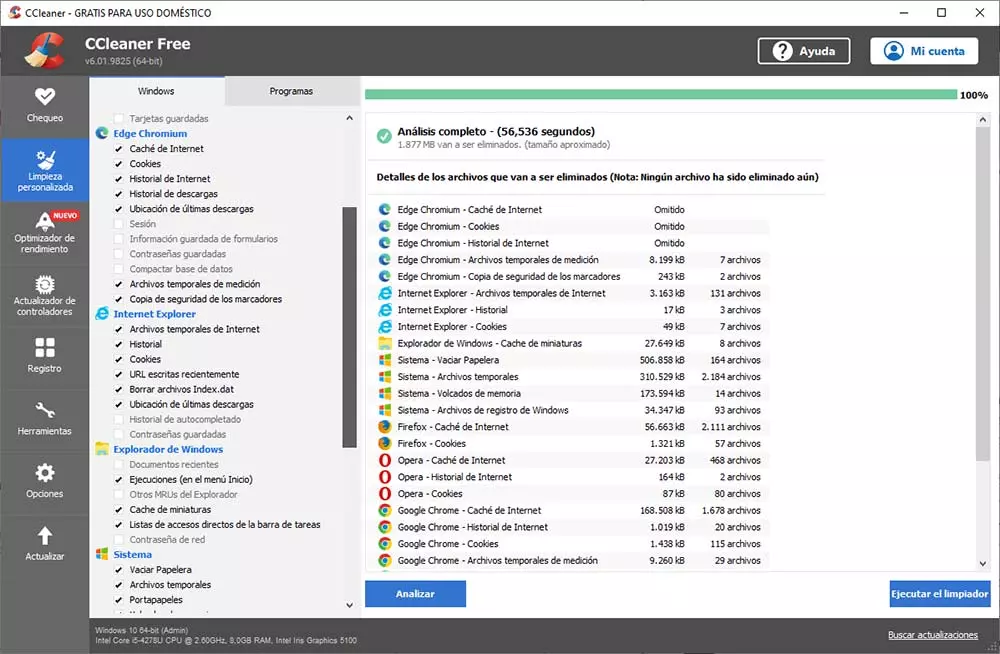
However, for users who really know what they are doing, it is quite basic, since it is designed for users with little computer knowledge, but valid enough to free up space on our hard drive. You can download CCleaner from its website through this link.
Wise Disk Cleaner
If you are still not convinced by CCleaner, you can give a try to a similar application called Wise Disk Cleaner, an application that scans your computer for applications to uninstall along with all the temporary files that are taking up valuable hard drive space.
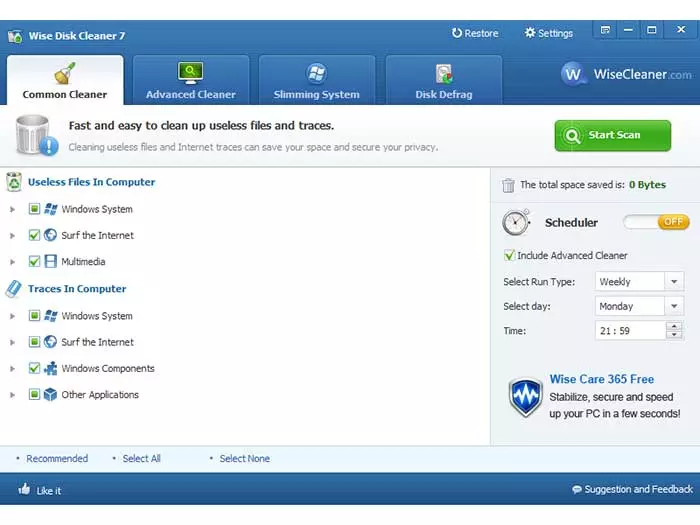
It also analyzes the space occupied by the different browsers that we may have installed on our computer in order to delete both the cache and the temporary files and free up several GBs. Wise Disk Cleaner is available for free download through its website.