The Raspberry Pi is a free hardware-based microcomputer designed to run a Linux operating system so that users can, for example, set up their own personal server or retro-console. It is a very affordable device, and very simple to start up, with a power that, without a doubt, surprises the users who try it. However, for some inexperienced users, having to depend on Linux is a handicap when it comes to being able to work with this device. Luckily, although it is not official, it is possible to install both Windows 10 and Windows 11, although the process is not exactly simple.
Can there be any reason to install Windows on a Raspberry Pi? The truth is, no. First of all, Microsoft’s operating system is designed for other types of hardware, and making it possible to install it on the Raspberry Pi, from the outset, implies modifying and patching the system (which ultimately results in problems). In addition, the requirements of Windows 11 are much higher than any Linux, and it will not be as optimized as Raspberry Pi OS (or any other Linux for RPi), which will make the micro-computer run slow.
However, if we want it is possible to install Windows 10 and Windows 11 on the Raspberry Pi, specifically its ARM version. In this way we will be able to use, for example, the Edge browser, as well as some old programs and games for 32 bits. In addition, we can also use the GPIO for development. And say, of course, that your Raspberry Pi has Windows, because why not?
We won’t be able to do much more. But, if you are interested, then we are going to show you how it is done.
How to install Windows on the Raspberry Pi
The first thing we must bear in mind is that, in order to install this system, we will have to meet a series of prerequisites:
- Have the Raspberry Pi 4 with 4 GB or 8 GB of RAM, or the Raspberry Pi 400.
- Ethernet cable to connect it to the Internet.
- External SSD to connect via USB. It can work with a micro-SD, but the speed will be too slow.
- Monitor with HDMI.
- Keyboard and mouse.
Also, a computer running Debian, or any other derived Linux, from which we are going to install the system. It can help us, if we want, the Raspberry Pi 4 itself.
To start the installation, we will need to download WoR-Flasher, an open source tool that will be in charge of creating our installation medium. We can download it to the computer by hand, or use Git to clone the repository and make it ready to use on our PC:
git clone https://github.com/Botspot/wor-flasher
If we have chosen to use the Raspberry Pi itself, we can find the tool as part of the Pi Apps. Once the repository is cloned, we will execute the following command to launch the installer:
~/wor-flasher/install-wor-gui.sh
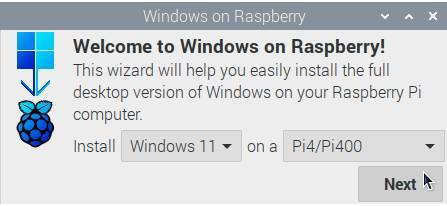
Now we will have to follow a simple wizard where we will shape the Windows that we are going to install:
- We will choose the version of Windows that we want to install (10 or 11), and the model of Raspberry.
- We choose the system language.
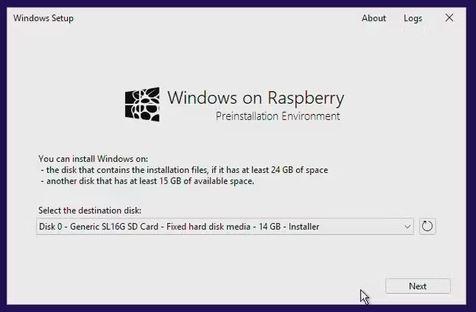
- We connect the external SSD, and we choose the disk where we are going to install it.
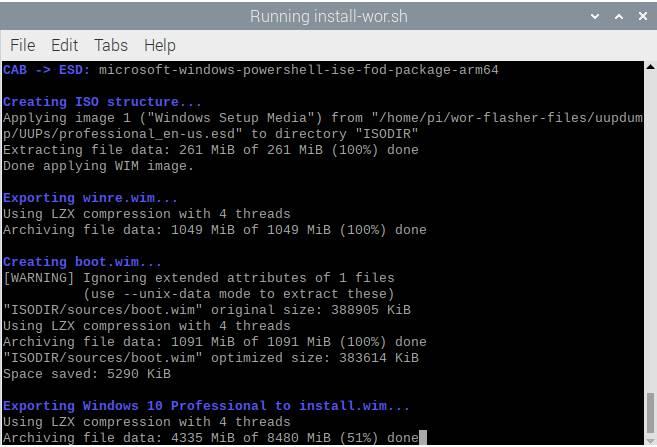
We review all the options we have chosen in the summary, and we click on the “Flash” button that will appear. We will see a terminal with the configuration. We execute the command “install-wor.sh” and now the Windows installation process will begin. The process can take a long time, so we will have to wait for it to finish.
Once the creation of the installation medium is finished, we only have to connect the external SSD (or the micro-sd) where we have installed Windows, connect the Raspberry Pi to the power, and wait for Windows to start. After the first boot, and the initial configuration of the system, we can start working with it.