In this tutorial we are going to explain what this service can offer us. Then, below, we will see examples of use how we can use it.
What is Volafile and differences with other services
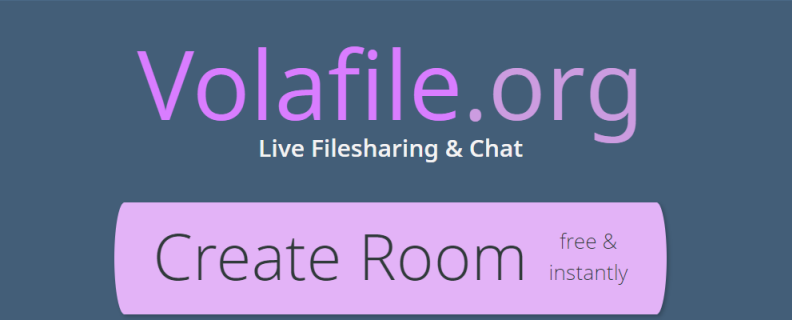
Volafile is a service that, for free and instantaneously, will allow file sharing and have our own chat room. Today, sharing files in the cloud, whether for work or leisure, and chatting is the order of the day. Surely we even use tools of this type such as Google Drive, Dropbox or OneDrive. If we compare it with Volafile, the difference is that it allows us to use it without having to register. That implies that we can obtain greater anonymity if we compare it with the most popular tools mentioned above.
However, as we will see later, if we like it, we can register for free and obtain a series of advantages. As for the basic functions that we can perform with Volafile, they are the following:
- Allows us create a private zone with its chat room and its section for uploading files.
- By using the Upload button we can increase or drag files to our private area of up to 20 GB So what expire after two days.
- We can share that private room for others to download files or also add them themselves.
How to create your private zone without registering and first steps
So that you can see the advantages that registration or not offers us, we are going to see this service from these very different perspectives. First of all, comment that this service that Volafile offers us is very simple and intuitive. Thanks to him we will have our own chat room, and a section in which it is possible to share and send files in real time. If the file is very large, obviously you will have to wait for the upload to finish.
It should also be noted that it does not require any type of installation. We will be able to manage and use this service using our Internet browser. That means that we will be able to use it with any operating system such as Windows, Linux, Android etc. Obviously on a PC or laptop it will be more comfortable to use. In my case I have opted for a Windows PC.
Now, we are going to discuss the concept of Room that in Volafile is that private area where we will be able to chat or share files. If we want to create our Room or private area we must go to the Volafile website and click on the following link. Next, a screen like this will appear:

All you have to do is create your room by clicking on Create Room. In that sense, either of the two that you have framed in a red box is valid. The first time we enter our private area we will get a screen like this:

Here, we would have two well differentiated parts:
- The part on the left would be the chat room. It is the area in which we could send and receive messages with the participants who are at that moment.
- In the section on the right is to upload our files. We could also download them and even another person with whom we want to share this Room could also upload files.
As for the elements that we have marked with a red box, we have:
- Rename: to name our private area.
- Send someone this url: is the link that we must send to the participants we want to invite.
- Random user in this case Antigone: in case we are not a registered user, you can give us one at random and we will not be able to change it. Later, we will talk about registered users and their benefits.
- Upload: by clicking on this button we can upload the files we need.
If we click on the button Rename we can give a name to our private area. This is an example where I have renamed it REDESZONE.

Then, if we click on our random user, Antigone, we will see how it offers us more possibilities.
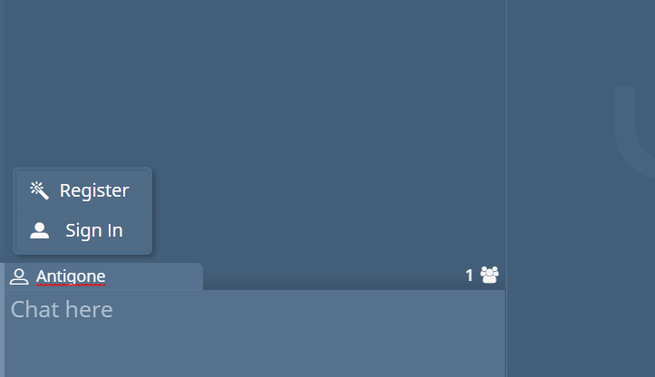
In this case it gives us two possibilities:
- Register: to register a new user.
- Sign in: if we already have a user and we want to log in.
Next, if you want your own user, click on Register and start enjoying the benefits it offers. We are going to explain it from the Volafile home page but the steps are identical.
Create a registered user and first steps
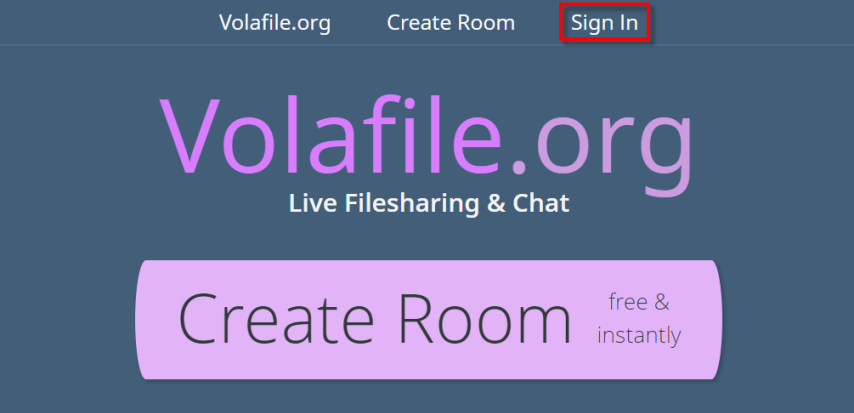
To create a registered user from the Volafile website we are going to click on Sign in.
Once this is done we will see the following:
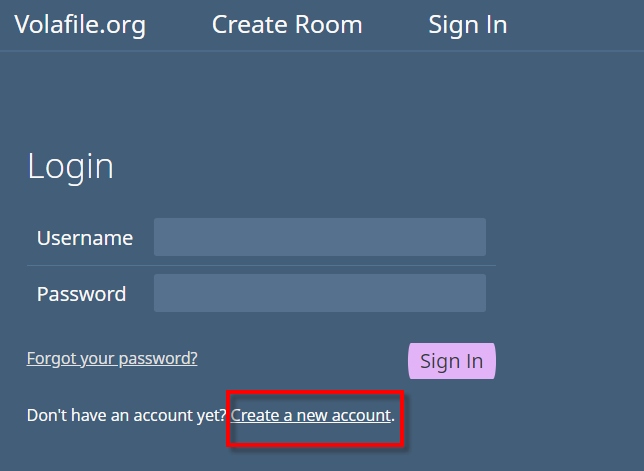
Here what we have to do is click on Create a new account.
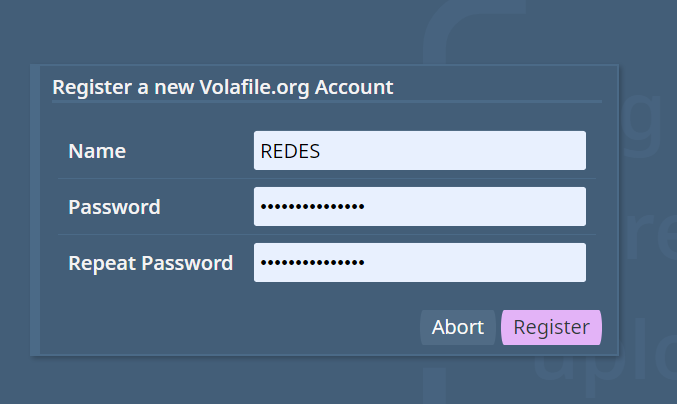
All we have to do is choose a username and repeat the password twice. From that moment on, we will be able to use our personalized username as you can see below.
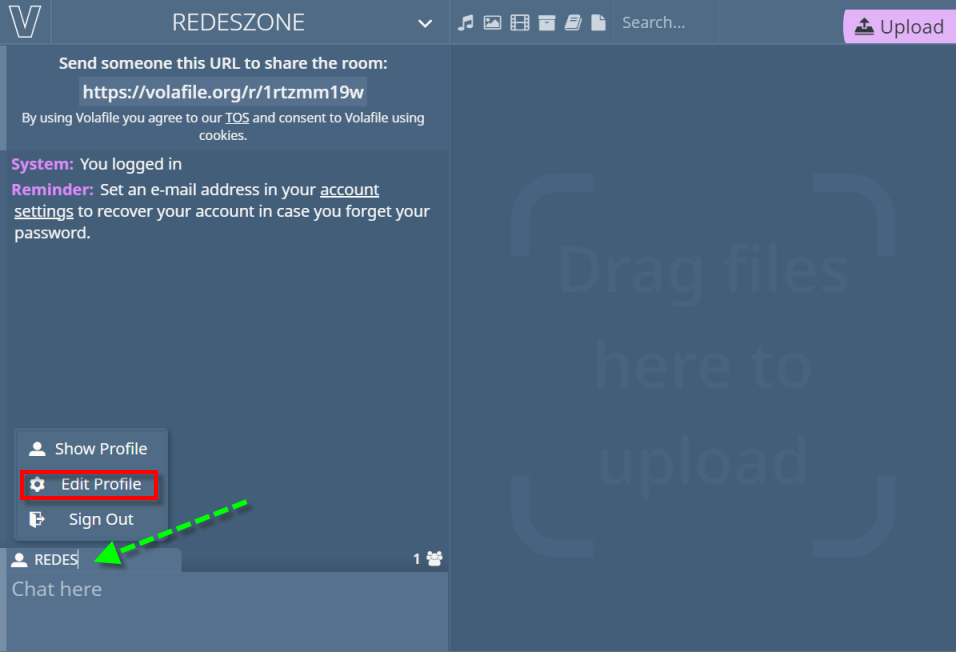
Now as you can see we have more options, and for example, click on Edit Profile we can edit our profile.
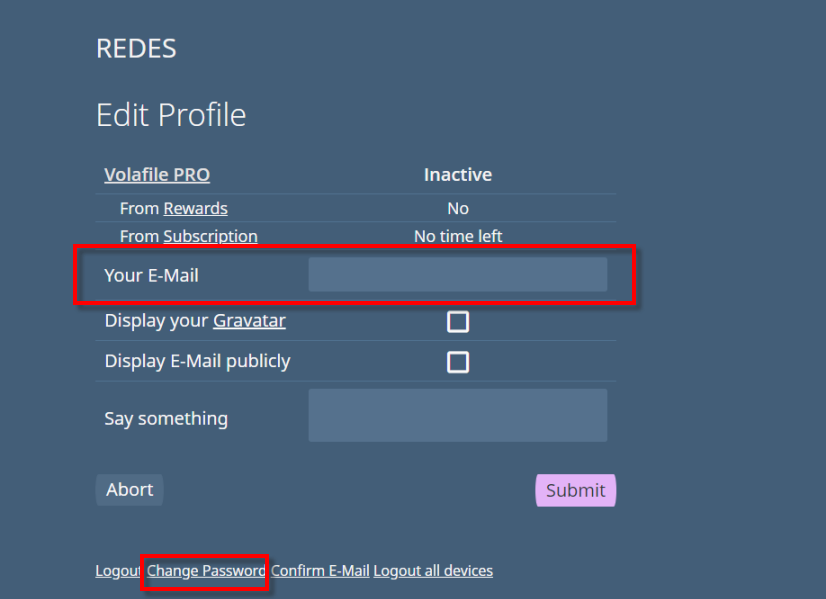
In this section, among other things, we could put an email, in case we forget the password and thus be able to recover the account. We can also change the password by clicking Change password.
Also, if we click on the name of our Room «NETWORKS» we can see its configuration options.

«Rename» that we have seen before together with Change URL To change the link to share are two of the most interesting options. Nor should we forget the Password that, even if you have the link to enter, if you do not have the password you will not be able to enter.
Let’s see it with an example for what we are going to click on Password.
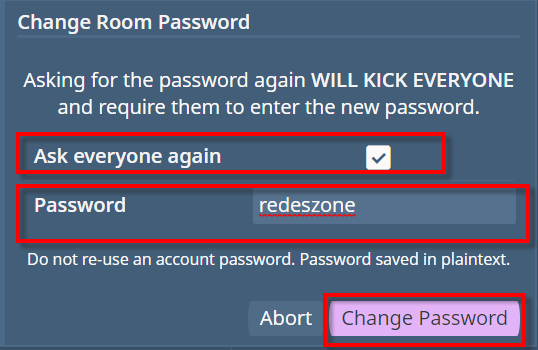
In this section we have two sections:
- Ask everyone again: if it is active, it forces the users who are inside to put the new password.
- Password: the password we want to put.
So, when we share the link at the time of entering we will get a screen like this where we must enter the password. Then we click on Submit Password.

How to upload files to Volafile and share them
On the right side we have the area where we can work with the files.
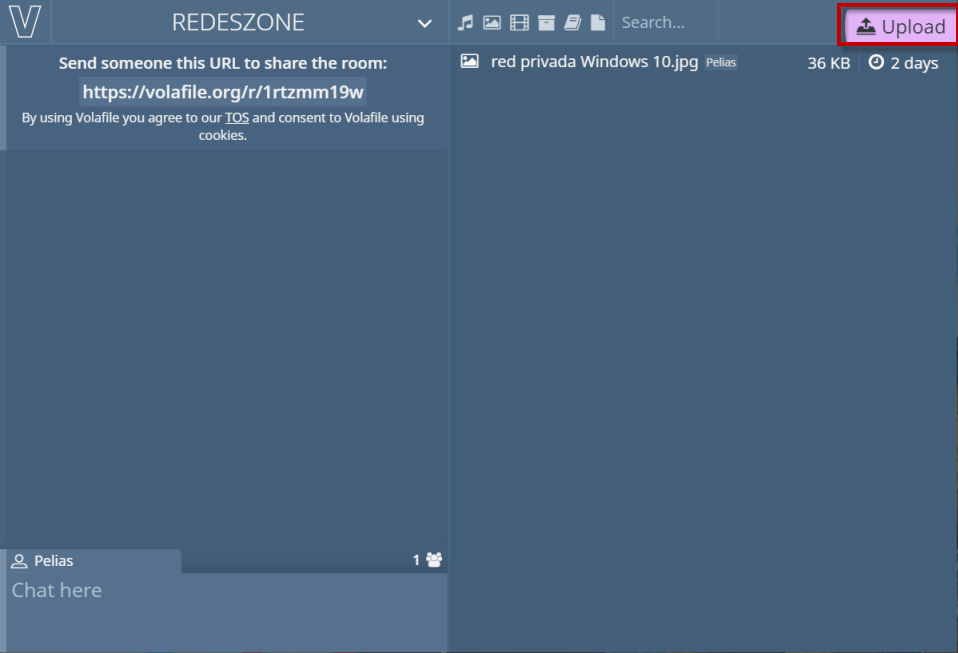
If we click on the button Uplodad The file explorer will open and we can select the file we want to upload. Remember that the files are valid for two days before they expire.
In this case, the one who has uploaded the file is an anonymous user that I created named Pelias. This is what the host user NETWORKS would see in which it is seen that it has more options.
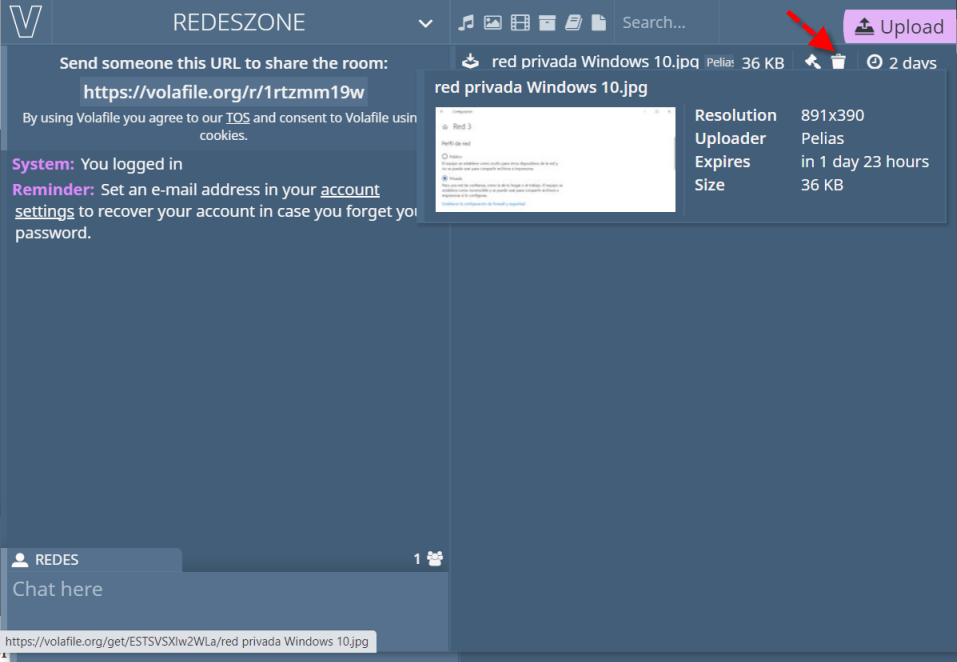
For example, if REDES does not like the content or considers it inappropriate, it could delete that file. Simply clicking on the trash can icon could delete that file.
In this tutorial we have seen how thanks to Volafile we will be able to have our chat room to chat and a space in the cloud where all the users who participate can upload and download their files.