Bad connection on SATA HDD and SSD
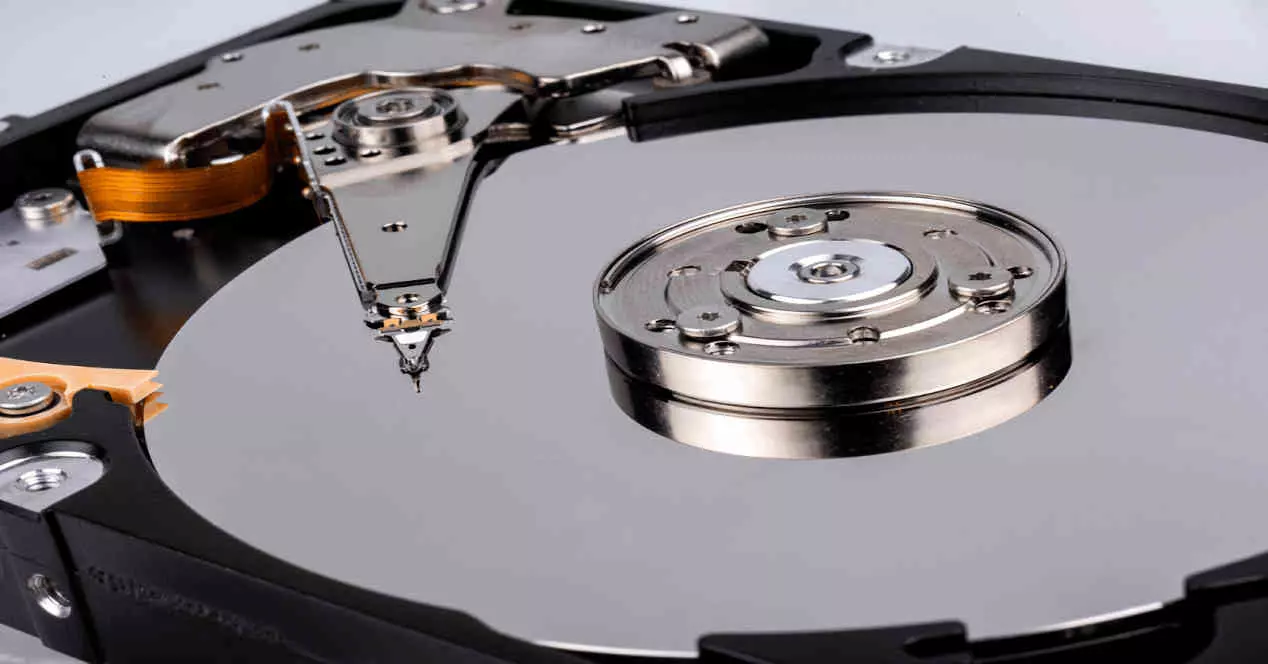
It is possible that the units, whether HDD or SSD, are not properly connected to their different ports, remember that SATA units have a separate power and data connector. It has happened to all of us that we have left a cable to connect at some time, so before closing the box of your PC, check it. In the event that you have bought a pre-assembled computer or a laptop, our advice is to open your computer to see that all the connectors are plugged into their respective ports.
It is also possible that the SATA cables used to connect the hard drive are broken, so it would not hurt to have them checked by swapping the cables with the ones from the drives you know work in your PC, or buying a new one outright. If when doing so you see that the ones that do not have problems do not start either, then you will need to look for a replacement of your HDD or SSD through guarantee with RMA, and if it does not fit the product then you would have to “checkout” again.
Bad connection on M.2 NVMe SSD
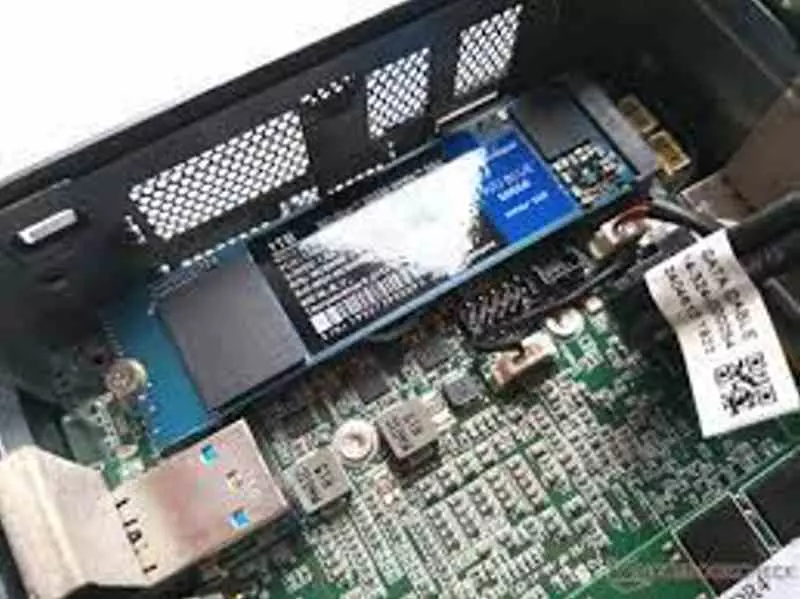
In the event that the storage unit is an M.2 SSD of the NVMe type, then you have to know that the problem will not be in the SATA connectors, since they use the PCI Express interface to communicate with the CPU and memory. , although it may not be detected at the hardware level.
The first thing will obviously be to check that the unit is well connected, do not forget to screw it well and that it is in the appropriate M.2 slot. It is not usually common, but some motherboards have M.2 interfaces to exclusively place wireless radios.
The hard drive or SSD has not been detected by the BIOS
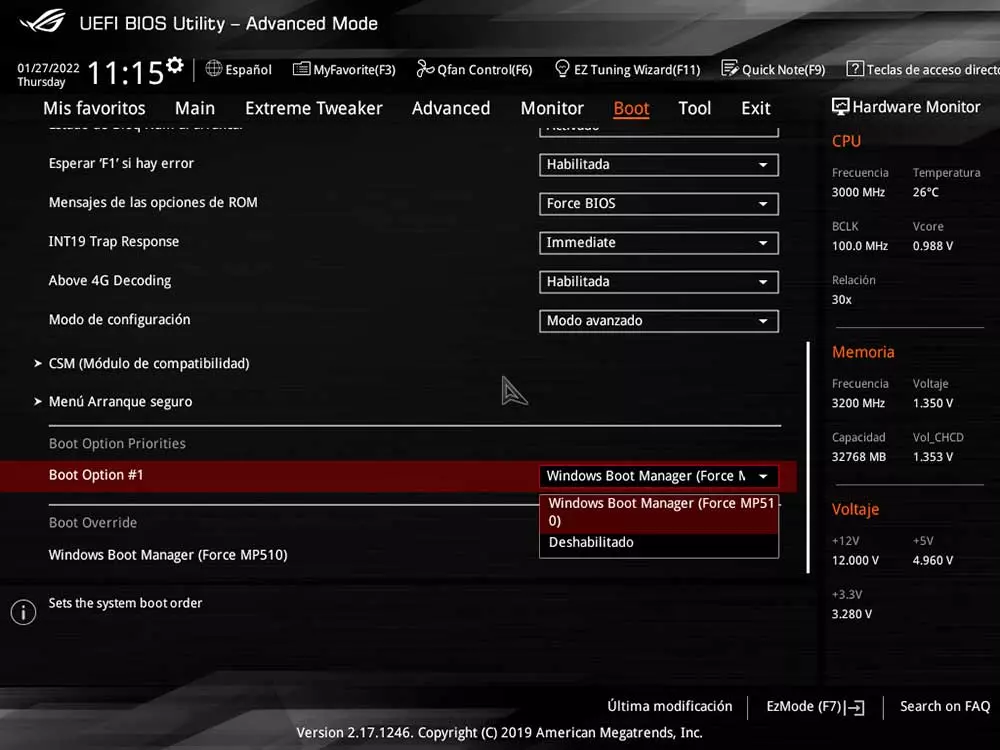
There are cases in which the hard drive or SSD that we want the PC to detect is not our main unit, but an additional one that we have installed to get more space in order to store more files or install more applications. Well, in some cases you may find that the drive does not appear in Windows because the BIOS has literally ignored it.
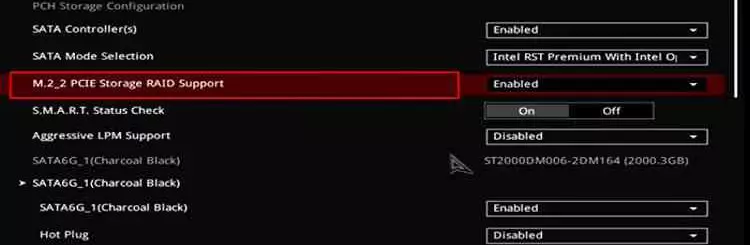
This problem is due to the fact that certain brands of motherboards require that you have the CSM (Compatibility Support Module) activated so that the extra SATA ports are active in the eyes of the BIOS and later of the operating system. We have to take into account that this interface requires the BIOS to inform the OS. Contrary to the PCI Express used in M.2 NVMe where there is the PCI ID mechanism that informs the system that a drive has been connected, although in that case you will also have to activate its support from the BIOS.
In the event that you are using a USB drive you should not have this problem, but if what you are interested in is starting the PC from there, we recommend that you change, also in the BIOS, the order in which the drives are started. If you see that it still does not do it, try changing the port. Of course, make sure that the unit is in good condition, since unfortunately USB sticks tend to break easily, or that it has been formatted that is not compatible with a conventional PC because it is formatted in a different file system, such as example that of an Apple Macintosh.
How to fix a hard drive not detected in Windows
Once you have verified that the connections and cables are in perfect condition and you have verified that the BIOS detects the storage unit without problems, we have to go to the next point. What happens when a hard drive is not detected or recognized by Windows? So this is what we are going to try to solve.
First of all, although it may seem surprising to some readers, hard drives have drivers just like any other device, so our first recommendation is that you do the following:
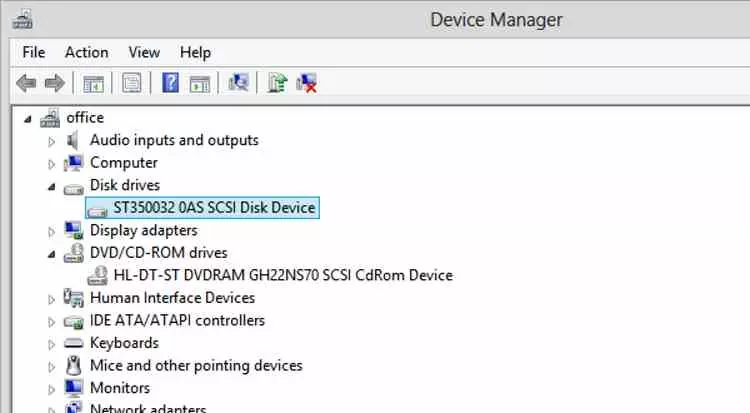
- Go to device manager in control panel, you can find it by typing device manager in taskbar search box directly.
- Once there go to the “Disk drives” section and expand it and see if the hard drive is connected. If Windows has not detected it correctly it will give it a generic name.
- Right click to open the properties window, from there update the driver.
We recommend doing this especially if the hard drive icon in task manager shows a yellow triangle with an exclamation point.
Detection of NVMe SSDs in Windows 11
In the event that Windows does not detect the NVMe SSD that you just installed, a good solution is to add hardware from the control panel so that it tries to search for it and if it does not find it, use the troubleshooting wizard.
Use disk management
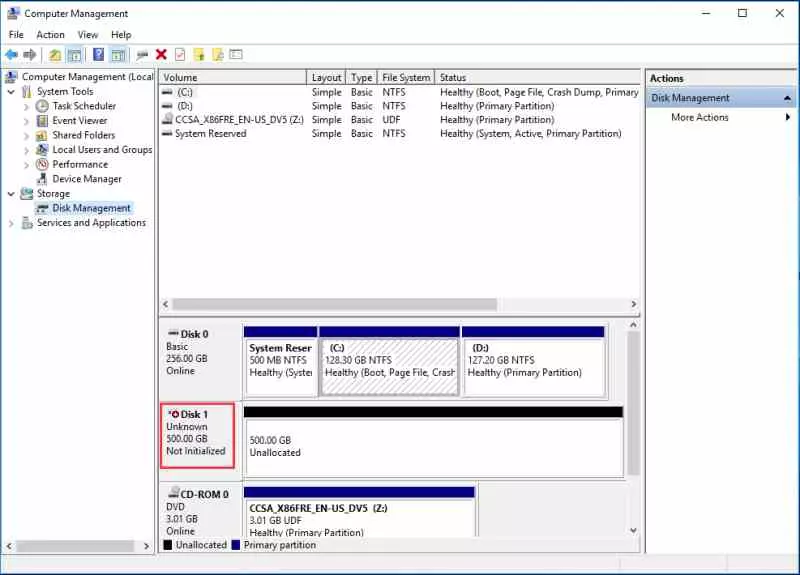
As in the previous example, you only have to search for it through the search box on the taskbar and it will appear directly for you. From there you will be able to see all the disk drives that are in the system and their partitions, even those that theoretically Windows does not detect, but the BIOS does. There you can see two different problems, the first one refers to an unknown hard drive with unallocated space, in the second case that it does not appear initialized.
This does not mean that the hard drive has not been detected by the PC, but rather that Windows cannot use it. Simply right click on the drive and select “Initialize drive” where a dialog box like the following should appear:
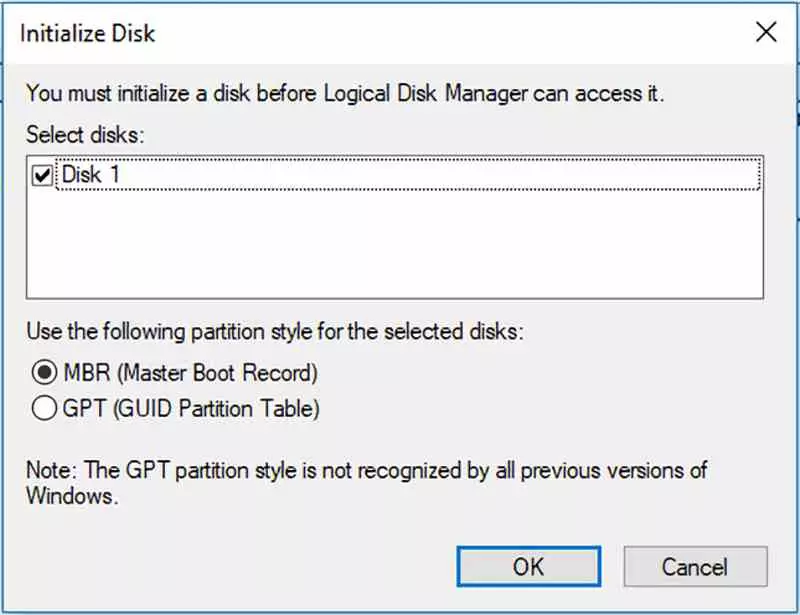
As the dialog box indicates, keep in mind that if you format the disk in GPT format then you won’t be able to use it with older versions of Windows, keep that in mind if for reasons of compatibility of an older application you need to use older versions. Today we recommend GPT, since it allows us to use drives with more than 2 TB of storage space.
NVMe SSD has no letter assigned
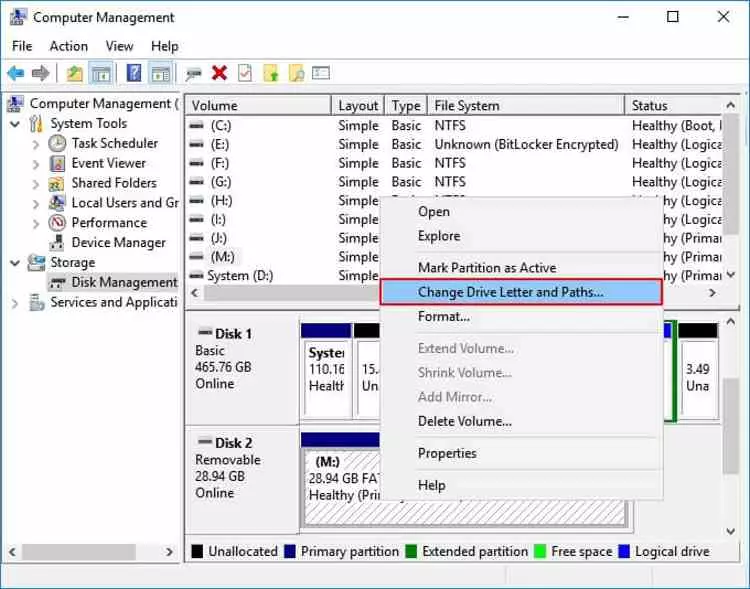
A common problem that doesn’t happen with SATA drives, although it can happen, but a lot with NVMe is that the operating system has not assigned a letter to it. In that case, from the disk administrator or Disk Manager itself, you can easily solve the problem with a simple right-click on the drive.