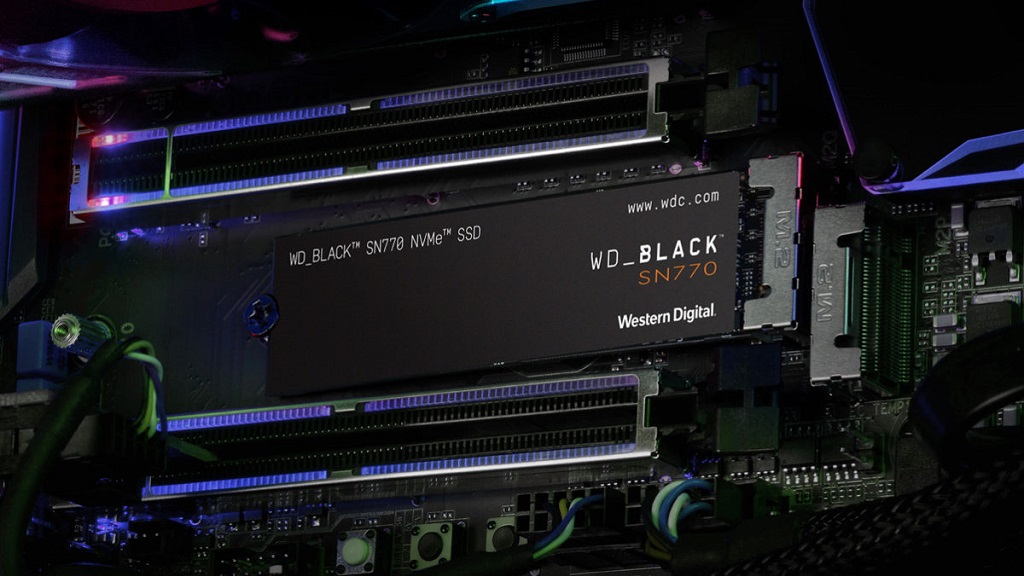
Having problems when installing a new SSD is, unfortunately, more frequent than it seems, although fortunately it is an issue that can usually be solved in a simple and quick way. I myself had, at the time, this problem, and in the end I was able to solve it following the steps that I am going to give you below:
- Right-click on the Windows icon on the taskbar and select the “Disk Management” option.
- In the window that appears, choose the “GPT” option.
- Now you have to select the new drive you have installed. This will be listed at the bottom of the screen, with no drive letter. If in doubt, check to see if the storage capacity matches that of your new SSD.
- Right-click on it and select the “give simple volume” option.
- Follow the setup wizard, assign a drive letter and use the NTFS file format.
- This process takes a few seconds to complete. Once it finishes, you will see that the same drive now appears with an assigned letter.
- Close the “Disk Manager” and go to the list of storage units on your PC, where your new SSD will appear with the letter you have assigned it. You can also check that it appears correctly by entering “This Computer”, the classic “My Computer”.
In case you are still having problems after following these steps, or the SSD is it does not appear identified without a drive letter in the “Disk Management”, I recommend that you follow these steps:
- Check that you have installed the SSD correctly, that it is properly inserted in the M.2 slot, or if it is a SATA drive, check that you have installed the power connector and the data connector.
- Enter the BIOS of the computer and check if the SSD appears in it. If it doesn’t recognize it, try disabling Intel RST Technology.
- In case after doing this nothing works, you should start considering that the SSD it may be faulty.


