As we told you a little over two months ago, Bethesda closes its online store and, so that users can keep their games, electronic wallets and saved games, the company has reached an agreement with Steam that allows all those goods to be transferred to the service from Valve. At the moment we can say that the deadlines established by Bethesda are maintained… but just barely, and it is that the migrations are supposed to take place in April and that the store would close in May, an unrealistic deadline today, well It was not until April 27 that the migration process was activated.
Bethesda, however, has opted for a somewhat short migration period, since his store will close in just two weeks, until May 11. It is not clear if, after that deadline, the migration from Bethesda to Steam can still be carried out but, in case, it is best not to delay it, otherwise we may find that the term has ended when we want to do it.
The good news is that the process is very simple, very fast, and that at least during the first hours of operation it does not seem to be giving problems. And I can confirm this from my own experience, although it is true that we are talking about a store in which I only have/had three games: Quake, Quake II and Quake III Arena.
We already raised it at the time, this movement makes a lot of sense, since the purchase of Zenimax by Microsoft is completed, and with the mollar part of the Bethesda catalog on Xbox Game Pass, maintaining an exclusive launcher and store from this studio seems like a unnecessary effort. Of course, the key point was to make the process as easy as possible so that users could keep all their games and related elements, and at least so far it seems that Bethesda has done, in collaboration with Steam, a good job.
How to migrate your Bethesda account to Steam
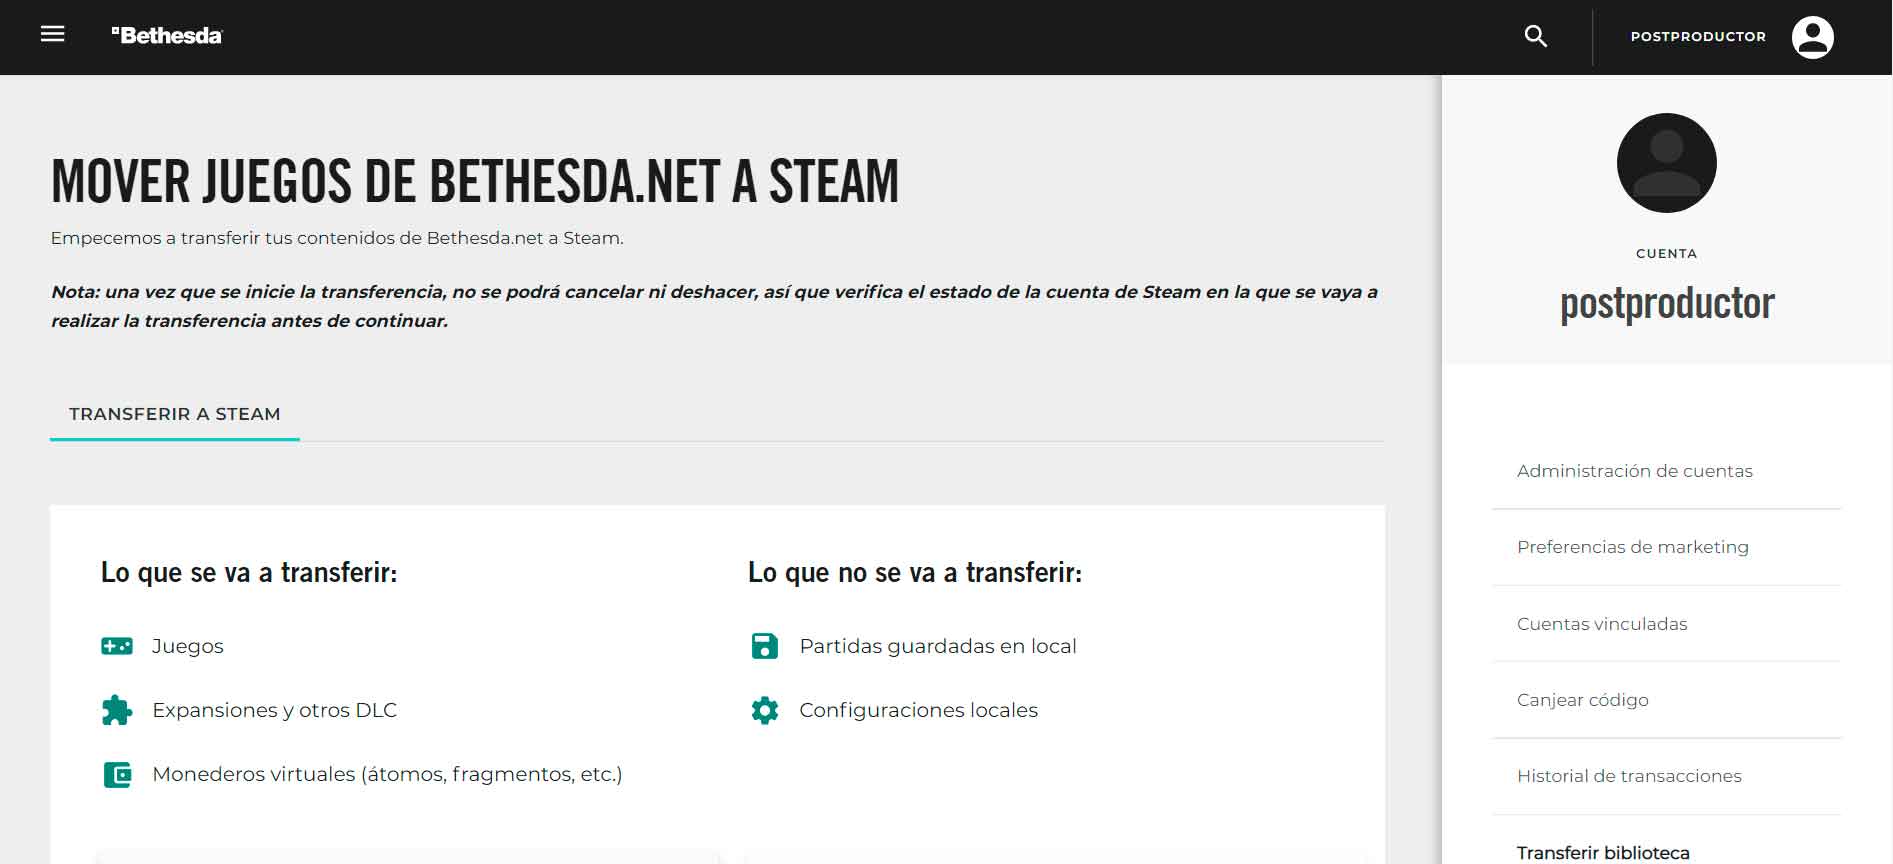
As you will see below, the process is very simple. In this step by step we tell you how to migrate your Bethesda account to Steam starting in the Bethesda launcher and then on the web. So, as you may have already imagined, the first step is to start the launcher and log in, unless it has been kept open since the last time you used it. A few seconds after doing so, a message will be displayed allowing you to start the process:
If you don’t want to do it yet, click “Remind me later” and you can continue using the launcher as usual. When you are ready to migrate your Bethesda account to Steam, click on the “Start my transfer” button, which will automatically take you to the web page from which the process is managed:
Review the information displayed on it (although you will see it again a little later, in case you want to be sure) and, after doing so, you will have to take the first step, which is to link your Bethesda and Steam accounts. To do this, scroll the web until the section is displayed
And sure enough, click the button. Keep in mind, however, that this will not take you directly to the process of linking both services. Instead, you’ll see the standard Bethesda account interconnection feature, so you’ll need to indicate that you want to create a new connection
and, in the section that will be shown then, choose Steam
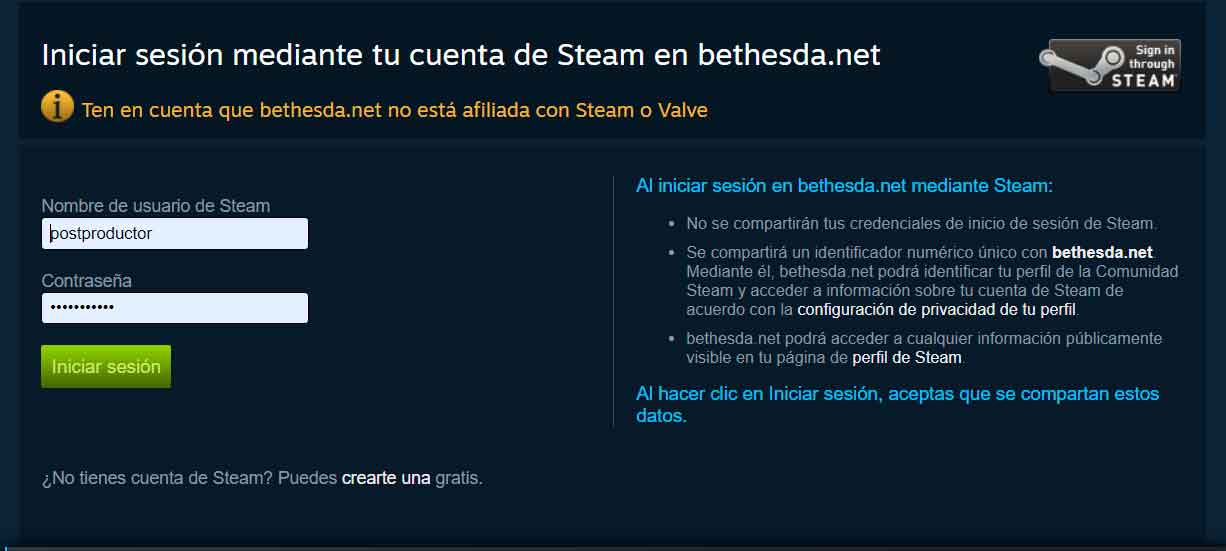
Then confirm the security message that will be displayed, which is telling you that you are leaving the Bethesda website. And it is that now, as you have probably already imagined, it is time to confirm the link on the other side of the connection, that is, on Steam:
As soon as you log in and confirm the link (both actions are carried out in the same step), you will return to the Bethesda web page where the process began, but now, at the bottom, you will find that the section of the right has already been activated
As you will see, you can go back to review everything related to the operation and, even so, when you click on the “Start transfer to Steam” button, a new security message will be displayed, informing you that this process is irreversible. , and that once started you will not be able to stop it
Ready for action? Well now you know, click on “Yes, transfer to this account” and, immediately, the migration of your assets from the Bethesda account to Steam will begin
Keep in mind that the amount of assets to be transferred will make the process faster or slower. In my case, with the transfer of only three games, it was completed in a few seconds, but if you have a much larger collection, digital wallets, etc., it could take longer. At the end, if you have kept the page open (something that you should not necessarily do but that I recommend), you will be able to see a summary of it:
Once the process is complete, the first thing you should do is open the Steam launcher, access your library and confirm that all the games you had in the Bethesda launcher have been successfully transferred to Steam. Keep in mind, however, that even if you already had them installed on your system with the old launcher, you will have to reinstall them with Steam. Of course, before uninstalling the old versions, read what we tell you next.
And the saved games?
The migration of save games is, yes, another story. As we can read in the Bethesda FAQ for migration to Steam, many games will also be migrated automatically. The problem is that there is not, at least for now, a quick list that allows us to check which games are transferred automatically and which ones we will have to carry out the transfer process manually. This is why you should make sure you have the games on Steam before uninstalling titles installed on the Bethesda launcher. And the same can be said about the settings.
So now you have to install the games from Steam, open them and check if the games have been transferred or not. If yes, perfect, if not, write down or remember in which game or games it has not worked, and then access the Bethesda website with detailed information about each game, If you follow the steps indicated for each one of them, you will be able to recover your games and, in principle, you will be able to uninstall the copies of the Bethesda launcher.


