Repeater Configuration
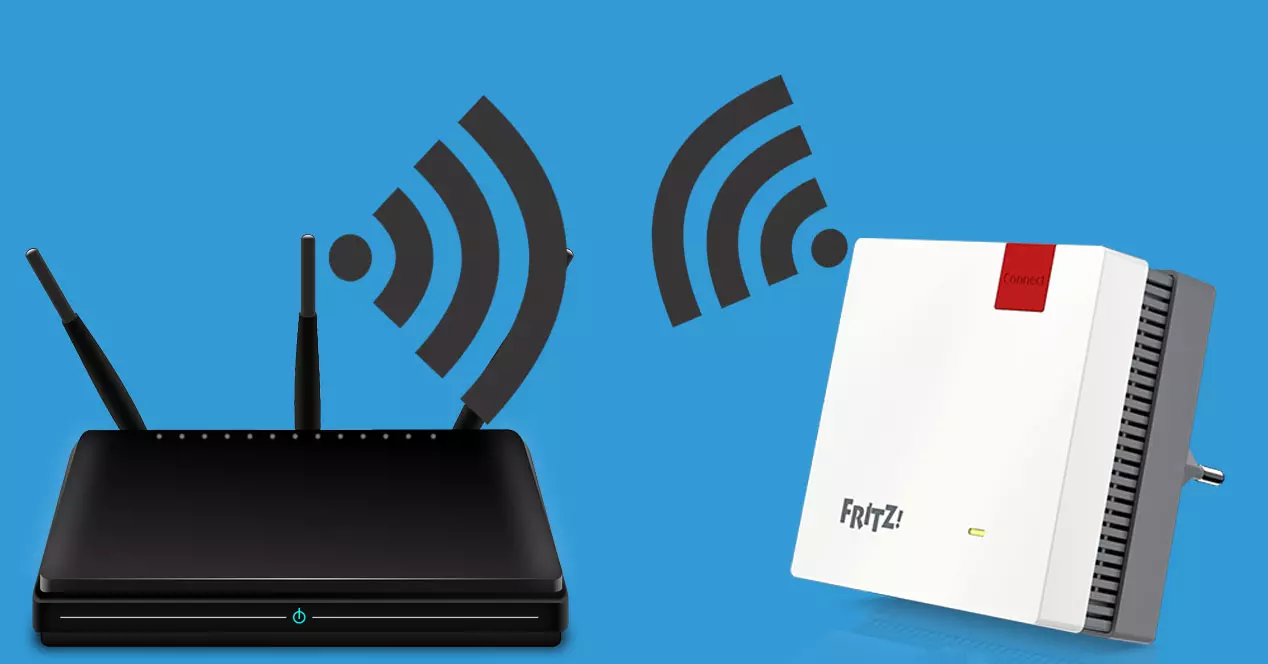
The first thing we must do is connect the Wi-Fi repeater to an electrical outlet that is close to the router, to carry out the configuration without coverage problems. Later we can move this WiFi repeater to an intermediate point between the router and where we want to improve wireless coverage. Once it is connected to the electrical outlet and we have waited a minute until it starts, we have to connect via cable or via Wi-Fi to the repeater.
- If we connect via cable: We will have to use an Ethernet network cable and connect it from our PC to the WiFi repeater. We can use the network cable included in the repeater box.
- If we connect via Wi-Fi: we will have to locate the Wi-Fi network called FRITZ!Repeater 1200 AX, we also have to enter the WPA2 password that we have on the back of the WiFi repeater. If you have not written down this password previously, you will have to remove it from the electrical outlet, write down the password or take a photo of it, and again plug it into the socket and wait a minute until the Wi-Fi network appears.
Regardless of what form of connection you made, the repeater will provide you with an IP address within the range 192.168.178.0/24, with the IP address being 192.168.178.2 for the repeater, so you’ll need to enter this private IP address into your web browser: http://192.168.178.2.
By entering this private IP address, the web configuration wizard will appear. In the first menu we have to choose our language, then we select the region and the WiFi repeater will restart completely automatically. When it comes back from the reboot, we will connect again via Wi-Fi if you have chosen to connect this way, if you have connected via cable simply refresh the web page of the browser. Upon returning from this restart, we will have to enter a repeater administration password, this will be the key with which you will access its management via the web.
After entering the access password, another configuration wizard will load us, in this case to configure this Wi-Fi repeater. We must remember that this model allows us two clearly different configuration modes:
- Wi-Fi bridge mode: In this configuration mode the FRITZ!Repeater 1200 AX will act as a universal Wi-Fi repeater. This means that the repeater will connect via WiFi to the main router, and then it will repeat this wireless signal with simultaneous dual band to provide us with WiFi coverage.
- LAN bridge mode: In this configuration mode the device will act as a Wi-Fi access point. This means that the repeater will connect via Ethernet network cable with its Gigabit Ethernet port to the main router, and then it will generate a simultaneous dual-band WiFi signal to provide us with WiFi coverage.
In this tutorial we have chosen the WiFi bridge mode, that is, the universal Wi-Fi repeater mode.
The repeater will detect all the surrounding Wi-Fi networks, whether from the 2.4GHz band or the 5GHz band, in this way, we can select a WiFi network from both bands but belonging to the same router. You could also select only the 5Ghz band because it is faster and will give you better performance, but normally you choose both and then define the operating mode in the configuration.
Once we have chosen a frequency band or two, we will have to enter the WPA2 or WPA3 password of the wireless network, in addition, the wizard allows us to “use the same network key for both wireless networks” which would be normal, however , we could also put a different password, because there are routers that allow us to put a key to each frequency band. In this way, we will have maximum flexibility.
Once we have entered the password, we will have to choose which connection option we choose, this aspect is very important to achieve the best possible performance:
- Use frequency bands flexibly: the repeater will use one frequency band or another as the trunk network (from the repeater to the router), depending on the distance, network traffic and other situations that may occur. This configuration will be done flexibly depending on the current situation. This configuration mode is the default and recommended by AVM.
- Use Crossband Repeating: this configuration mode allows us to “cross” the interconnection bands. Traffic from a Wi-Fi client connecting to the 2.4GHz band at the repeater, trunk traffic (from the repeater to the router) will go over the 5GHz band, in order to provide the best performance and lowest latency possible . The traffic of a WiFi client that connects to the 5GHz band in the repeater, the trunk traffic will go through the 2.4GHz band. On certain occasions this configuration mode will give you extra speed, although it depends on the scenario where you find yourself, so you should try it.
- keep the frequency band: This mode allows you to set a trunk frequency band if you have chosen two bands to connect to the router. Logically, if you have used only one, the trunk network will always go for the chosen band.
Once we have configured the connection mode, we will get a small summary of all the configurations made with the selected SSID and password. Finally, it will tell us that the FRITZ!Repeater has been configured correctly and that we connect to the new SSID that we have configured. Once we connect to the new network, then we will be able to access this configuration menu again via the web. In this last configuration menu it also tells us that we can activate the Mesh network as long as we have a FRITZ!Box router with FRITZ!OS 7 or higher.
The router we have used is the FRITZ! Box 4060, but we have not enabled the Mesh WiFi, it is as if it were an operator router or another brand. As can be seen, the device will appear with its IP address, and if we enter the configuration menu we can see the Wi-Fi synchronization speed that we have available, as well as the wireless and wired clients that have connected to the device .
Expanding the Wi-Fi network of any router with this new FRITZ!Repeater 1200 AX is really simple, in addition, we must take into account its wireless specifications: simultaneous dual-band Wi-Fi 6 class AX3000 (up to 574Mbps in 2.4GHz and up to 2,402Mbps in 5GHz with 160MHz channel width). This means that it will be able to provide us with high wireless speed, perfect for streaming video in 4K or whatever we want.
The price of this equipment is around 90 euros approximately, a really competitive price if we take into account the technical specifications and also the real performance that it has achieved in the performance tests.


