Why change the network name of a computer
It must be taken into account that the fact change network name from a computer will not change the connection. We are not going to have higher speed, nor are we going to have fewer problems with Wi-Fi. It is simply a visual change, which can facilitate the task of finding a device on the network.
Let’s say, for example, that we need share files between computers and we do a network scan to detect the connected devices. There may appear several computers, if it is the case that we have several in our home. But this can be even more complex if we talk about a work environment, where there can be many more.
If we have random names in the teams, it is going to be difficult to identify a specific one. In case we need to make some configuration, send files or whatever, it will be more difficult to know which is really the equipment that interests us in each case.
Steps to change the network name of a PC in Windows
In the case of Windows, changing the network name of the computer is easy. We have a couple of options for this and we are going to explain each of them step by step. This will allow us to put any name that is easier to differentiate the devices we have on a local network. For example, put “desktop computer”, “laptop” or simply any name invented for each of them, but that we know how to identify well.
Configuration panel
The first option we have to change the network name of a Windows computer is to go to the configuration panel. There we will see the name that it has right now and we will be able to modify it for any other that interests us and to be able to identify it better.
We have to go to Start, go into Settings and click on System. There we have to look for the About option, which appears at the end of the menu on the left. Once we are inside, a series of data will appear with the information of the system. We will also see the name of the device, which if we have not changed it will never give us something of the Desktop-XX type. Also other data such as the installed memory, the version of the operating system, the processor … But what interests us in this case is the first: Device Name.
We will also see a button that says Rename this team. That is exactly what interests us for what we are looking for. You have to click there and a new window will appear with the bar to put the name you want. That will be the name that that computer appears by on the local network.
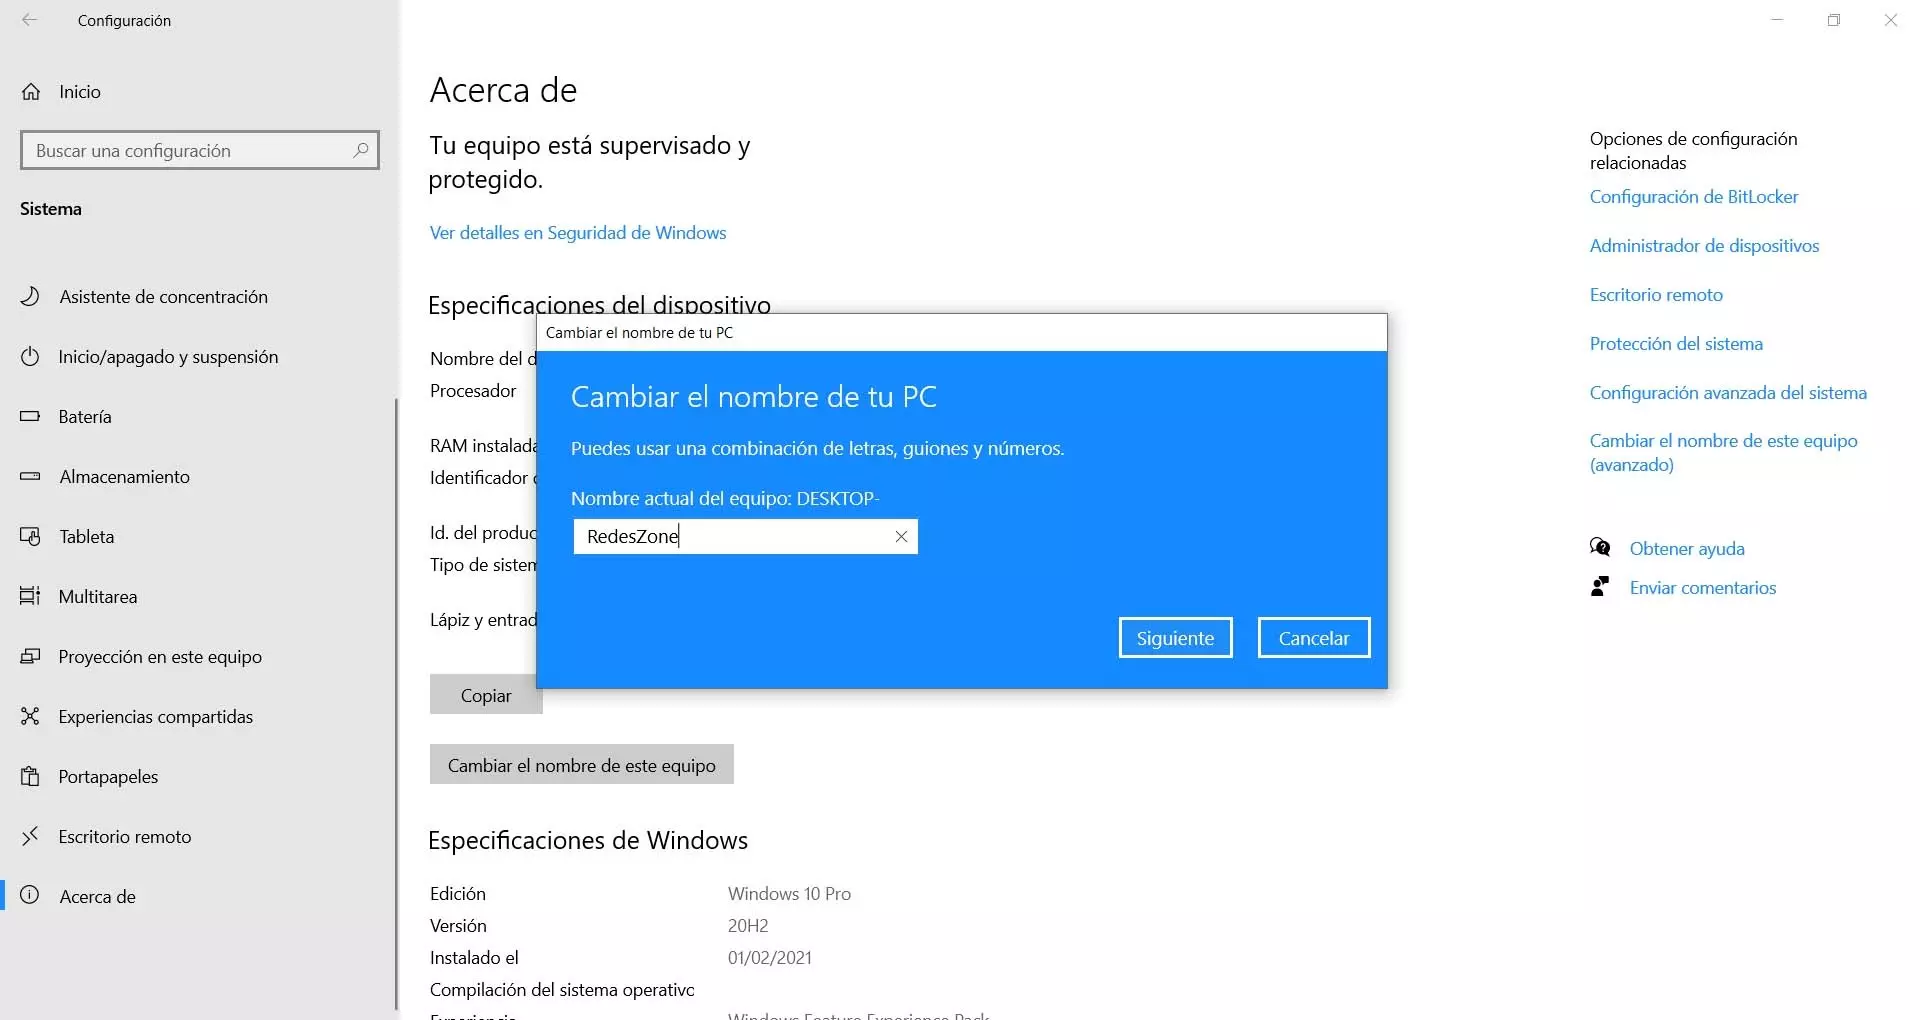
You just have to put the name we want and we give Next. After waiting a few seconds for the changes to be made, we will be able to restart the computer and verify that the name by which that computer is identified on the network has changed. It should appear like this when searching for devices on the local network, for example to share files.
Advanced system settings
Another option we have to change the name of a computer on the local network in Windows is through the advanced system settings. It is an alternative to the basic configuration menu that we have seen previously. For example if it does not work correctly or if we simply want to use a different option.
For this we can open any folder and click on This team for the window to open. Subsequently you have to click with the right button of the mouse in any space and we click Properties. There you have to click on Change settings, which is an option that we will see on the right of the page. It may ask us for administrator permissions.

A new window will open, as we can see in the image below, and a bar will appear next to Equipment Description. There we have to put the name that interests us. It will change to the previous one that we had previously and we can identify it that way in the local network. We will also see the working group and other data that may be interesting to know in certain circumstances.
We just have to click OK for the changes to be applied and restart the system. This is important for the changes to take effect and for it to work properly. From that moment on we will have another name. We can change it again whenever we want, either with this method or with the previous one.
Conclusions to change the network name
Therefore, as we have seen, it is very simple rename a team to appear on the local network. As we have indicated, by default Windows puts a random name. This can sometimes cause problems to identify it correctly, especially when there are multiple computers.
We have explained a couple of options to be able to change the name. Each of them requires a series of specific steps, but in both cases we will reach the same end: change the network name of our Windows device. It is not necessary to install anything additional in Windows, but simply to make sure that we have the latest version installed, so that we do not have any errors when changing something in the configuration. In a few minutes we will have put another name and it will appear on the local network in this way.
An alternative to knowing what the name of the computer is on the network is to know what its IP address is. However, this is more difficult to remember, so the ideal is that each device has a name that we can easily memorize and identify.