What is ping and what is it for?
In case you don’t know, the Ping is a diagnostic utility in computer networks that checks the communication status of the local host with one or more remote computers. Its operation consists of sending ICMP request packets (ICMP Echo Request) and receiving response packets (ICMP Echo Reply) Thanks to this command we can diagnose the status and quality of a given network. It can be used to check both locally and over the Internet. It is generally used to check the latency or time it takes for two remote points to communicate.
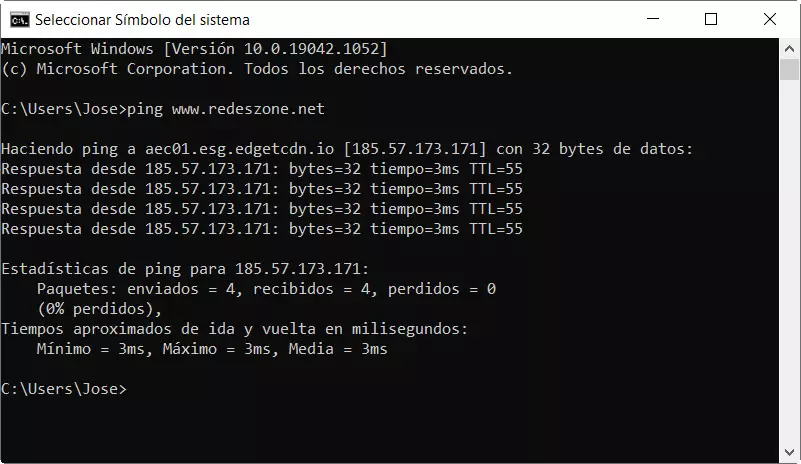
On the other hand, so that you can see the difference between Colasoft Ping Tool and the Windows ping tool, we are going to give you a simple example. To ping we would have to go to Start Menu, Symbol of the system and write this command:
ping www.redeszone.net
The results that we would obtain are these:
The difference, as we will see later with Colasoft Ping Tool, will be its graphical interface, and that we put the IP or domain directly in the command.
What the Colasoft Ping Tool program offers us
Colasoft Ping Tool is a free tool to ping multiple IP addresses simultaneously. In addition, it is able to list the response times in a graphical table, which can be very useful when diagnosing network problems. Thanks to this graph, we can see the time in milliseconds of the different pings that we are going to test, in this way, we can very easily see the variations in latency that we have in a specific device.
One of the things that this program stands out for is that it can save this graph in a file with a bmp extension. This can help us to have our historical record and compare the results when we have problems of some kind. The program is basically divided into three windows, which we will explain in detail later. In general, we have the advantage above, which is a graphical ping window that we can customize to our liking. The one on the bottom left offers us a summary of the ping and information such as where the IP is located. On the other hand, the bottom right shows how the Ping command is executed and its results each time one is carried out.
With the Colasoft Ping program we can make a ping both an IP address and a domain. The response time in the annotation will be a range of time when the mouse cursor is positioned on the grid. On the other hand, it will be a time if the mouse cursor is positioned on the grid line. It will also allow us ping multiple IP addresses or domains simultaneously. The way to do this is by entering the IP, separating them with commas and clicking the button to start the ping.
Finally, we must comment that there is a more complete tool called Colasoft Ping Tool Pro whose price you can check here. In this case, to do this tutorial we must mention that we are going to use the free version and that it has no limitations.
Minimum requirements, installation and first steps
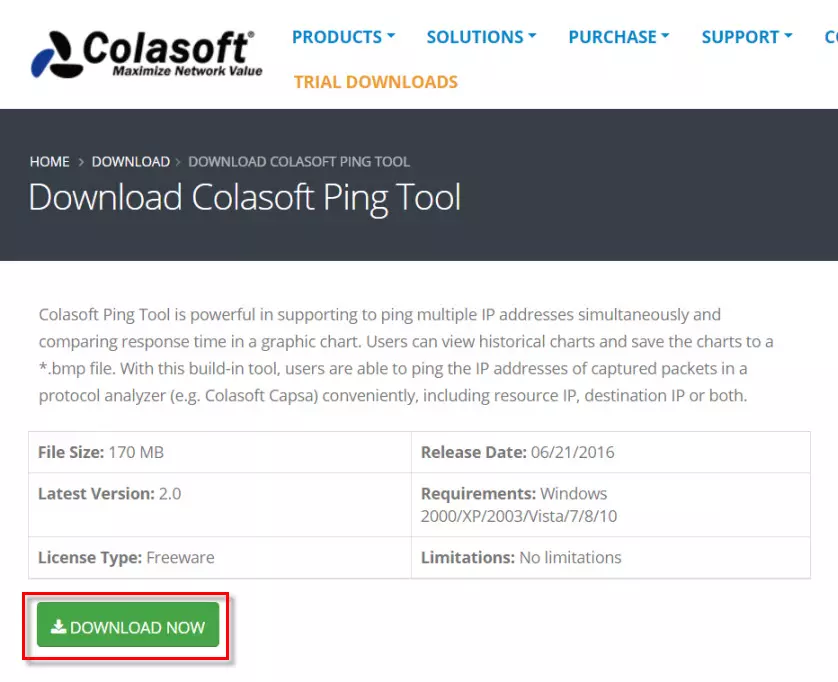
If you want to try this tool, you will have to go to its download section by clicking on this link. Colasoft Ping Tool has as minimum requirements to have a version of Windows 2000 / XP / 2003 / Vista / 7/8/10. As for the download, you have to click on the button «DOWNLOAD NOW«. One issue to comment is that to download it we had to use Firefox because my usual browser did not download it. If you have problems, try with another browser or by copying the link in a download manager like Jdownloader.
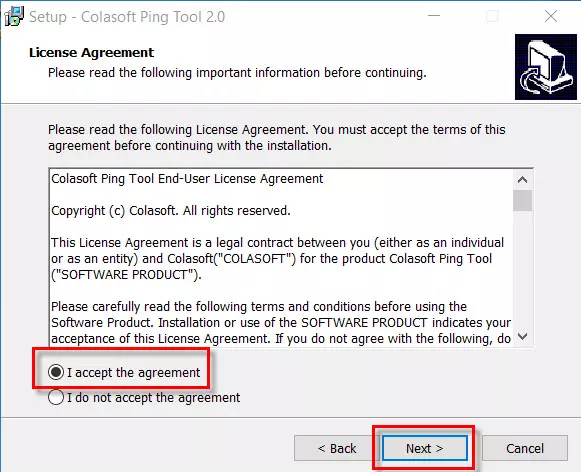
Once the file is downloaded, we run the installer and we will get to screens like this one, where we must accept the license agreement in order to use it.
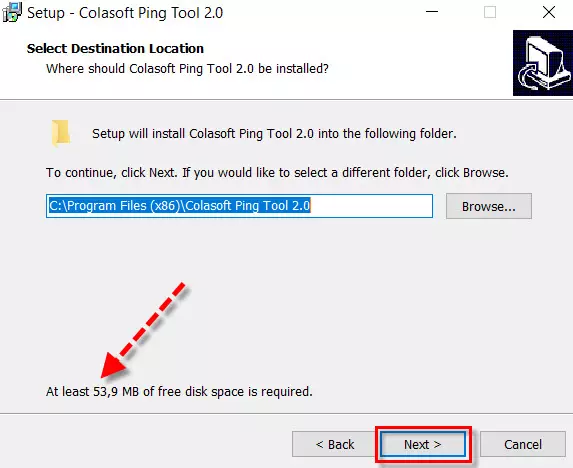
Here it tells us that we need 53.9 MB free disk space and we can change the installation folder of Colasoft Ping Tool. Unless you have any special reason, leave it as is and click on Next.
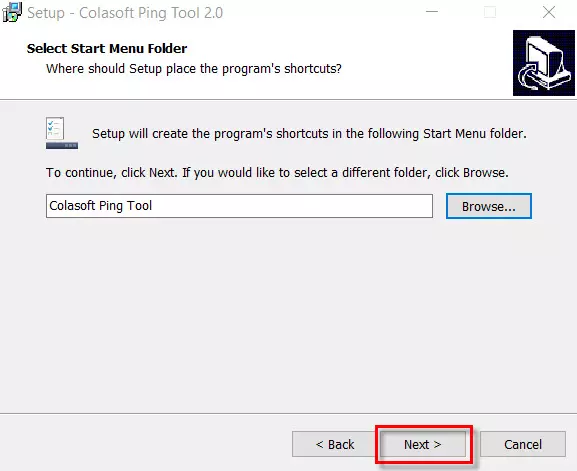
Next, it will create a folder for the program in the “Windows Start Menu” by clicking on Next.
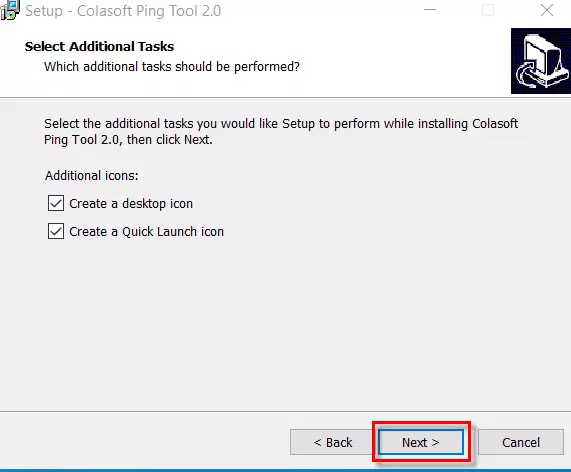
In this section we can choose if we want it to create shortcuts on the desktop and in the Start Menu. Now we will click on Next to do it.
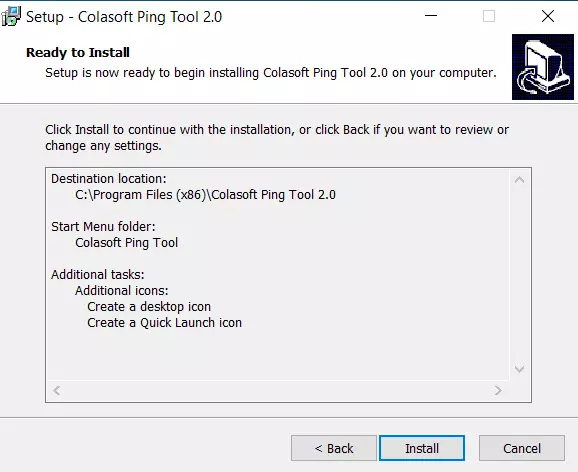
Now we will see reflected the options that we have chosen throughout the installation and we will click on Install to proceed with the installation.
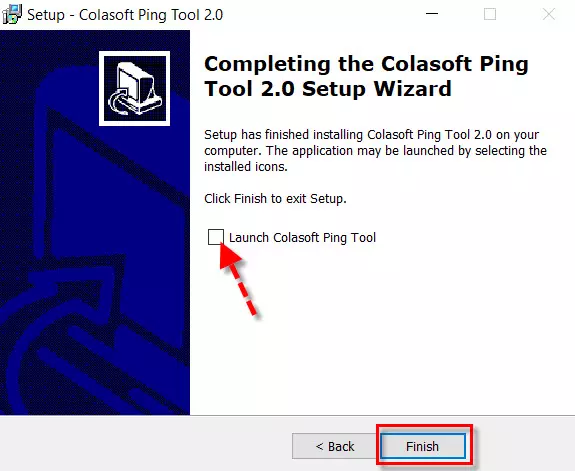
Once it finishes successfully, we will see the following screen where we will activate the box marked with the red arrow and click on the button Finish for it to run.
The first time we start Colasoft Ping Tool we will see a screen like this:

At the top we have the main menu, whose most important options are:
- File: to start or stop pinging.
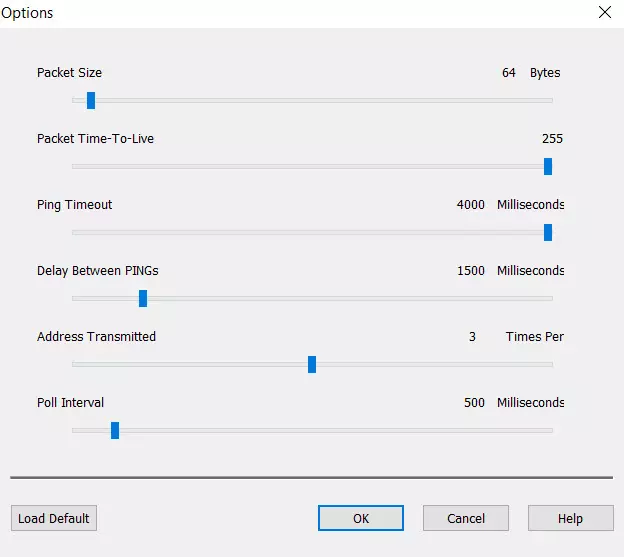
- Options: here we can configure what the Ping has according to the criteria that we establish.
If we click on Options We will be able to choose the size of the Ping packet and other time-related options.
At the bottom we would have a bar where to enter the IP addresses and to the right the button to start / end the ping. At the bottom left marked with a red arrow, you have a series of frequently asked questions that can help you at the beginning.
Example of use with one IP and several domains
Let’s start by pinging one of Google’s DNS in this case its IP is 8.8.8.8. We enter it in its corresponding bar and click on the button Start Ping. Then we will get results like these:
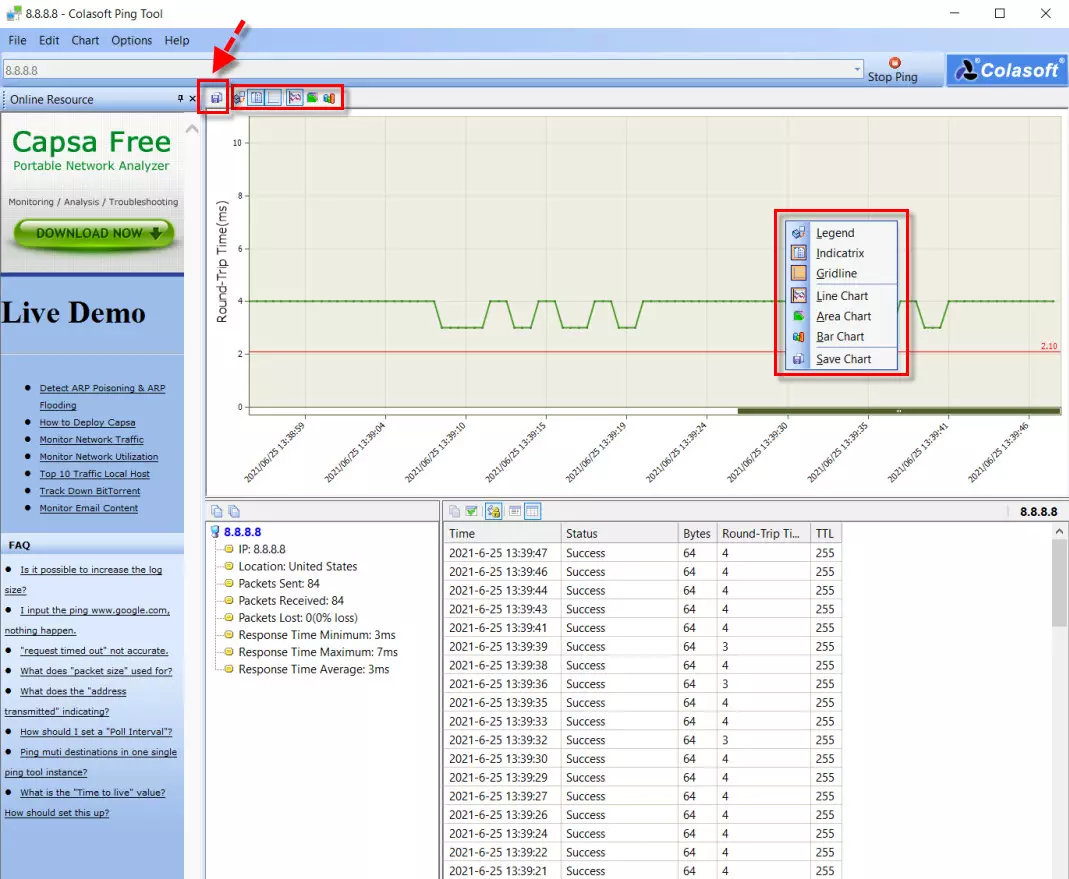
Here we see that the three main windows of the program that we mentioned at the beginning of the tutorial have been activated. Now we are going to delve into them to explain them in detail.
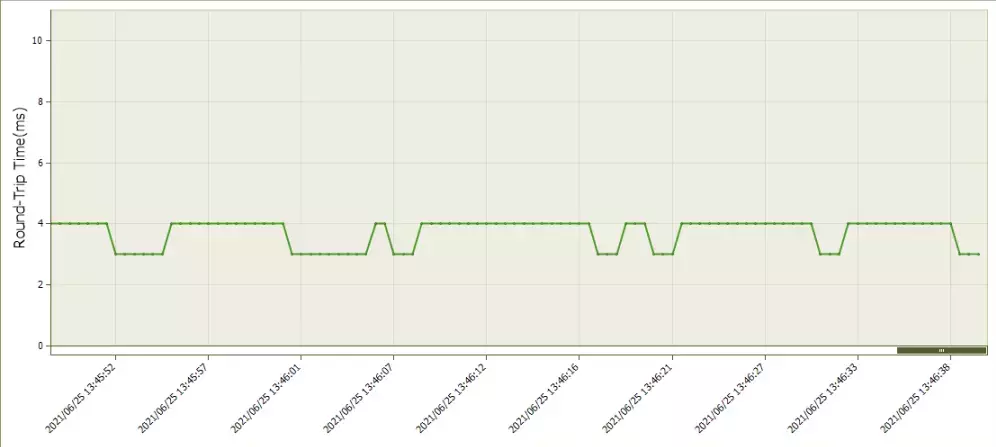
The one at the top offers us a graph of the Ping and at the top has a button panel. The first icon on the left is used to save that graph in a file with a .bmp extension and the rest to customize that graph. Also, if you click on this section with the right mouse button you can do the same as with the buttons, such as adding a grid. This is an example of a chart saved to a .bmp file using this program:
Then, at the bottom left we have information with the summary of the Ping in which you can see, for example, the location. Finally, at the bottom right we see the Ping that are being executed, with the right button of the mouse it can be customized. Here we have chosen to customize it with a table format.
As for how to ping multiple IPs or domains with the Colasoft Ping Tool, it is done as follows. In the bar where we put the IPs or domains we will do it separating them with a blank space, a comma or a semicolon. Then, to start it, we will click on the button Start ping. This would be an example with three domains:
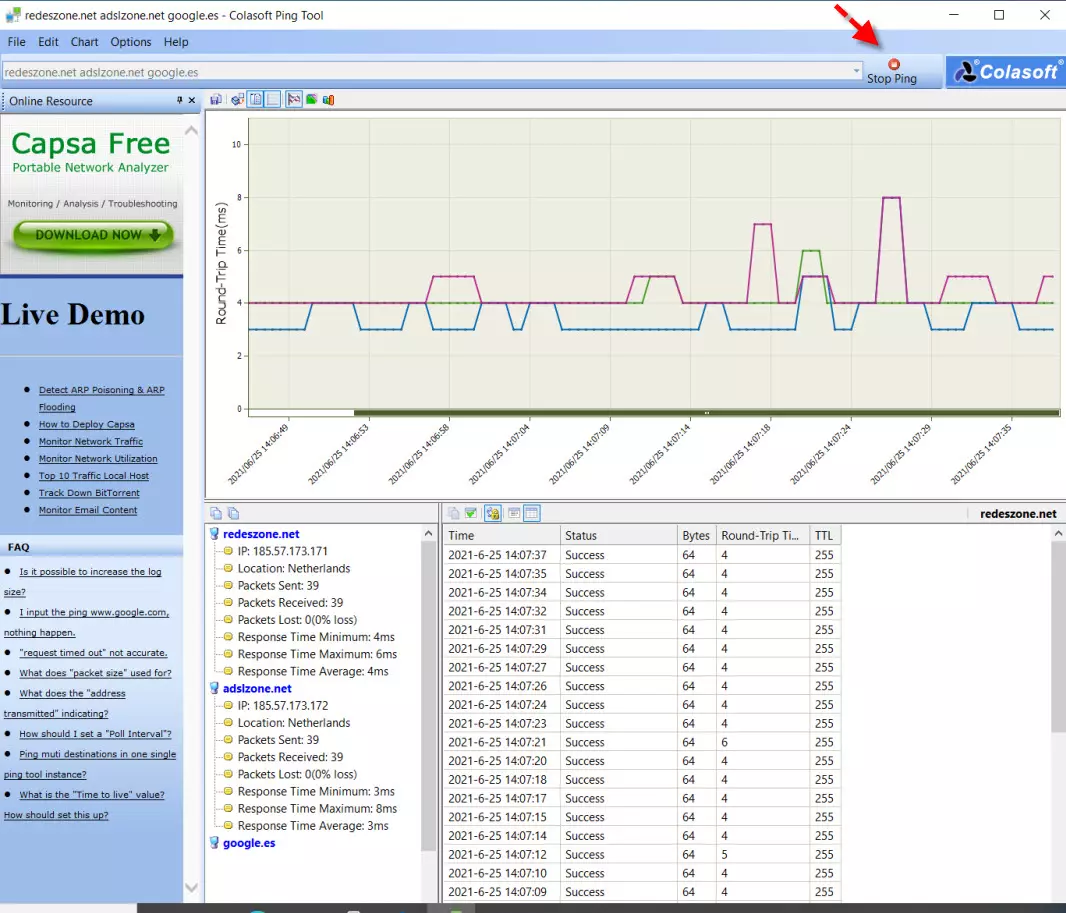
To end this simultaneous or individual ping, we will click on the button Stop ping, or in the main menu under «File»We will touch on the same option. For futher guide you can visit Monitor Beast.
As you have seen with Colasoft Ping Tool we have a good free tool to be able to make a Ping, it allows a continuous ping as it happens in Windows, and also incorporates graphs to show us the latency of each and every one of the ICMP messages that we have sent to a destination. If you need a more advanced program than the typical ping that comes with the Windows operating system, this program is a great option to monitor and diagnose network communication.