A TPM module has mainly two jobs, the first of which is to store the keys used by the user in a secure environment that only the user can access. When an application requires a specific key, it requests it from the operating system, which in turn requests it from the TPM module if it is installed. It is the TPM module itself who, based on the existence of a trust between the elements that have requested a specific key, decides whether to carry out the process of providing the information or not.
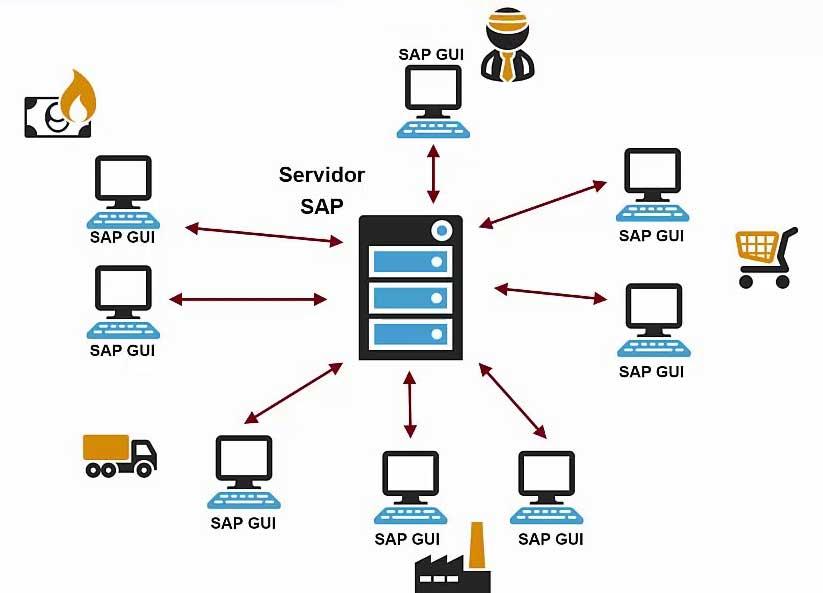
In an era in which we make purchases online continuously and our sensitive data flies through the network of networks, it is necessary to use hardware systems that keep these keys safely and out of the access of malicious applications. Being one of the pending tasks on the PC and therefore Windows. Hence, Microsoft has made it a minimum requirement in Windows 11.
How to know if we already have the TPM module installed?

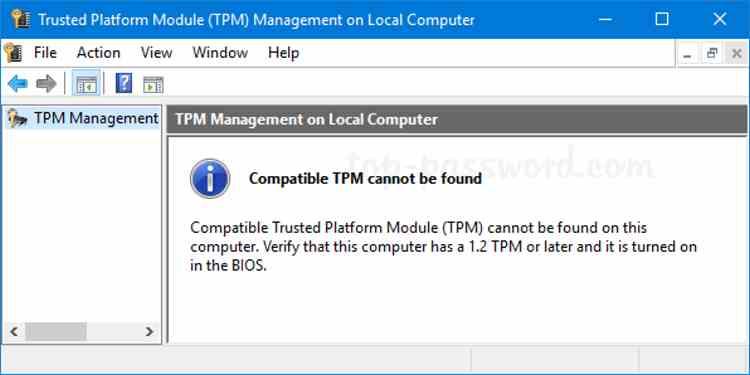
The first information can be obtained in the device manager, if you have a TPM module installed and active then it should appear among the system devices, specifically under the security devices drop-down. However, it may not appear because you do not have it active, to do this press the Windows and R keys to open a pop-up window.
In it type tpm.msc, you should get the following window:

In the event that you have it installed on your system, if so, we recommend that you skip the next section. The alternative is if you got the message below, which means that you will have to install the TPM 2.0 module on your PC. Although it does not have to be this way, first of all you will have to carry out a small final check.
Do I really need a TPM 2.0 module to use Windows 11?

If your system does not have a dedicated TPM 2.0 chip or you have not been able to get one, then do not despair, since it is possible that the functionality of the same is in the processor of your PC. This is thanks to two different technologies from Intel and AMD, called Platform Trust Technology, Intel PTT, and AMD PSP fTPM. The problem is that many of the motherboard manufacturers have this option disabled from the BIOS.
What is the difference compared to a TPM 2.0 module? Well, the place where they store the data is that they do it within the system BIOS, while a TPM 2.0 module has an internal memory that can only be accessed by itself. Which is a plus in terms of security. The most important problem is that if we use Windows 10 device encryption and use both PTT and fTPM then the security keys will be stored in the processor firmware.
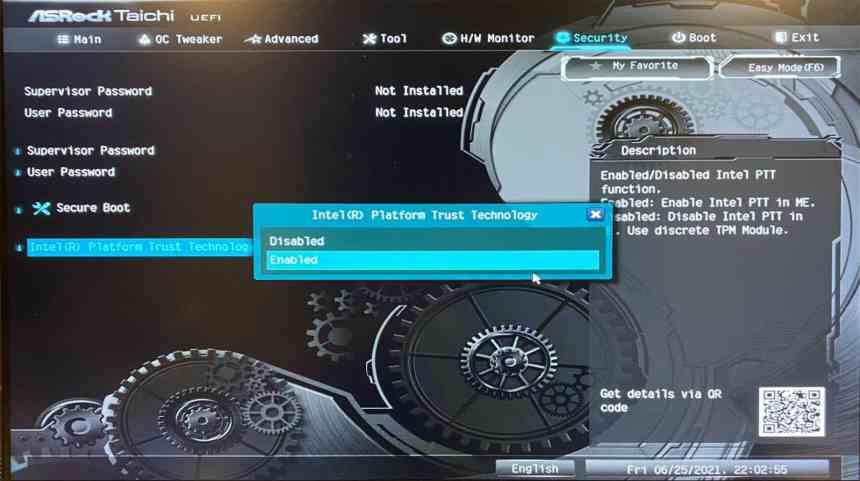
When activating AMD fTPM or Intel PTT you have to bear in mind that not all BIOSes are the same, so you will have to navigate through the BIOS to activate this option. Which Microsoft considers valid to use Windows 11. What’s more, one of the reasons why motherboard manufacturers take compatibility for granted is because you only need to activate it in the BIOS to be able to use Windows 11.
This solution does not include the AMD and Intel CPUs from a few years ago, for which it will be necessary to install a TPM 2.0 module on your motherboard.
Installing and configuring the TPM module
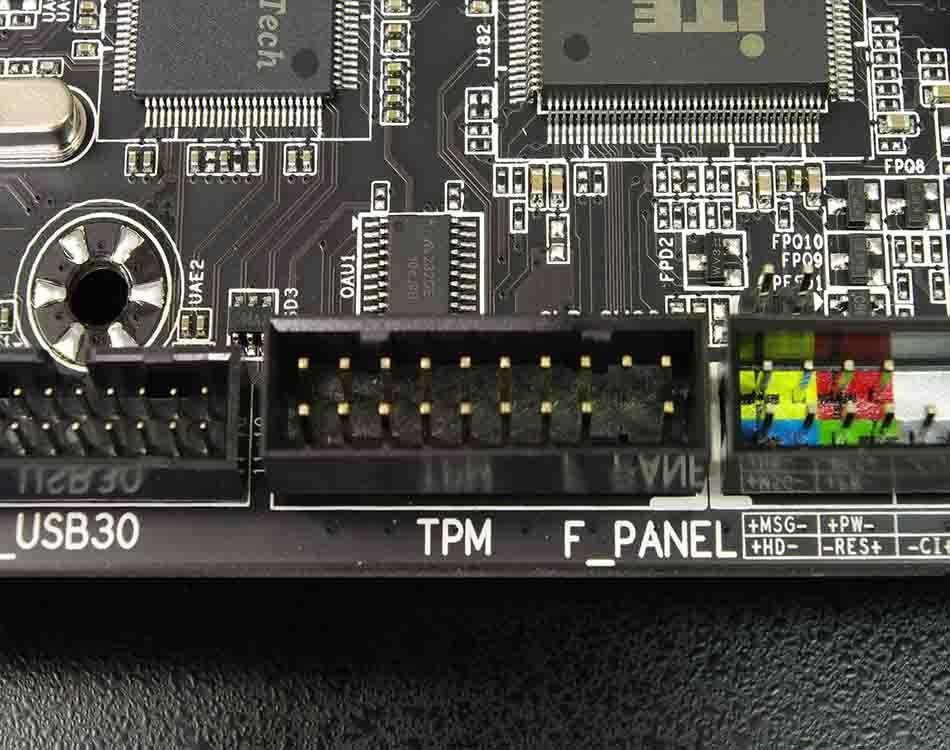
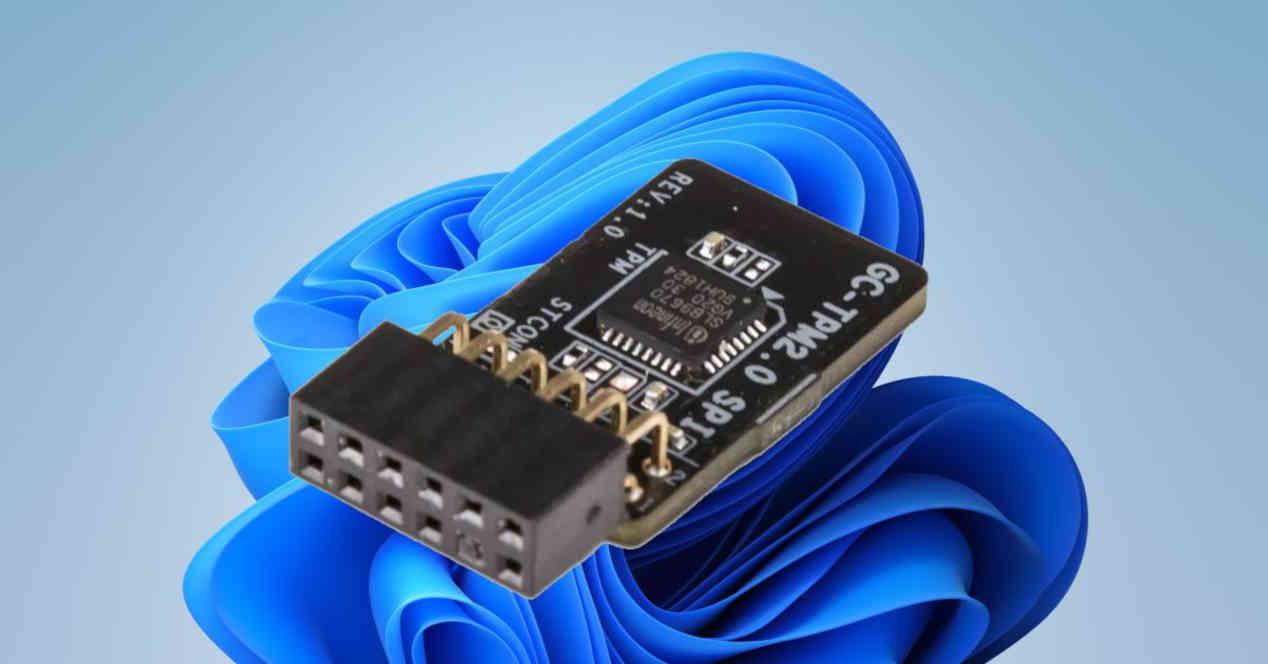
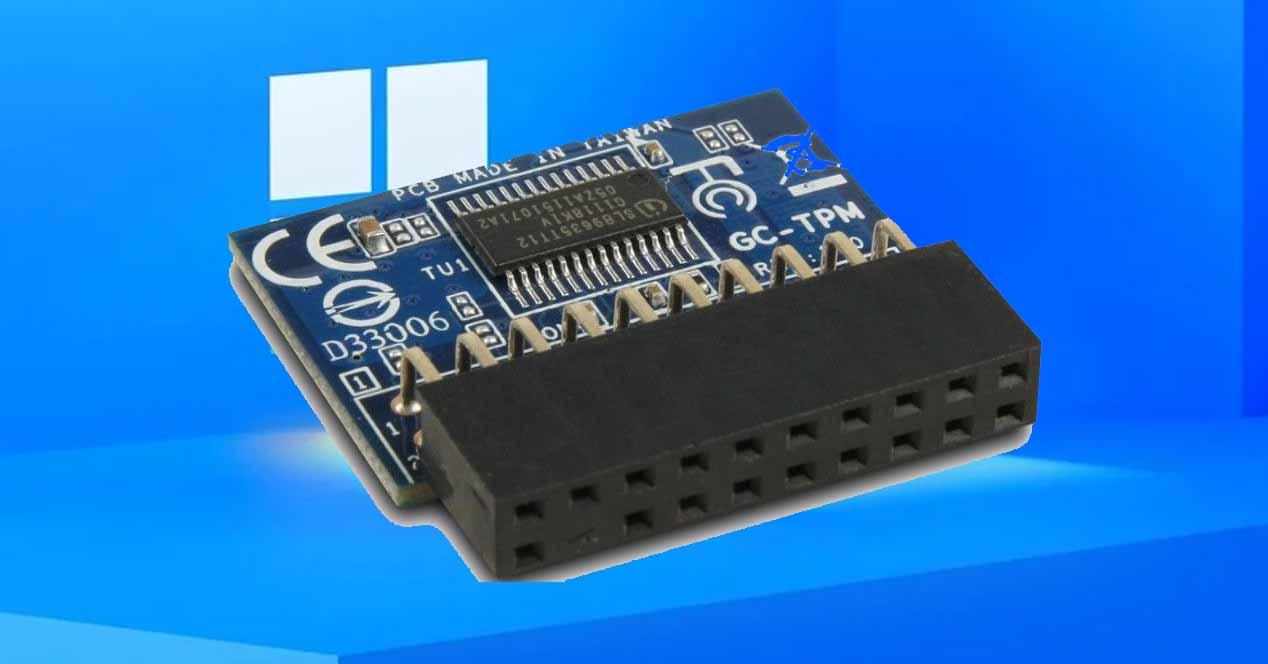
If your PC does not have a TPM module then do not worry, it is as simple as purchasing one and connecting it to the corresponding connector on the motherboard that is designed for it. It is an extremely simple procedure, yes, we do not recommend doing it with the computer turned on, so if you are going to carry out this update and as is obvious, we recommend that you have the PC completely turned off to perform this operation and just in case you disconnect the power cord from the outlet.
Once you have completed the installation, you must activate the TPM module from the BIOS or UEFI of the system, which differs if we are talking about Intel or AMD.
Installing a TPM 2.0 module under Intel CPUs
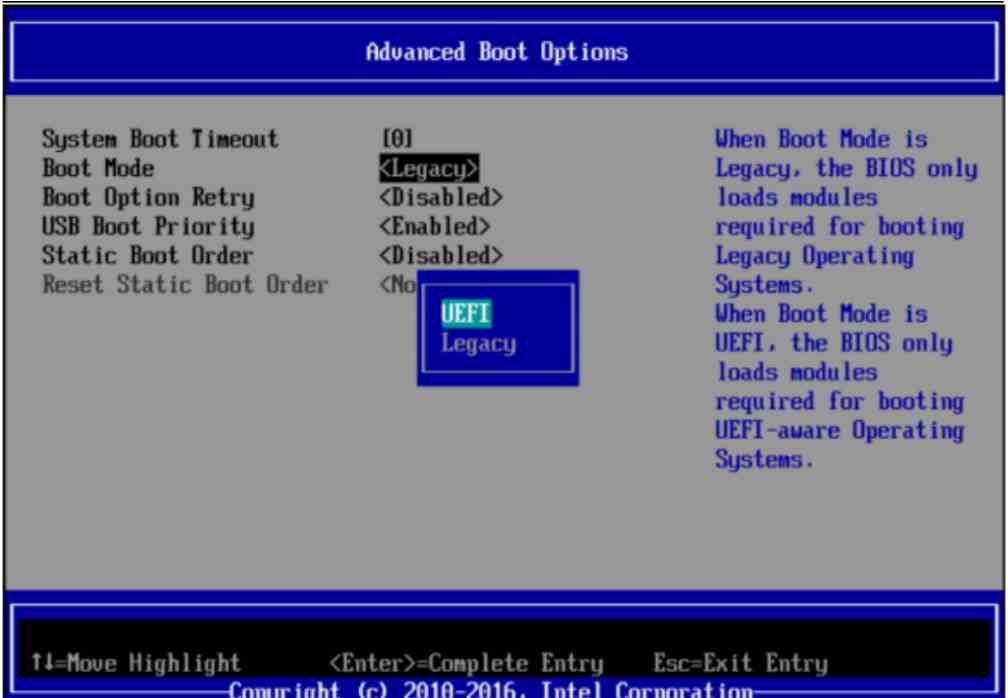
In the case of Intel, you will have to start your system BIOS and in Boot maintenance manager → Advance Boot options set Boot Mode to UEFI. Since in Legacy mode the UEFI does not work. So if you have an operating system that depends on Legacy mode, you will not be able to have the TPM 2.0 active in it. Once you have selected to start in UEFI mode, press F10 to save the changes, restart the PC and enter the BIOS again.

Go to the security tab within the BIOS menu, it will ask you for the administrator password, enter it and press Y to confirm, you will see how the system restarts. Enter the BIOS for the third time and once you have returned, go back to the security tab and a dialog box will ask you if you do not want any option to be made or the TPM2 ClearControl (NO) + `Clear. Select this option to enable the TPM 2.0 module.
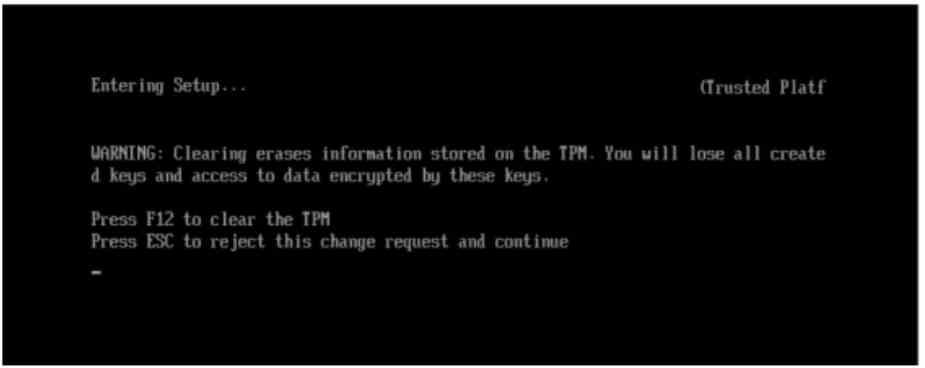
You only have the final installation, to do this press F12 and re-enter the BIOS. You will see the message above where you will be warned that all the keys in the TPM will be erased. This is important if you are using an already used TPM 2.0.
The inclusion of the TPM 2.0 module should allow you not only to run Windows 11 smoothly on your PC with an Intel CPU, but also to access Intel virtualization technologies on processors that support it but require this module to function. Apart from obviously allowing you to run Windows 11 on your PC.