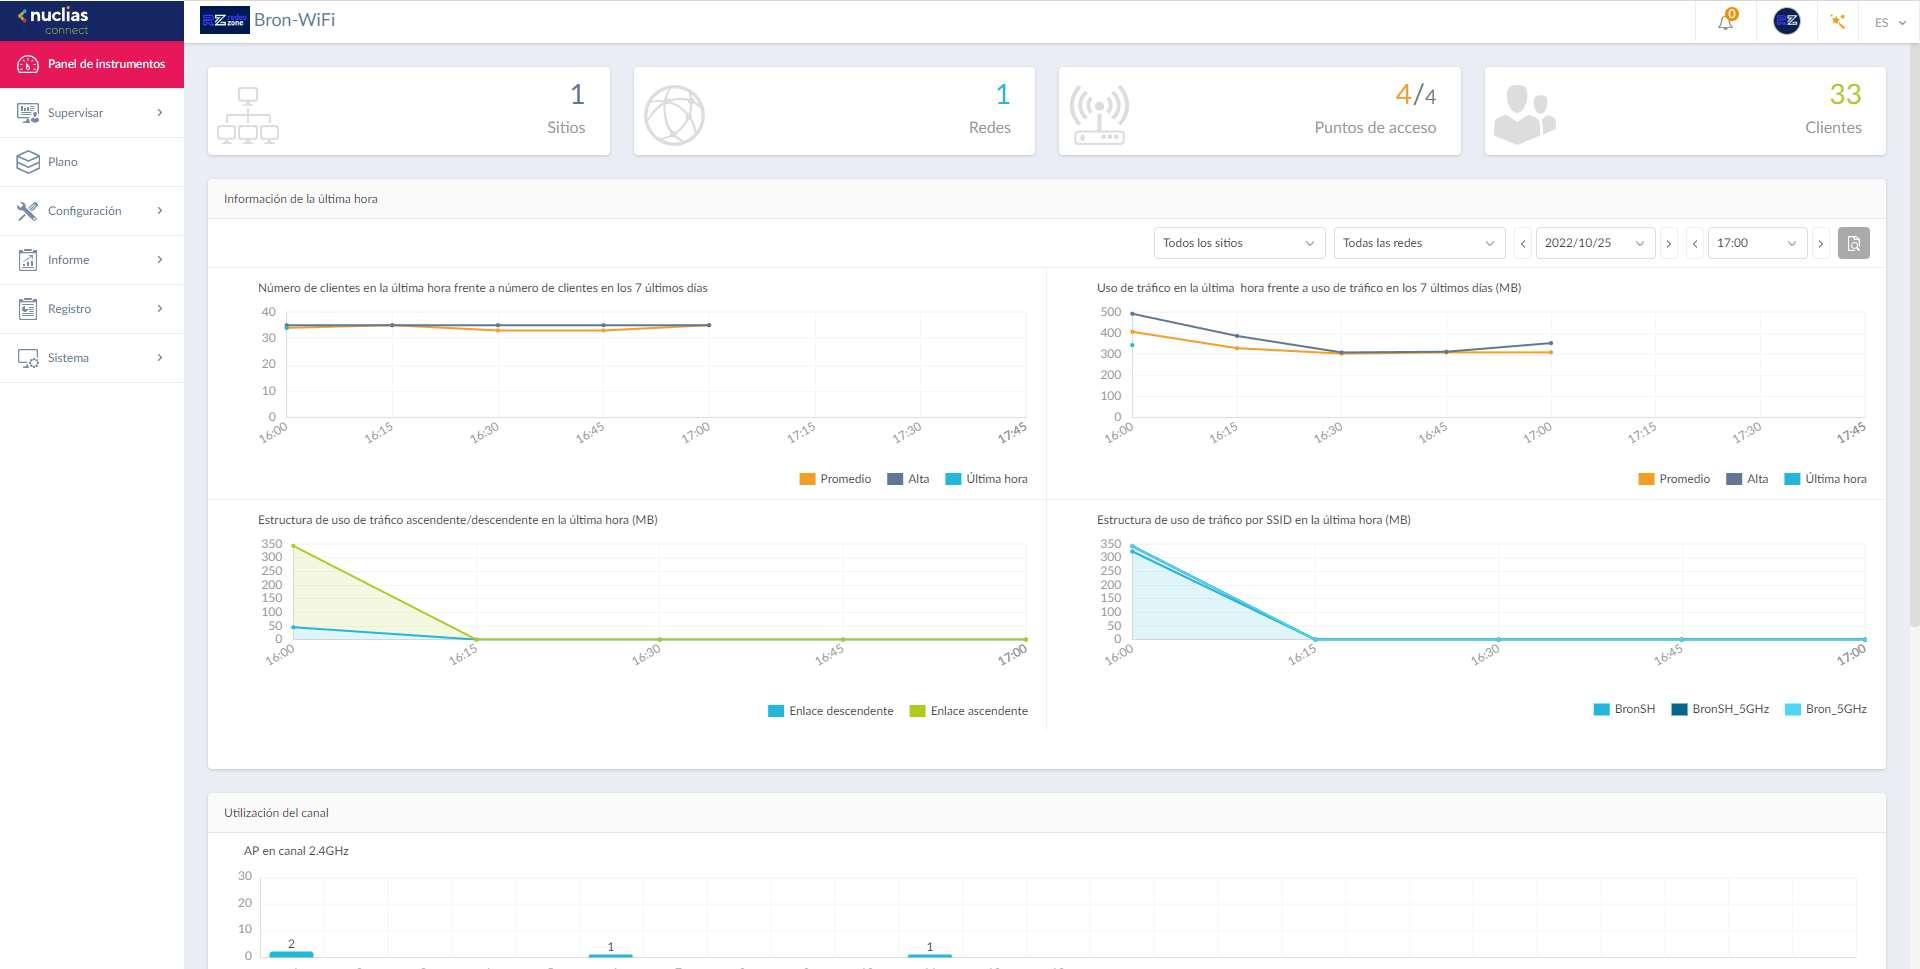
Once we enter the main menu, we are going to carry out two actions: backup to avoid problems in case the update goes wrong, and later we will carry out the update.
Nuclias Connect Backup
In the menu of «System / Parameters» we must go to the «Backup«. In this menu we must click on the button «backup now» and then click on the download button.
Once the backup has been made, it will turn green for us, and we will already have the configuration file in .tar format with all the configurations, captive portal and many other options that we have configured.
Now that we have the backup, we proceed to the firmware update.
Firmware update on the DNH-100
To update the firmware, we must ensure that we have downloaded the Nuclias Connect version for the DNH-100 v1.2.0.1 or higher. This latest version v1.2 is the one that incorporates support for the switches of the DGS-1210 family of the team. We go to the menu «System / Parameters» and to the tab «Firmware update«.
In this menu is where we must select “Load firmware from my hard drive” and click on “Apply” to proceed with the update.
The update will take approximately 3 minutes, meanwhile, it is possible that the WiFi network may be momentarily interrupted.
Once we have carried out the update, we can see in the main menu that the possibility of configuring the switches will appear. In the “System / About” section we can see the new firmware perfectly updated. We must bear in mind that the APs will have to reconnect to Nuclias Connect, so this process could take approximately a couple of minutes.
Once the WiFi network works properly again, we will proceed to configure the DGS-1210 switches to be able to add it to Nuclias Connect.
Configuration on the DGS-1210 switch
The first thing we must do is configure Nuclias Connect to be able to accept switches, if we do not do this process as we put it, when trying to add a switch we will get an error and we will see it in the Nuclias log. What we must do is go to the section of «Settings / Create profile» and click on «Action / Edit«.
We will get the configuration wizard to edit the network, in the first menu we leave everything exactly the same, click on «Next». In the second menu is where we must click on «Device/Switch Type“In this way, this Nuclias profile will be available to accept DGS-1210 family switches. Right at the bottom we can select this model, and even set a local administration password for when it is included in Nuclias, just as we do with managed switches.
Once this is done, click on “Next” until the wizard is finished, we do not have to make any additional configuration. In the last menu we click on “Apply and exit” and that would be it.
Now what we must do in the main menu of the profile is to click on «Profile / Export Network Profile«, and it will save the profile in a .dat file on our PC. Once we have saved this file, we are ready to upload it to the managed switch.
If we enter the web-managed switch, in our case we have used the DGS-1210-10MP, which is the one we currently use to power professional APs. In the main menu we must make sure that we have the latest firmware version available, which came out a little over a year ago. In our case, it is version 6.30.XXX.
Once we have ensured that we have the latest firmware on the switches, we need to back up the current configuration. Of course, in case you do not have the latest version, you will have to perform the firmware update.
Switch Backup
To make the backup, we go to «Tools / Configuration Backup & Restore» and proceed to click on the «Backup» button of the current configuration.
Now that we have made the backup, if at any time the process goes wrong, we will be able to restore the switch with the configuration that we had previously.
Configuration file upload
In order to load the .dat file that we have exported from Nuclias, we must go to «Tools / Upload Nuclias Connect Network File«, we click on the «Examine» button and then on the «Upload» button to proceed with the upload of the configuration.
If we wait a couple of minutes, between resetting to factory settings, restarting and connecting, in the “Tools / Nuclias Connect Settings» We can see that the status is «Enable» and that the WiFi controller and switches are currently connected correctly.
Now that we have perfectly integrated the switch in Nuclias, we are going to show you all the options that we have available, although we anticipate that not all the switch options in standalone mode are available in centralized management mode with Nuclias Connect.
Switch configurations in Nuclias Connect
In the menu of «Monitor / Switch» we will be able to see the newly connected manageable switch itself. We will have the green icon indicating that it is connected correctly, we can also perform certain actions such as restarting it, moving it to unmanaged and even a button to access the individual configuration of the equipment. We will also see important information such as IP address, MAC, model, name, network, connected clients, current PoE, maximum PoE supported, how many ports it has, as well as the current configuration of the switch.
In the menu of «Configuration / Switch / Common» is where we will be able to configure all the global parameters of the different switches that we have in the network. We can configure both the RADIUS server for 802.1X authentication as well as add the different time profiles to schedule PoE on and off, among other uses.


In the menu of «Configuration / Switch / DGS-1210» is where we have the rest of the configuration options available, specifically we can configure the following:
- Configure VLANs
- Voice VLAN configuration.
- IGMP Snooping.
- Configuration of the Spanning-Tree Protocol.
- DHCP server screening configuration.
- jumbo frames
- QoS quality of service
- Configure LBD and DDP
- Configure local administration credentials
Of course, Nuclias also allows you to configure access control lists with IPv4, in order to allow or deny network traffic. We can also configure the access policy, the detailed configuration of the ports with the VLANs and the corresponding STP, as well as the SNTP server that the switch will have.
If we access the individual configuration of the switch, we can see the basic configuration applied, configure the IP address specifically, see the status of the CPU and the ports, the traffic of the different ports, the detailed information of each one of them, as well How to configure multiple IP interfaces for inter-vlan routing. We also have the possibility of configuring Link Aggregation, Port Mirroring, configuring routing with IPv4, seeing the power status of the different ports, as well as the usual network tools such as ping, switch MAC table, cable test as well as test the PoE of the ports.
As you can see, Nuclias Connect allows us to centrally manage the switches and with a large number of options, however, you should know that not all firmware options in standalone mode are available for centralized management. Next, we list the most relevant functions that are not available in Nuclias but are available in the firmware:
- Trusted Host
- traffic segmentation
- StormControl
- ARP Spoofing Prevention
- DHCP Server Screening, Nuclias allows one entry but firmware up to five.
- DoS Prevention
As you can see, if you use any of these features, then you will not be able to use Nuclias Connect because you will lose features related to network security.


