The first thing we are going to do is briefly know what the MAC address is and how we can see it in Windows. Then we will talk about what the use of Colasoft MAC Scanner can bring us, how it is installed and also some examples of use.
What is the MAC address and how to view it in Windows
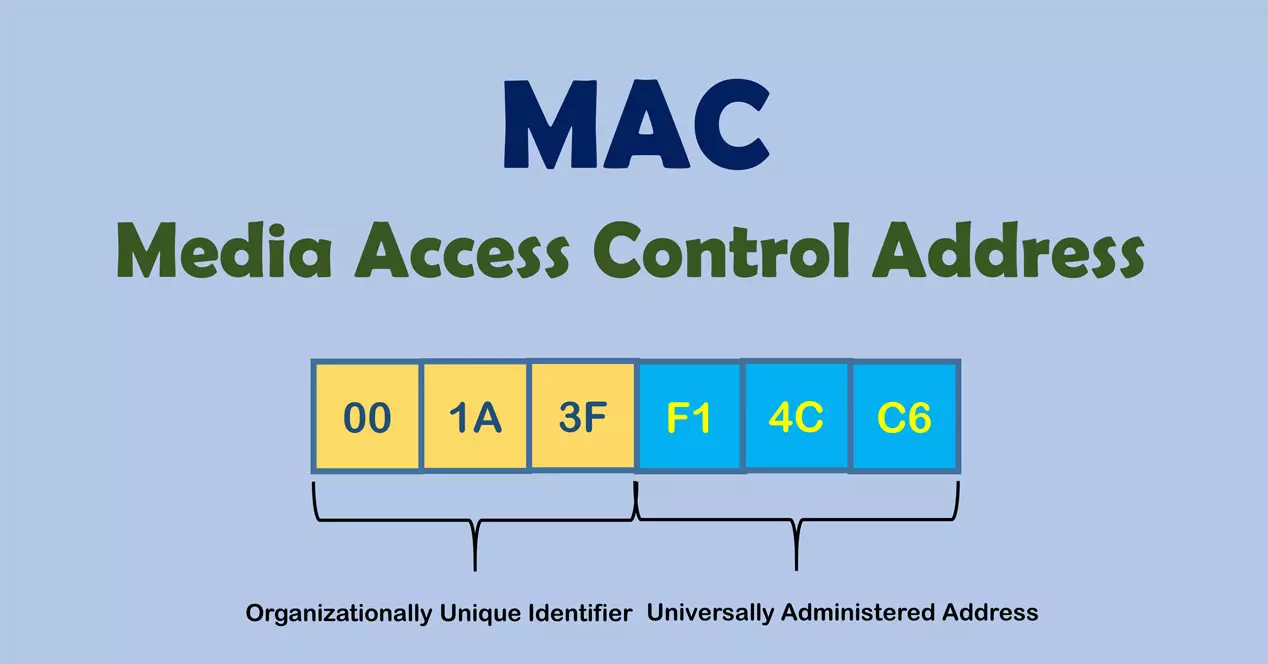
In a computer network, we can define the MAC address as a 48-bit identifier that uniquely corresponds to a network card or device. Another way it is also called, is as physical address of the network card. A curious thing to note is that the first 24 bits correspond to the manufacturer of the network card, and the rest are set by the manufacturer to differentiate their cards. For this reason, knowing the MAC address of the different devices in our home, using programs such as Colasoft MAC Scanner, we could find out the manufacturer of the different devices that are connected.
On Windows, the simplest way would be by using a Command Prompt window and using the command ipconfig / all. This would be an example:
Here, our MAC is the physical address, which is a unique identifier for our network card. For this reason, sometimes to increase security, MAC filtering of one of two types is performed:
- White list: in which only the devices included in it could use that network.
- Blacklist: Those who are included in it could not use that network.
Another important detail is that the hexadecimal numbers of the MAC addresses are normally separated by a colon (:), however, in Windows we can see them with a dash (-), of course, being hexadecimal numbers, the letters of the A up to F it does not matter if they are in uppercase or lowercase.
Features of Colasoft MAC Scanner and what it is for
We could define Colasoft MAC Scanner as a free software for Windows that will allow us to scan the IP address and the MAC address. In this sense, it can automatically discover all subnets according to the IP addresses configured on multiple NICs or network cards.
Regarding its operation, it is really easy to use. All we have to do is choose a subnet from «Local Subnet«, And we click on the button Start or F5 to start the scan. Once finished, we will see a list with all the devices or hosts detected. There we can see the IP address, the MAC address, the name of the Host, its workgroup and the manufacturer.
It should also be noted that there is a paid version with more features called Colasoft MAC Scanner Pro. If you want more information such as its price, click on this link. However, there is a free version for Windows that we are going to test in this tutorial.
Minimum requirements, installation and first steps
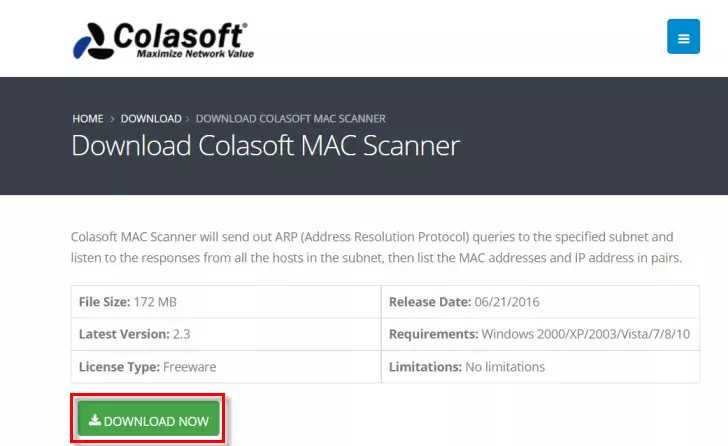
If we want to download the latest version of Colasoft MAC Scanner we will have to click on this link. What we have to do to download the installer is to click on the button DONWLOAD NOW. In case the download does not start, I recommend using another browser such as Firefox or copying the link and downloading it from a download manager such as jDownloader.
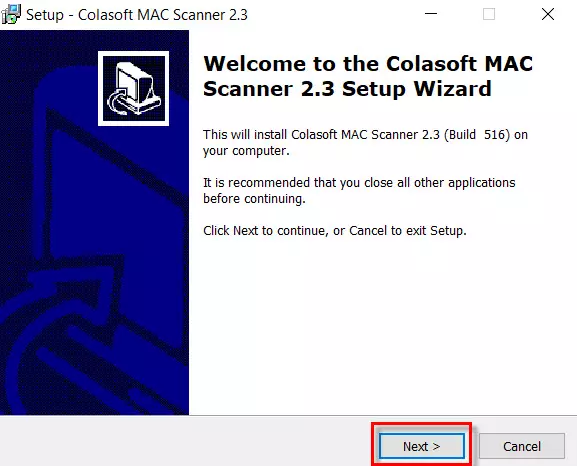
As for the minimum requirements to install this tool, we will need a computer with Windows 2000 / XP / 2003 / Vista / 7/8/10. Once the program’s installer has been downloaded, and after executing it, a welcome screen will appear where we will press the button Next.
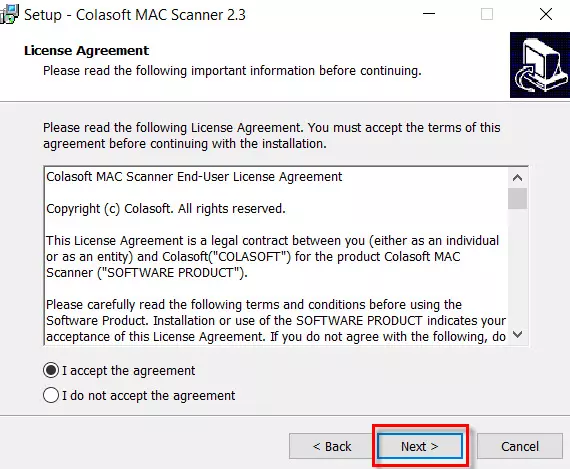
The next step that we are going to take is to accept the license agreement to be able to use this program. Otherwise we could not use it.
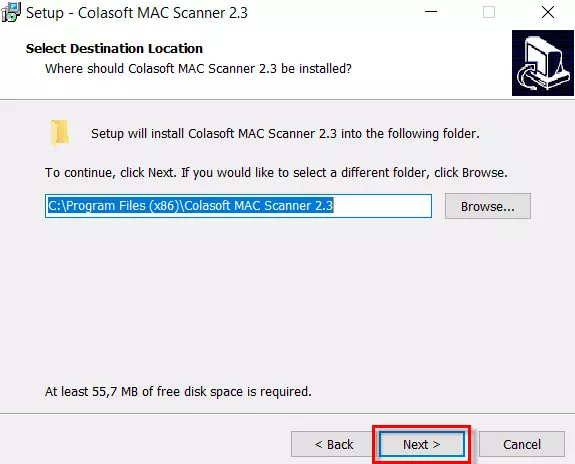
Then we have to choose the folder where we want to install Colasoft MAC Scanner. Except for some special case, it is best to leave it as it comes by default, since it takes up very little disk space.
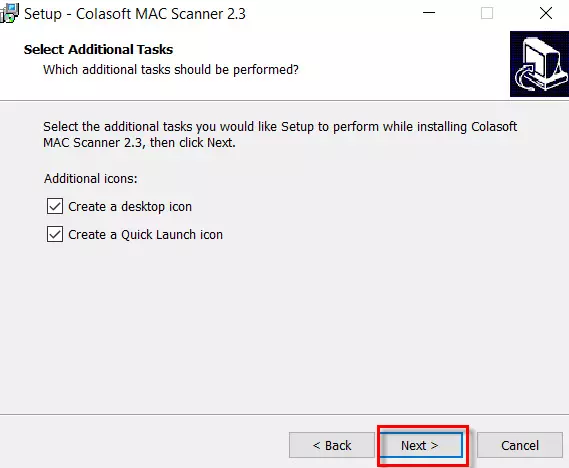
Here it offers us to create a shortcut on the desktop, and in the Windows Start Menu for which we will click on the button Next.
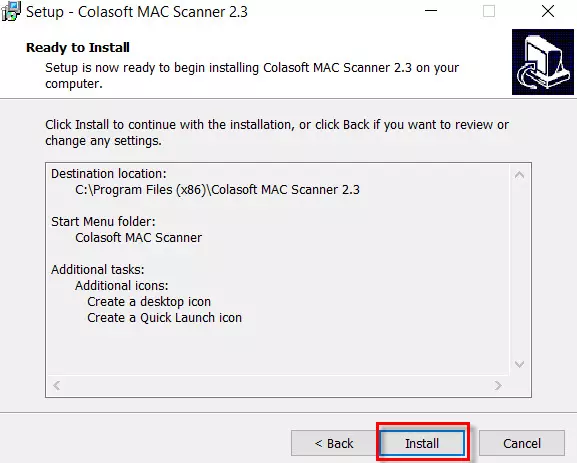
Next, it offers us a brief summary of all the options that we have selected in the installer. All we have to do is press the button Install for the installation to begin.
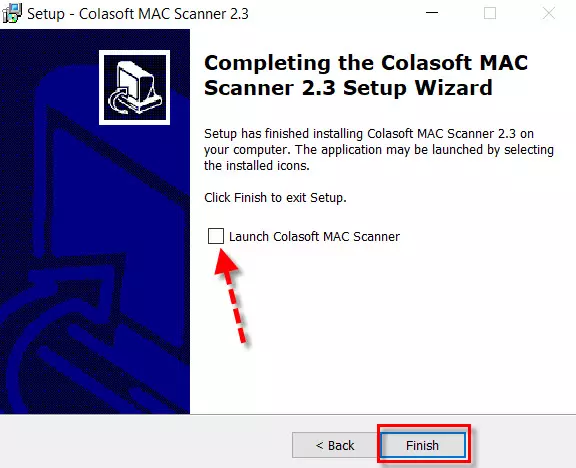
As soon as the process ends successfully, a screen like this will appear. In addition, if we activate the box that indicates the red date and press Finish the IP and MAC scanner will start.
The first time we start Colasoft MAC Scanner we will see a screen like this:
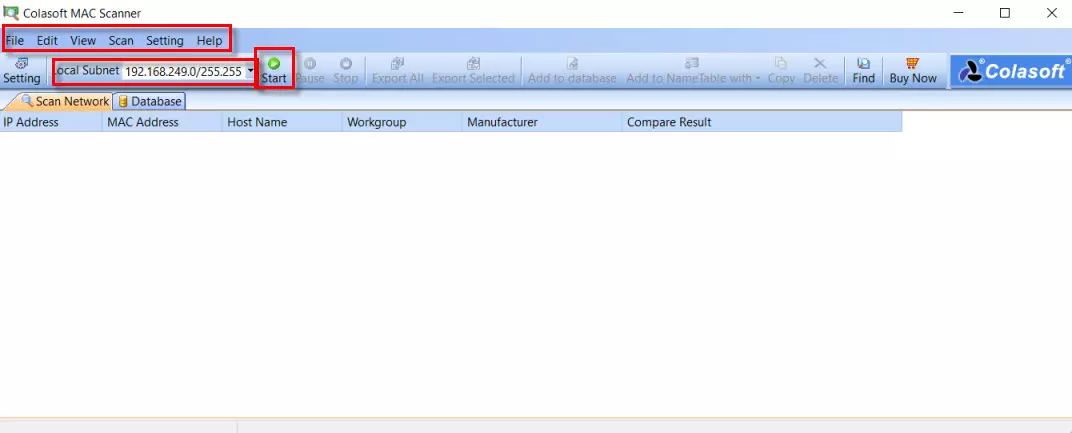
At the top we have the main menu of this tool, in which we have:
- File: to import or export the selected devices.
- Edit: here we can add teams to the database, copy them, delete them and do searches.
- View: to choose topics related to the display as the bottom bar appears completely.
- Scan: in this section we can start, pause or stop the network scan.
- Setting: to adjust the scan to our needs.
- Help: this is the help section, where we can check if there is a new version or buy the Pro version.
On the other hand, below we have Local Subnet, so that our subnet is selected and clicking on Start, start working the scanner.
Example of scanning a network with Colasoft MAC Scanner
Now is the time to test the full potential of this tool. For this, the best we can do, if we want it to detect a greater number of devices, is to choose the subnet where your router is located. For example, if the gateway or IP of the router is 192.168.1.1 we will choose in Local Subnet “192.168.1.0”. Then we will press the button Start for the scanner to start working. These are the results we have obtained after scanning with Colasoft MAC Scanner:
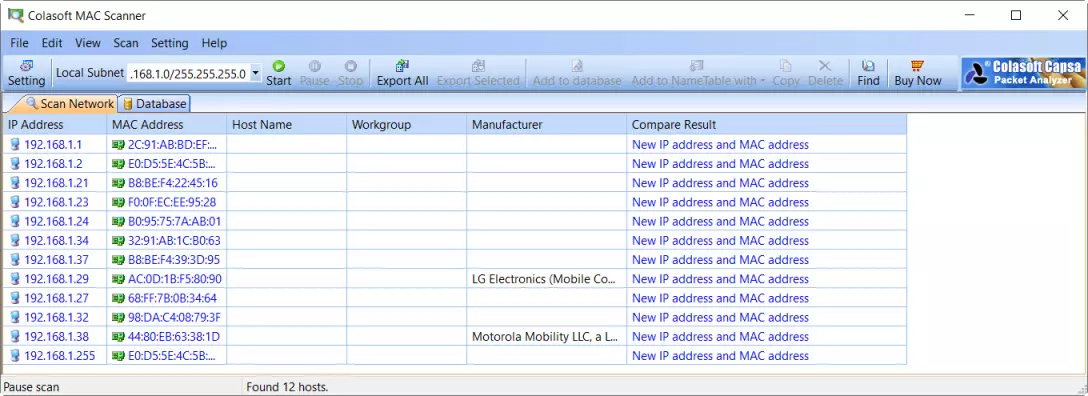
As you can see, it has detected 12 devices / computers on my network. As for the IP and MAC address I have put it for all of them. On the other hand, the rest of the categories have not obtained much data. The only thing that it has detected has been the manufacturer of a pair of mobiles that it had connected to the Wi-Fi network. Other mobiles, a PC, PLC and smart plugs are also present.
On the other hand, we can perform more actions using the buttons that come up and selecting a specific device:

For example, if we select the two mobiles and click on Add to database we can create our own list. To see it you just have to click on the tab Database that you have marked with a red arrow.

Then in the image with the list with all the models you have other buttons indicated:
- Export All– Create a list of all devices in a file.
- Export Selected– Creates a list of selected devices in a file.
- Copy: to copy a team.
- Delete: delete that team.
- Find: it is used to search the lists that we scan or create.
Here you have an example of Export All with the full list of devices saved to a text file:

As you have seen, Colasoft MAC Scanner is an interesting alternative to scan our network and show us the MAC and IP addresses of our devices, in this way, we can easily identify which devices we currently have connected to our local network, and check if We do not have any intruders in our wired or wireless network, because we can see the complete list of connected devices with their corresponding IP and MAC addresses. A security recommendation would be to check if all the devices shown here are ours, we will have to go device by device checking their MAC addresses and comparing them with the database of devices that we have.