Enter the router configuration to make the changes
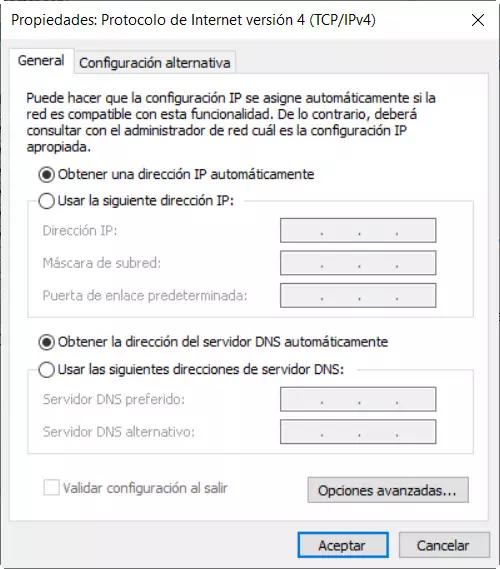
The first step we are going to take is to connect it to the computer. In that aspect, the simplest thing is to connect by network cable since if you do it by Wi-Fi, first you have to put your WPA2 key that comes by default on the sticker at the bottom of the router. It is also convenient to check that our Ethernet or Wi-Fi network card has TCP / IP in automatic, so that the DHCP of the router can assign us a local IP.
The next step is to find out the default gateway or IP of the router. To do this, we will open a window of Command Prompt and we will introduce this command:
ipconfig
The gateway is usually 192.168.1.1, 192.168.0.1 or something similar. The next step is to open our browser and in the address bar we put that IP that we have just found out and press enter.
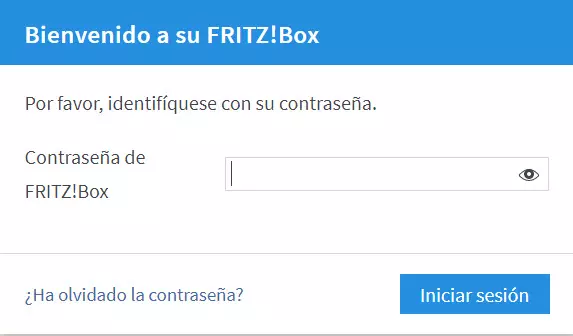
Then a screen will appear where we must enter the password or username and password. Whether it is one or the other option depends on the manufacturer and the configuration made in the firmware.
Some typical user / password passwords are:
- admin / admin
- admin / 1234
- 1234/1234
Another way to find out that username and password is to consult a sticker that they usually have underneath. Other options would be to consult the manual or quick guide, which usually comes in the box, and if not, go to the manufacturer’s website and download its manual. Once we have access to the configuration of our router, we can start to properly configure its different sections such as wireless, which we will see below.
All the configurations that you must make
Once you have entered the router, you must make certain configurations that we consider essential for everything to work properly, with the best WiFi coverage and speed, the best overall performance of the router, and the best security because we will make certain changes to increase our security.
Change the router administrator password
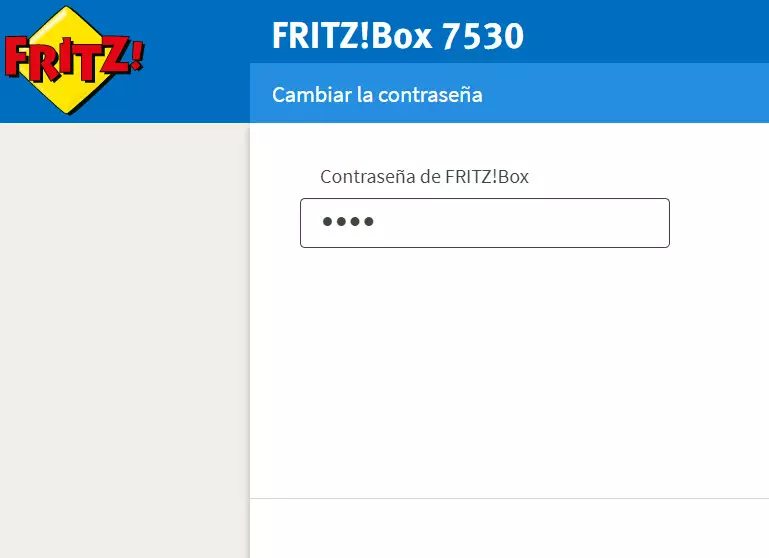
A very important aspect that can help improve our security is to change all the factory settings of our router. The first thing we are going to do is change the password to access the router so that only we can access it.
WiFi settings for the best security
It is also convenient change the Wi-Fi network name or SSID. Usually we will have the name of the manufacturer or an Internet provider. Here the most convenient thing is to put something generic with which we are not related and that can contribute to preserving our privacy. Thus, we avoid that they can guess the default password by means of the name of the WiFi.
Also, users connecting to foreign Wi-Fi networks is something that happens every day. For that reason, we must prevent unauthorized persons from connecting to our wireless network. It should be a priority to guarantee the security of our Wi-FI network by doing a series of actions.
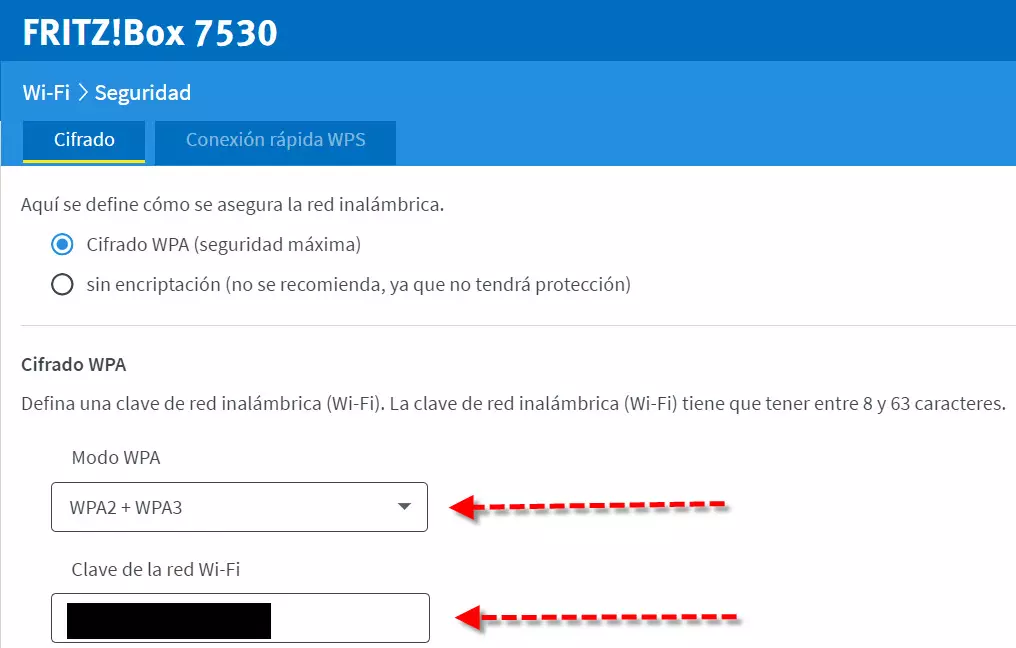
One of her is choose the encryption of our network wireless minimum should be WPA2, but if your router supports WPA3 which is more modern and safer, the better.
In addition, we must also change the default Wi-Fi network password that, as we discussed earlier, sometimes methods are discovered to find out. A good strong password might be 12 characters long, containing uppercase, lowercase, numbers, and symbols like “_” or “-“.
WPS can sometimes help us quickly configure wireless devices. However, after that first configuration it is rarely used. As it constitutes a certain security risk and because we still do not use it, it is never advisable to deactivate it. If in the future, one day we need it, we can always re-enable it and deactivate it again when we finish. Our recommendation is always disable the router’s WPS (Wi-Fi Protected Setup), with the aim of increasing security so as not to be vulnerable to the typical dictionary attacks or brute force to the WPS PIN that some routers continue to incorporate, and which has been shown to be not secure.
Another good security practice if we have guests at home and we want to protect our devices and equipment, is enable guest network. The advantages that they bring us are fundamentally two:
- Not having to give our Wi-Fi password.
- Allows you to isolate the devices from the guest network and they will not have access to our local network.
Also, some major manufacturer routers allow view and rename devices that are connected in our local network. This can help to detect intruders at a certain point and to detect problems with one of our devices. If you have it available, it is a highly recommended option.
WiFi settings to improve coverage and speed
A Wi-Fi network is constantly affected by nearby Wi-Fi networks and various types of household appliances. Thus, devices such as cordless telephones, microwaves and baby monitors can produce electromagnetic interference that affects the quality of the Wi-Fi of the 2.4 GHz band. For this reason, this class of devices should be kept away from a new router.
In addition, if our router is dual-band, it is advisable to activate the 5 GHz band to improve both the speed of wireless connections and their stability.
Also, in the case of having problems with the 2.4 GHz band, it is convenient to analyze the channels that our neighbors’ wireless networks are using. Then we have to select the least saturated channel to have the least amount of interference possible. Another possibility to check is to see if it has a function to automatically search for channels. If we see that it works well we leave it enabled, and if not, we could configure the Wi-Fi channels manually. The same could apply to the 5 GHz band, but having more channels tend to give less problems.
On some occasions it may be interesting to proceed to change the antenna of the router and then improvements in our wireless coverage may occur. This assuming they are external and can be removed. On the other hand, a new router should be placed at a medium height, preferably on a wooden cabinet and without obstacles around it. In that sense, it should not be placed inside a closet or a drawer because it has a negative impact on the spread of the Wi-Fi signal.
Finally, in order to improve wireless speed, we should set channel width from 2.4GHz to 40MHz. As for the 5GHz band (if your router has it), it is advisable to set the channel width at 80MHz or 160MHz, if possible, use the “low” channels which are 36, 40, 44 and 48, because normally the operators’ routers use the “high” channels like 100 onwards, this way, you will be free of interference.
Changing DNS servers directly on the router
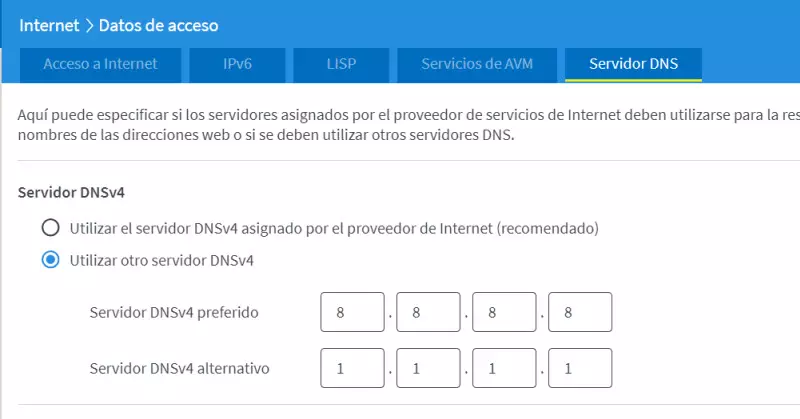
Another thing we would be interested in is change DNS settings of a new router, especially if we use those of an Internet provider.
Some good examples we can choose from are these DNS:
- Google (8.8.8.8).
- IBM (9.9.9.9).
- Cloudflare (1.1.1.1).
In addition, some routers such as the AVM FRITZ! Box or the ASUS allow us to configure the DNS over TLS protocol, in order that all DNS queries are encrypted and authenticated point-to-point, to maintain our privacy when browsing the Internet. In this way, all traffic will be encrypted point-to-point. We must remember that the DNS protocol does not have any type of encryption or authentication, however, using DoT (DNS over TLS) solves this.
Open ports, if you really need them
Another step we must take is open the ports we need. Some people to use P2P programs for their correct operation require that they have certain ones open. However, this is not the only case, they are also needed to create some types of servers. To give a few examples, the creation of a web, FTP or game server.
In addition, it should be noted that, if we do not need it, it is better not to open one for our greater security. Also, if it is done, you have to be very careful when selecting the appropriate port because some are more susceptible to attack. Finally, in case you have a console and you want to open all its ports, then you will have to use the DMZ to open all ports except those opened manually in the “Port forwarding” section.
Finally, you could think about disabling UPnP to avoid security problems with devices that automatically open ports, by default, UPnP is always pre-activated in routers, therefore, if you do not have any device that needs to use this technology, it is best to disable it to avoid problems with ports automatically open.
Update the firmware to the latest version
One very important thing is firmware update, always having to install the most recent version. This way, we will make sure that we get the most out of a new router and, in addition, all the security flaws that have been discovered in it are corrected. As for the firmware, there are usually two ways to obtain it:
- Downloading it from the router manufacturer’s website.
- Some models are capable of automatically searching, downloading and installing one when a new version is available.
Nowadays, most of the third-party routers that you are going to buy, have automatic updates such as ASUS, AVM FRITZ! Box, D-Link and many others, therefore, you will always enjoy the latest versions with all the errors corrected.
Other settings you can check
We could also check router firewall options, although generally as they come by default they are usually fine for most users. Normally all the firewalls of the routers deny any connection that has been initiated on the Internet and has our router as its objective, in this way, we will have a restrictive policy, and we will only allow communication if we have previously made the communication to the outside.
Finally, if there are minors at home in a new router it could be interesting configure parental control and its filters so that they do not access content that is not appropriate. There are generally two types of parental controls, time-based parental controls, and also content-based parental controls, the latter are the most interesting because they allow blocking adult content, online games, betting, casinos and other websites that do not They are suitable for minors.
