If you’re a photographer, chances are you’ve been asked to create black background for a photo. Maybe it’s for a product photo or a portrait, but whatever the reason, it’s not as easy as it sounds. A black background can be created in a number of ways, but not all of them are equal. In this article, we will explore some of the different methods for creating a black background and discuss the pros and cons of each. By the end, you should have a better understanding of how to create a black background that will suit your needs.
Why do photographers use black backgrounds?
There are a few reasons why photographers might choose to use a black background over other colors. Black can be a very versatile color, and it can be used to create a variety of looks.
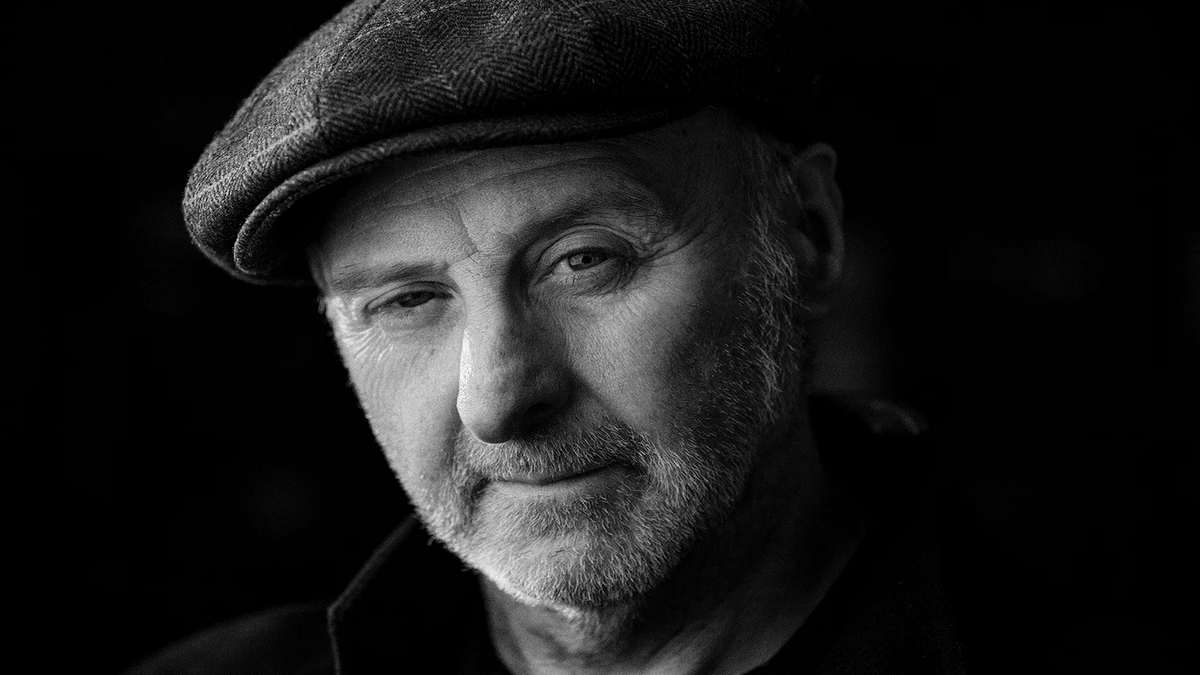
One reason why photographers might use a black background is that it can help make the subject of the photo pop. If the subject is surrounded by a lot of dark colors, it can make them stand out more and be the focus of the photo.
Another reason to use a black background is for contrast. If you want to create a dramatic look in your photos, using black can help create that effect. It can also help to make lighter colors stand out more.
So, those are just a few reasons why photographers might choose to use black backgrounds in their photography. Ultimately, it comes down to personal preference and what look you’re trying to achieve in your photos.
Materials Needed
- A black piece of cloth or black construction paper
- Tape
- Scissors
- A stapler
- A camera
- A tripod (optional)
Setting up the Scene
If you want to know how to black out the background on a photo, there are a few things you’ll need to do. First, you’ll need to find a dark area to set up your shots. This can be done by finding a room with no windows, or by draping a black sheet over furniture. Once you’ve found your dark area, or use the above-mentioned materials to make one for yourself, you’ll need to set up your camera. You can use the Tripod to keep it still and take good pictures.
If you’re using a DSLR, set your camera to manual mode and set your aperture to its lowest setting. For point-and-shoot cameras, set your camera to night mode. With your camera settings sorted, it’s time to start taking some shots! Take a variety of shots, experiment with different angles and lighting, and have fun!
Taking the Photograph
In order to take the photograph with a black background, you will need to set up your equipment in a specific way. First, you will need to create a light source that is strong enough to illuminate your subject without also illuminating the background. You can do this by using a powerful flash or by setting up several lamps around your subject.
Next, you will need to position your camera so that the lens is pointed directly at the light source. This will ensure that the majority of the light enters the lens and reflects off of the subject, rather than entering from the side and illuminating the background. Finally, you will need to adjust your aperture settings so that less light enters the camera. This will make the background appear darker in comparison to your subject.
Post-Processing
After you’ve taken your photo, it’s time to do some post-processing. This is where you can fine-tune the image to get the perfect black background.
There are a few different ways to go about this. One method is to use a bit of contrast adjustment. Simply increase the contrast until the background is completely black. Be careful not to go too far, as you don’t want to lose any details in your subject.
Another way to achieve a black background is by using a Levels or Curves adjustment layer. Drag the black point slider to the right until the background is completely black. Again, be careful, not tomove it too far and lose detail in your subject.
If you’re struggling to get a completely black background, try using a Selective Color adjustment layer. Go into the Reds channel and drag the Black Level slider all the way to 100%. This will turn any red tones in your image (including your background) pure black.
Once you’ve got your perfect black background, you can go ahead and add your finishing touches to the rest of your image.
Conclusion
A black background can really make your photos pop and give them a professional look. With these simple tips, you can easily create a black background for your next photo shoot. All you need is a dark room, some black fabric, and a few lights. So get creative and experiment with different ways to set up your black background photography setup.