We’ll speak about how to make our own filtering-enabled amicable first-person shooter (FPS) game. All we’ll do is work on the aesthetics, which will entail having the character aim down sights, glance up and down, etc. FPS games may be chaotic. Our objective is to keep everything as simple as possible, but coping with the client-server approach makes this challenging. This is particularly true in FPS games, where various techniques are performed on the user to keep bandwidth minimal and game modes lag-free. We’ll go over a few of those tactics and simply steps to make roblox FPS.
Constructing the view model
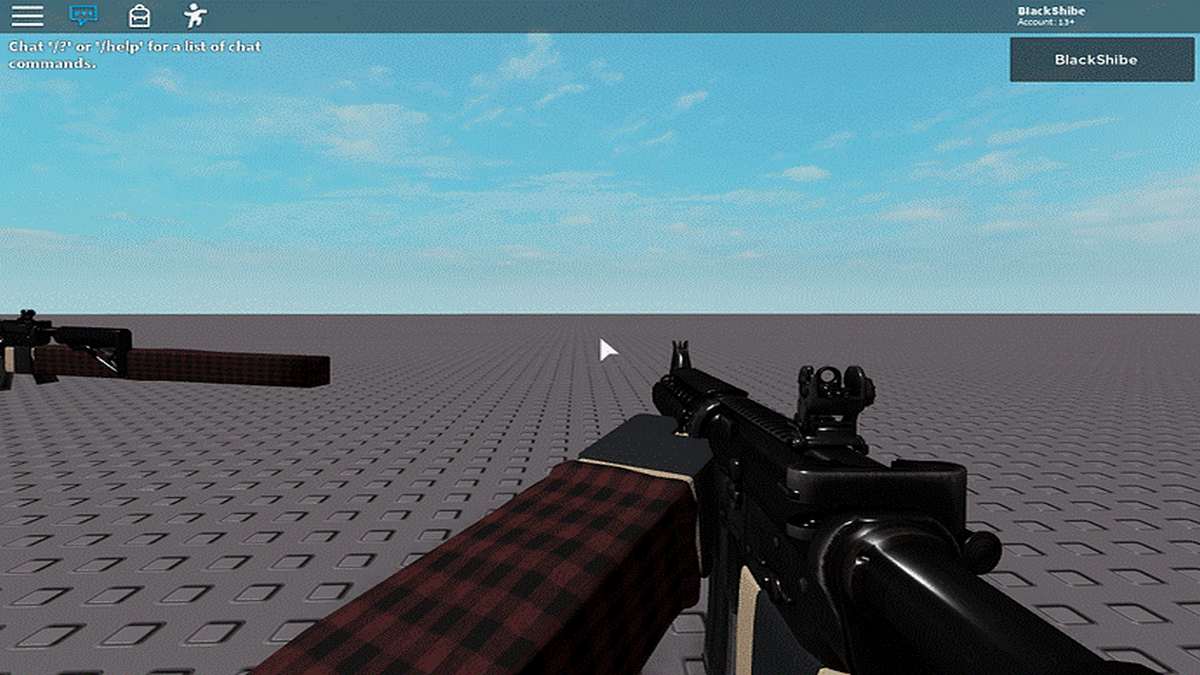
Any BaseParts in a player’s figure model are hidden to users when they are entirely magnified into first-person view. This covers their limbs, heads, and any other non-tools, among other things. We’ll make a view model with arms and weaponry to work around this. Instead of being linked to the protagonist, this view model will be connected to the cameras. The perspective model was produced by modifying the scale parameters of my figure for slimmer arms, copying it, and then eliminating anything inside but the components, chest area, skull, and connecting joints. Ensure that all pieces were set to slick plastic and that the opacity on the crown and chest area was set to 1. The skull is the only portion attached, enabling us to adjust the CFrame afterward precisely.
Connecting the cam to the view framework
Once we already have the camera, we need to attach our chance to view it. Since the head and camera in the first person share the same frame, this is relatively straightforward. As a result, all we must do is construct an updating loop that positions our prospective model’s head directly in front of the camera. We’ll also make sure the perspective model is removed whenever the player passes. With the help of an FPS tracker, you can have an eye over all of your competitors.
The weapons are connected using the viewpoint model.

Using a joint, we can use this chance to connect the weaponry to the prospective model’s helmet, ensuring that it remains in the same position as the cam as we spin. You’ll have to fiddle with the C0 set to offset the weaponry correctly. Due to variable proportions and what looks better concerning your camera, you’ll probably have to do it for each weapon you employ.
Taking Aim at the sights
To make our weapons target along with the sights, we’ll add a small, invisible element named Aim to it. Whenever the player is targeting, we’ll utilise this section to guide where the weapons should be mounted to the head. We’ll double-check that the front face is pointing forward and the up aspect is pointing up.
Positioning of the arms
Now it is in place, we need to link the forearms to the armament so that the forearms can be used. We could directly compute these numbers, but we’ll utilise the Right and Left sections to generate a C1 for our elbow joints to keep stuff exciting and hassle-free for different weapons.
Server
Now that’s it for the strict client end of view; from here out, anything we do will either be fully server-based or a combination of server and client-based.
Replicating the movement of weapons
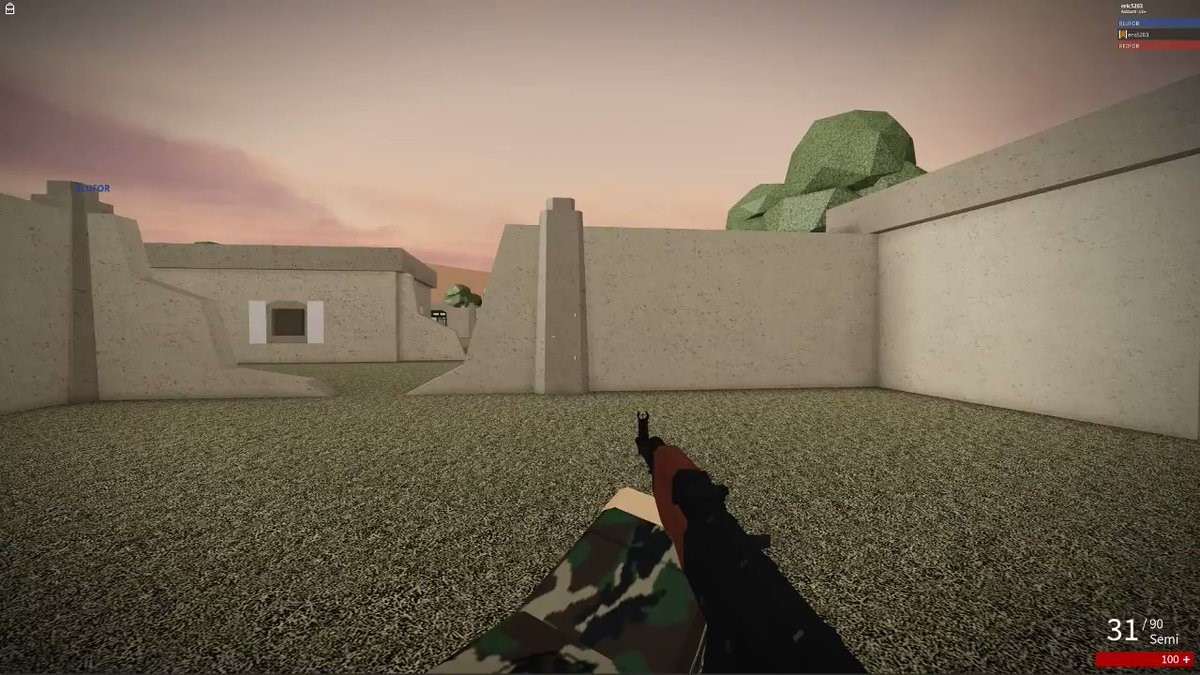
So far, everything appears to be going well for the player, but if they play a brief multiplayer, we’ll discover that none of our hard work is shown to some other players!This while one of the above described approaches will be useful. We’ll utilise first-person mode to recreate all of our gun motions because we can’t see our established character. This is useful since the thing we’re replicating will have a slight delay due to any player interaction, and since we can’t view it, no one will notice.
The athlete gazing up and down would be the first feature we would like to mimic. We’ll achieve this by taking the player’s vertical angle and transmitting it to the computer, rotating the waistline and collar joints by twice the degree to stretch out the movement. For two reasons, utilising graphics for this purpose is beneficial. The first is that actions will immediately reproduce, eliminating the requirement for a RemoteEvent. The second benefit is that visuals will linearly interpolate between each other by default, eliminating the need for seamless transitions. One disadvantage of animating is that Roblox does not allow users to share them.
Consequently, you’ll find that the graphics didn’t download if you go to the site. Therefore, if you want to utilise my exact movements, I’ve stored them in a fake file that you can use with the animator editor. Tilting the arms is the very last action we must do. Previously, we applied half of the vertical tilt to the upper chest, which was passed over to the limbs, but we want the forearm to rotate completely. If we adjust the tilt delete trigger, we can easily add this.
Minor adjustments
The key to overcoming this issue of minor adjustment is to employ someone on the server to interpolate some desired angle continually linearly. Instead of the figure immediately tilting when the server’s distant event is sent, we can send the updated attitude every 1/10th of a millisecond and have it look up and down gently. They are equipped with built Roblox entities that will take care of this for us. One is a motor6D, which allows us to specify the DesiredAngle when we shoot distant events and then modify it using the CurrentAngle.
Conclusion
We pretty much cover up the first-person aspect of an FPS game. You ought to be aware of the ways to enhance it after completing this article. You may enhance your skills and gameplay in a number of ways. Try to add more components to this application, such as healing packs, ammunition packs, other weapons, etc. You may also make first-person gameplay if you want to try your luck at doing something new. The sky’s the limit with the mechanisms in place, but they can be modified to various games and styles!