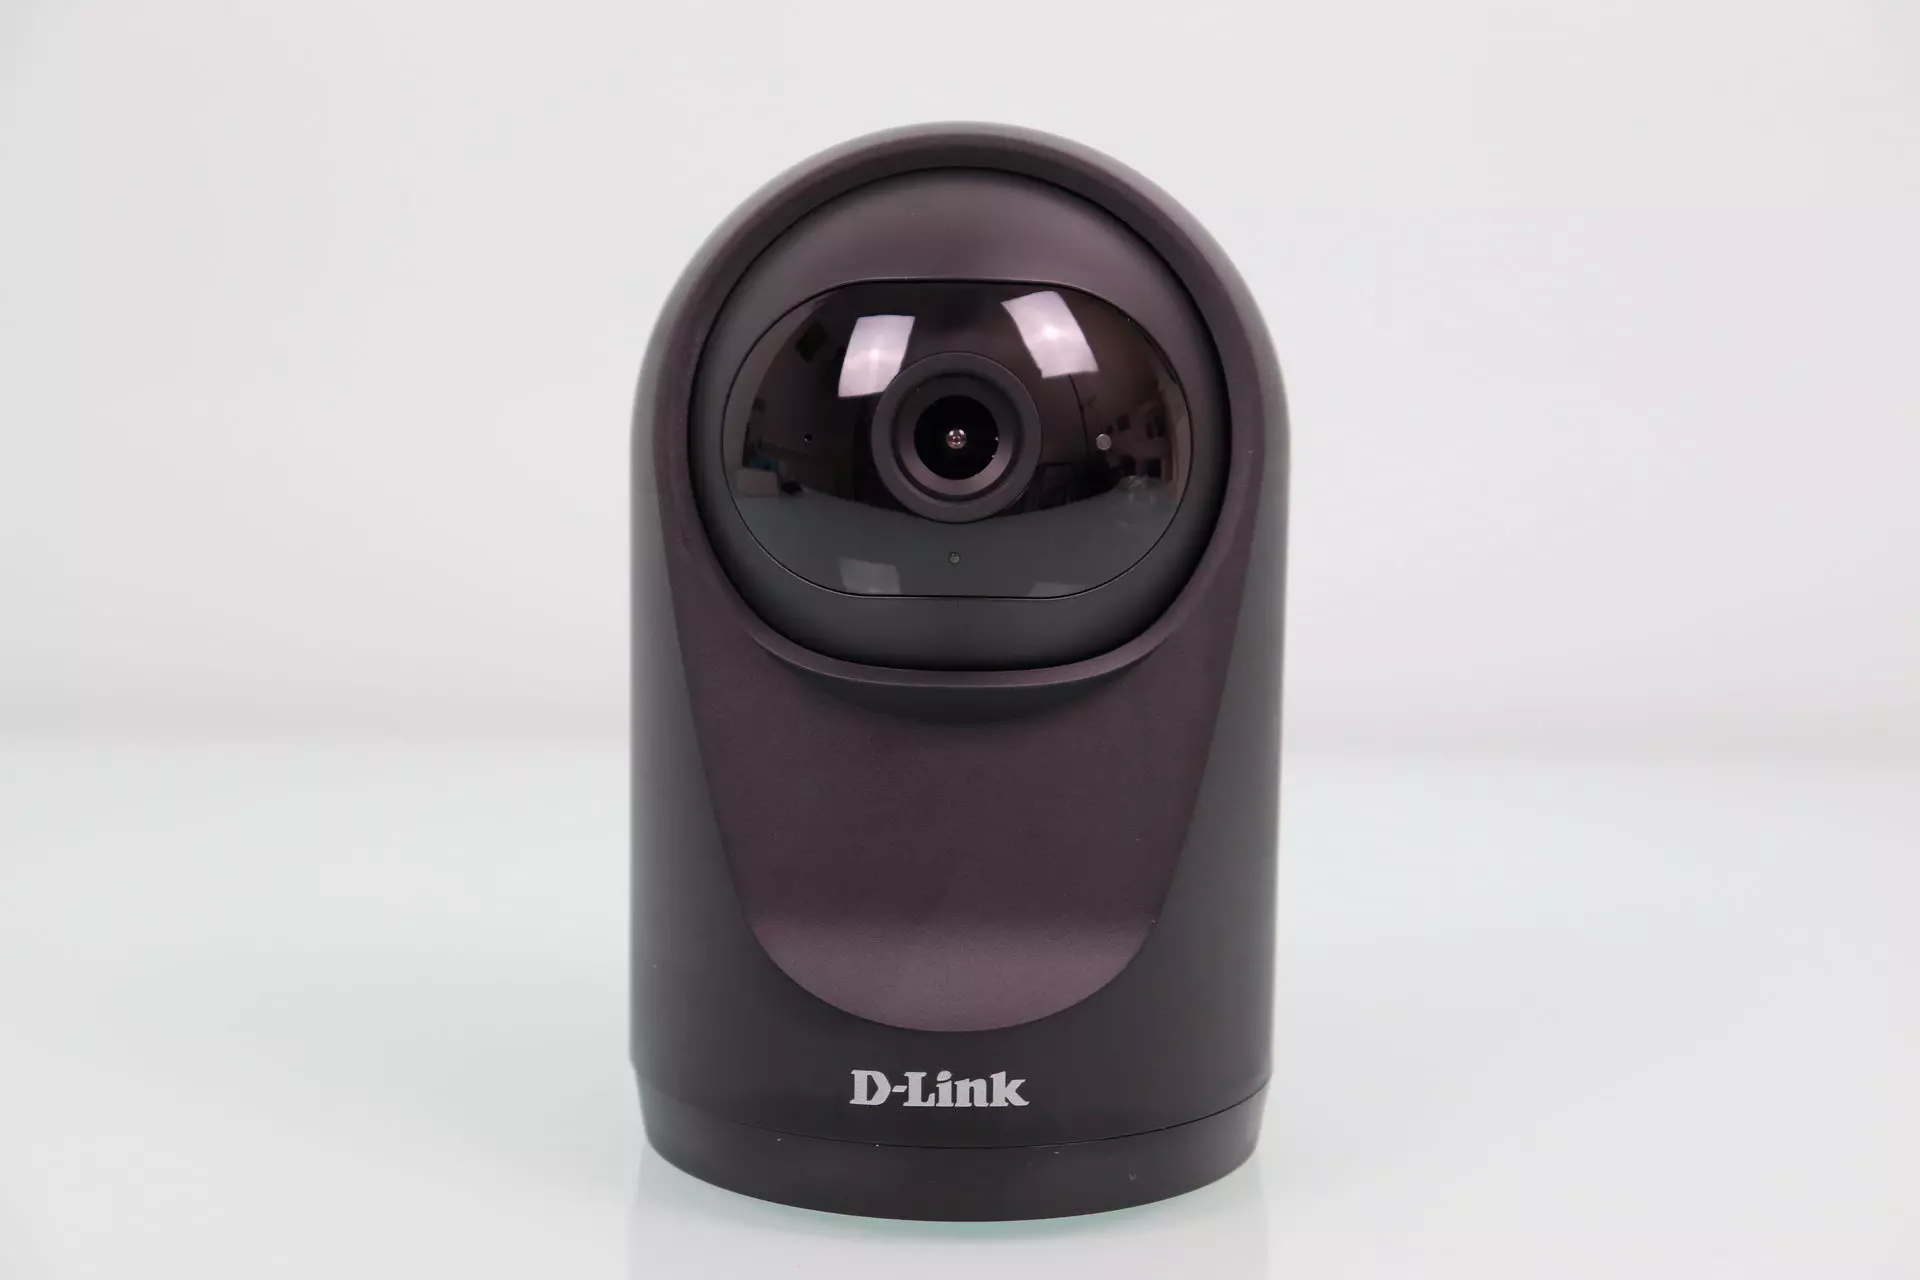
The manufacturer D-Link was one of the first to launch an entire ecosystem of cheap IP Cloud cameras to monitor our home, due to this great experience, they are several steps ahead of the competition, both in the number of IP camera models for perfectly adapt to our needs, as well as with the mydlink application that is really complete. Today we are going to show you how to install and configure all the parameters of the D-Link DCS-6500LH Cloud IP camera, a model that is perfect for your home as it has all the features that are needed in an IP camera for our home.
Main features
This new IP camera D-Link DCS-6500LH has everything you need to meet the needs of users. It has a Full HD 1080p resolution at 30 FPS, we have infrared night vision at a distance of up to 5 meters, we have a microphone in the front of the camera and a speaker in the back, therefore, we have two-way audio. This new model has a slot for micro SD cards of up to 256GB capacity, ideal for internally saving a large number of video clips of all the detections it has made.
At the software level, we can configure motion and sound detection, we can also track objects because this model is robotized. Thanks to this feature, we can visualize a large space in our home, with the aim that absolutely nothing escapes us, thanks to the mydlink application we can move the camera remotely and really easily, in fact, it has different modes to move the camera as using the gyroscope of the smartphone, pressing in an area and go, and we can even set a certain where to press a button and go directly to the position you want.
This model has compatibility for Amazon Alexa and also the Google assistant, therefore, you can control certain camera options with your own voice. Once we know the main characteristics of this model, we are going to see the installation and start-up of the device.
Step-by-step installation and video configuration
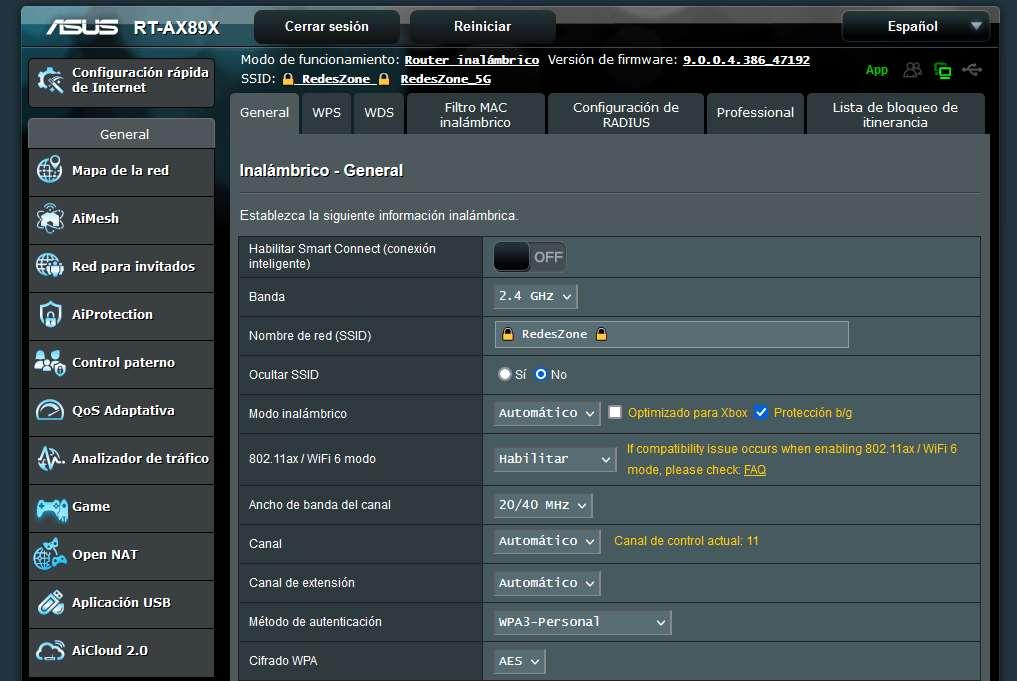
The installation of this D-Link DCS-6500LH camera is really simple, the only thing we must bear in mind is that it connects directly to the WiFi network of our home in the 2.4GHz band, also, even if you use the WPA3-Personal encryption In your router or WiFi access point, this model is compatible with this type of WiFi encryption, so you will not have any problem connecting.
To carry out the installation it is totally necessary to download the mydlink application from Google Play or App Store, this application is completely free, we will use it both for the installation and also for the visualization, management and administration of this IP Cloud camera, although we will be able to give Register all the IP cameras that we want to this application.


Once the application is downloaded, if you do not have a mydlink account, it is absolutely necessary to register a totally free account with your email and password, once you have registered and logged into the application, you can start the installation process of the IP camera. To install this camera we have two possibilities:
- Manual installation: this type of installation consists of running the application installation wizard and selecting the “Manual configuration” option, where we will have to choose the exact model of our camera, connect to the WiFi network that it generates by default, enter the WPA2 password that we have available on the bottom sticker of the camera or also in the quick installation guide, and then continue with the installation wizard where it will ask us for an authentication PIN code, and then we can connect it to the WiFi network of our home .
- Installation with QR code: this type of installation consists of scanning the QR code that we have at the bottom of the camera, we also have the possibility of scanning the QR code that we have in the quick installation guide. Thanks to this QR code, the connection process via WiFi and the introduction of the authentication PIN code is done completely automatically, it will only be necessary to connect it to the WiFi network with the SSID that we choose and also with the access code that we want .
Once we have finished the configuration wizard, the camera will connect with the Cloud, and it will allow us to activate the recording in the cloud for free for 1 year automatically, it will also allow us to create automations for motion detection and / or sound in a way. automatic, without the need to do it ourselves manually. Other configurations that it automatically performs are to activate the “Home” and “Away” scenes to configure the IP cameras with private mode when appropriate. Finally, the camera will appear in the main menu, and if there is a new firmware update, a notification will appear indicating this, in order to automatically update this camera.

When we have the camera installed, we can access different menus of the mydlink app, these menus are the following:
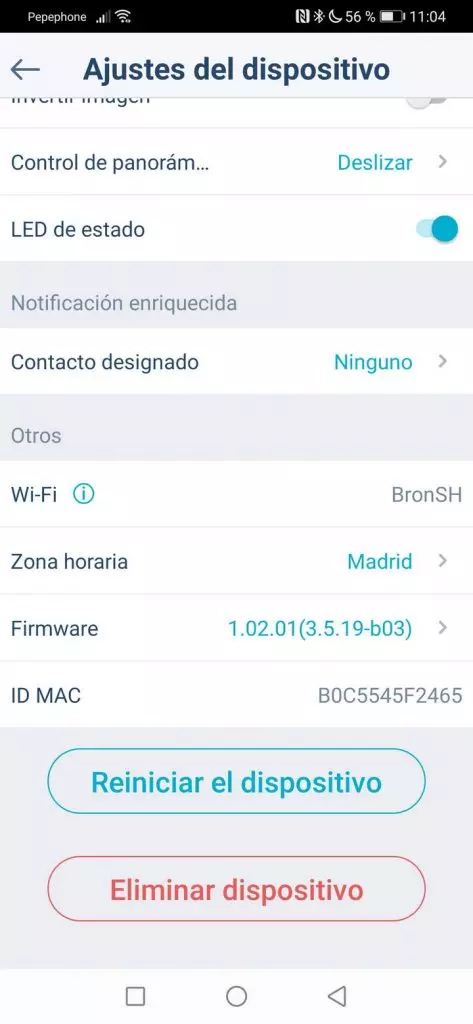
- Settings: in this menu you can configure the name of the camera, activate or not the microphone, configure motion detection and if we want to activate object tracking, configure the privacy mode, if we want to change the WiFi wireless network and other configuration options that are common to almost all D-Link cameras. The only difference with other cameras is that this model is robotic, so we have specific configurations for this type of camera.
- Scenery: we can activate “Home” or “Away” to activate or deactivate the privacy mode of the camera.
- Automation: we can configure motion and / or sound detection to later record video clip and push notification.
- Program: we can program the cameras on and off at a certain time.
In RedesZone we have recorded a complete video with the entire installation, start-up and configuration process, where we show you the main menus that you must take into account to configure your IP Cloud camera correctly:
We remind you that this IP Cloud camera has recording in the cloud completely free for 1 year, then you have to purchase the premium subscription or buy another additional D-Link camera to get an additional year for the entire account.