Main features
This completely free software is a complete video surveillance system that will allow us to centrally manage a total of 32 IP cameras simultaneously. This software will allow us to view multiple cameras in the main menu, so as not to miss any detail. This software allows map mode based on location and orientation, with the aim of monitoring every corner of any site. We can also list all the cameras in the form of a tree, and it even has compatibility with the H.265 format that provides us with a better image quality with a lower data bitrate, ideal for optimizing the video surveillance network to the maximum. Of course, this software also supports H.264 format and even MP4 format. The maximum FPS that this video surveillance software supports is 30 FPS, but there are cameras that support less FPS.
This camera allows us scheduled recording options, by movement and also recordings manually. The video files that are recorded can be exported to AVI / ASF format, in addition, we have additional functions such as the possibility of rotating, zooming and even focusing manually by ourselves, although the most normal thing is that we have the fully automatic focus configured of the cameras. Another interesting option of this software is that we can configure the OSD (On-Screen Display) to configure the date and time in the recorded video.
Another very interesting feature is the events section, and it is that we can detect different events with smoke detectors, magnetic door sensors, emergency buttons and much more. If we connect each of these devices to the I/O connector of some cameras that support it from D-Link, a trigger will be automatically sent to D-ViewCam and it will notify us by email, and even an audio alert will sound if we want configure it like this.
This D-ViewCam software also has the possibility of making a backup copy of the video, we can also play an audio file while we are monitoring all the cameras in real time. The DCS-100 also features built-in database rebuild options in case it becomes corrupted by hardware failure, and even supports import and export options for configuration files.
Some very interesting administration options are that it allows us to automatically discover cameras on the local network, we can also add cameras manually by entering the IP and access credentials, as well as register cameras via ONVIF or RTSP, so it is compatible with both cameras D-Link as well as cameras from other manufacturers. Of course, all the changes we make to do “on the fly”, we have notifications by email, the possibility of creating different users with different access permissions and much more. If you have a robotic camera (PTZ), we can also perform Auto Pan or manual control, configure preset positions and much more.
Once you know everything about the DCS-100 software or also known as D-ViewCam, we recommend access the official website where you will find the download links and also tutorials for use.
Camera operation and display
The operation of D-ViewCam is quite intuitive, however, it is highly recommended that you download the official user and configuration manual to know where all the available options are. When we have already installed the program and all the addons that it needs to work correctly, we start it by entering the administrator user and password that we have configured in the software installation.
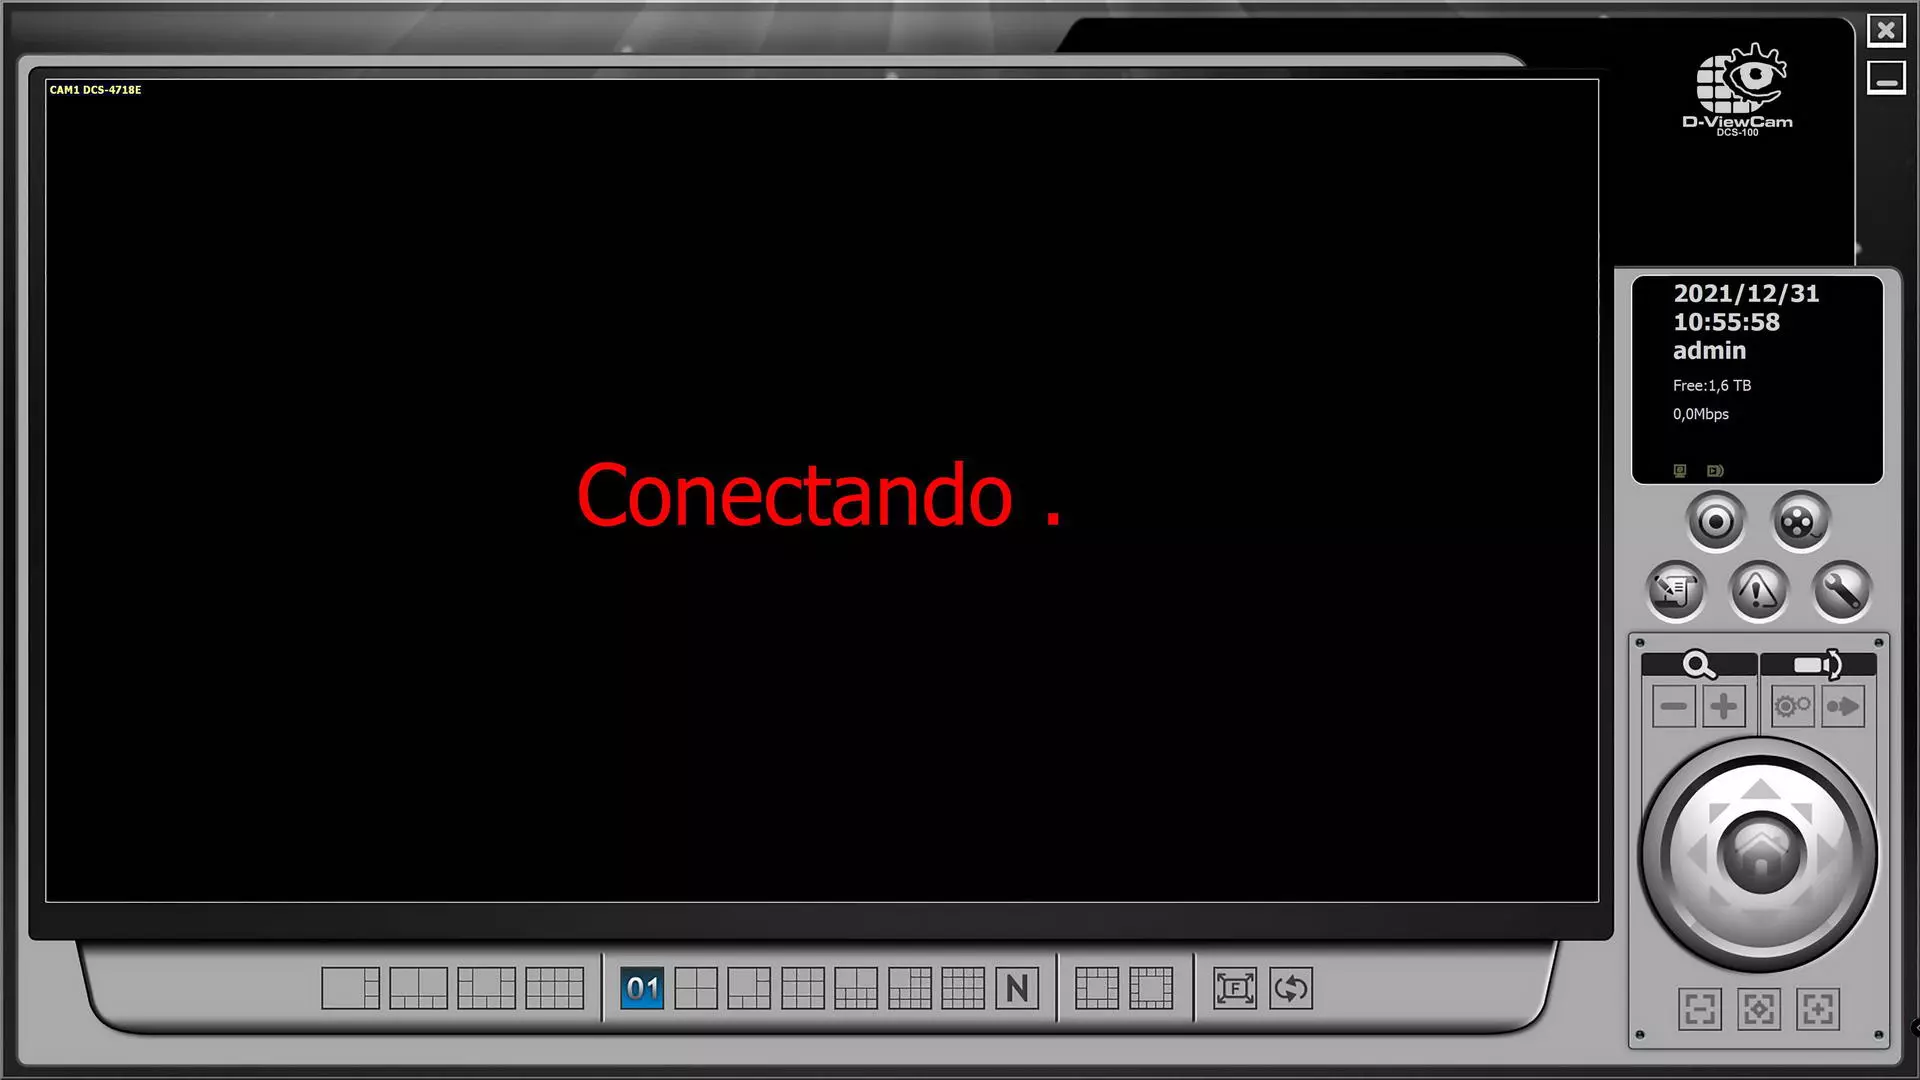
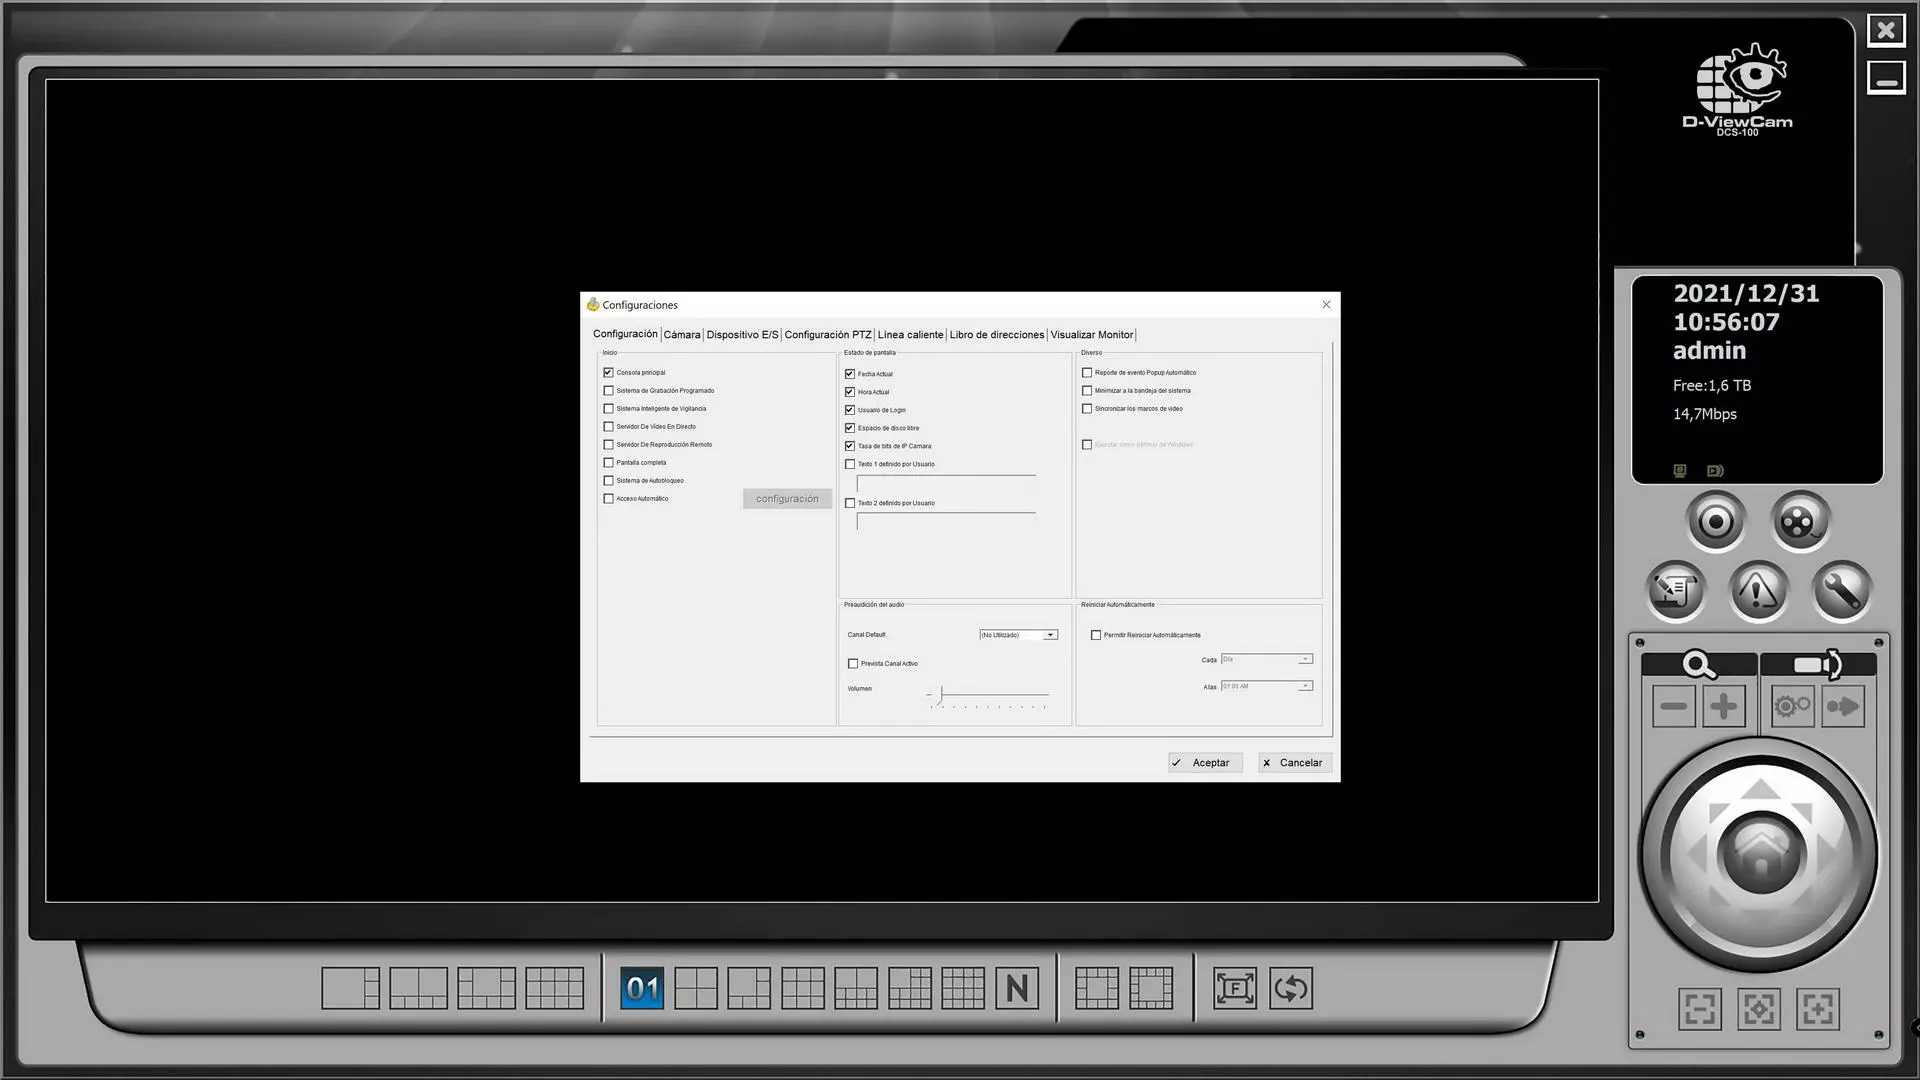
Once inside, the first thing we have to do is add the different professional IP cameras that we have, or domestic IP cameras but with ONVIF support that also supports it. To do this, we have to go to the right side in the “wrench”.
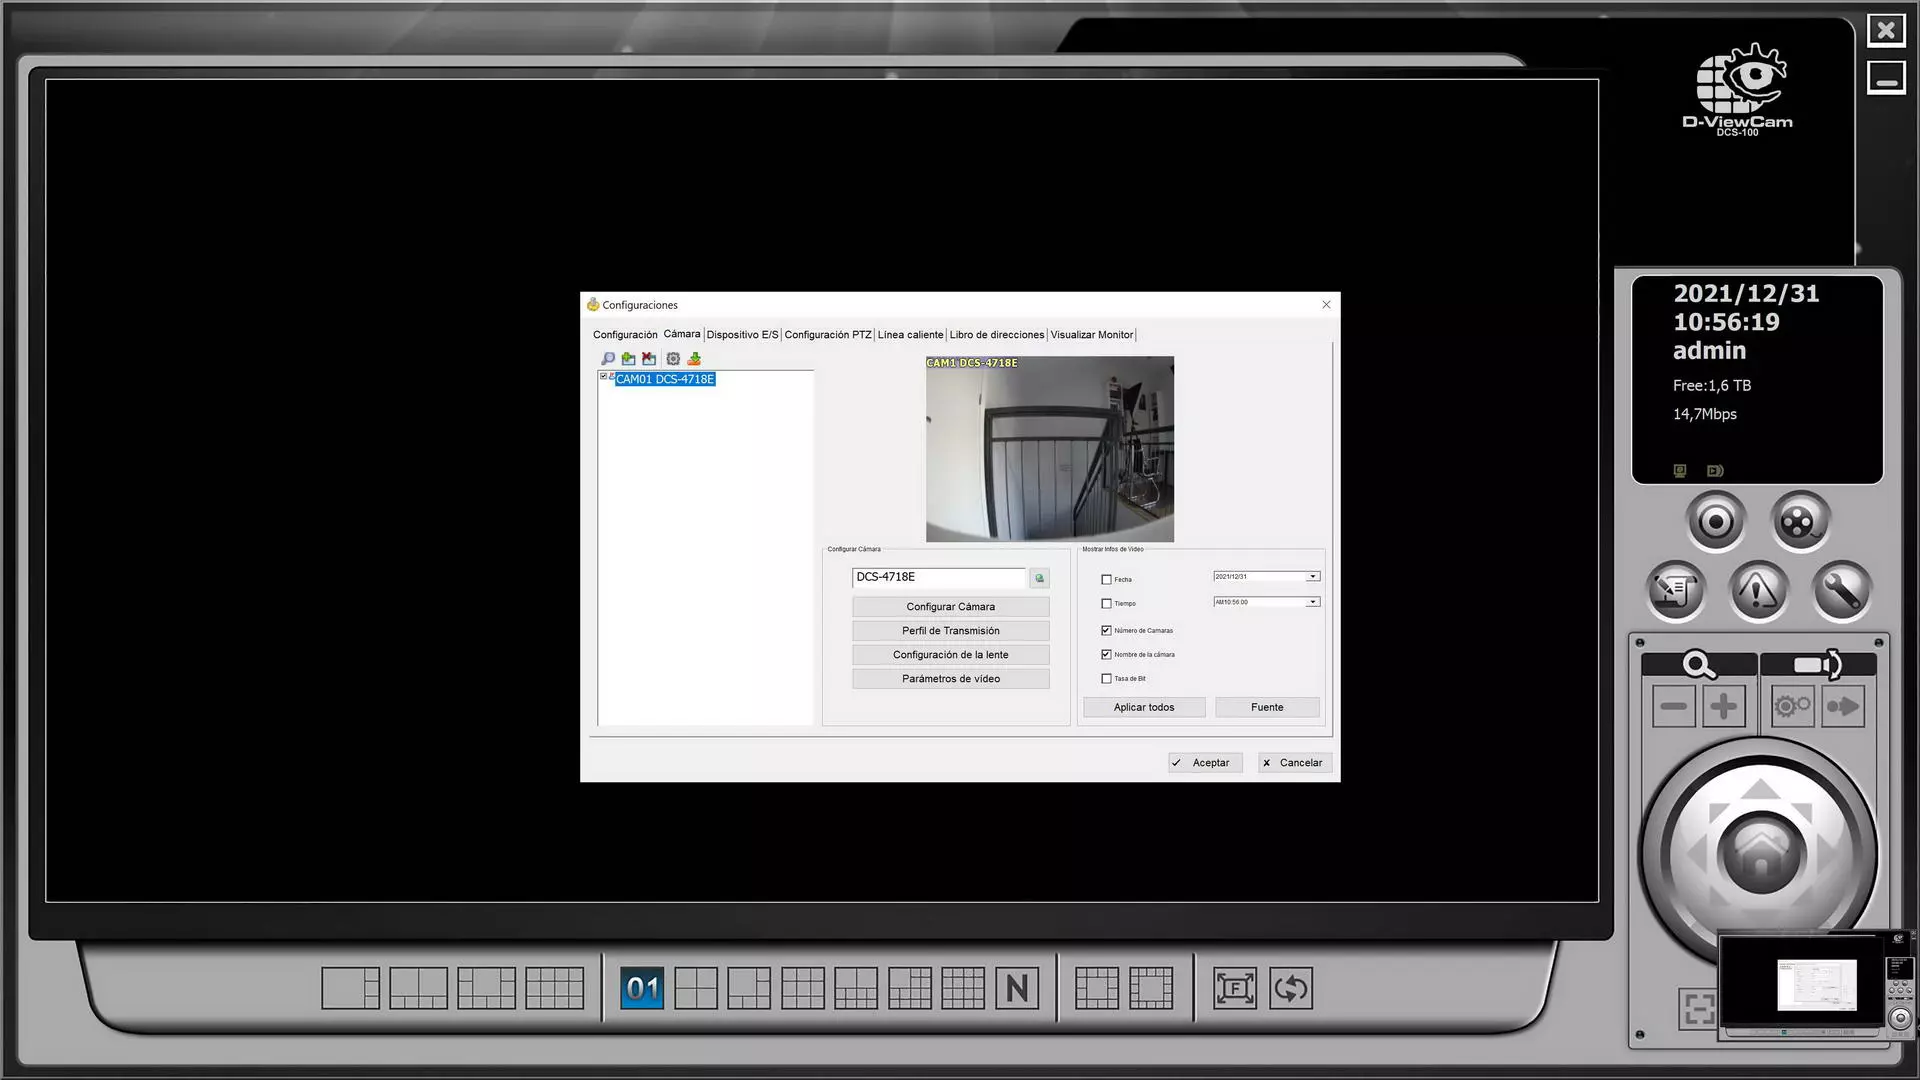
Several configuration options will be displayed, we choose the first one and we will enter the global configuration of the software. In this section we have to go to the “Camera” tab where we will have to add all the cameras that we want to manage and view centrally.
D-Link allows us to discover all the cameras that we have on the same local network, by clicking on the “magnifying glass” that we have in the upper left. If they are in another subnet, as is our case, we will have to add the IP address with the administration port and the user and access password to the camera. Next, we will choose the TCP, UDP or HTTP protocol to access it. In the lower part we have the possibility that the software detects the camera automatically, if it does not detect it automatically, we can always select the ONVIF profile as we have done.
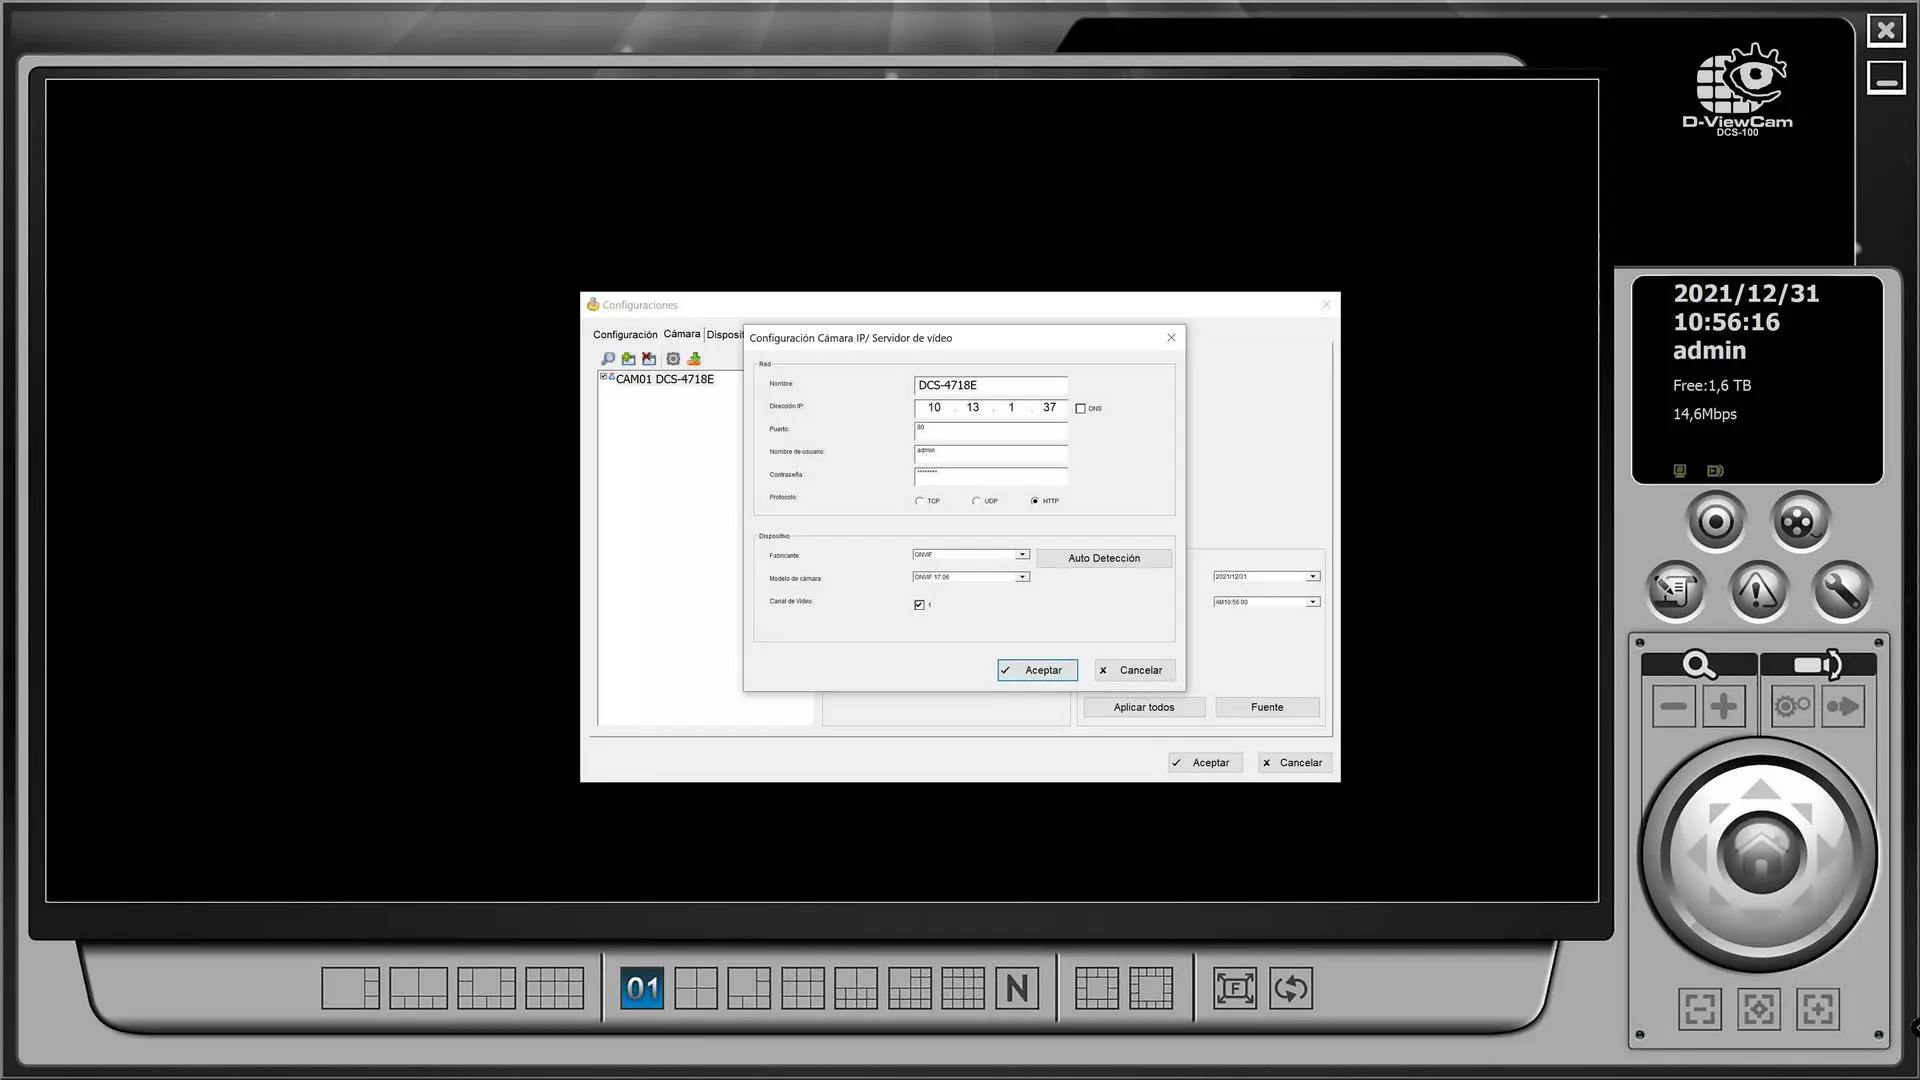
Once we have added it, we will be able to see it in real time, and start configuring the camera with its transmission profiles, lens configuration, video parameters and all the necessary configuration options so that the image of the professional IP camera is perfect.
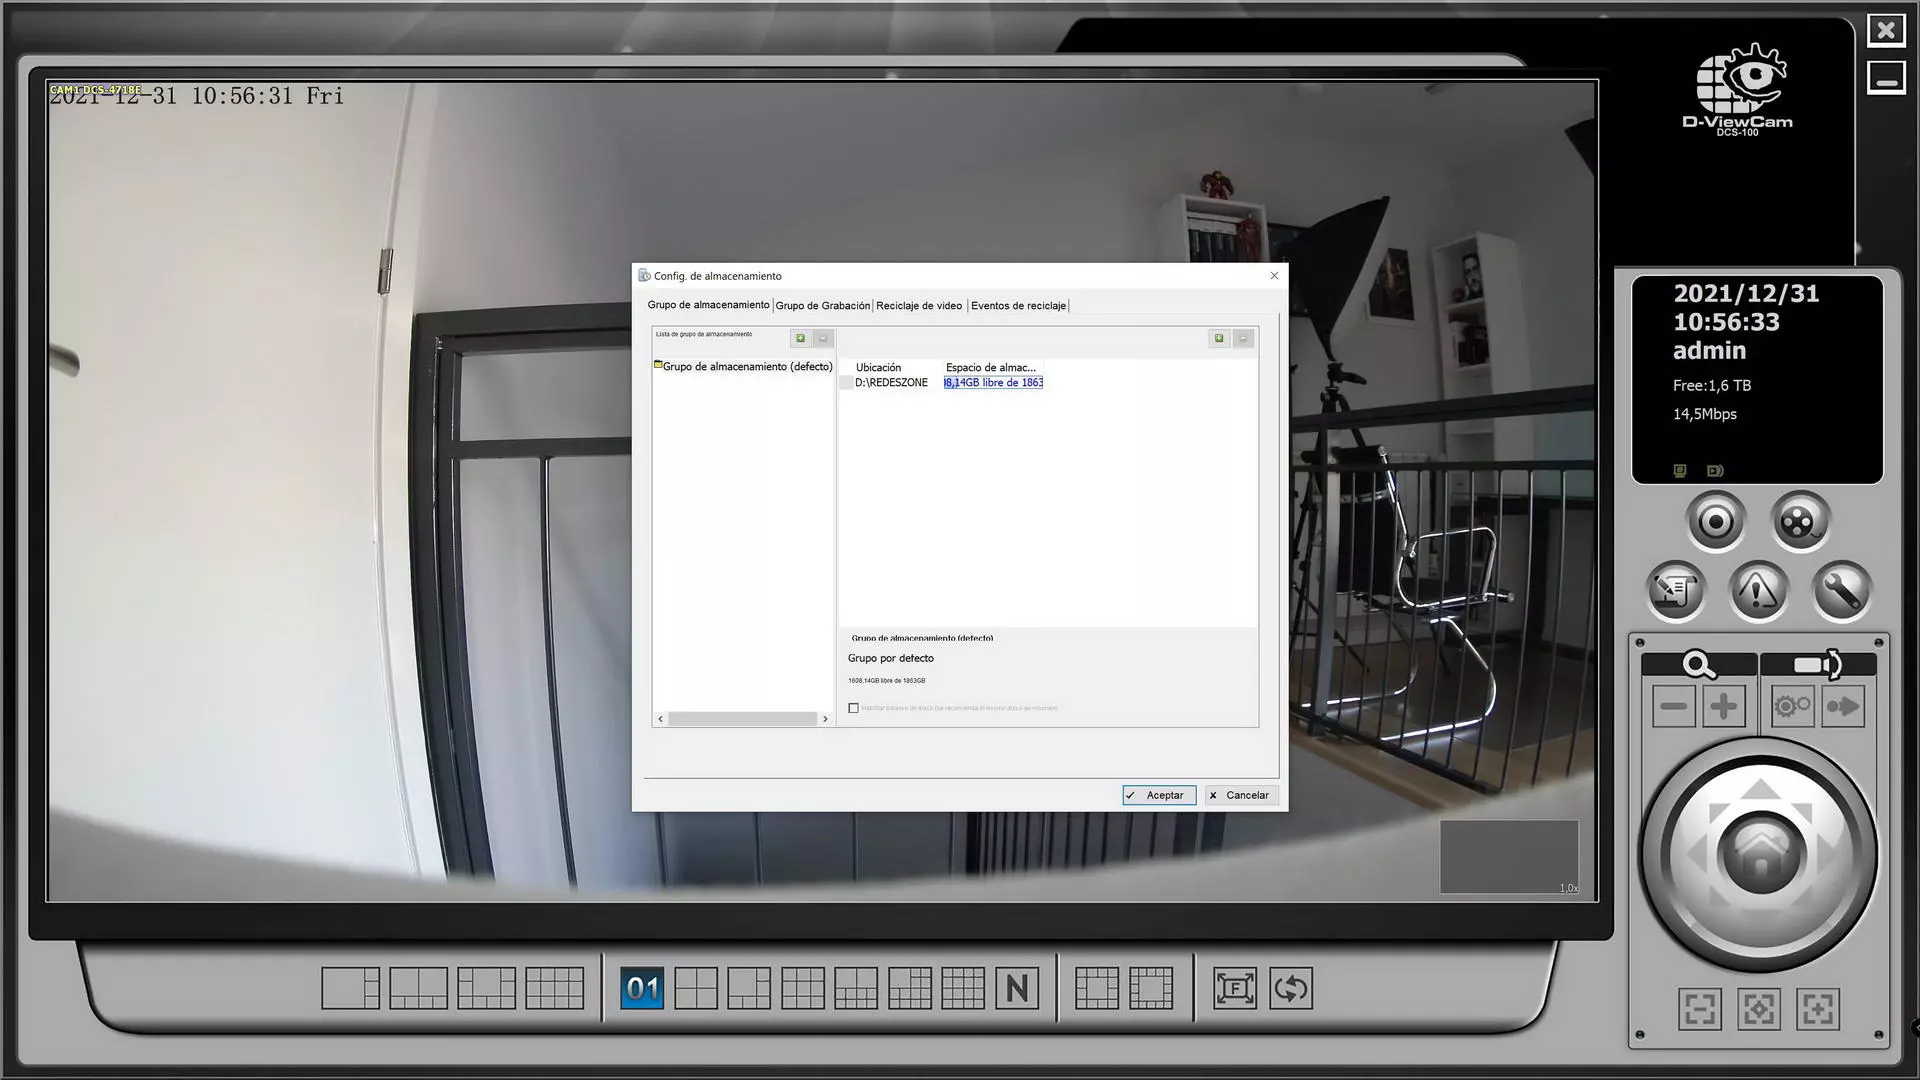
Another very important thing that we must configure is the storage, because generally we are going to record everything that happens continuously, or only when it detects movement. For this reason, in the “wrench” before, we select “Storage configuration”, and here we will have to put the location that we want where all the recordings will be stored, whether they are scheduled, manual or automatic due to a detection of errors. movement.
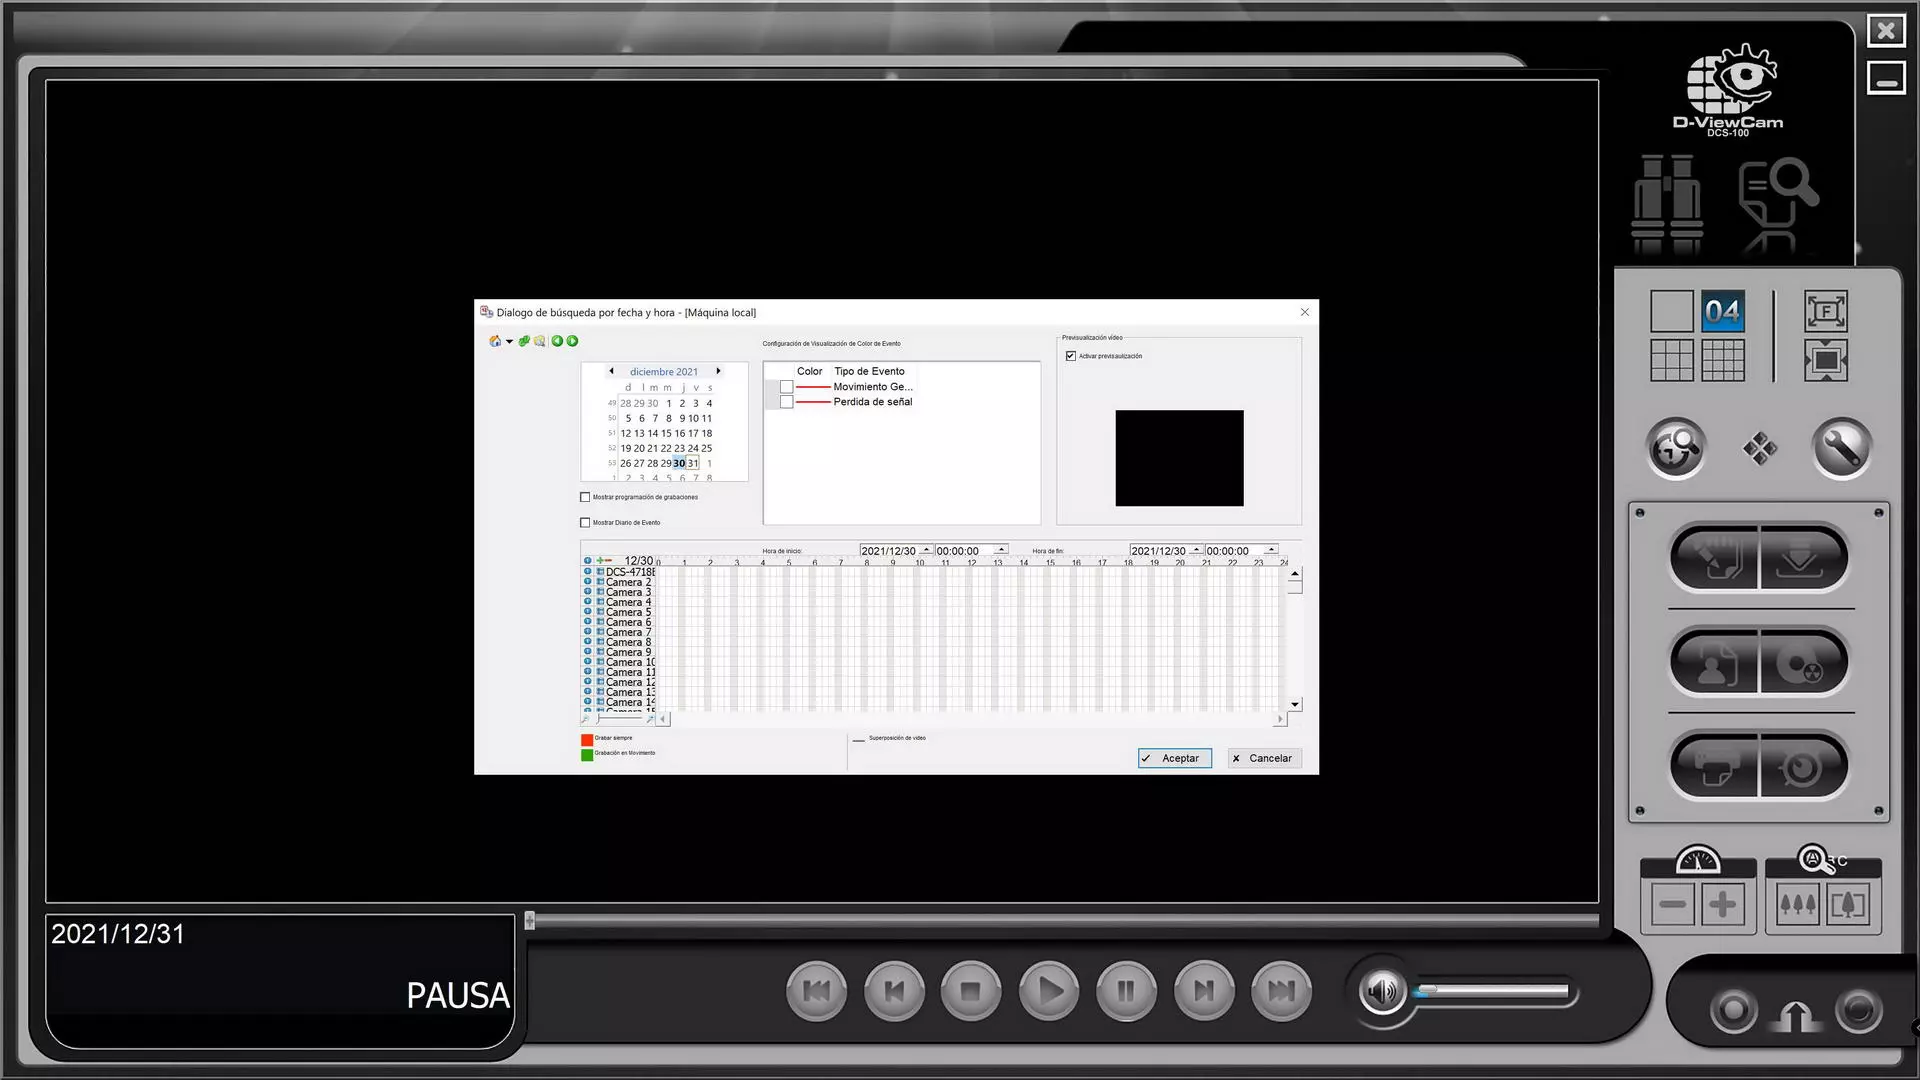
If we click on the “Player” section, we can play all the recordings that we have made continuously in the software, while we are looking for a specific recording, we will always be able to go to live viewing, and do both simultaneously.
As you can see, the D-ViewCam software is really complete and we will have all the necessary options to control the camera centrally. The possibility of remotely configuring the focus, image parameters and other options make this software the ideal solution to view the camera in real time and also to make recordings on demand or automatically. Of course, D-Link cameras with support for ONVIF are also compatible with any other video surveillance software that uses this protocol, however, we must take into account if they are free or require licenses.