Download Ubuntu Server from the official website
When we install an Ubuntu Server operating system, we must bear in mind that it is oriented to servers, therefore, we will not have the same utilities installed as in the Ubuntu version for desktop, in addition, we do not even have a graphical user interface, in order to save a lot of CPU and RAM resources among others. This installation provides the foundation for creating more virtualized servers, because it supports virtualization with QEMU, compatibility with Docker, and other virtualization technologies that are widely used in the business world.
To carry out the installation of Ubuntu Server, the server configuration at the hardware level must meet some minimum requirements:
- 2.5 GB of free disk space, as it does not have a graphical user interface, we will not need a large capacity.
- 512 MB of RAM, although it is recommended to have at least 1GB.
- 1 GHz processor or higher.
- A DVD device or USB port for installation media.
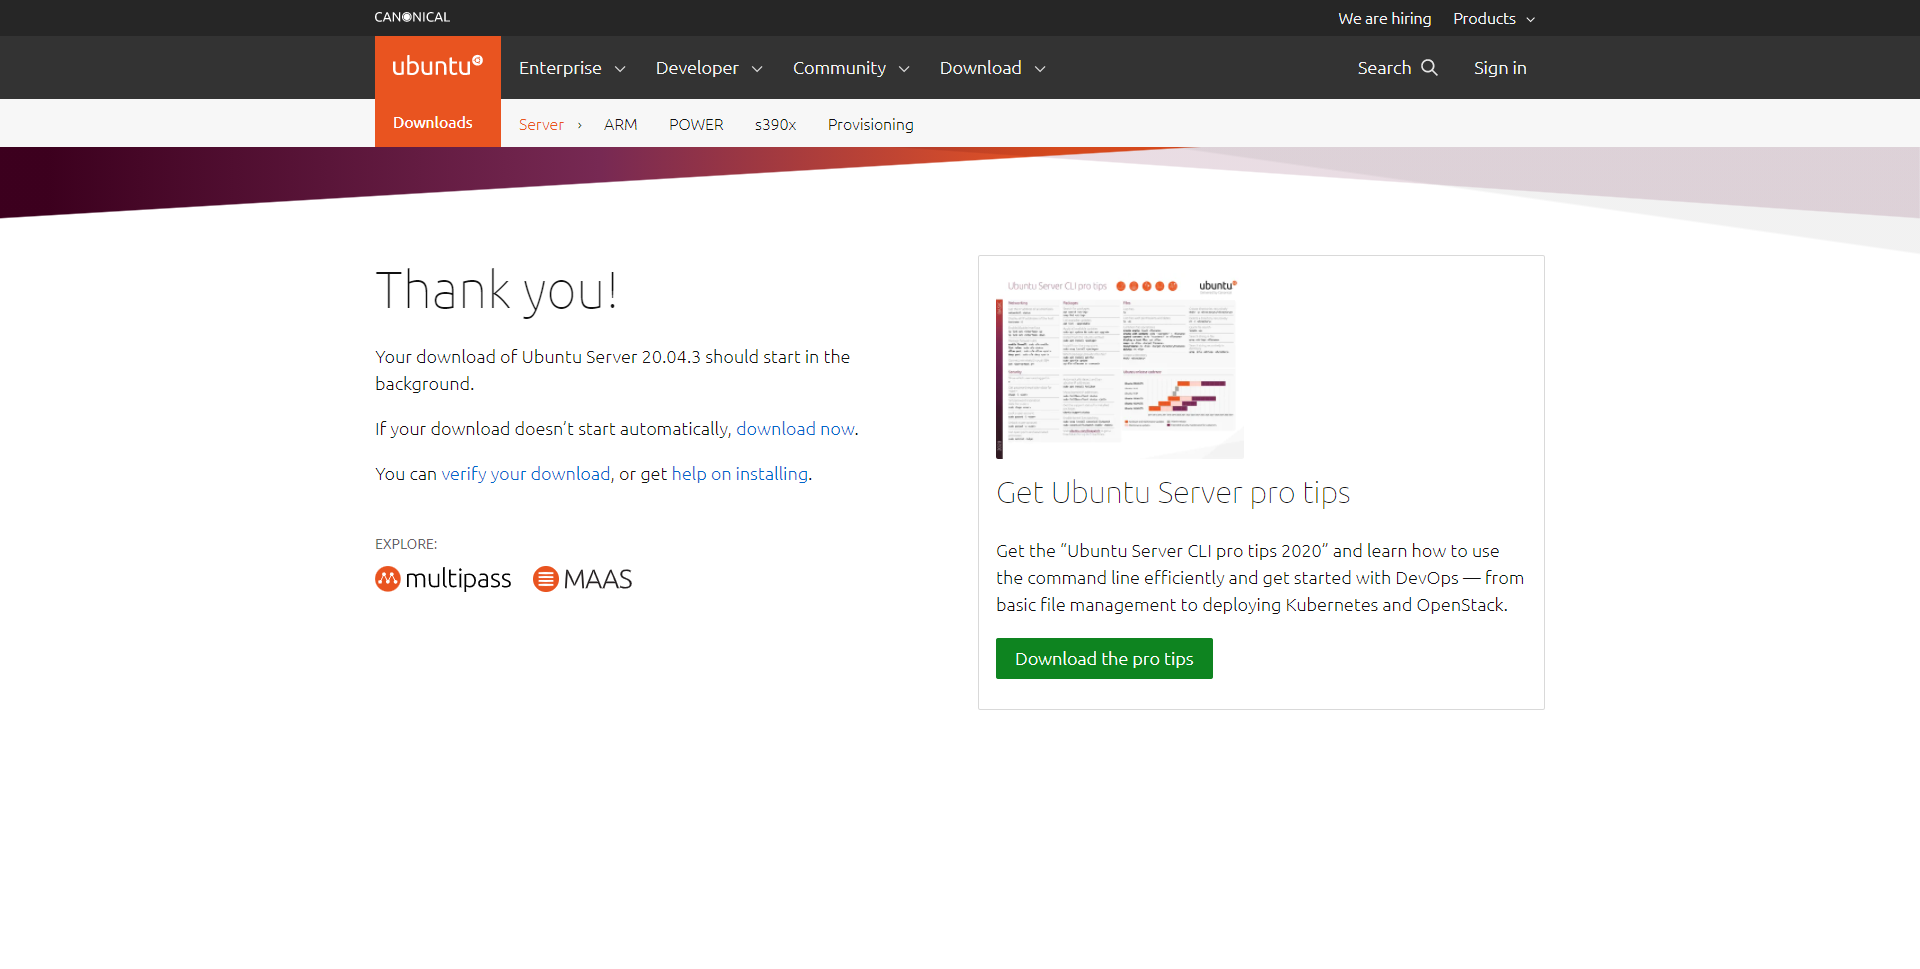
It is advisable to have an Internet connection to download the latest packages found in the official Ubuntu repositories, in this way, we will have our operating system updated to the latest version. To proceed with the download of this operating system we will have to access the Ubuntu Server official websiteOnce here, we can see three options for the installation of this operating system:
- Instant Ubuntu VMs
- Manual Server Installation
- Automated Server Provisioning
In the previous screenshots you can see the main characteristics of each one of them, as our objective is to install Ubuntu Server on a server, we are going to choose the second option of «Manual server installation», once we have chosen this option, we click on «Download Ubuntu Server 20.04.3 LTS»And we will start with the download of the ISO image.
Once we have downloaded the ISO image, we will have to proceed with the installation of this ISO on a USB memory to boot it on the server. In the event that you have a server with technologies such as HP’s iLO, then you will be able to upload the image virtually through the platform.
First, we must install our ISO image on a USB memory with a capacity of 4 GB or higher, or burn it on a DVD drive. Once our USB or DVD device has all the content of the ISO image inside, we must start the BIOS of our machine to configure the boot of this, the purpose of this is that our hardware boots the operating system that is USB memory or DVD drive. In general terms, to access the BIOS of our computer or server, we will only have to press a key in the first moments of startup of our PC. Generally the most frequent keys are F1, F2 or Del. And in the Boot section we will configure whether we will boot from USB or DVD.
Now we just have to restart our computer and observe how Ubuntu Server begins to start from our USB memory or DVD.
First steps of the installation
After correctly configuring the boot of our server, the Ubuntu configuration wizard should appear. During the entire installation process we will use the keyboard. To move around the screen we will use the arrows and to confirm the actions we will use the «enter» key.
In the first menu we can choose a list of languages to be used in the operating system and in parts of the installation wizard, but soon you will realize that most of the configuration options are in English. In this section we will choose «Spanish» so that the system is in this language.

We will also have to choose that the keyboard layout is in Spanish, this section is the most important, otherwise, we will have the English keyboard with all that it means regarding the symbols to be used to execute the different commands. In the «Layout» section we will have to press «Enter» and choose the «Spanish» option. Automatically in the “Variant” section we will have to put exactly the same thing.
After the language and keyboard layout we have to configure the network. By default the name of the first network interface is ens33, and the default setting is DHCP client. We will be able to modify the network configuration at any time, both at the IPv4 and IPv6 level, in addition, we will also have the possibility of adding a VLAN in case we are passing a trunk to the server from a switch. Generally, we can pass different VLANs to a server so that they communicate with different subnets, in the event that you do not have subnets, then you will not need to add the necessary VLAN Tag.
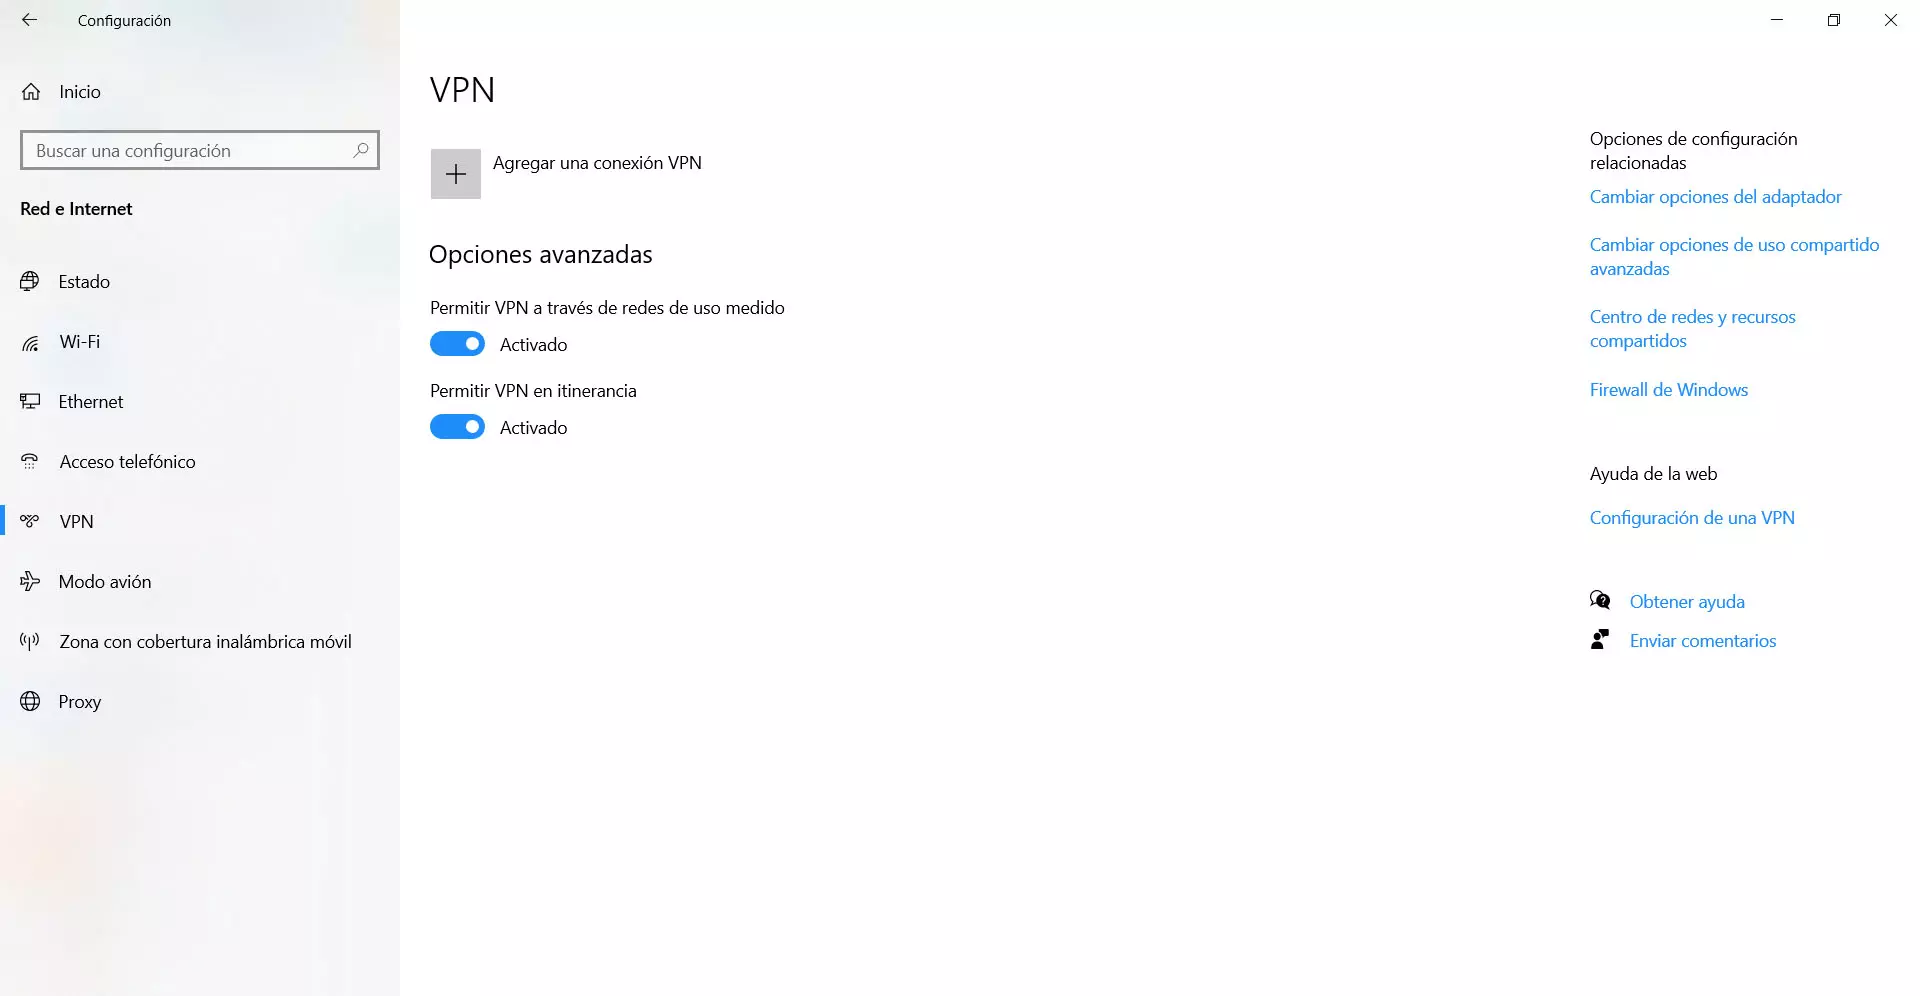
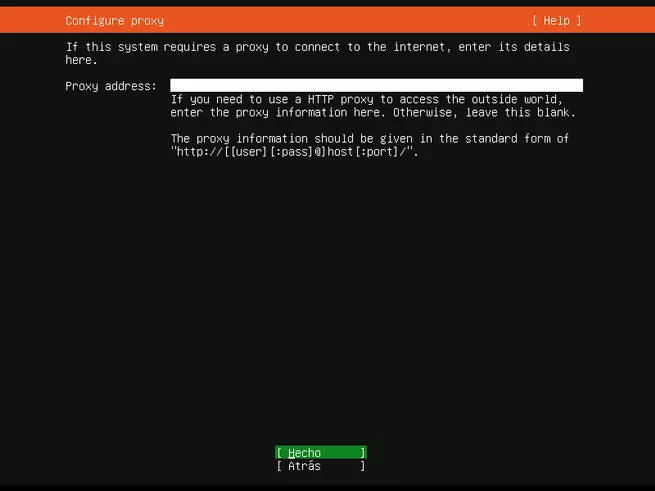
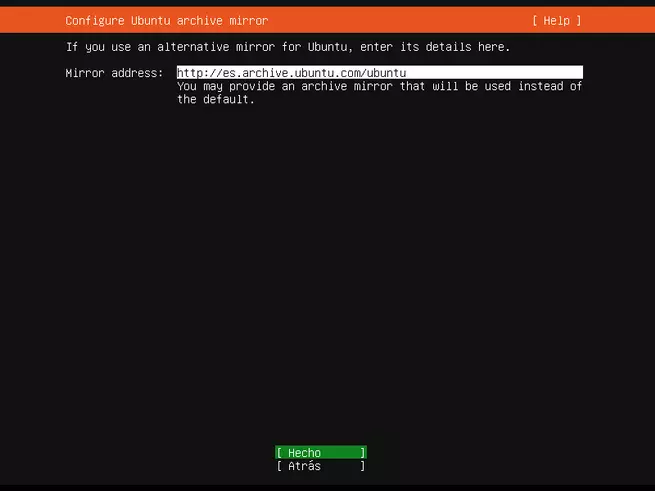
If we go to the Internet through a proxy, here we can put the address of said proxy as well as the authentication with username and password. We can also configure a mirror server for Ubuntu instead of using the default address for downloading all packages.
One of the most important parts is the storage configuration. It is advisable to install the operating system on a specific disk, to later have several disks for only storage, and not “mix” operating system and storage. Usually we will install the operating system on an SSD drive so that everything works as fast as possible.
The Ubuntu Server configuration wizard allows us to choose the disk where we are going to install it, and we will also have the option of creating the disk partitions ourselves in an advanced way. Another very interesting option is that by default it will use LVM for the installation of the operating system, in addition, we will have the possibility of encrypting the LVM using LUKS. To have disk encryption for the operating system, we will simply have to enter an access password and verify the key. Every time the operating system starts we will need to enter the passkey, otherwise the operating system will not start. If your server has a system like HP iLO to access as if you were physically in front of the screen, then we recommend using this, otherwise, you will have to physically move if you restart the server.
Once configured, we will get a summary of the file system, the boot and everything that we have previously configured. Once we have reviewed everything, we choose the option “Done” and “Continue”.
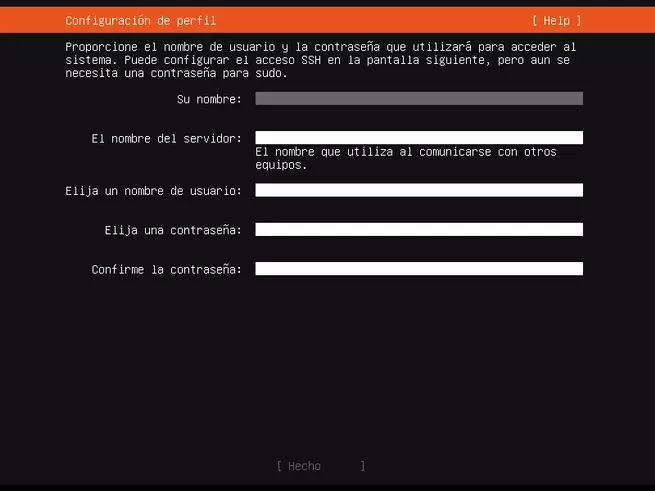
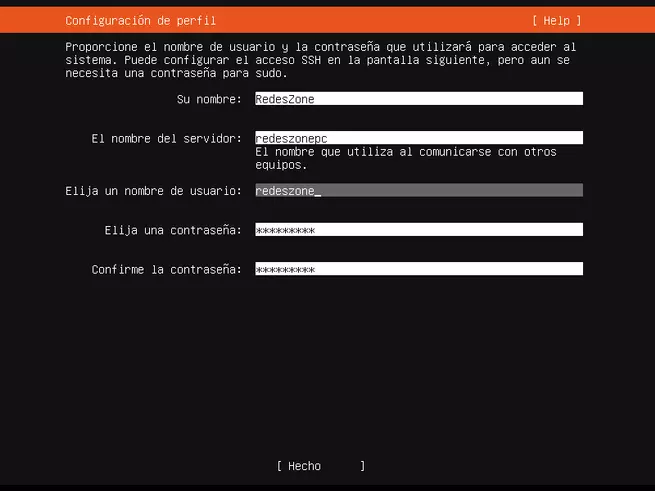
Once the storage is configured, we have to give it a name, a name to the server, the name of the administrator user and its access password. Once we have done everything, with the arrows we choose “Done” and press “Enter” to proceed with the complete installation.
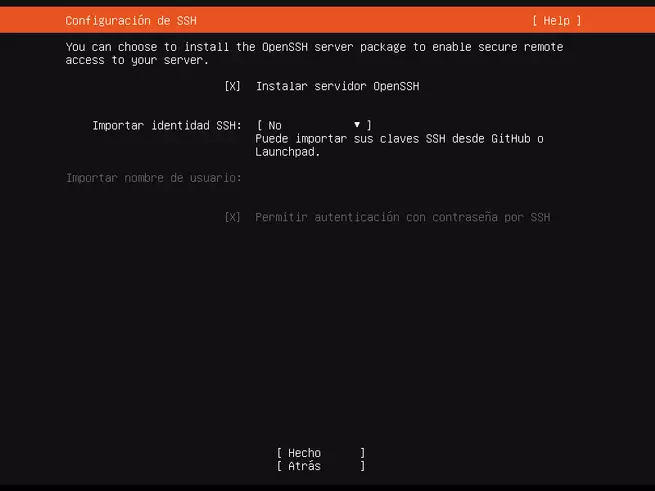
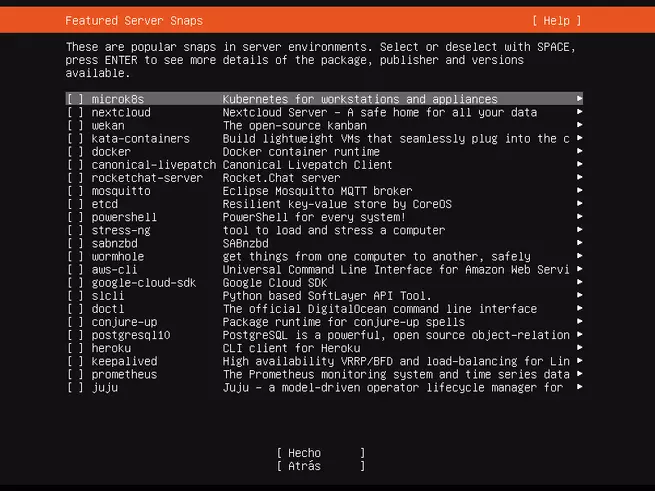
Ubuntu Server allows us to install additional software easily and quickly, the first thing it will tell us is if we want to install the OpenSSH server, a fundamental program to manage and administer the server remotely and securely. We will also have a list of very popular programs to make the most of the server, we can install well-known utilities such as NextCloud, Docker and even Google-Cloud-SDK and the PostgreSQL database among other very important tools.
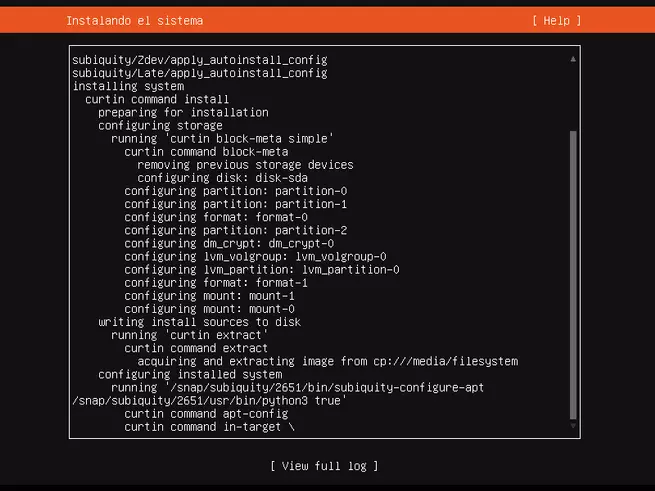
Once you have chosen the additional software to install, the installation process will begin and in a few minutes we will have it installed. As it does not have a graphical user interface, the installation is really fast.
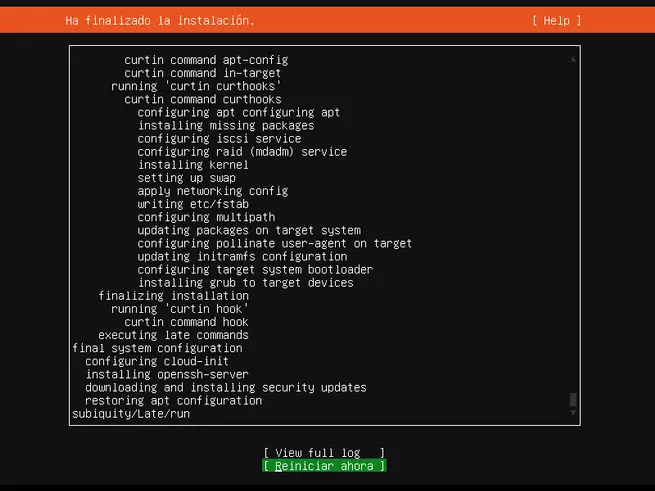
When it is installed, we choose “reboot now” to enter the operating system directly.
Startup and commissioning
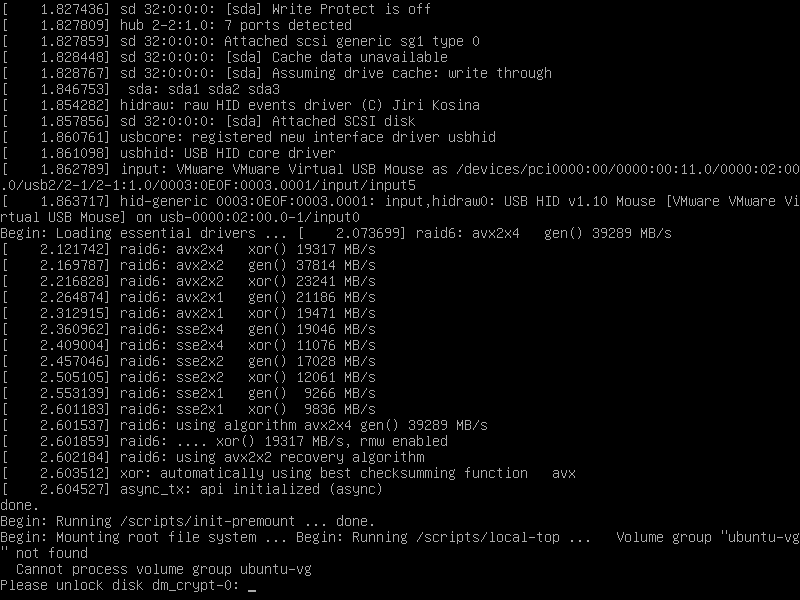
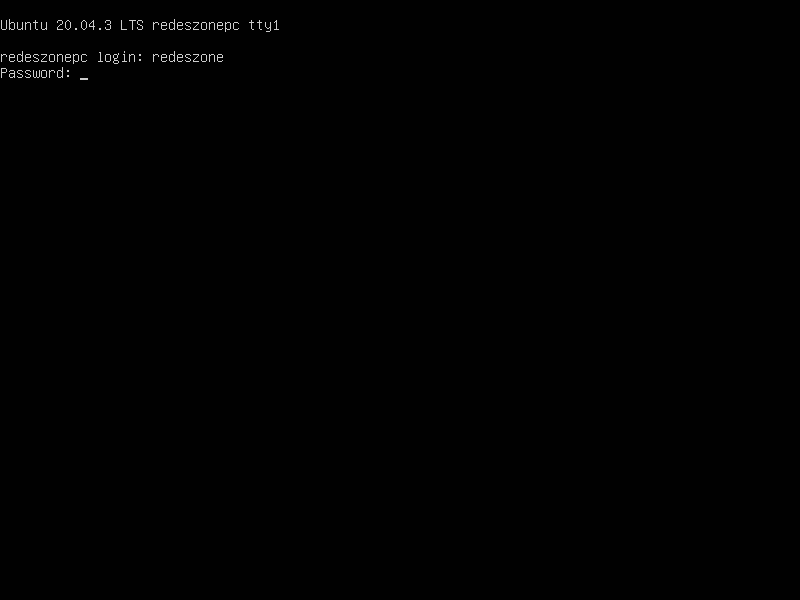
We have previously configured the Ubuntu Server operating system with disk encryption using LUKS, that is, the entire operating system is encrypted and we will need to use a passkey to decrypt all the content. When we start the operating system, either for the first time or later, it will always ask us for the password to unlock the dm-crypt-0 disk.
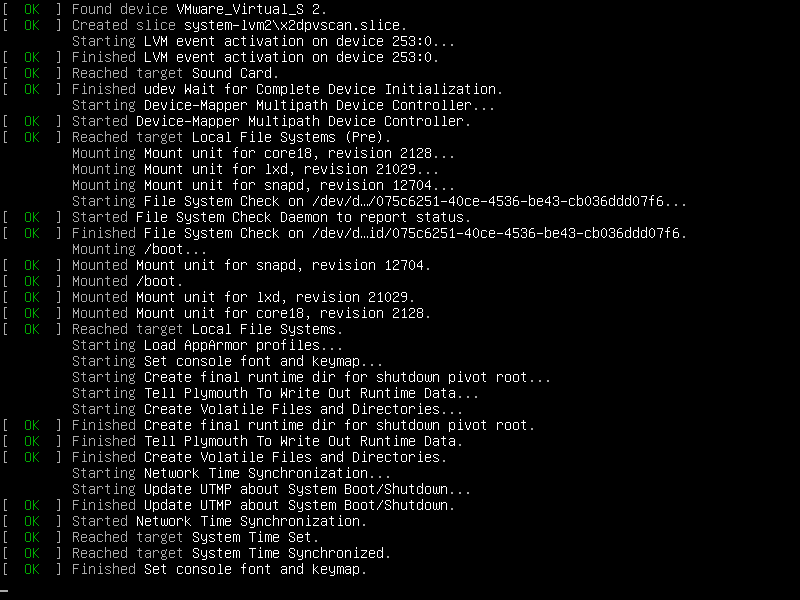
We must enter the access password, and it will automatically start to load the system.
Once it has loaded, we will have to enter the username and access password, right now we only have a single user, so we enter “redeszone” and the configured password.
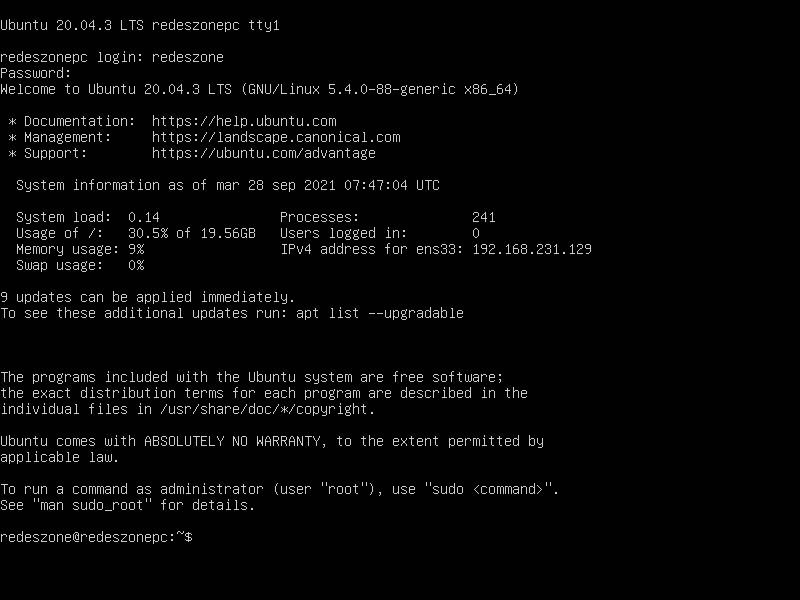
When we have logged in, it will indicate the version of the operating system, the Linux Kernel that is being used, and also the system load, the occupied and free storage space, the processes and the users that are currently connected to the system. Of course, we can also see the assigned IPv4 address and it will give us access to the console to start executing commands. By default we have “sudo” enabled, therefore, if we want to execute a command as root we must use the “sudo” command in front of it.
As you have seen, the installation and start-up of Ubuntu Server is really simple, once installed with disk encryption, it will give us access to the terminal to install and configure everything we want, as if it were any Linux-based operating system .