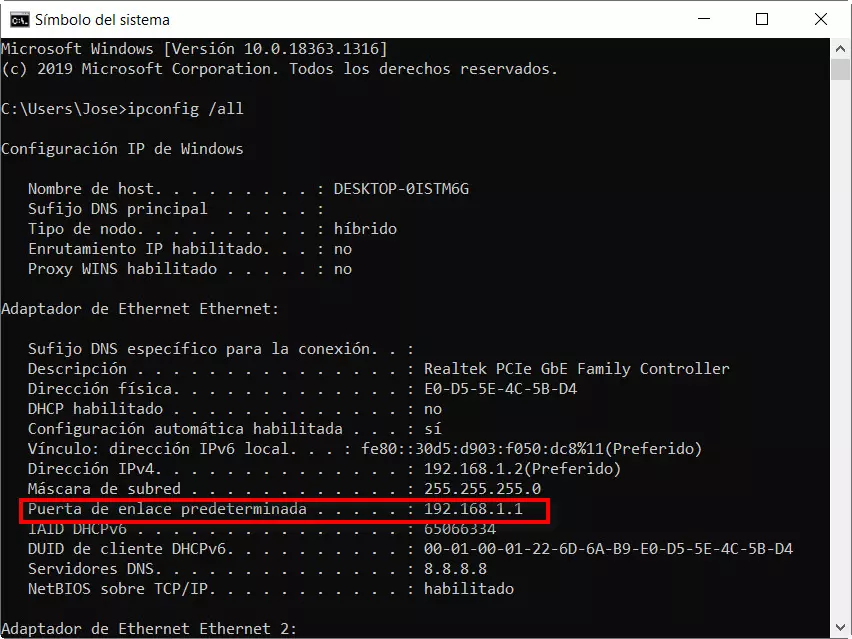
The first thing we have to do is enter the router via the web, by default, the IP address is 192.168.10.1, so we will access via https://192.168.10.1, with username “admin” and password “admin” . However, if it is the first time you log into the router, it will force you to change the password for a more secure one.
Configure the different “Profiles” on the router
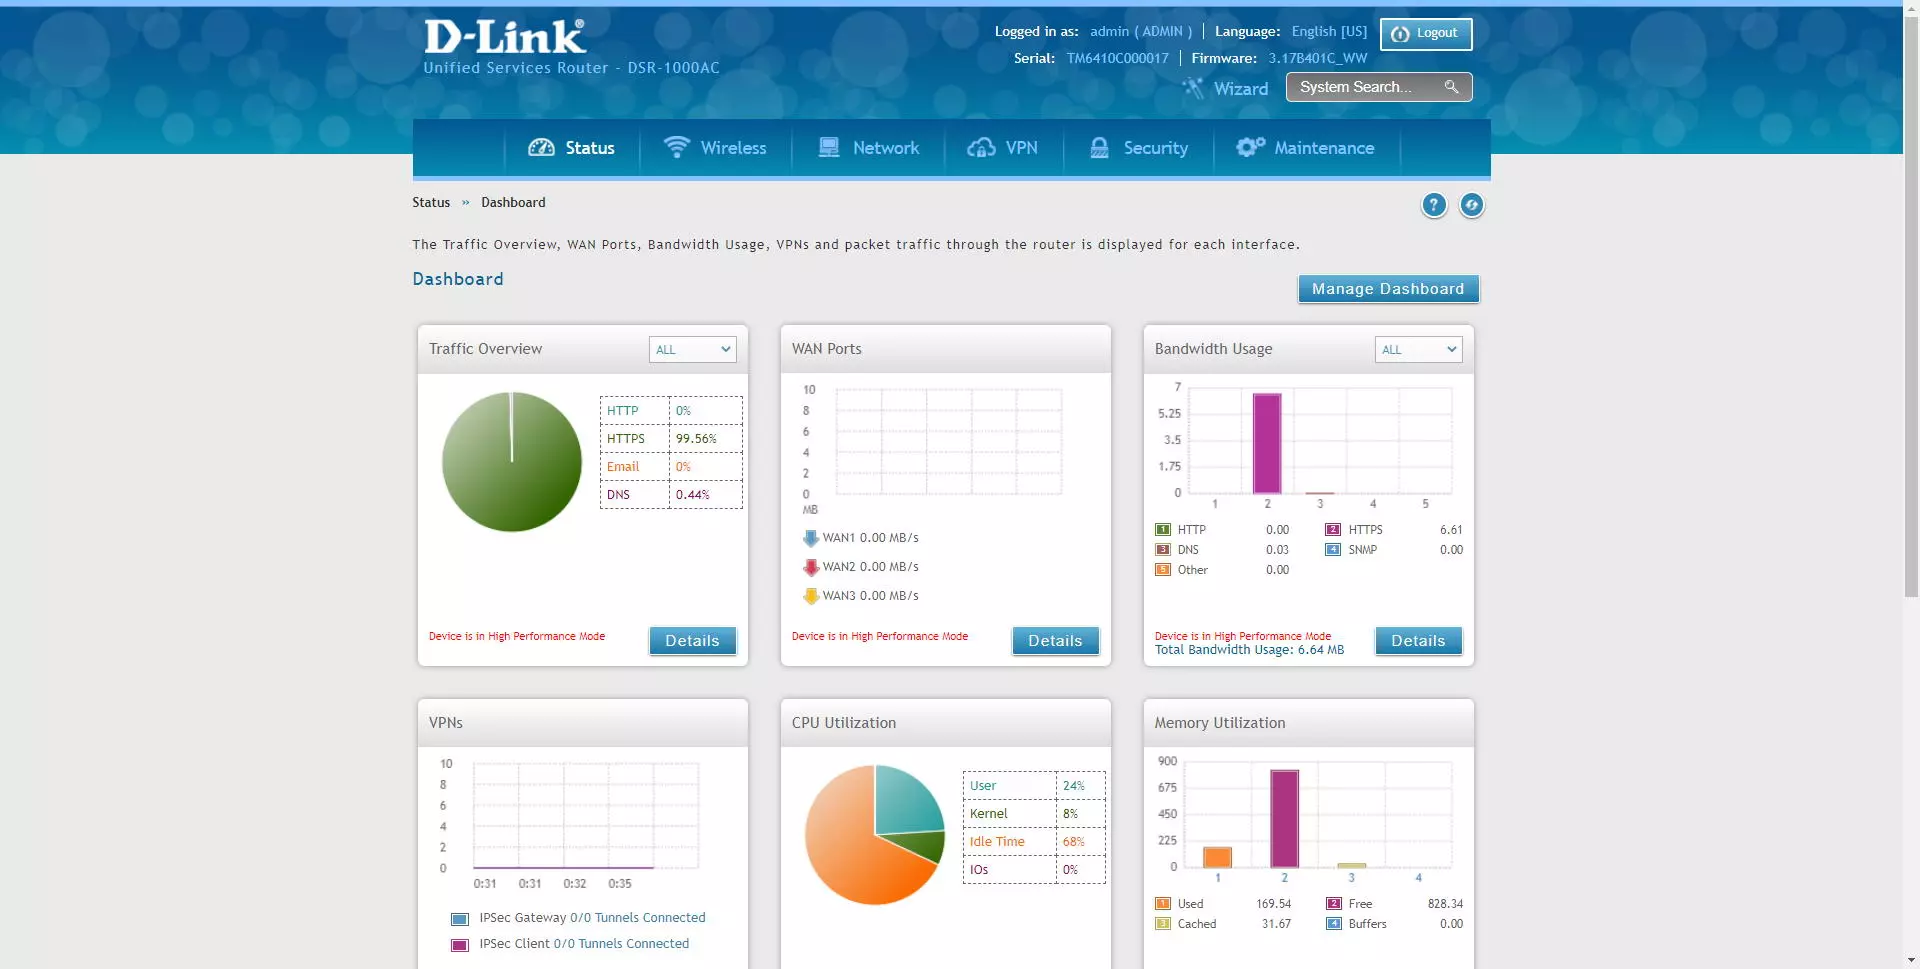
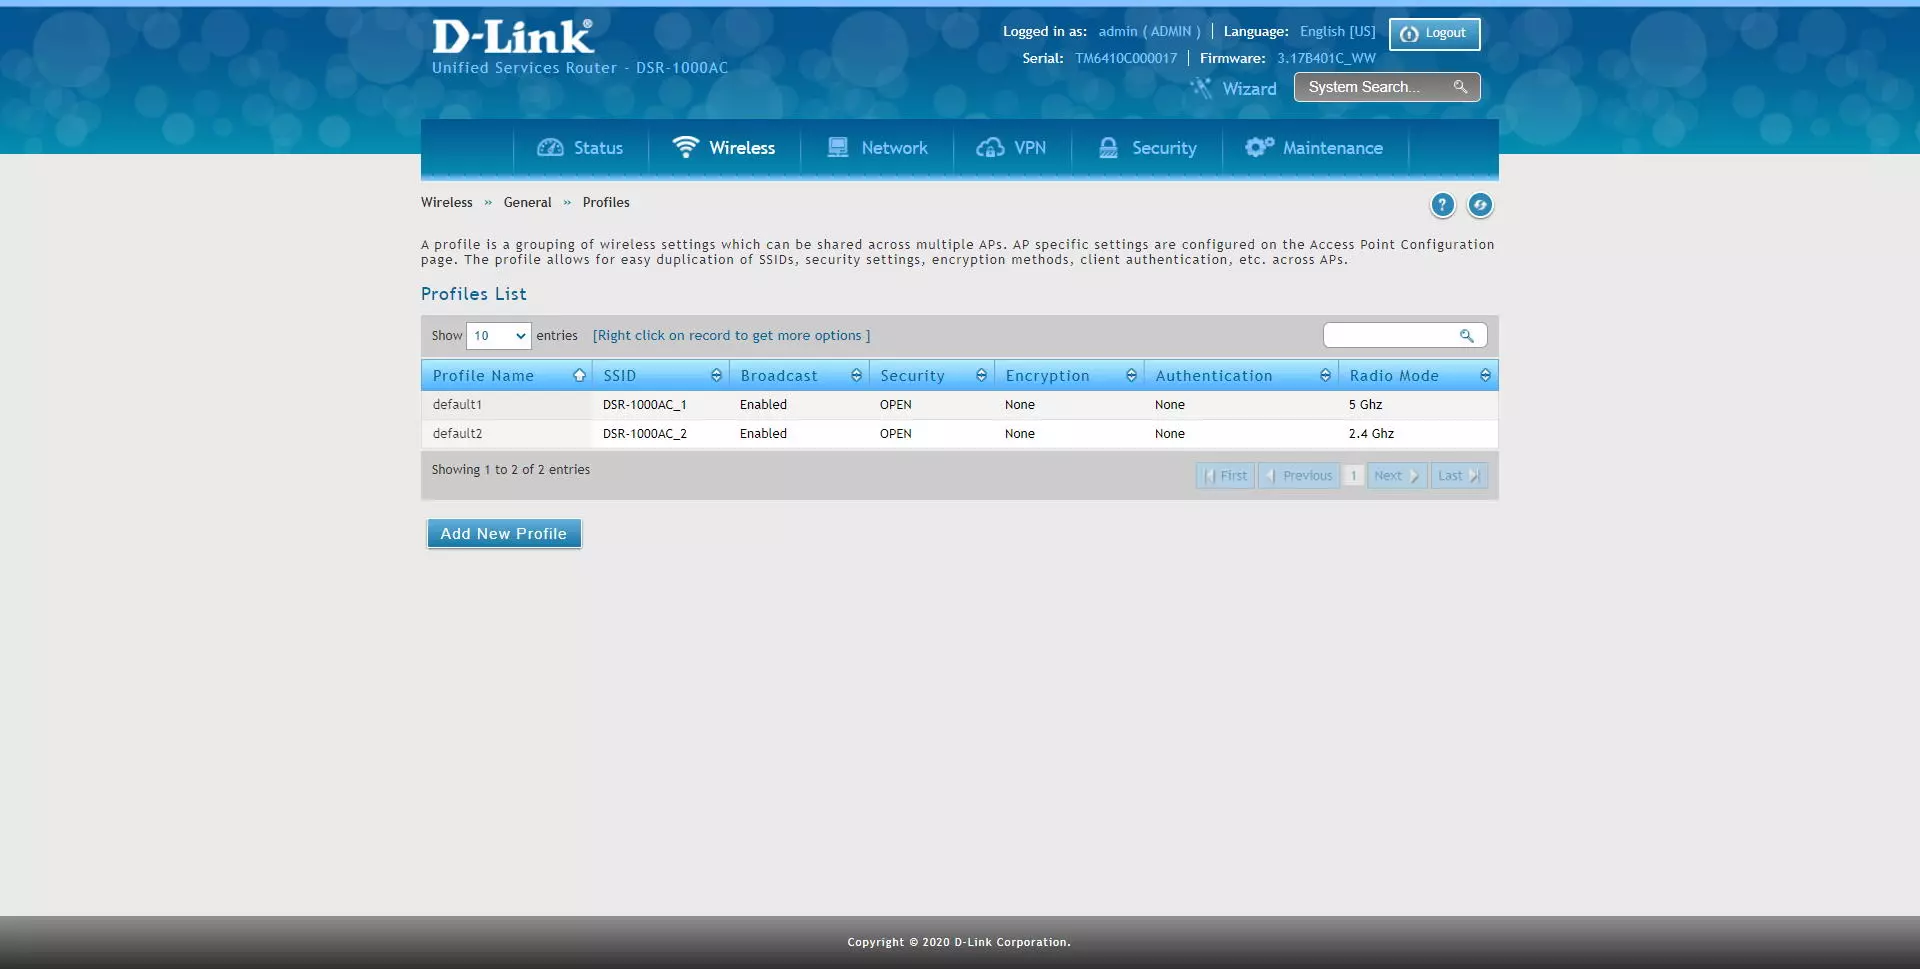
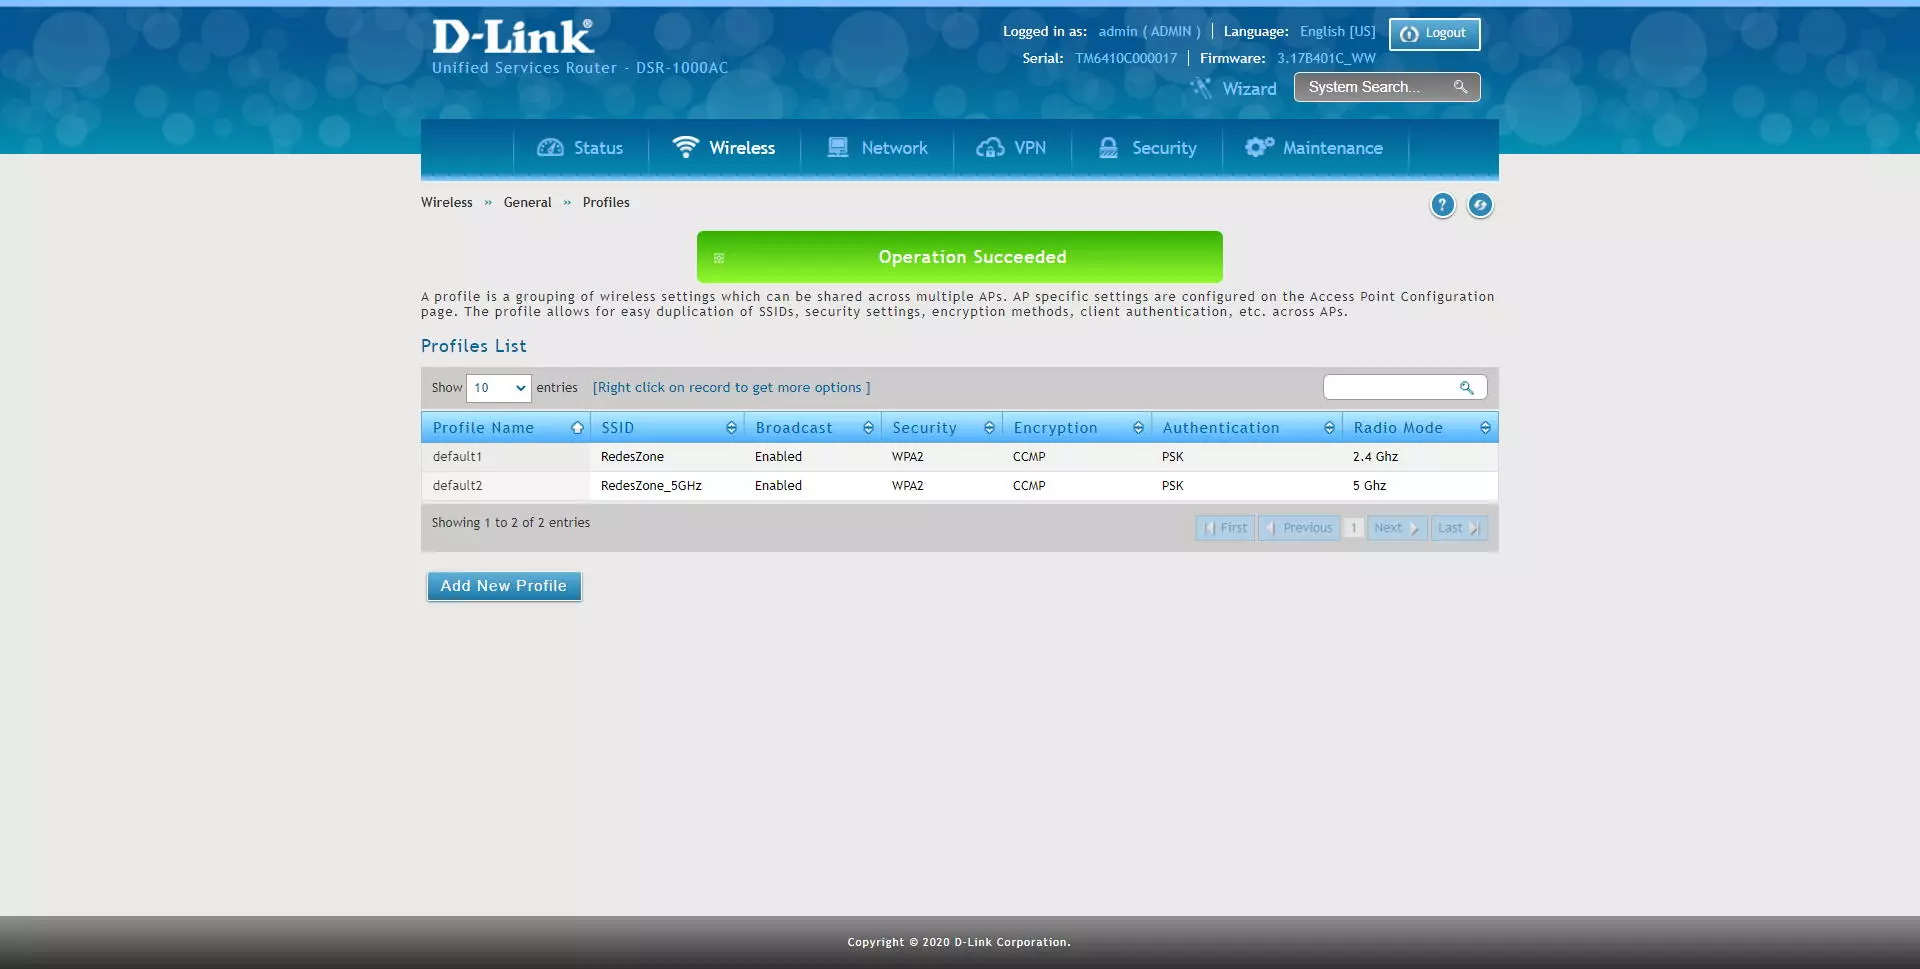
The “Wireless” section is where we will have the different configuration options available. The first thing we have to do is go to the “Profiles” section, this is where we will have to create the different SSIDs with their security, in which radio we want to configure this SSID (2.4GHz or 5GHz) and other configurations. If we want to edit the profiles that we already have created, we right-click on the profile and select “Edit”.
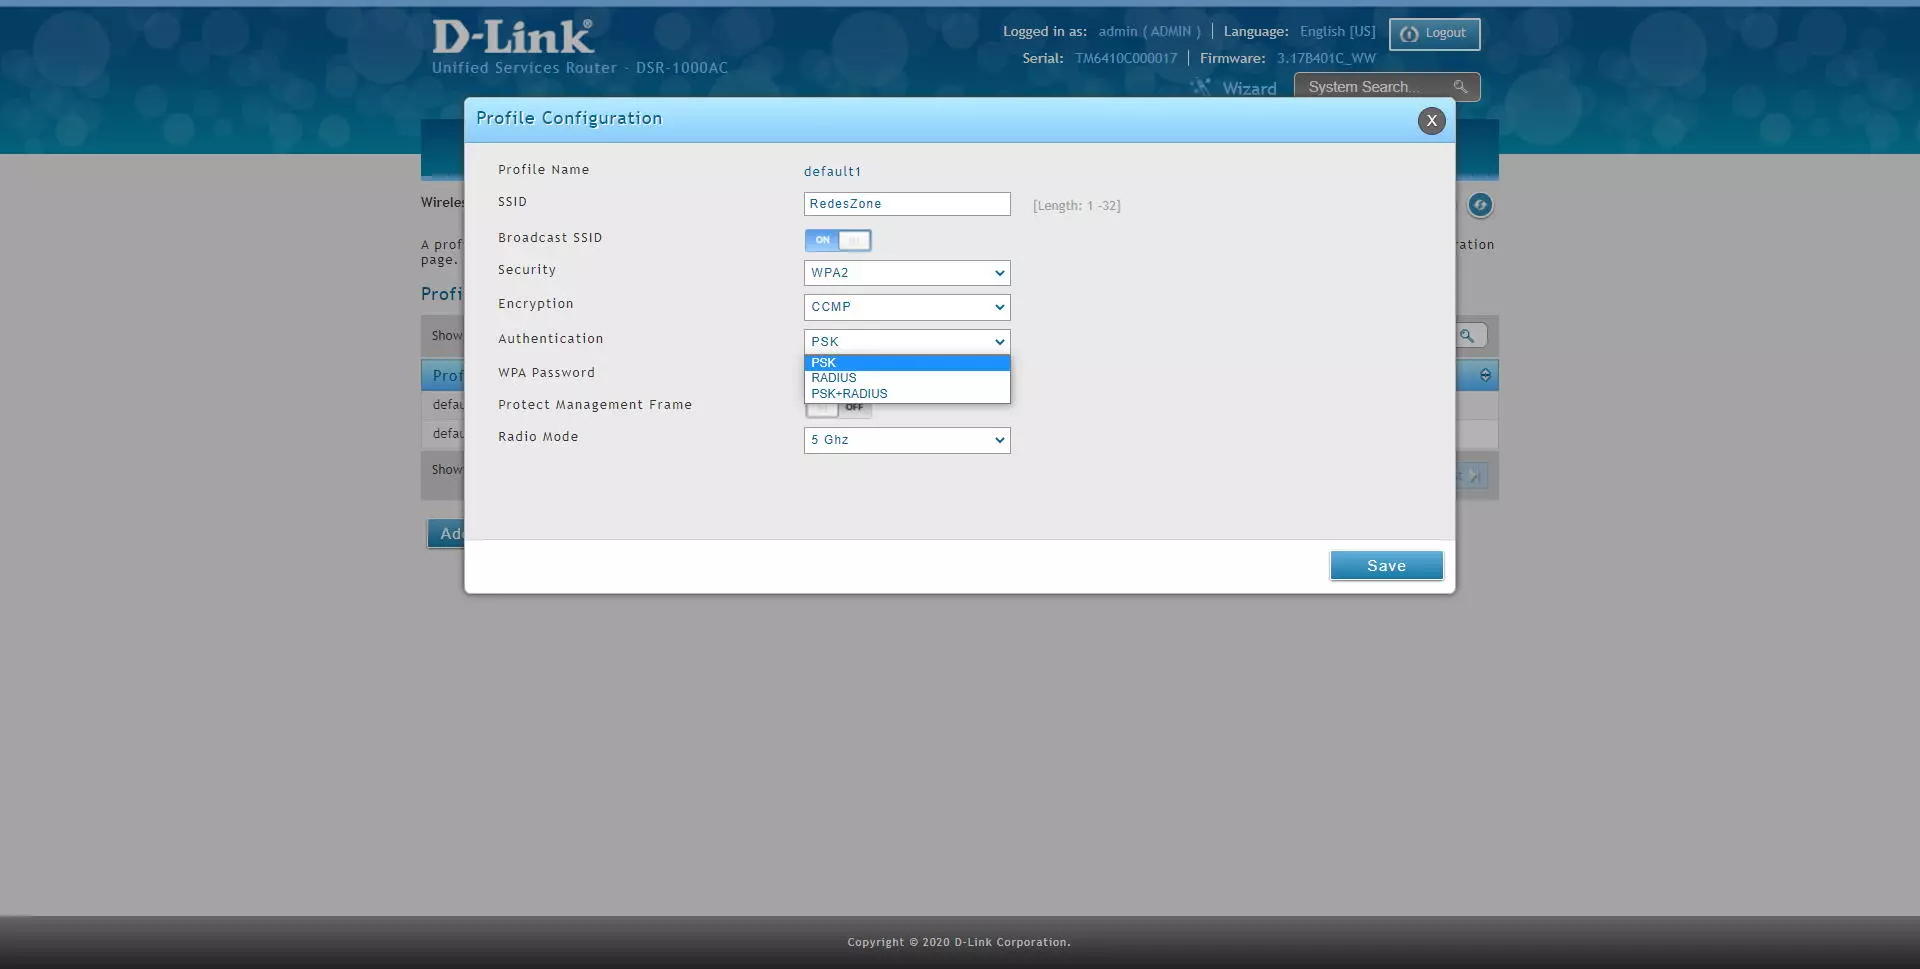
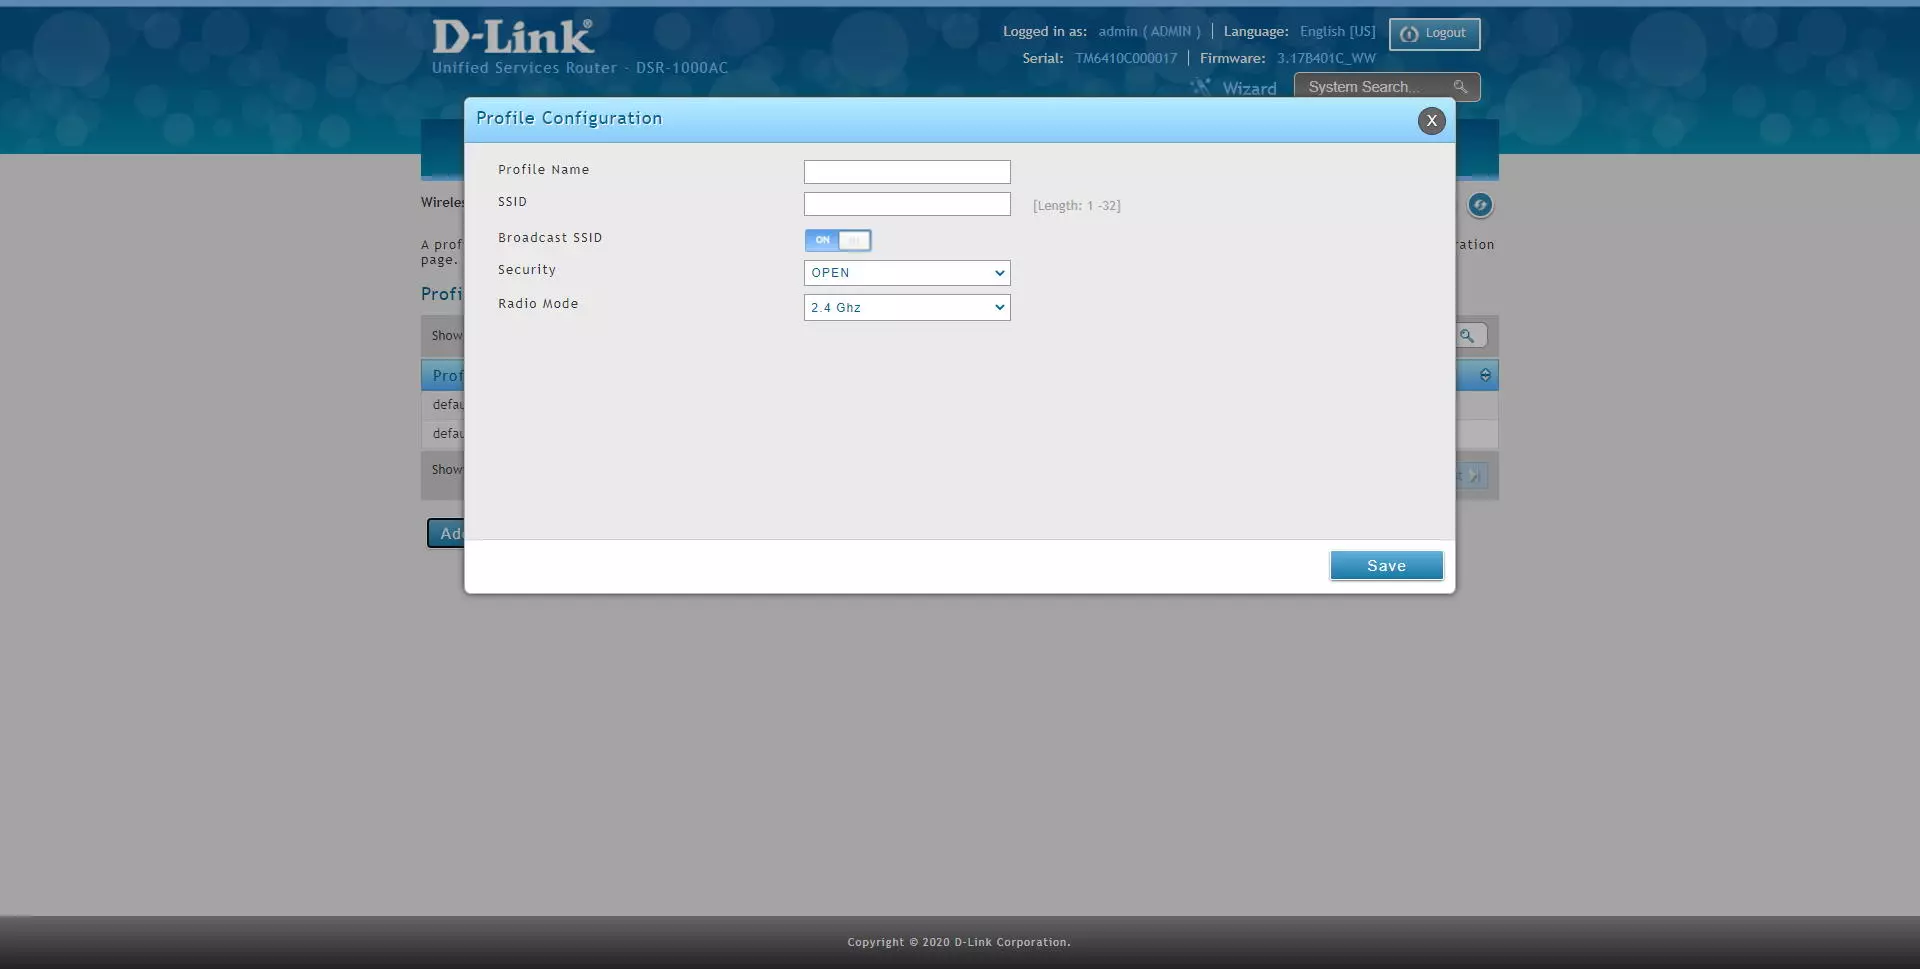
The options that it will allow us to perform are those typical of any professional wireless router in the SSID section, specifically, we will have the following configuration options:
- SSID: the name of the WiFi network that we are going to create
- Broadcast SSID: allows us to show or not the name of the WiFi network, it is recommended to activate it or leave it ON.
- Security: the best security that this router supports is WPA2, so we select this one.
- Encryption: CCMP (WPA2-PSK AES)
- Authentication: the authentication method in the WiFi wireless network, we can select PSK (always pre-shared key), RADIUS (requires an external RADIUS server for client authentication), PSK + RADIUS (both authentications).
- Protect Management Frame: this functionality allows us to enable or not the protected administration frames, normally computers such as Smart TVs, laptops and even smartphones do not usually support them. You can turn it on, and if it doesn’t connect to the wireless network, turn it off. By activating this function, we can force all clients to use it yes or yes (it is in this case when those that are not compatible will not connect) or not force (then non-compatible clients will connect, but will not use it).
- Radio Mode: the frequency band where we want to create this SSID, it can be 2.4GHz, 5GHz or both.
In the following screenshot you can see all the details:
Clicking on “Save” will apply the changes immediately, as you can see here:
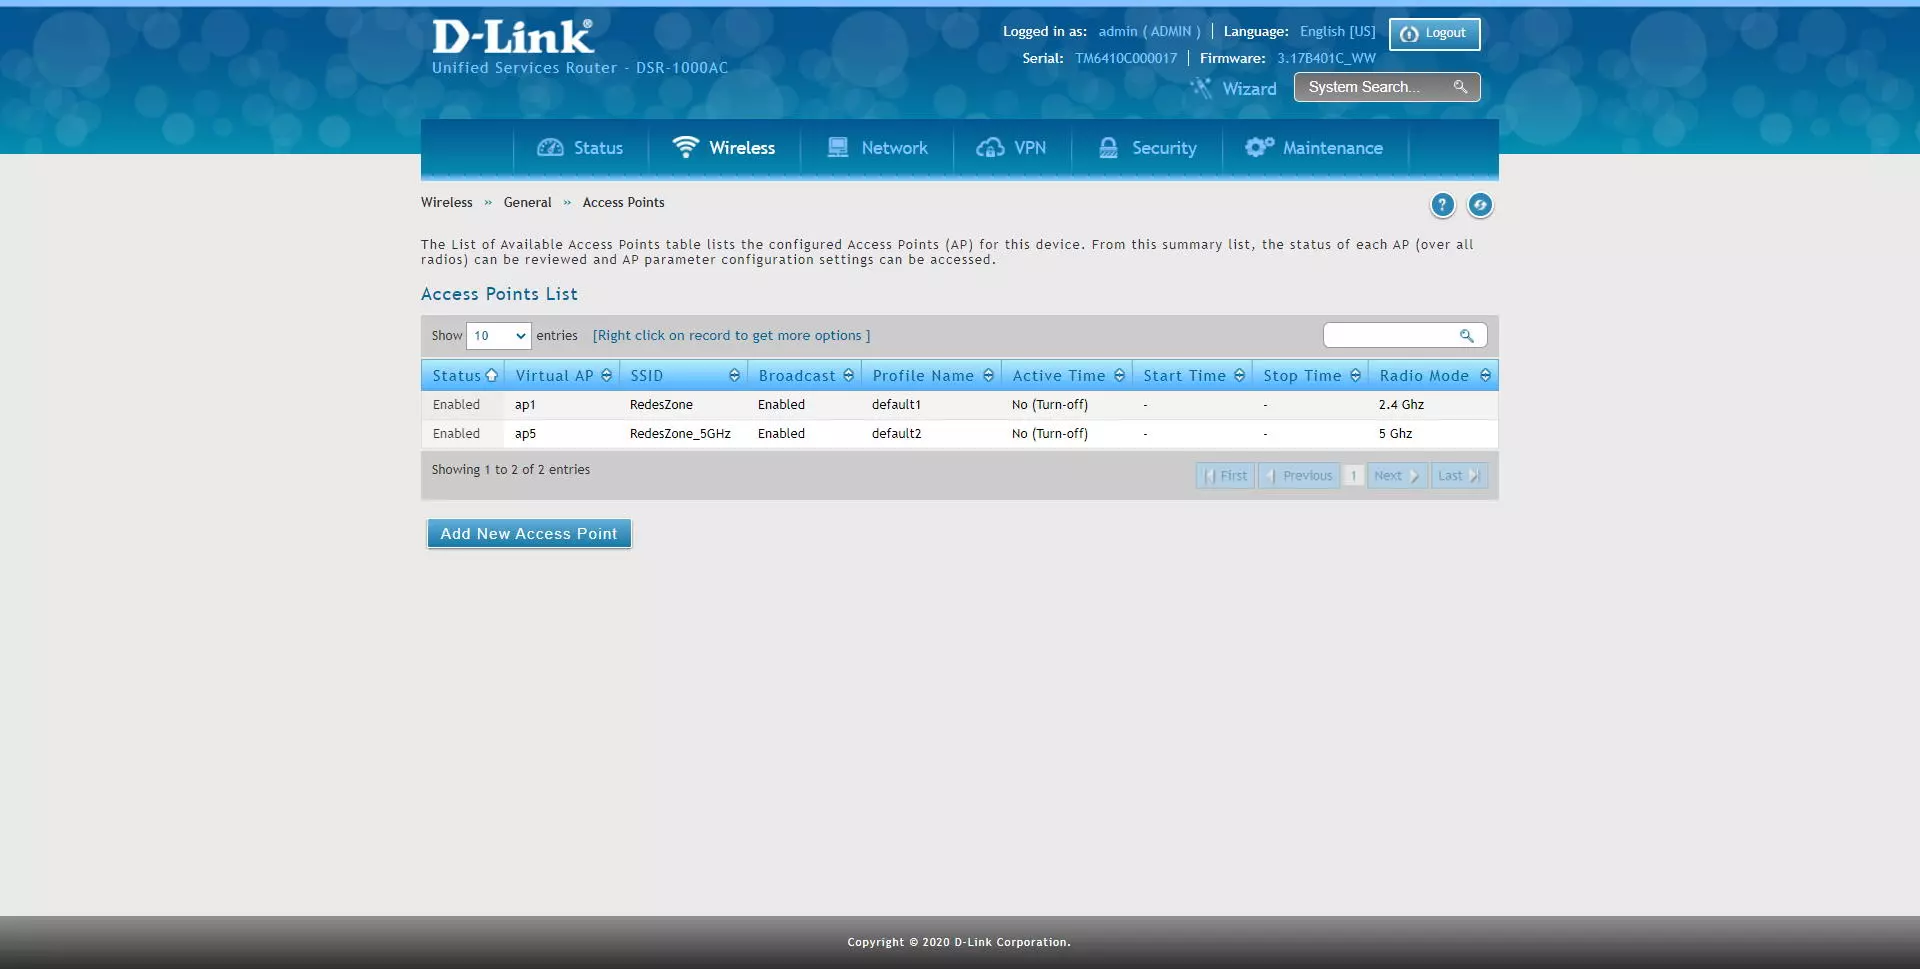
In the section of “Wireless / General / Access Points»We can create different virtual APs and link them with an SSID that we have created. These virtual APs allow us to activate the SSIDs in a certain time.
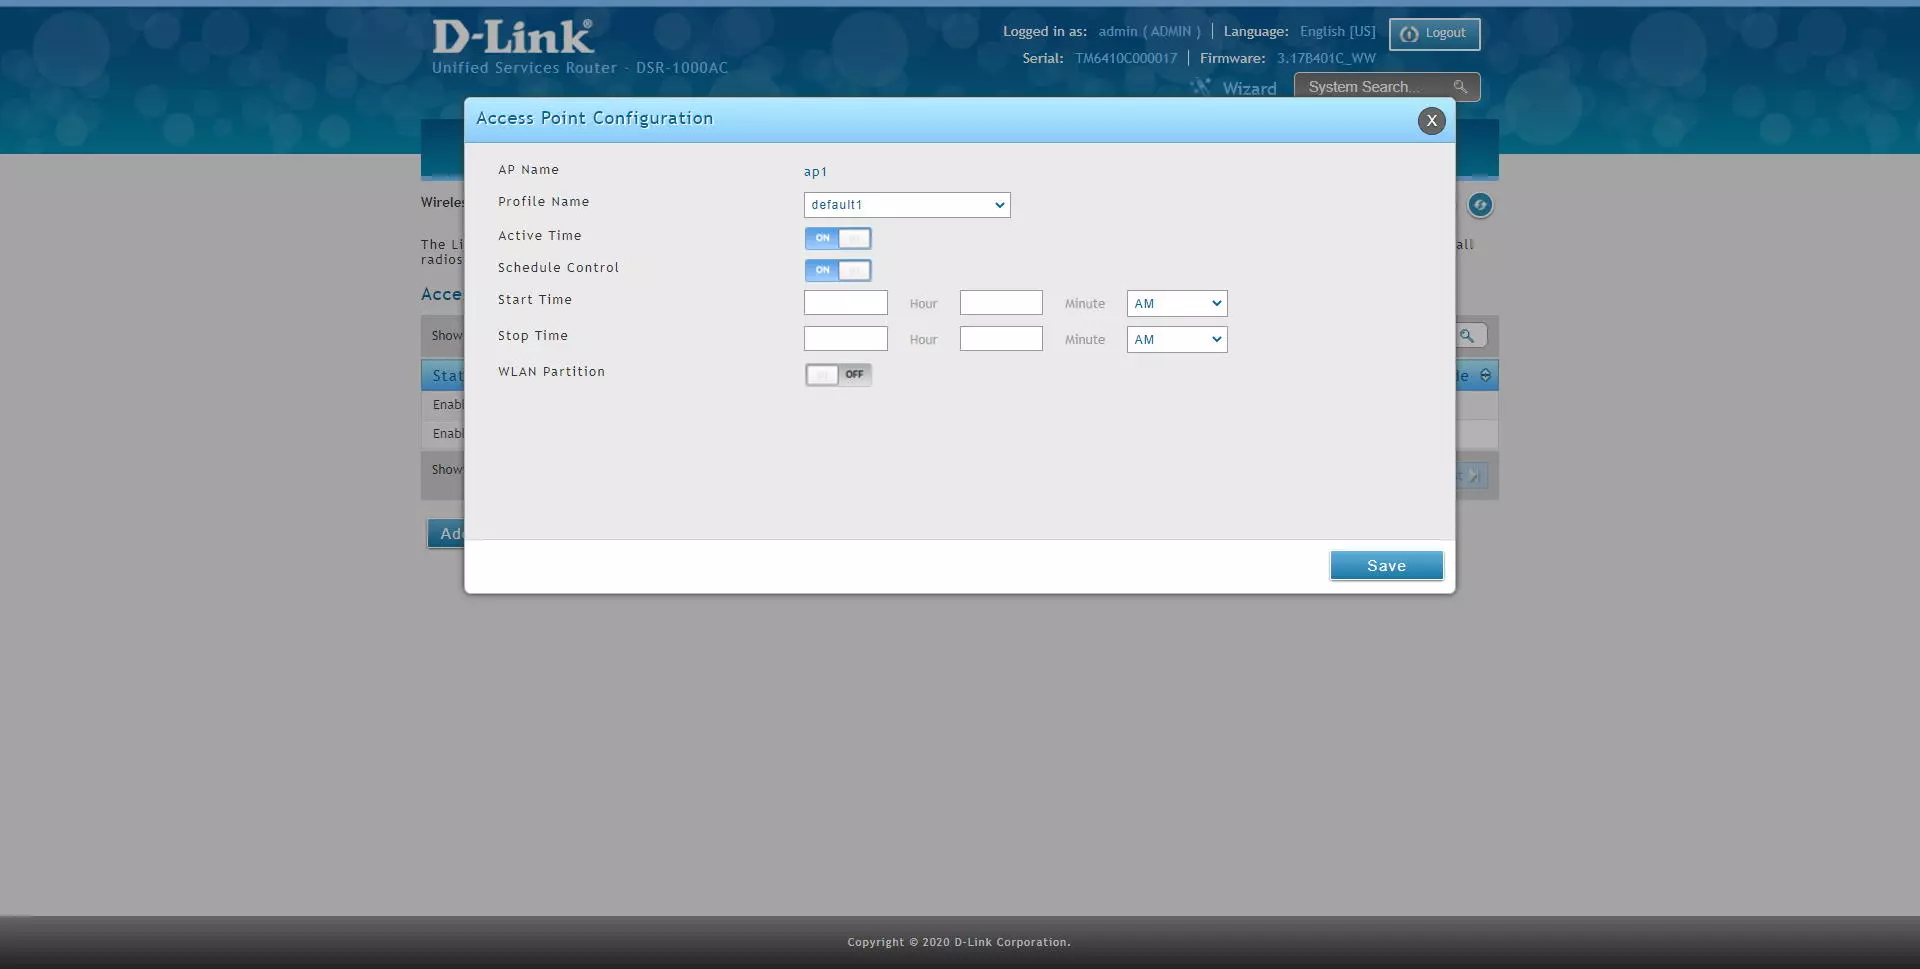
If we edit one of those already created, we can see that it is associated with a “Profile” that we have previously configured, and it will allow us to activate the time control in a schedule that we want, in addition, it will also allow us to activate the WLAN Partition option.
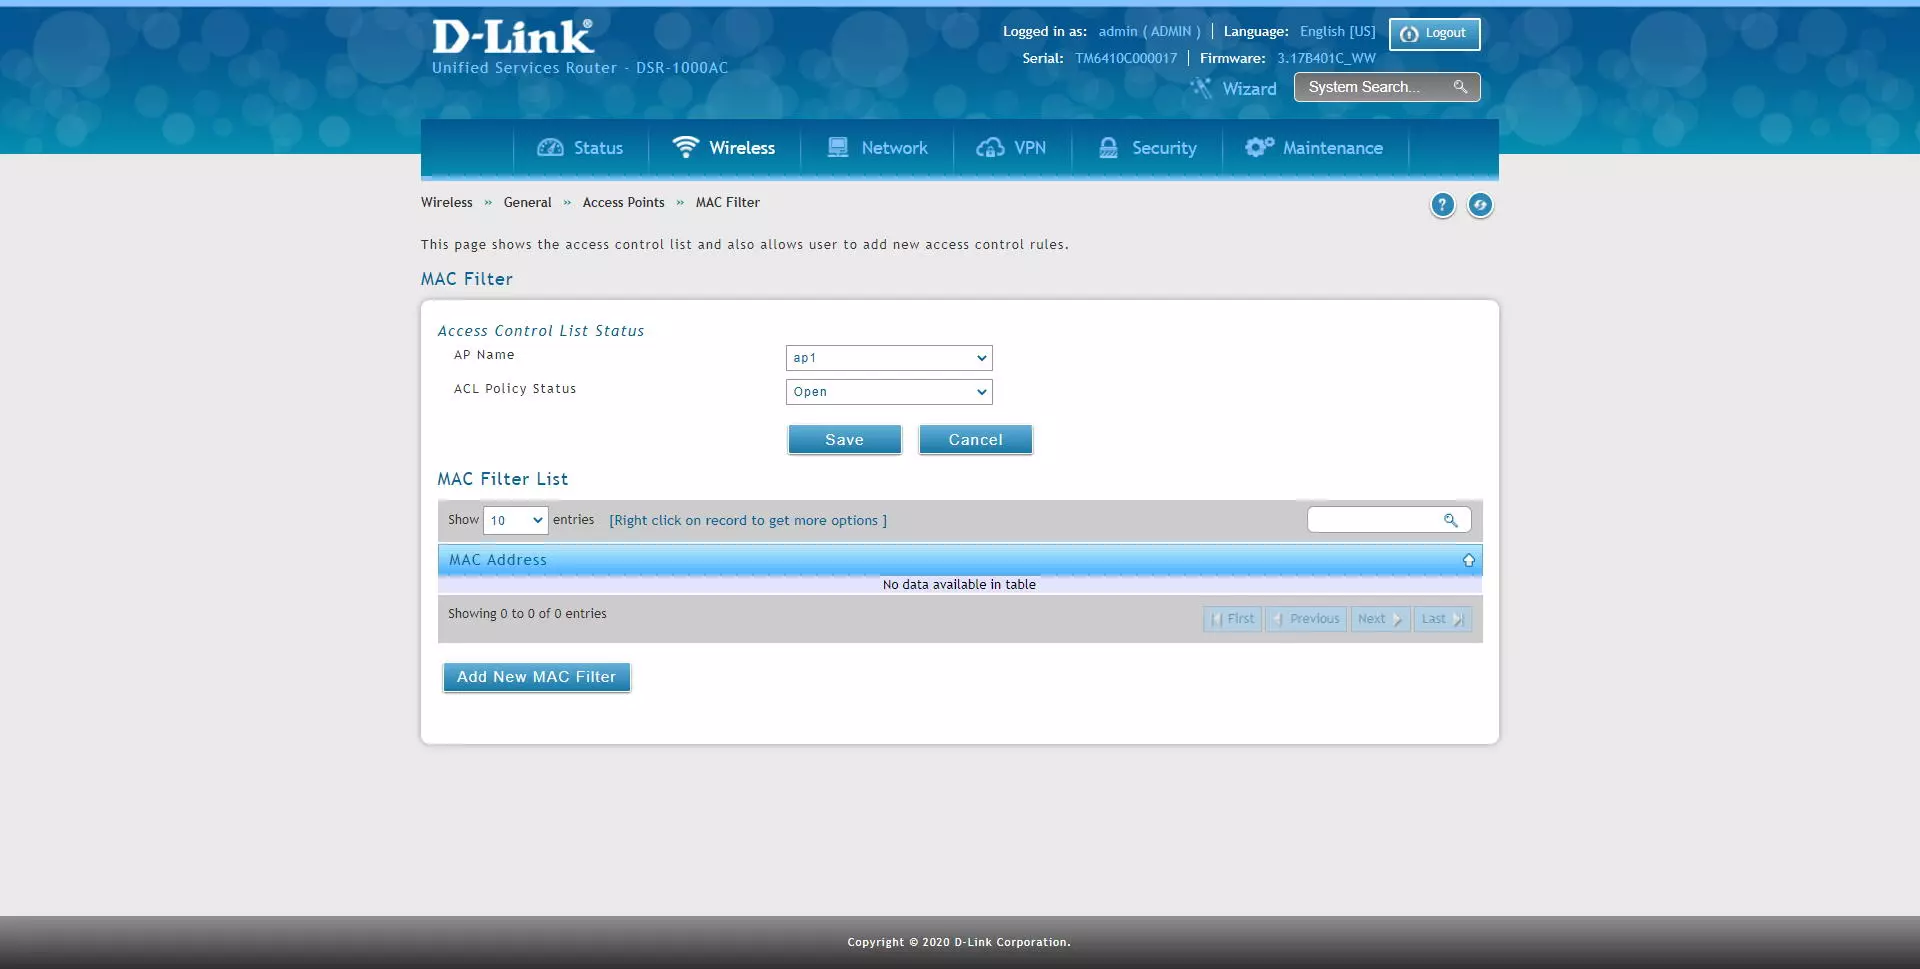
If we go to the “MAC Filter” section we can filter by MAC address, creating a blacklist policy for a specific virtual AP that we have previously configured. Taking into account that MAC filtering does not offer great security to the wireless network, our recommendation is that you do not use it because you will be able to continue entering the network by cloning the MAC address (ESSID) that is public.
In the statistics section we can see the packets transmitted and received by a specific WiFi access point, and we can even see the errors and the clients that are connected.

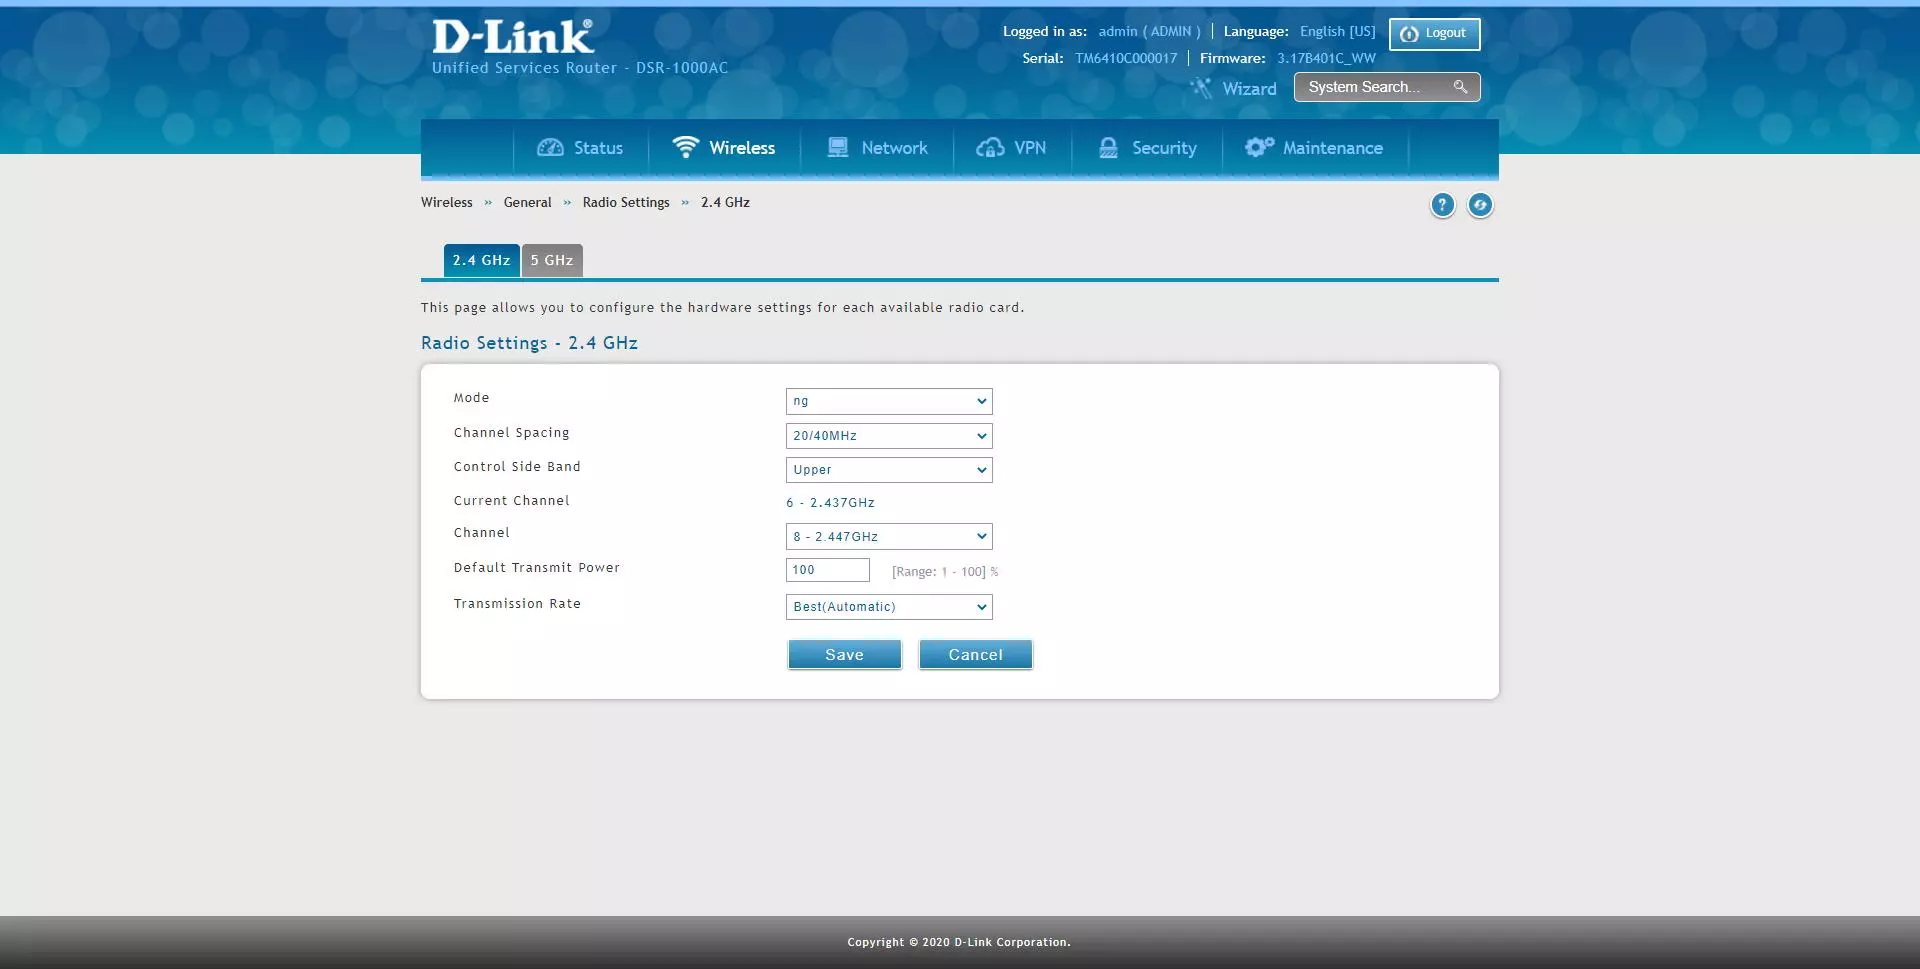
If we go to the «Radio Settings» menu we can configure both 2.4GHz and 5GHz at the radio level. In this section we can configure the following:
- Mode: we can define if we want to configure it in G, N or both, NG mode.
- Channel Spacing: the channel width will allow us to achieve a higher or lower real speed, in this case, we have the possibility of configuring 20MHz of channel width or 20 / 40MHz. A very important detail is that we do not have the possibility to configure the HT20 / 40 Coexistence, therefore, if it finds WiFi networks around us, it will always be 20MHz and a maximum synchronization speed of 75Mbps per antenna.
- Side Band control: allows us to choose the channel added to the central, in case of using 40MHz of channel width.
- Channel: we can choose the broadcast channel of the main central channel.
- Default Transmission Power: transmission power, it is advisable to always leave it at 100% to have the best coverage.
- Transmission rate: we leave it at best.
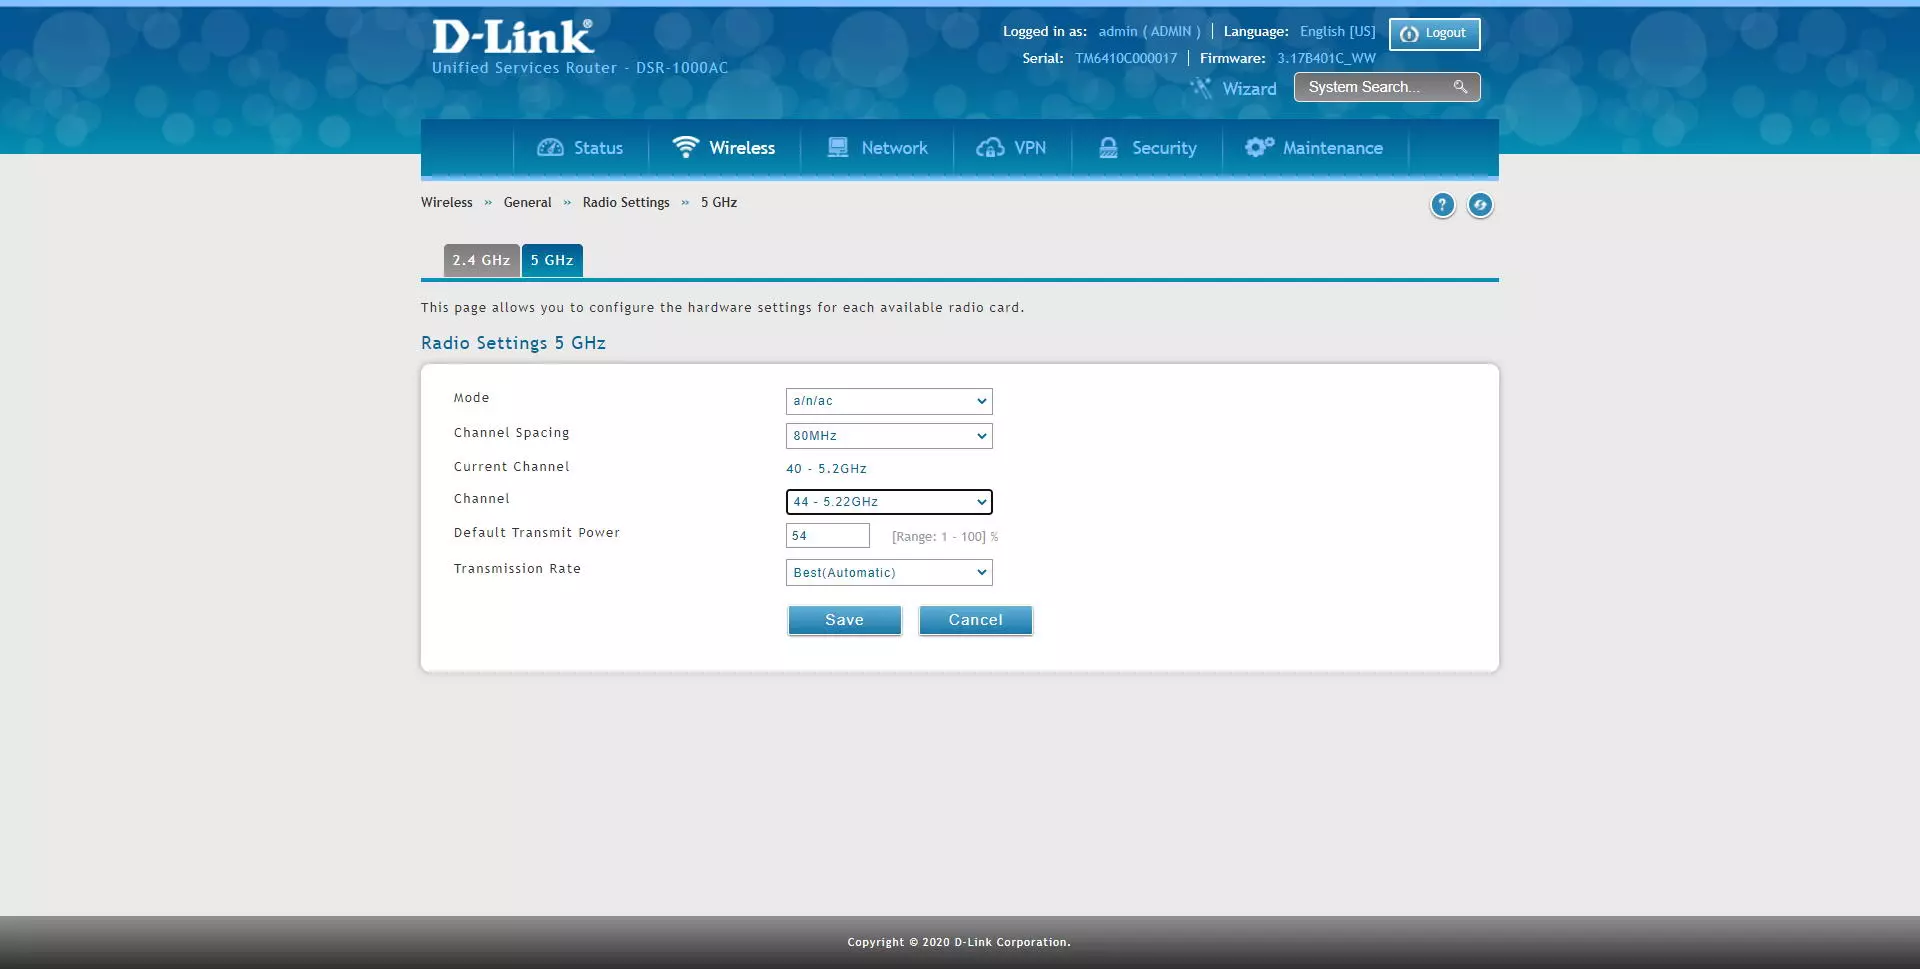
In the case of the 5GHz band, we will have the following menus:
- Mode: we can define if we want to configure it in A, N or AC mode, or all at the same time.
- Channel Spacing: the channel width will allow us to achieve a higher or lower real speed, in this case, we have the possibility of configuring 80MHz of channel width always, and it is advisable to leave it that way to have the best speed.
- Channel: we can choose the broadcast channel of the main central channel, this router is compatible with all channels, including DFS channels.
- Default Transmission Power: transmission power, it is advisable to always leave it at 100% to have the best coverage.
- Transmission rate: we leave it at best.
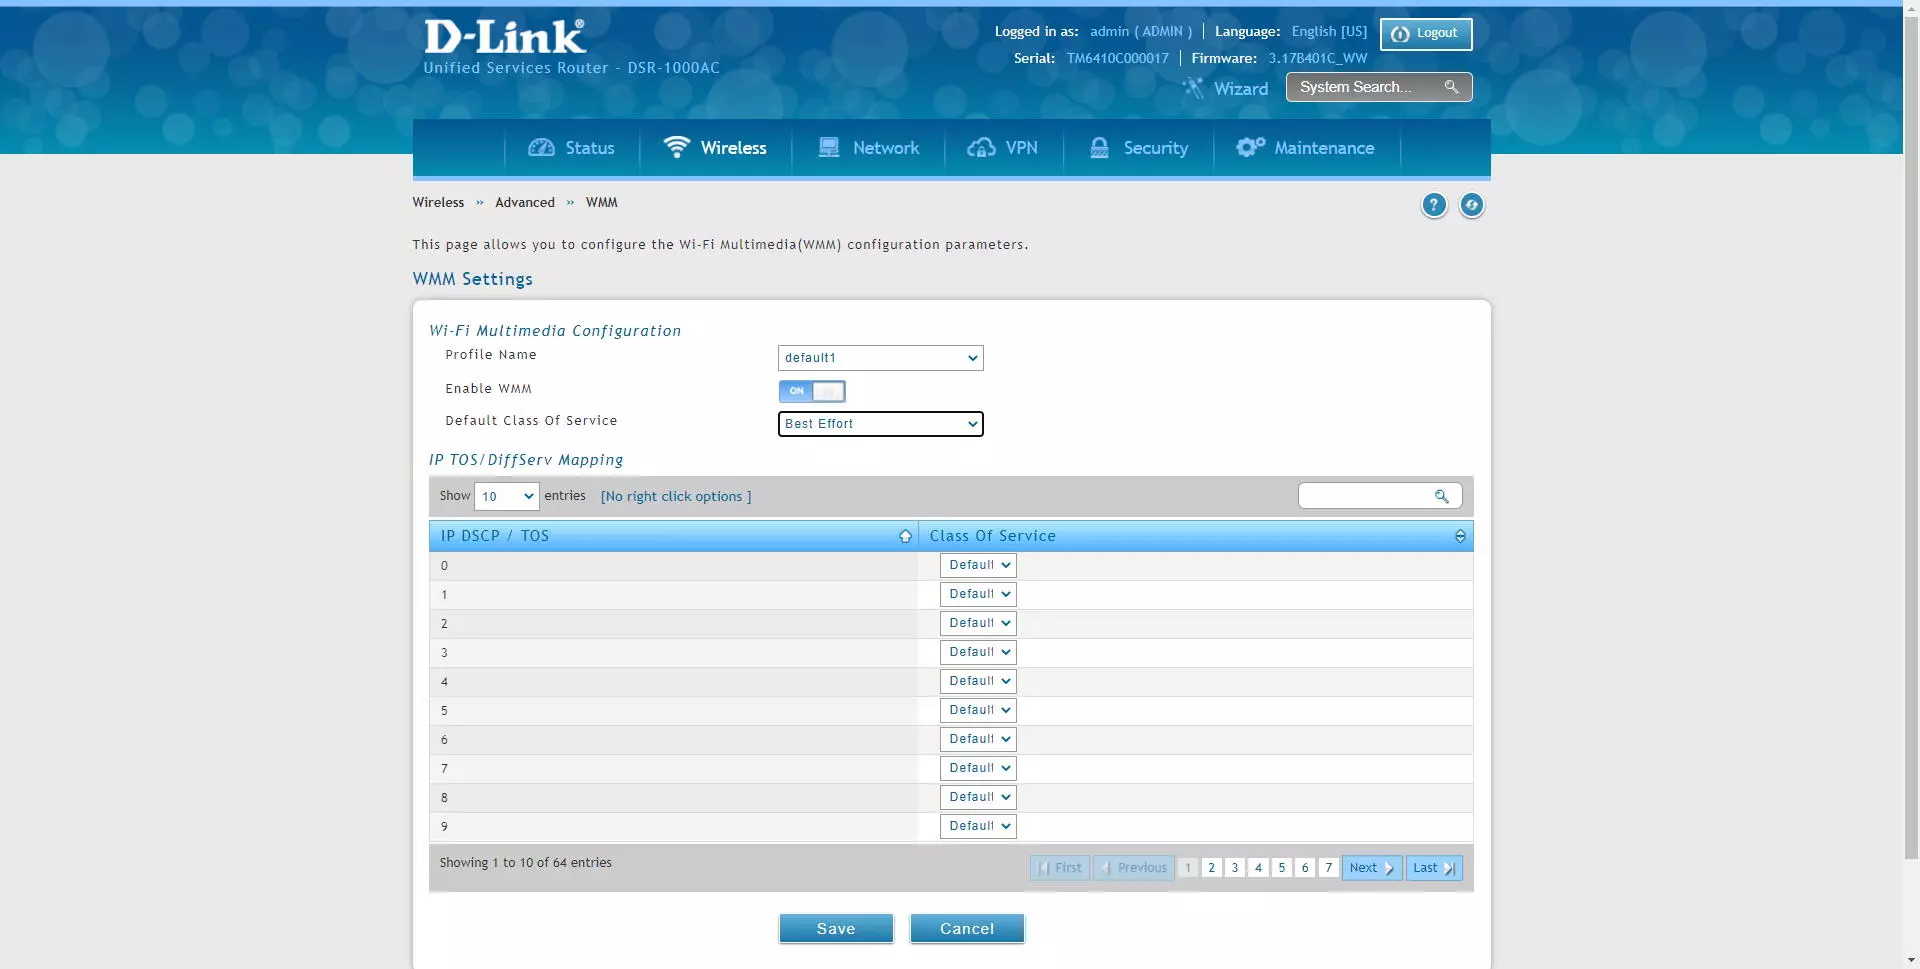
In the section of “Wireless / Advanced / WMM»Is where we can configure the WiFi Multimedia, or also known as the QoS of the WiFi. In principle, we should always activate the WMM, but not configure anything, unless we know what we are doing. We will be able to configure different classes of service and provide different priorities.
Configure a “Profile” or SSID in a VLAN ID
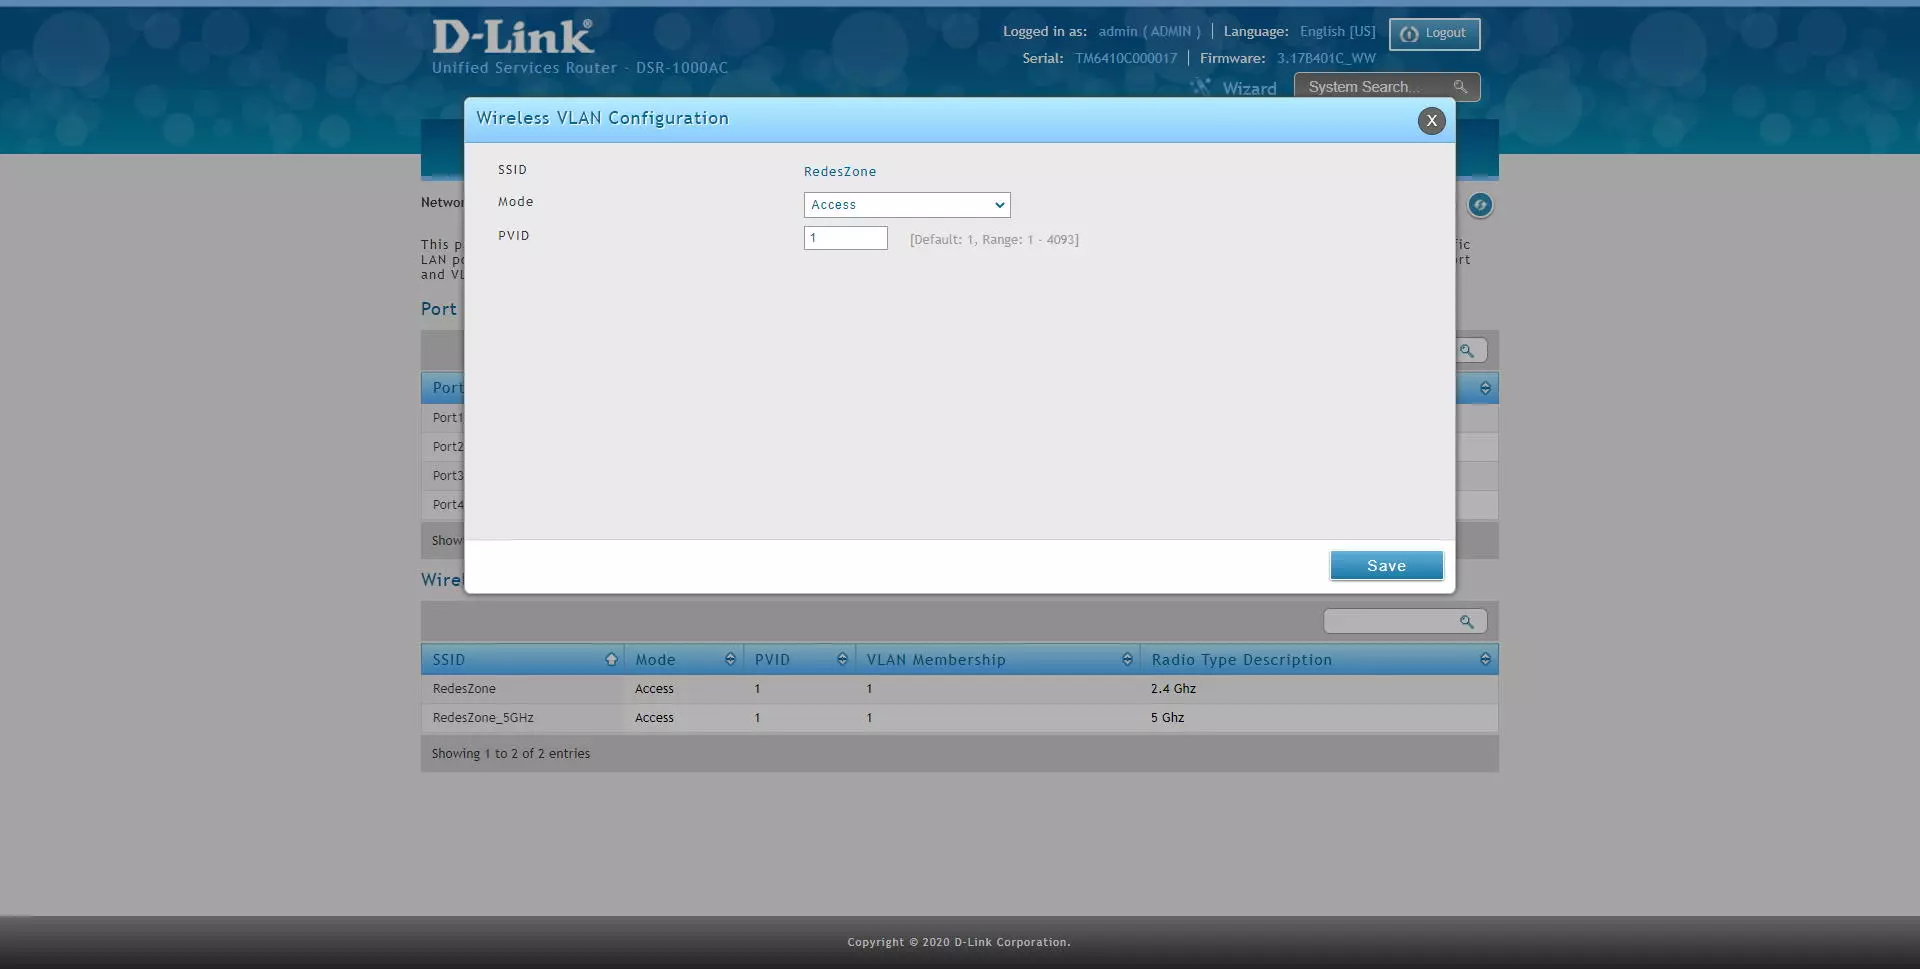
To configure a certain SSID in a certain VLAN that we have created previously, we must go to the “Network / VLAN / Port Config” section, edit the SSID that we want and configure as follows:
- Mode: access, to pass the untagged VLAN to the clients, if we put it in trunk, no equipment will be able to connect correctly.
- PVID: the VLAN ID where we want the clients that connect to this specific SSID to belong.
In the case of wanting to configure a new SSID, we simply go to the «Wireless / Profiles» section and click on «Add new profile», we put the SSID, the security configuration and later we will configure the VLAN as we have done previously.
As you have seen, we have a large number of advanced configuration options related to the WiFi wireless network. This D-Link DSR-1000AC router will allow us to create several SSIDs using the same or different VLAN ID, to segment the networks correctly and isolate them from each other whenever we want.