What is the OpenVPN built into the router for?
OpenVPN is one of the best software to establish virtual private networks (VPN), and to be able to connect remotely to company resources. All communications with OpenVPN will be encrypted and authenticated, in this way, we will be providing security to the data channel, and also to the control channel using different TLS protocols, including TLS 1.2 and TLS 1.3 in the latest versions of this software. OpenVPN is based on SSL / TLS, therefore, we will have to use the TCP or UDP protocol and a certain port, it is not like IPsec that works in the network layer, in this case, OpenVPN works in the transport layer and allows us select either of the two protocols mentioned above.
In the case of the OpenVPN of this professional router, we will have the possibility to configure the router in a fairly advanced way, upload a CA with its corresponding certificates, and even automatically generate the configuration files for the clients. The latter is ideal to greatly facilitate the configuration of the VPN network in companies.
The first thing we have to do to configure the OpenVPN server is to enter the router via https://192.168.10.1. The default username and password is “admin”, but it is advisable to change the access password to a more robust one. Once we have accessed, we must go directly to the “VPN” section where we must go to the specific OpenVPN menus. Below, you can see step by step everything we must do.
OpenVPN configuration on D-Link DSR-1000AC router
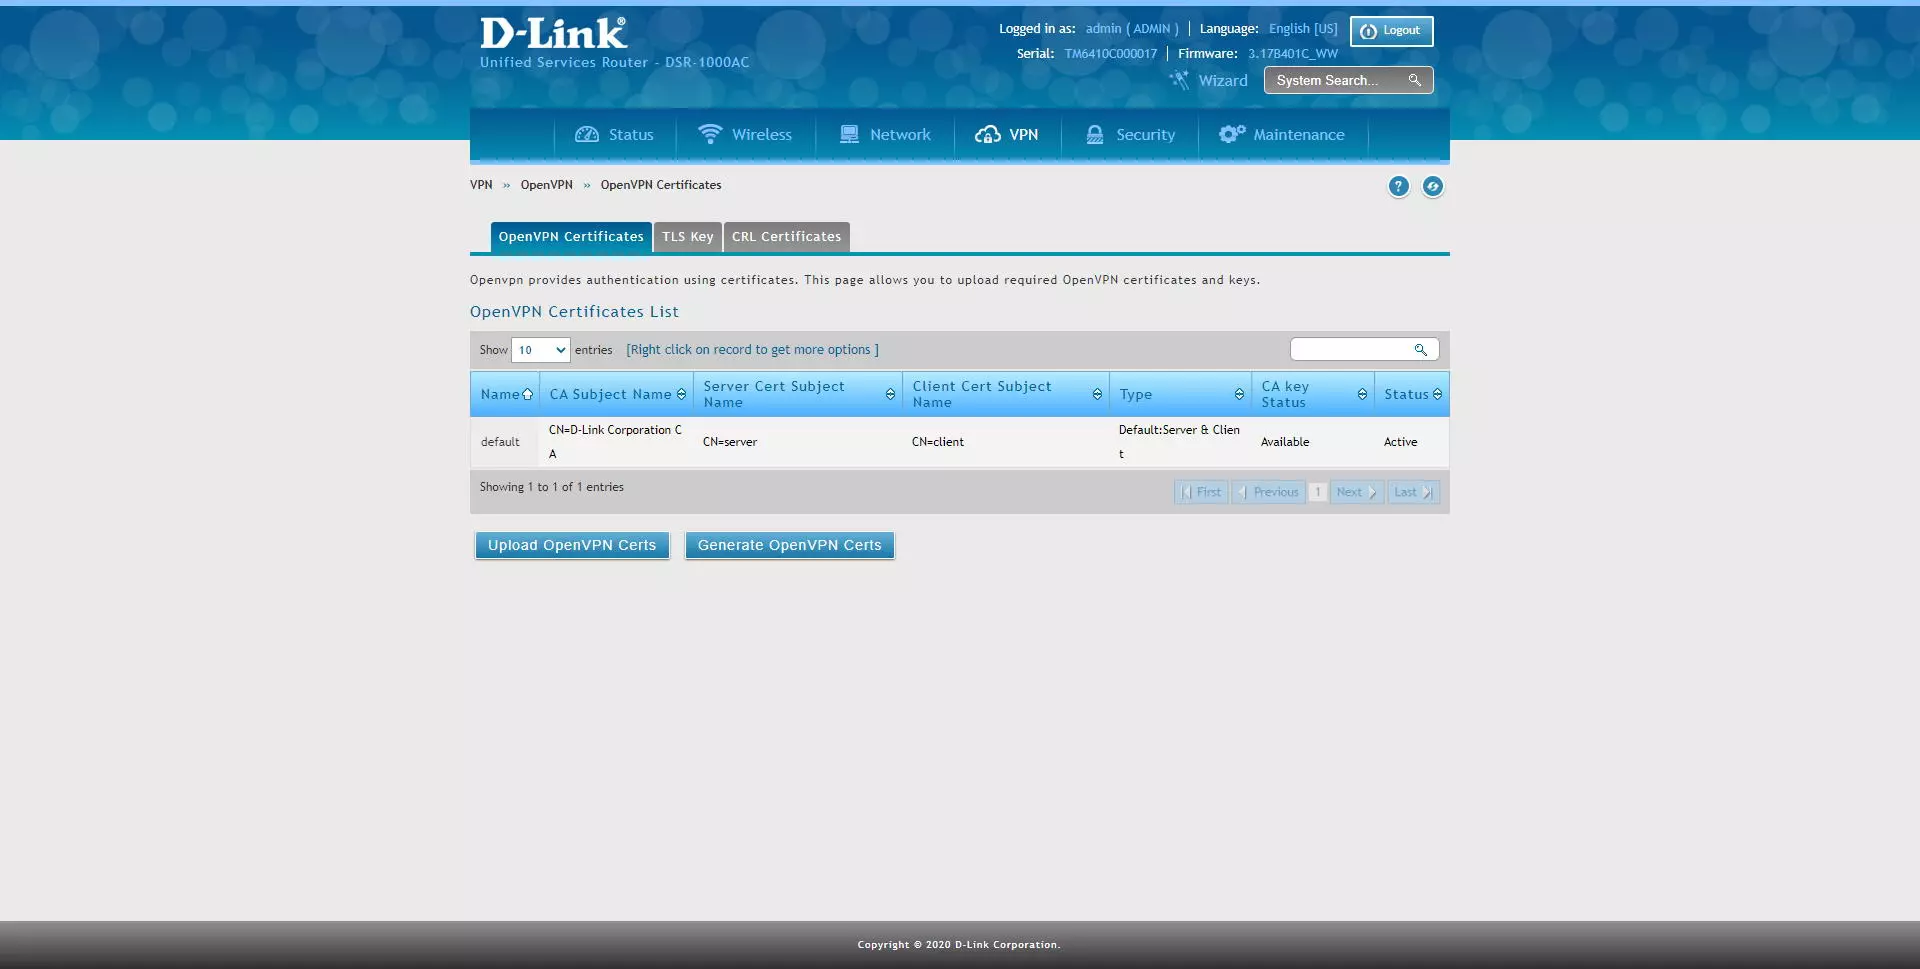
The first thing we must do to configure OpenVPN is to upload or create digital certificates, something completely mandatory. To do this, click on “VPN / OpenVPN / OpenVPN Certificates” and a menu will appear with some default certificates, which we cannot delete, but we can use new ones. D-Link allows us two options, either upload OpenVPN certificates, or generate them internally automatically. We have used this second method, creating the digital certificates from scratch with the router’s firmware.
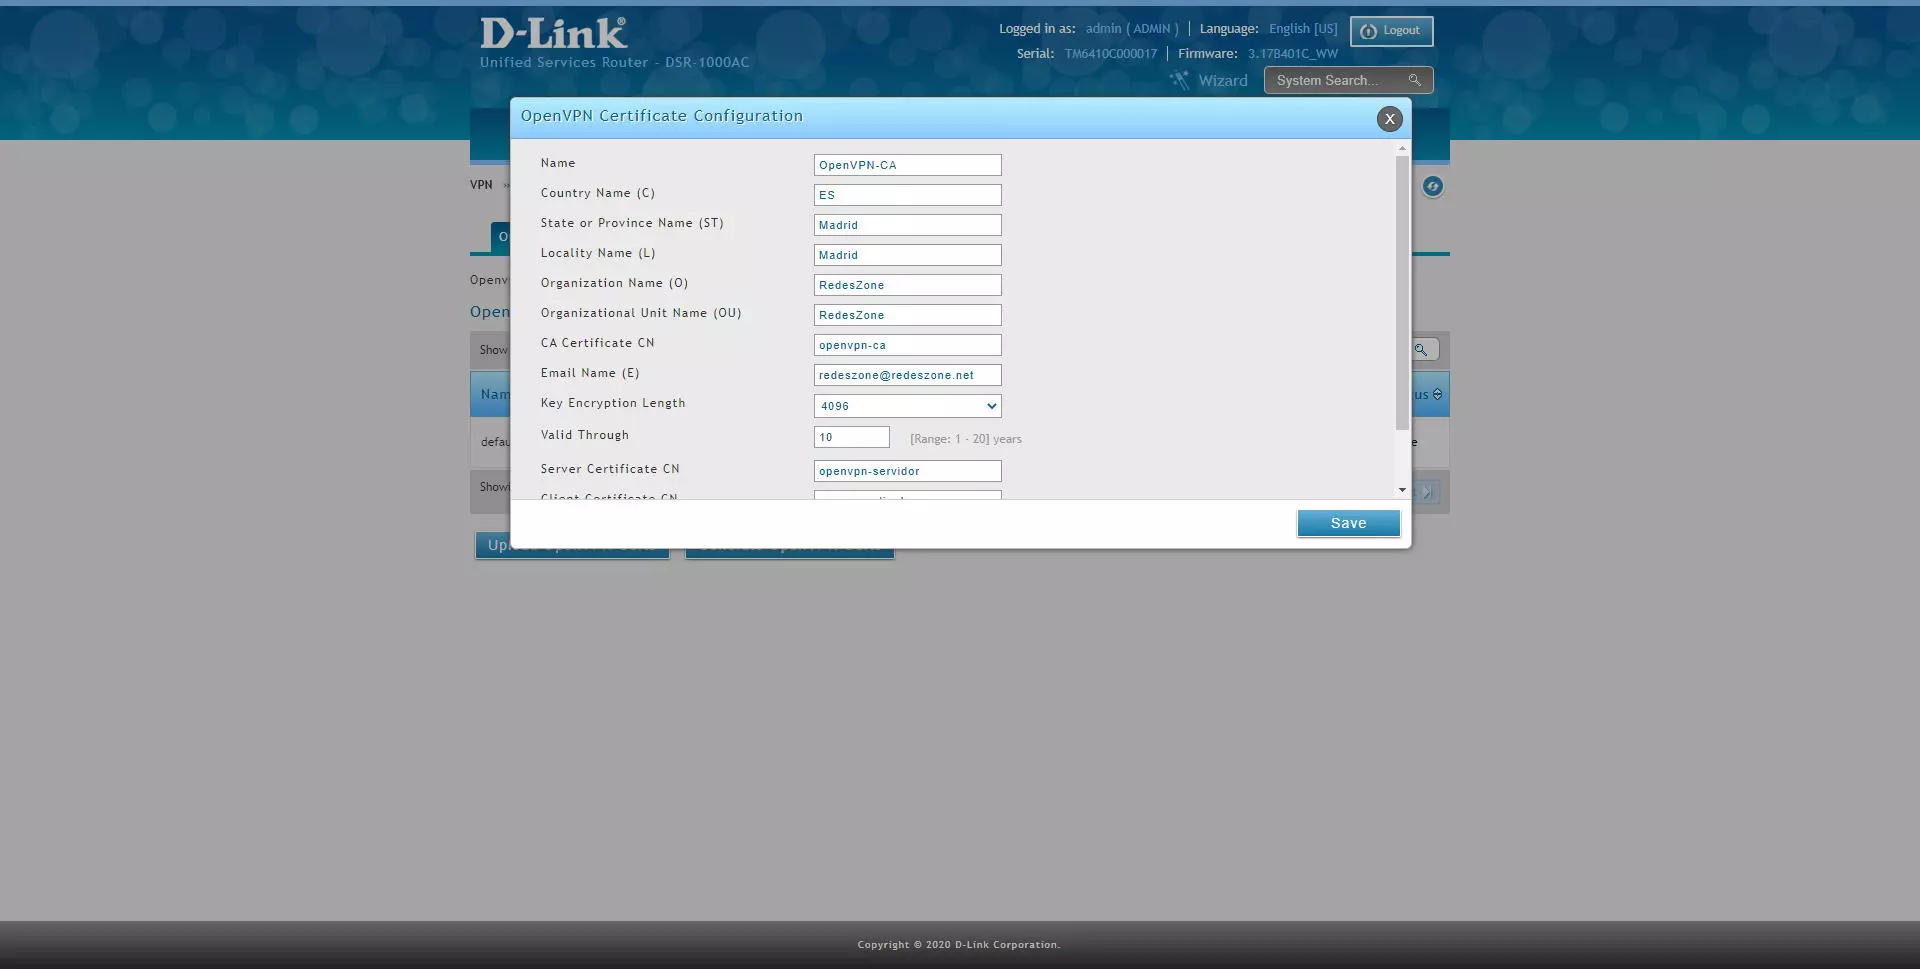
By clicking on «Generate OpenVPN Certs» a new menu will appear where we will have to fill in all the following menus:
- Name: descriptive name of the certificate you are going to configure
- Location data.
- CA Certificate CN: The common name is the most important part, it must be unique and not have “rare” characters.
- Key Encryption length: it is recommended that it be 4096 bits.
- Valid Through: valid in years
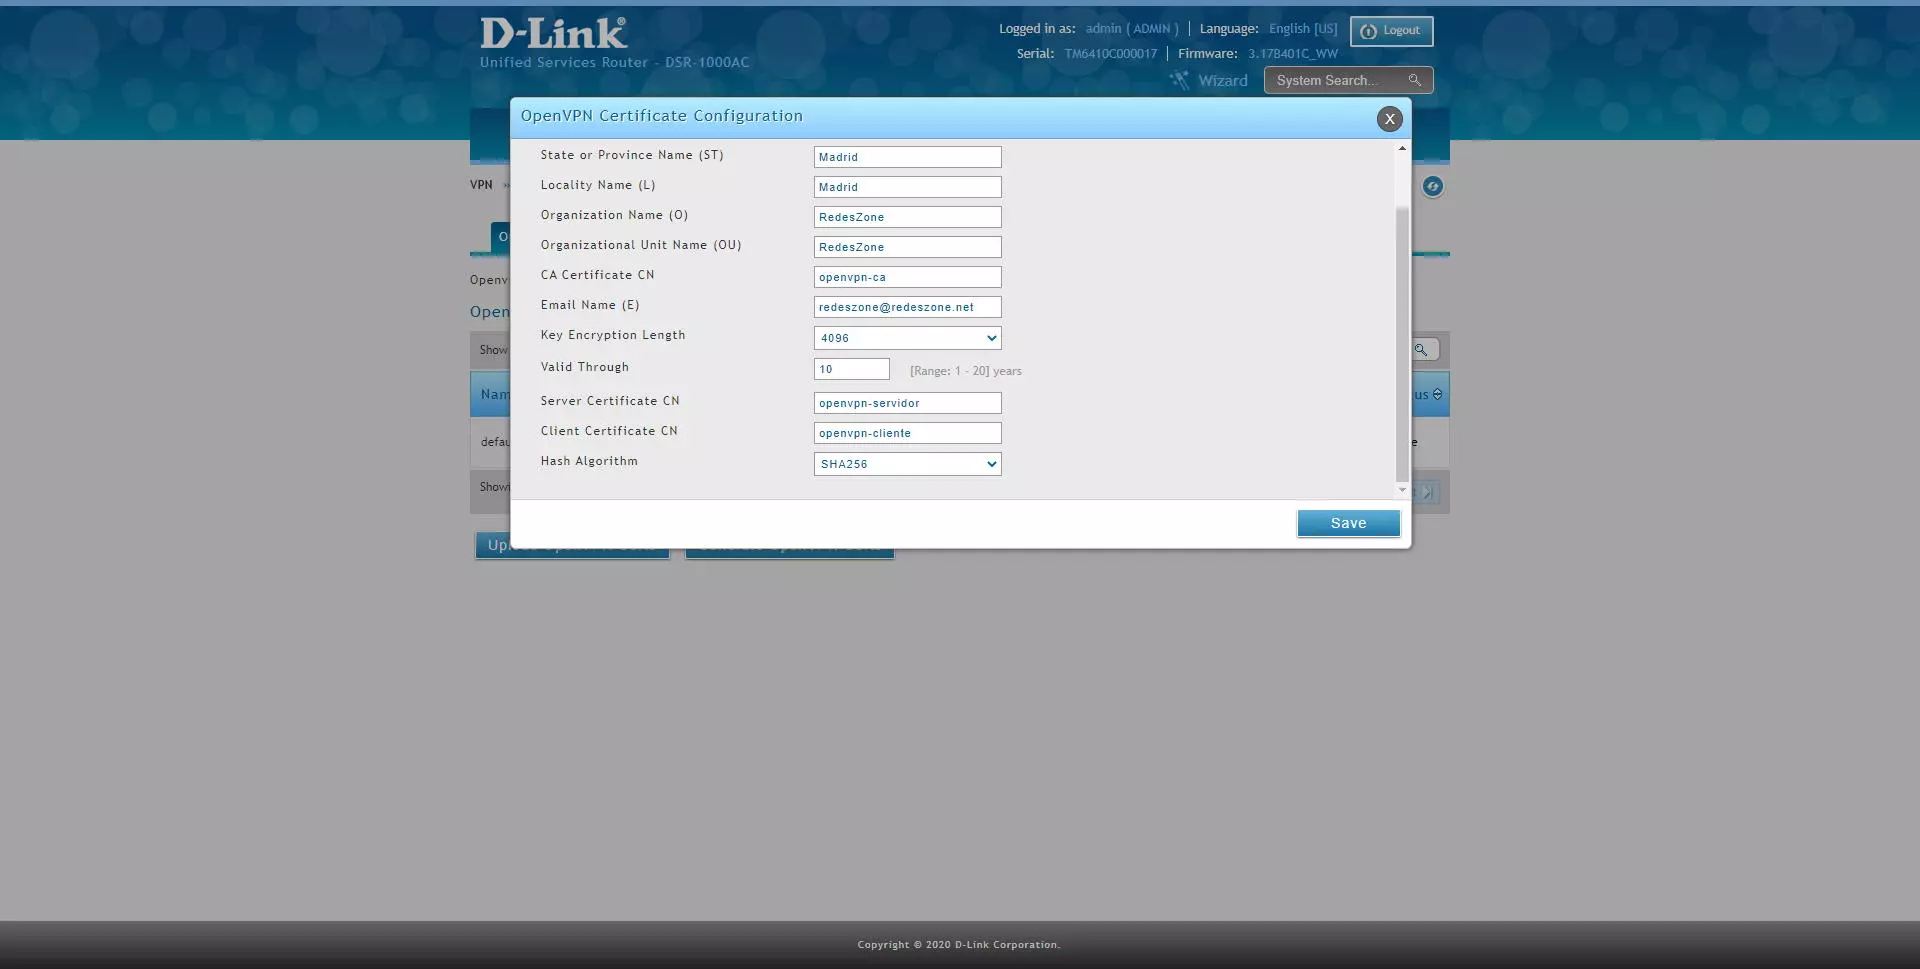
- Server Certificate CN: the common name of the server, it must be unique.
- Client Certificate CN: the common name of the client, it must be unique.
- Hash algorithm: it is recommended to use SHA256 for security, or higher if we have SHA512.
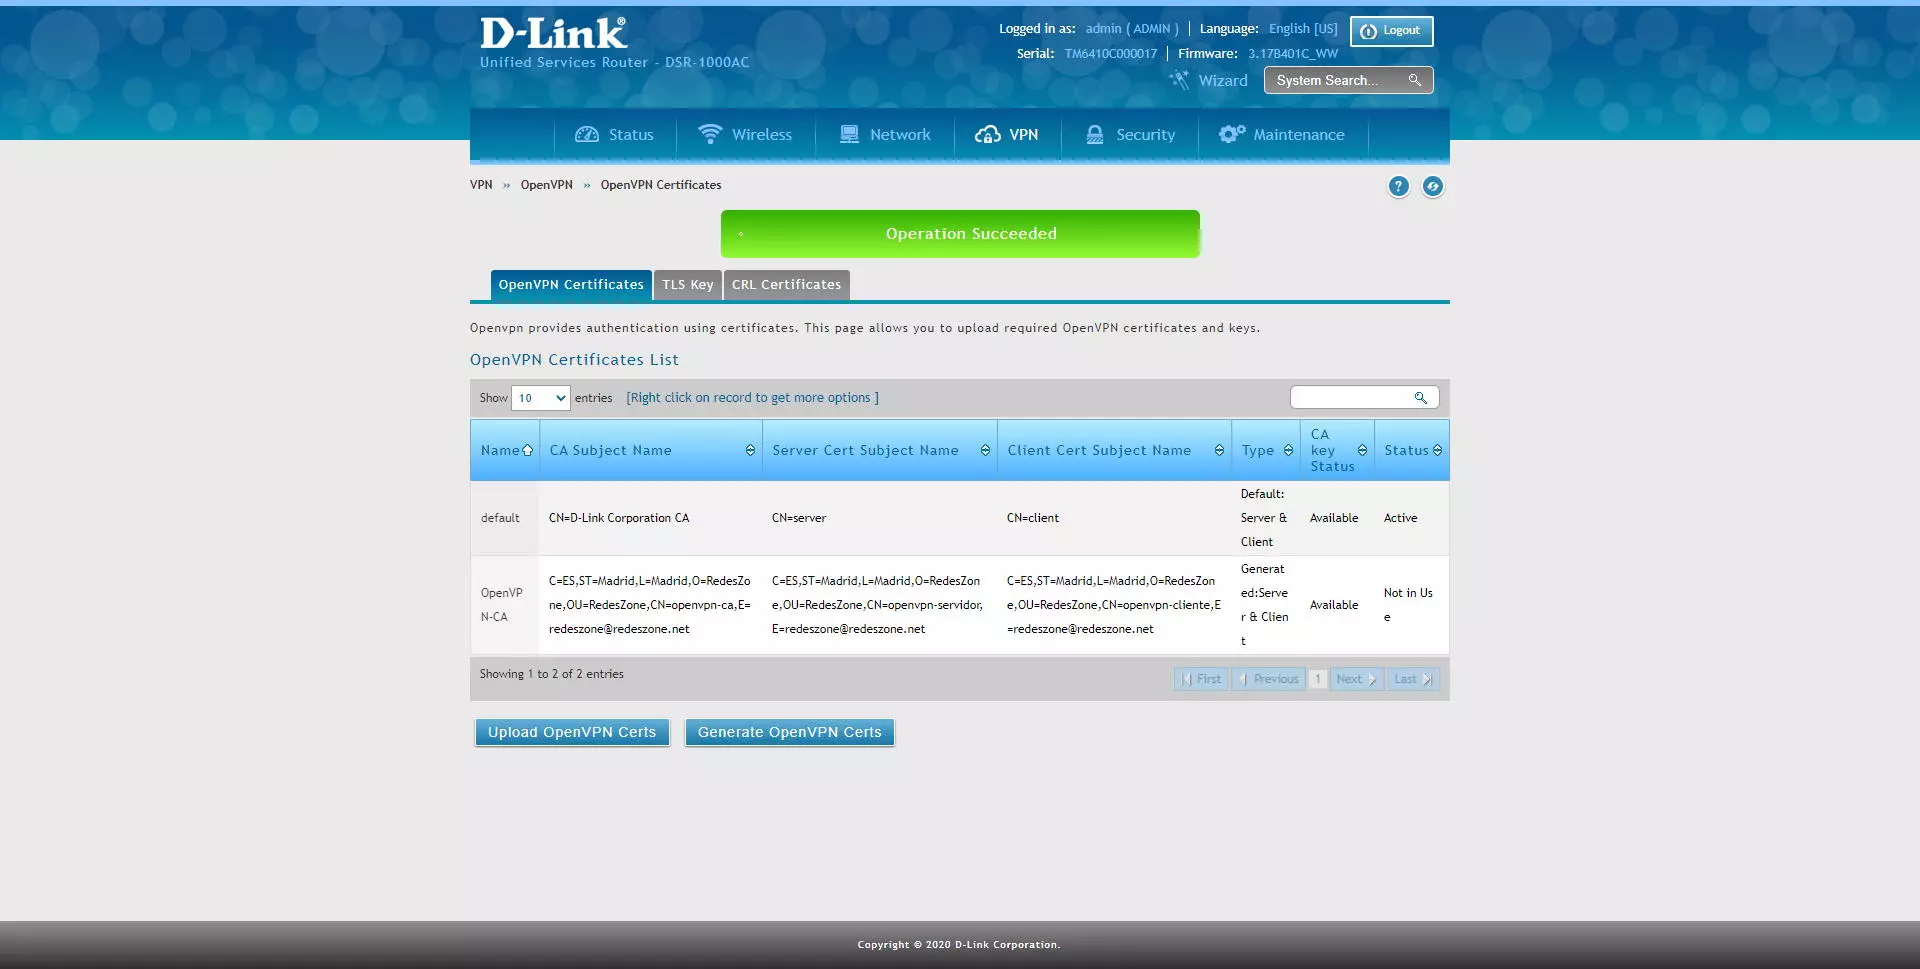
Once all the parameters are completed, click on “Save” and we will have created the certificates. This process takes about a minute, so you will have to be patient.
Once the certificate creation process is finished, you will be able to see it in the OpenVPN certificate list, and later you will be able to use them.
These certificates can be downloaded raw, with the CA and its public and private certificates, the server and client certificates configured, in addition, we can download the client’s certificate with a personalized CN (Common Name).
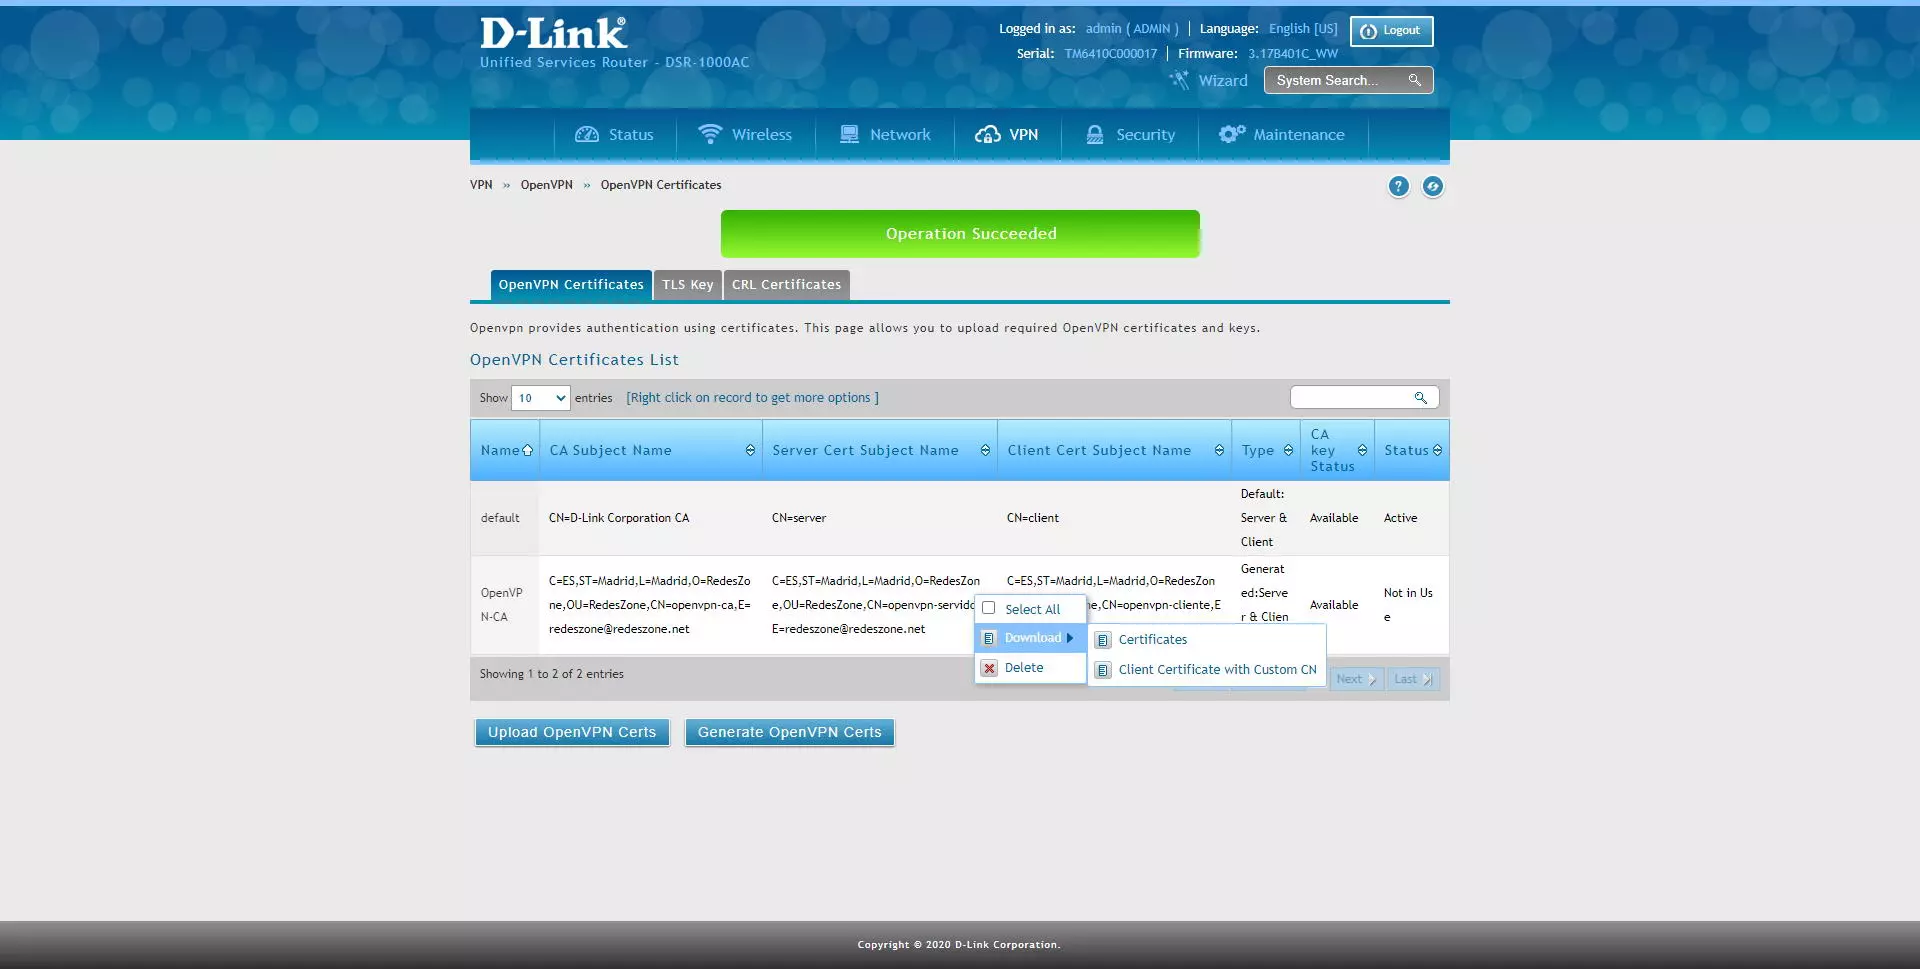
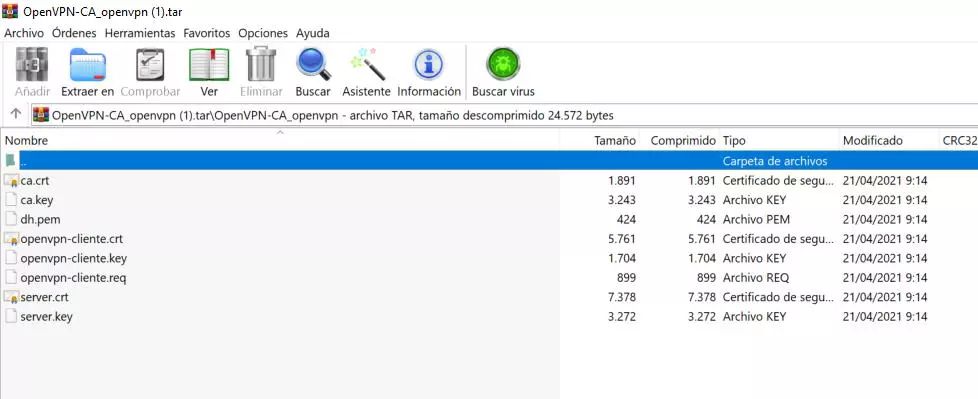
By clicking on download, we will download everything in a .tar package, which we must unpack with WinRAR or similar.
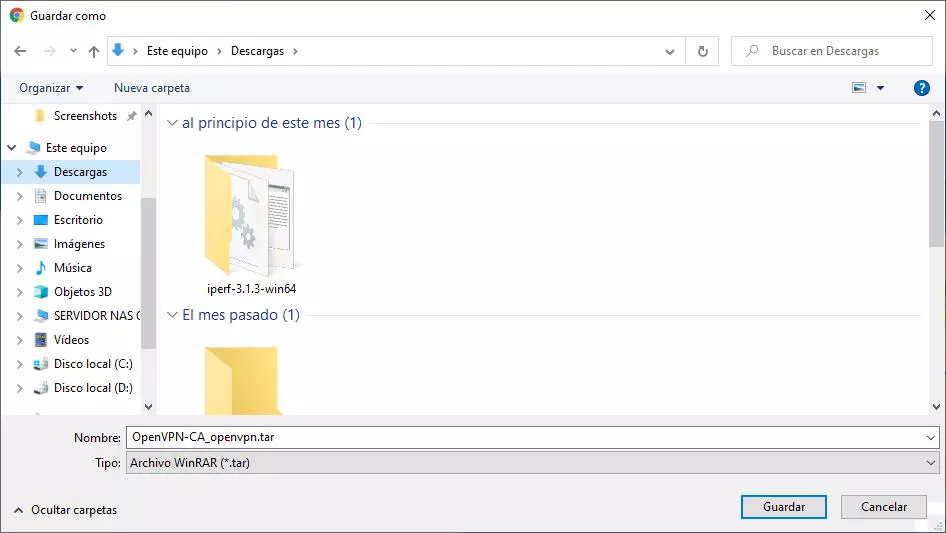
In the case of downloading the files without customizing the client’s CN, we will have all these certificates, we will not really have to use them because later we will export the OpenVPN client configuration with the certificates already incorporated in this file.

In the case of customizing the «CN» or Common Name, we put the name and click on «Download».
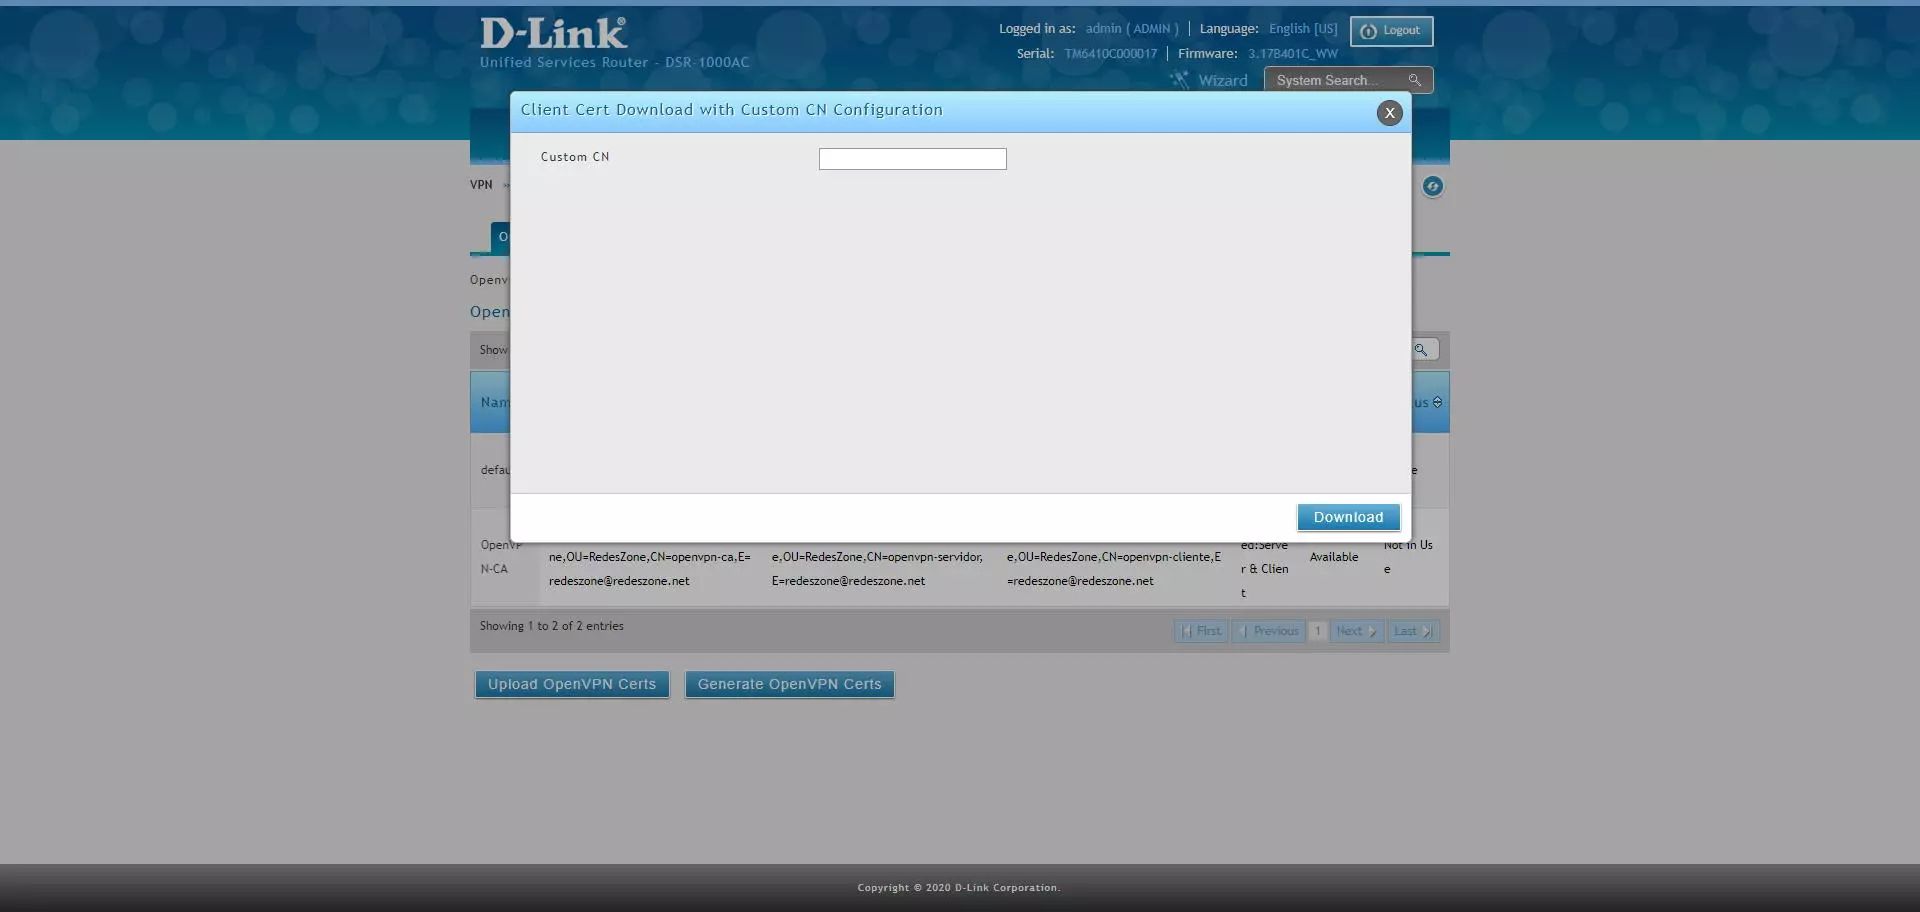
As you can see, now the name of the client’s certificates is different, we can also download them:
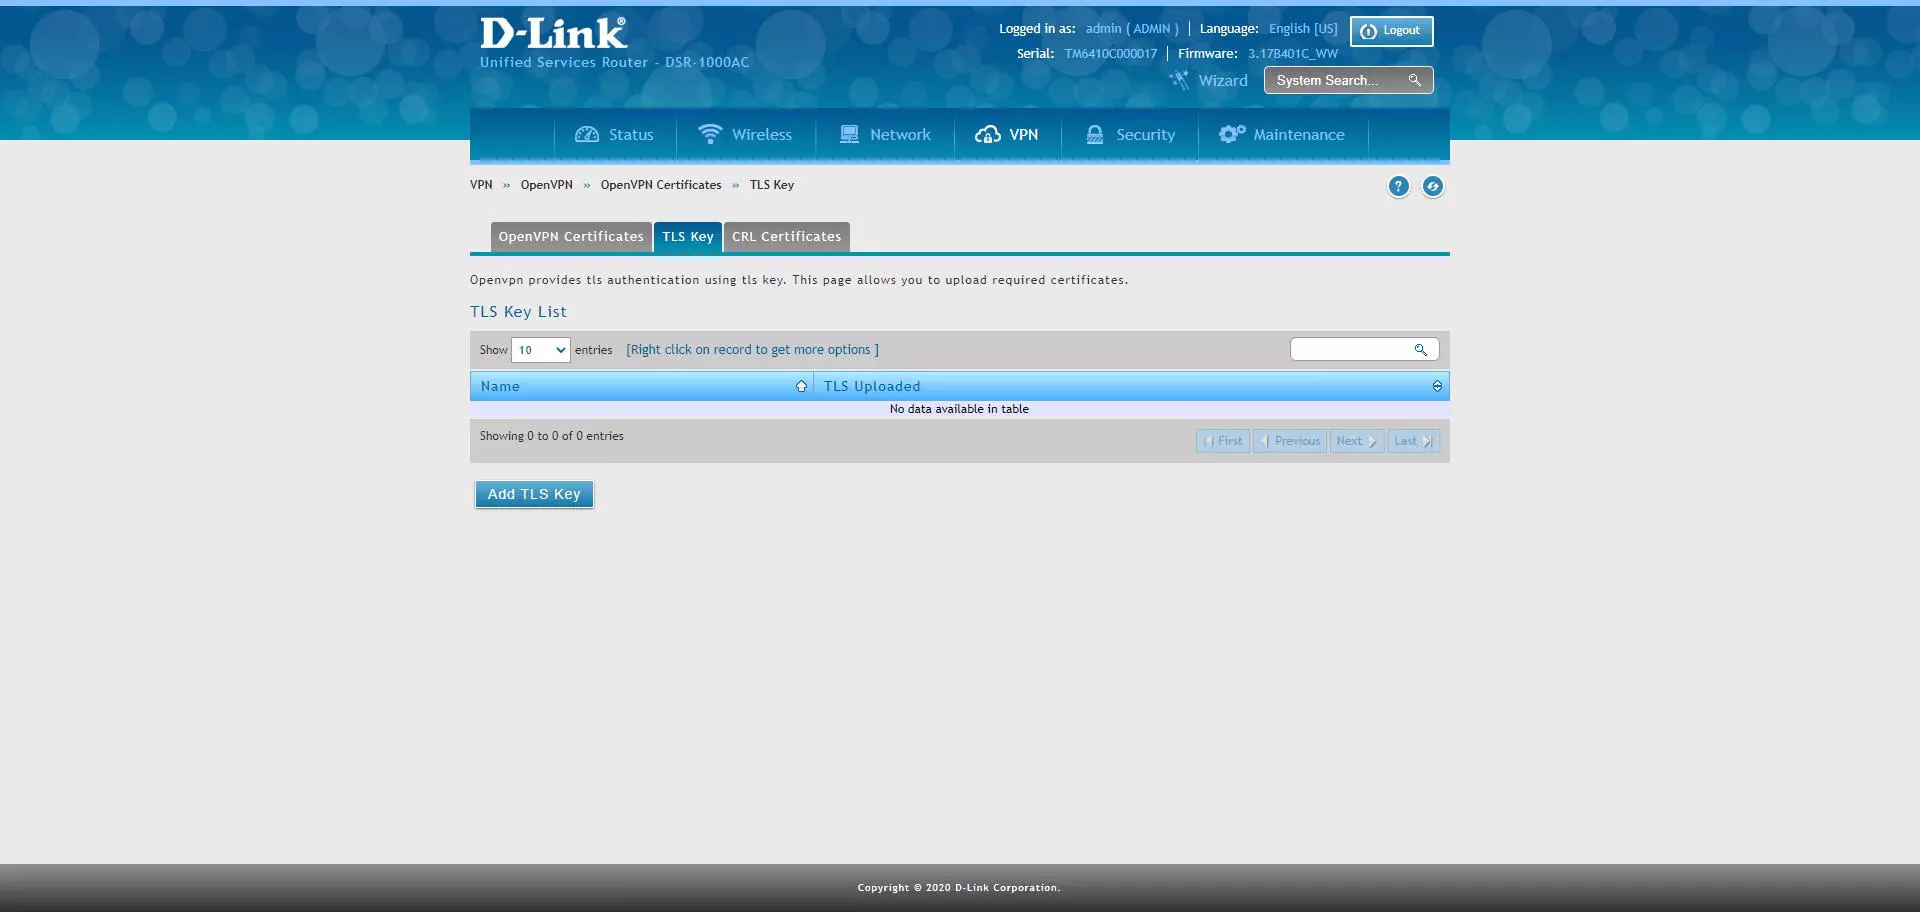
In any OpenVPN server it is always advisable to use TLS keys, or also known as “TLS Key”, D-Link does not allow us to generate them in the router itself, but we can generate them externally and upload the TLS key. If you have the OpenVPN software on your computer, you can generate it in the following way through the command line:
openvpn --genkey --secret ta.key
Once we have created it, we upload it directly with the “Add TLS Key” button:
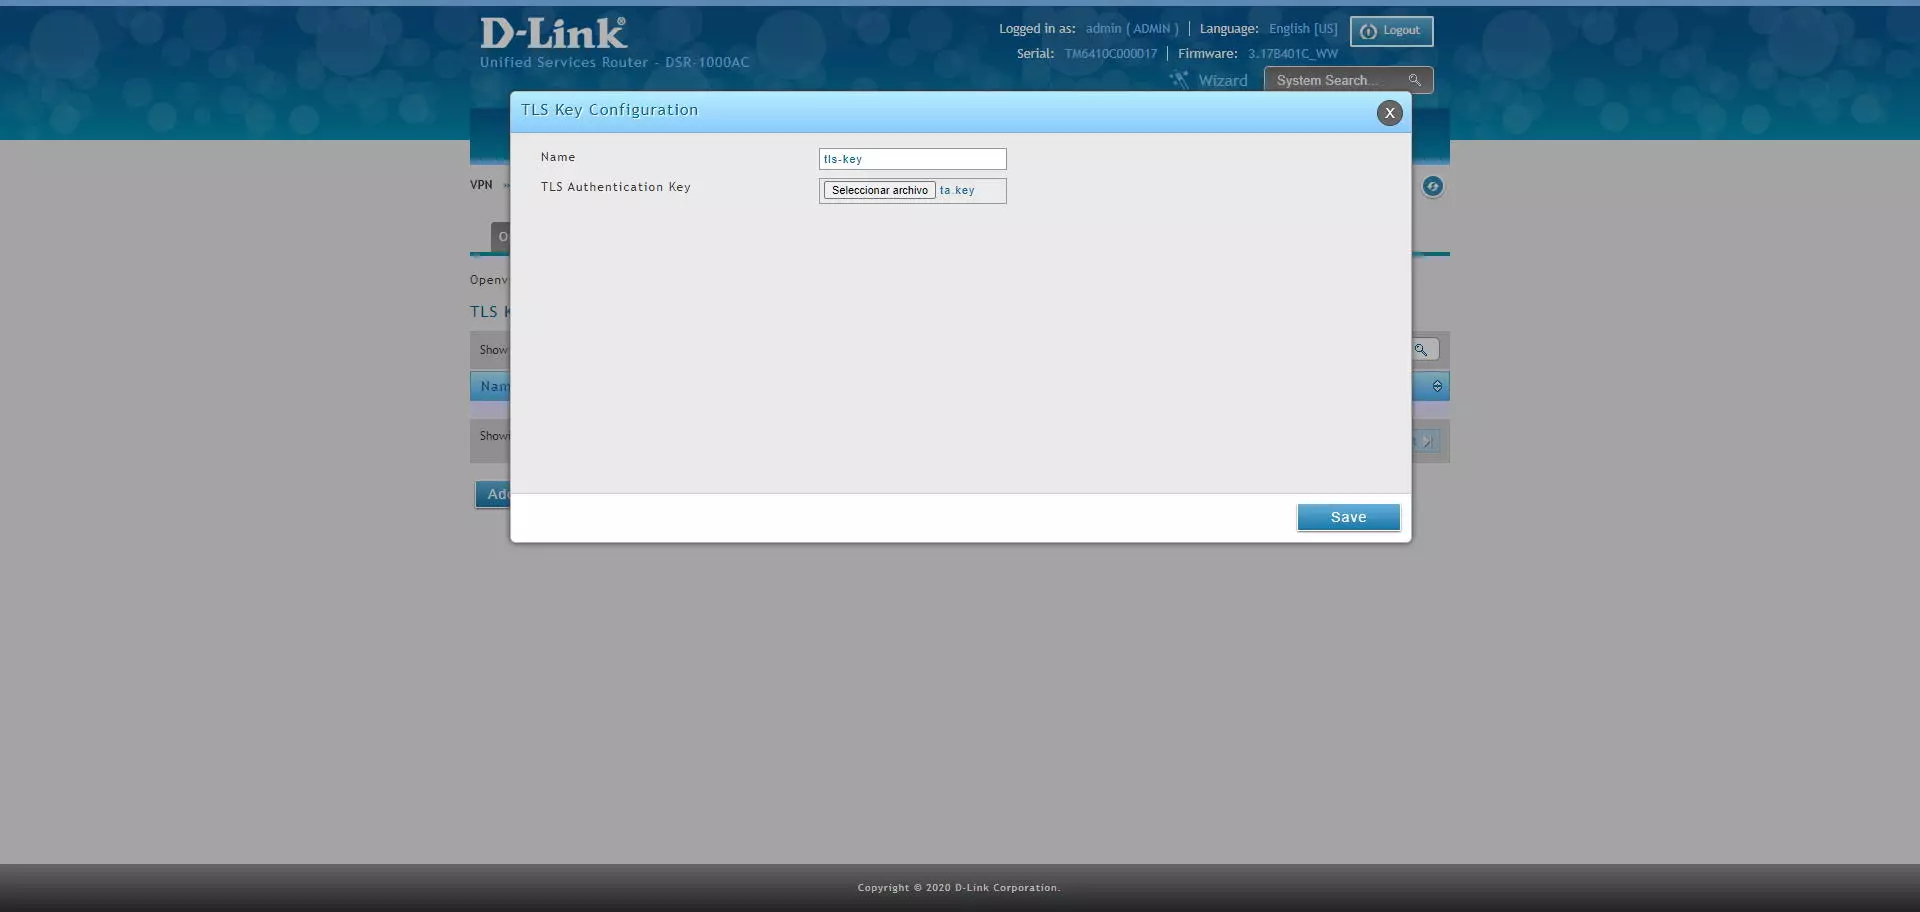
To upload it, we put a name to the key that we upload, and click on «Select file» to choose the TLS key and click on «Save».
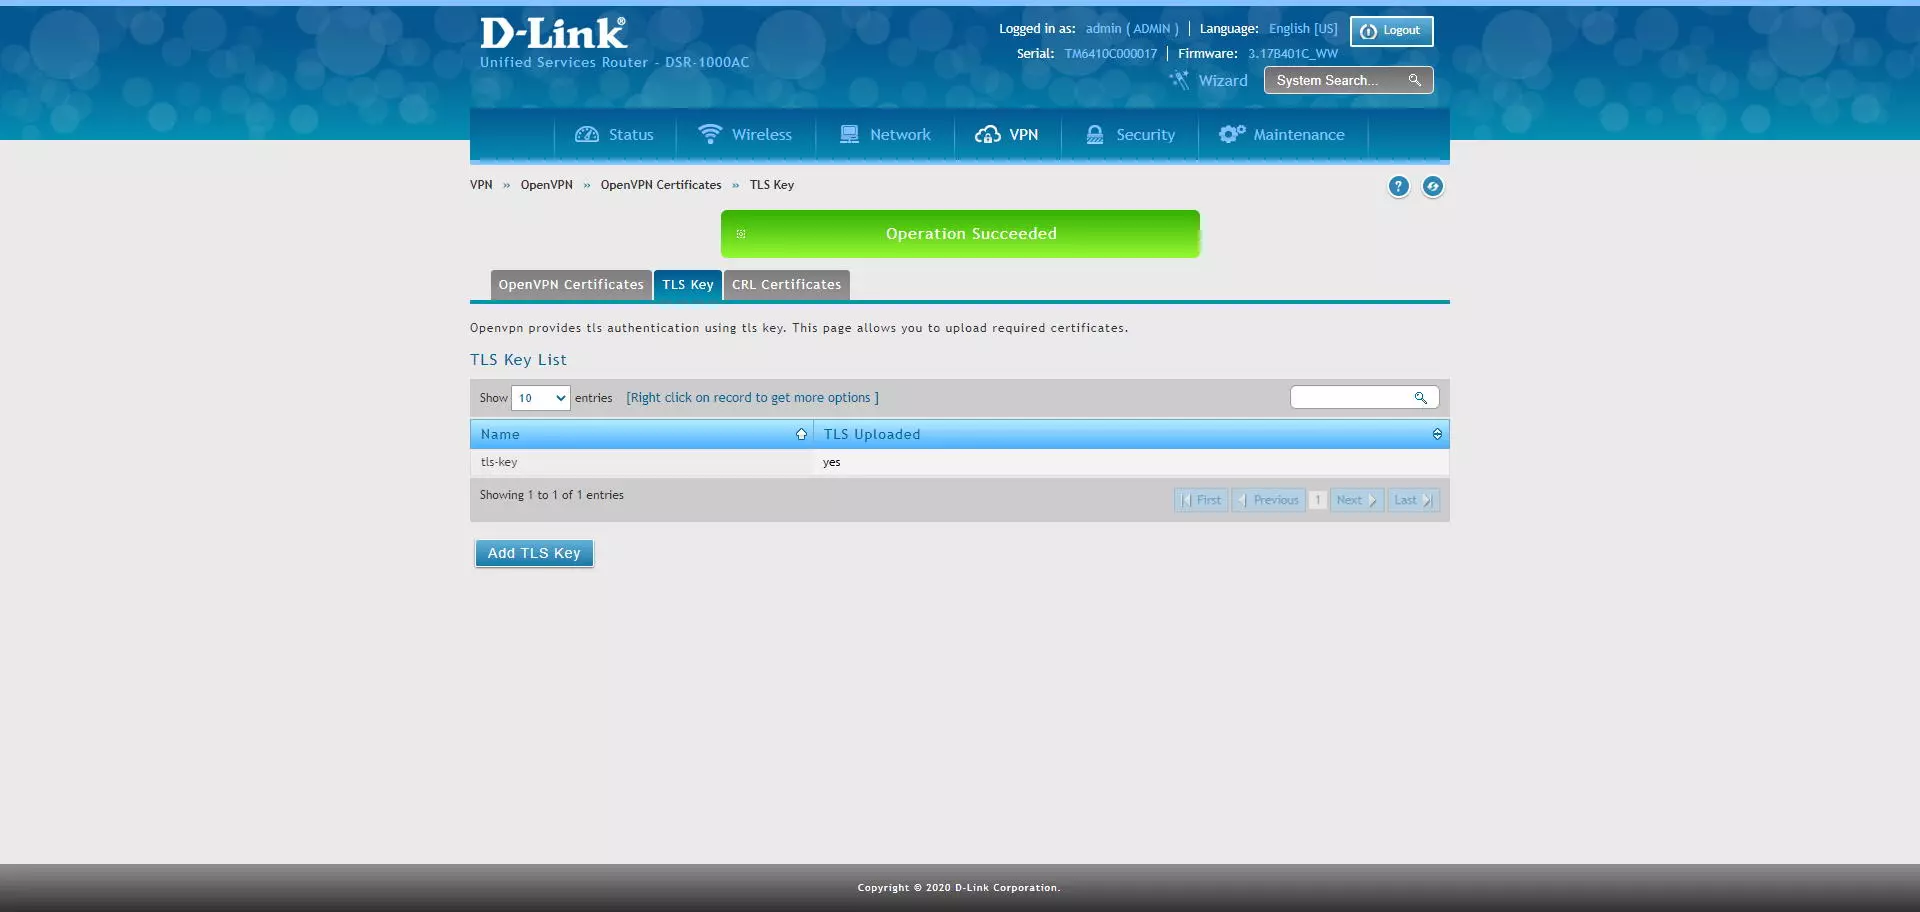
When saving the TLS Key, it will appear in the list of TLS keys, and we can upload different TLS keys.
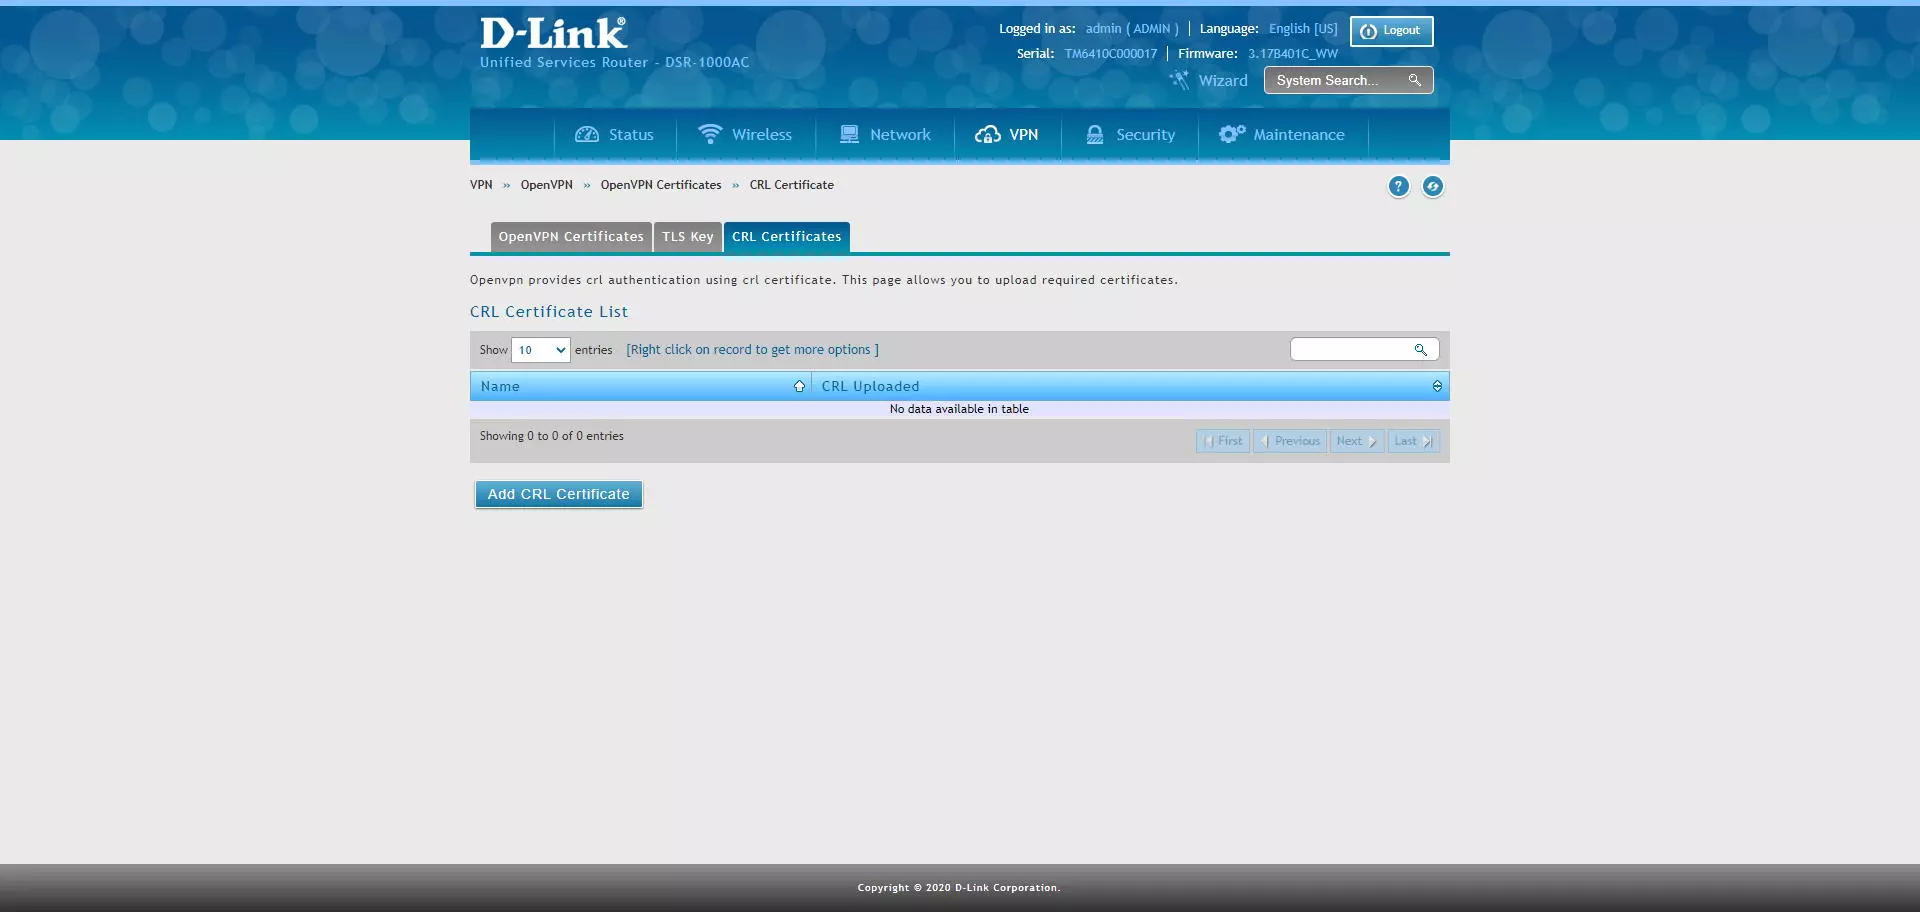
In the CRL Certificates section we can upload this type of certificate to manage their revocation.
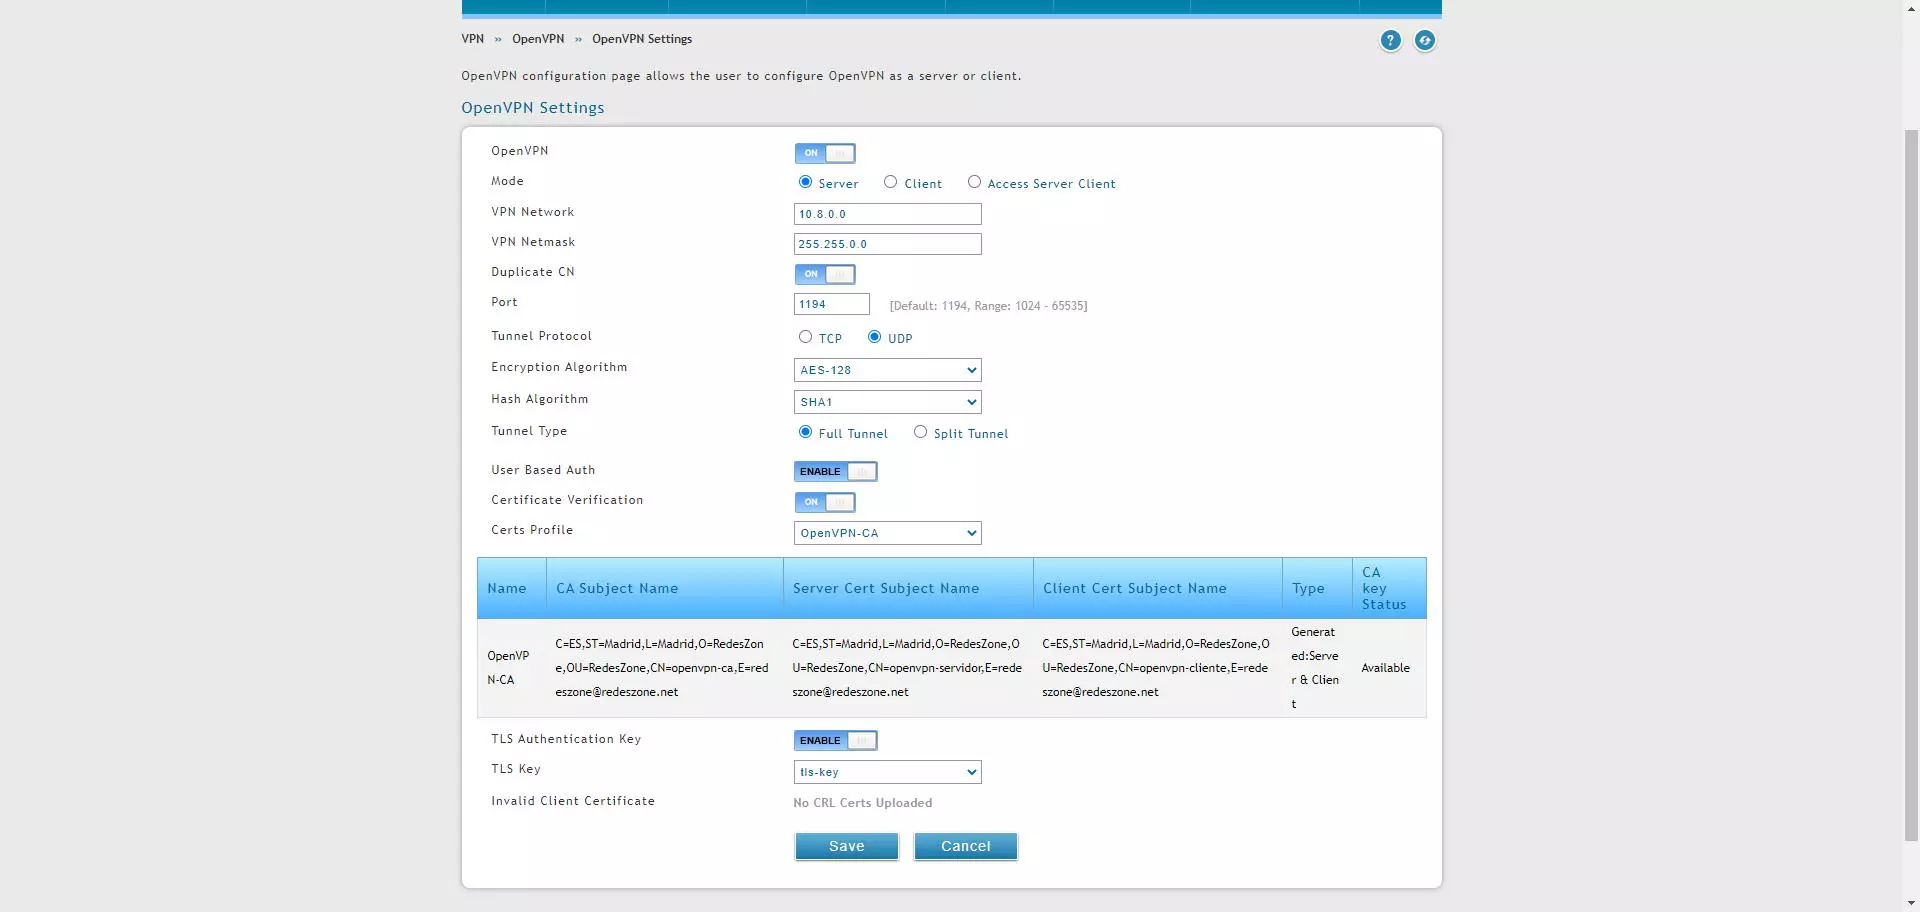
In the section of “VPN / OpenVPN / OpenVPN Settings»Is where we will have to configure all the parameters of the OpenVPN server. In our case we want to set up a server to have a remote access VPN, with the best possible security. The configuration options that you should use are the following:
- OpenVPN: ON
- Mode: Server
- VPN Network: 10.8.0.0 or whatever subnet we want, all OpenVPN clients will be on this subnet.
- VPN Netmask: 255.255.0.0 by default, but the normal thing is to have a / 24 or 255.255.255.0
- Duplicate CN: ON to use the same client certificate on multiple clients, changing additional user / password authentication.
- Port: the port that we want, by default is 1194.
- Tunnel Protocol: TCP or UDP.
- Encryption Algorithm: AES-128 or AES-256, better the latter.
- Hash Algorithm: SHA2-256 or SHA2-512.
- Tunnel Type: Full Tunnel if we want to forward all traffic through the VPN tunnel, select Split Tunnel if you only want to access the local network via VPN and go to the Internet through the main Internet connection.
- User Based Auth: ENABLE, it is mandatory if you choose “Duplicate CN ON”
- Certificate Veritication: ON
- Certs Profile: OpenVPN-CA which is what we have created previously, and we will be able to see all the details of the internally configured certificate.
- TLS Authentication Key: ENABLE
- TLS Key: we choose the password that we have uploaded.
In the following screenshot you can see all the configuration options, it is advisable to always use the maximum possible security, such as AES-256 or SHA-256/512.
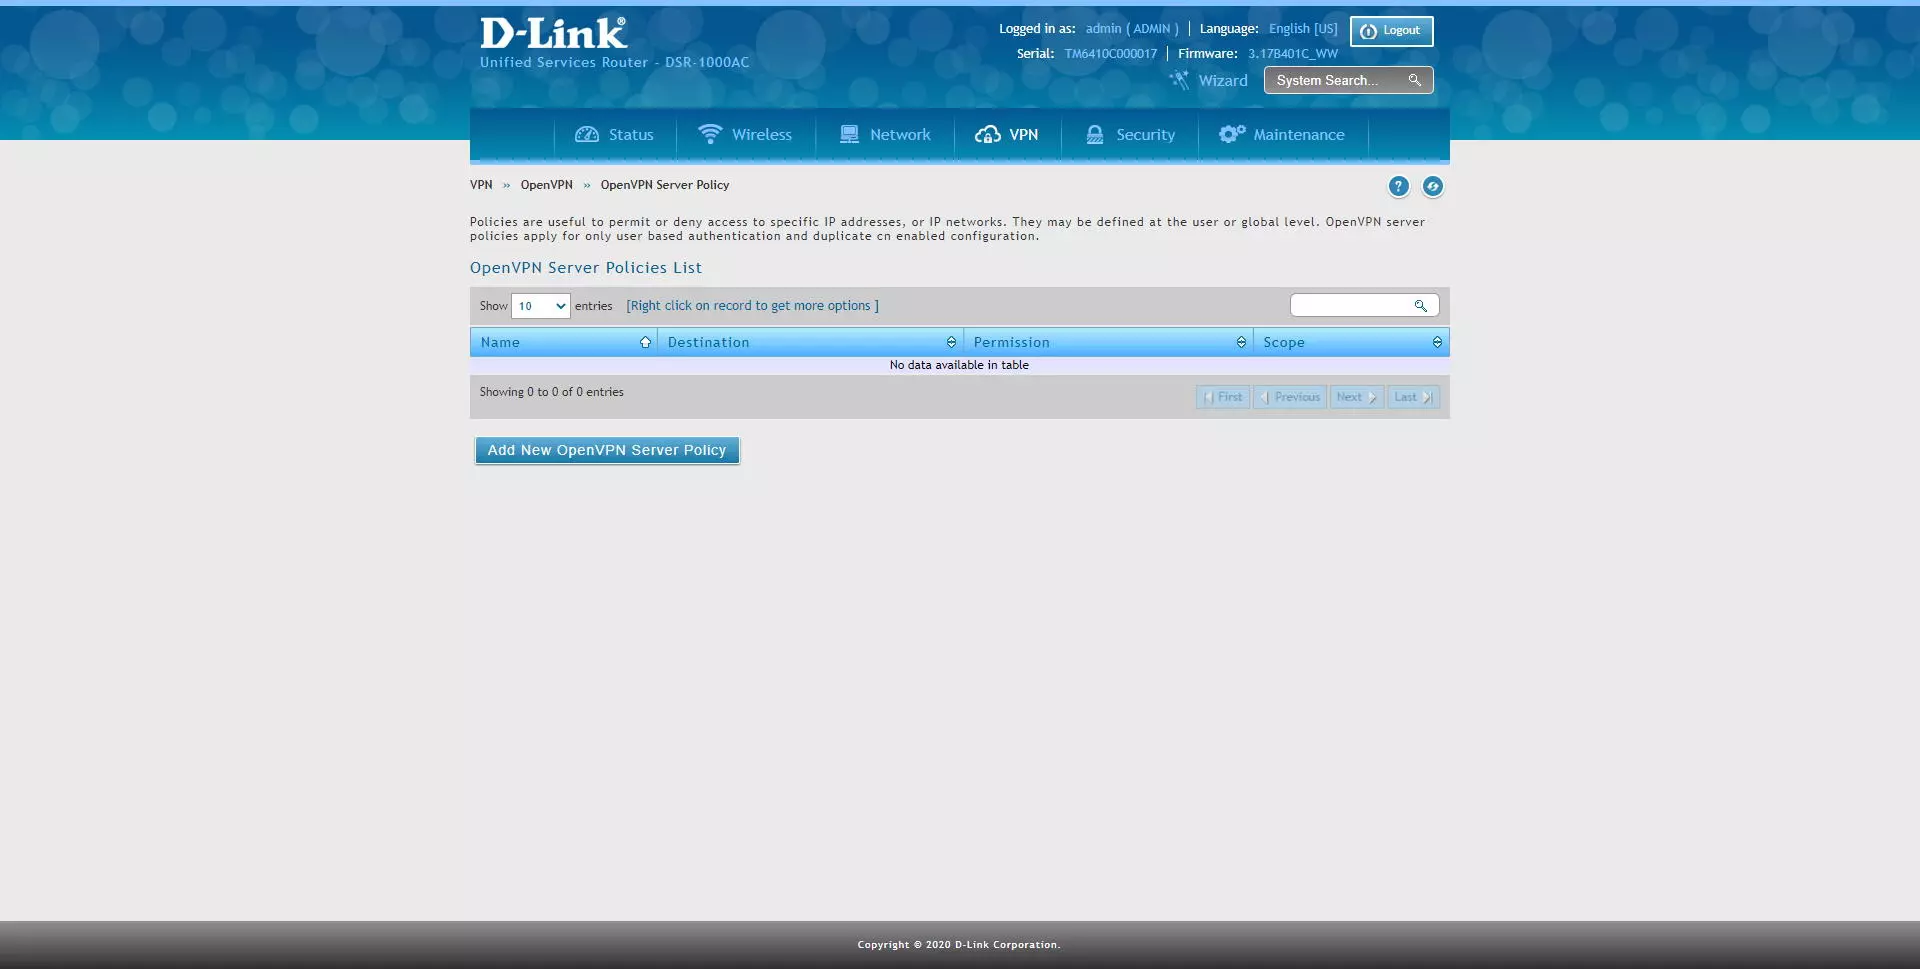
In the section of “OpenVPN Server Policy»Is where we can create different policies to allow or deny access to different IP addresses or subnets. This option must be configured if we use the «Duplicate CN» with authentication based on user and password.
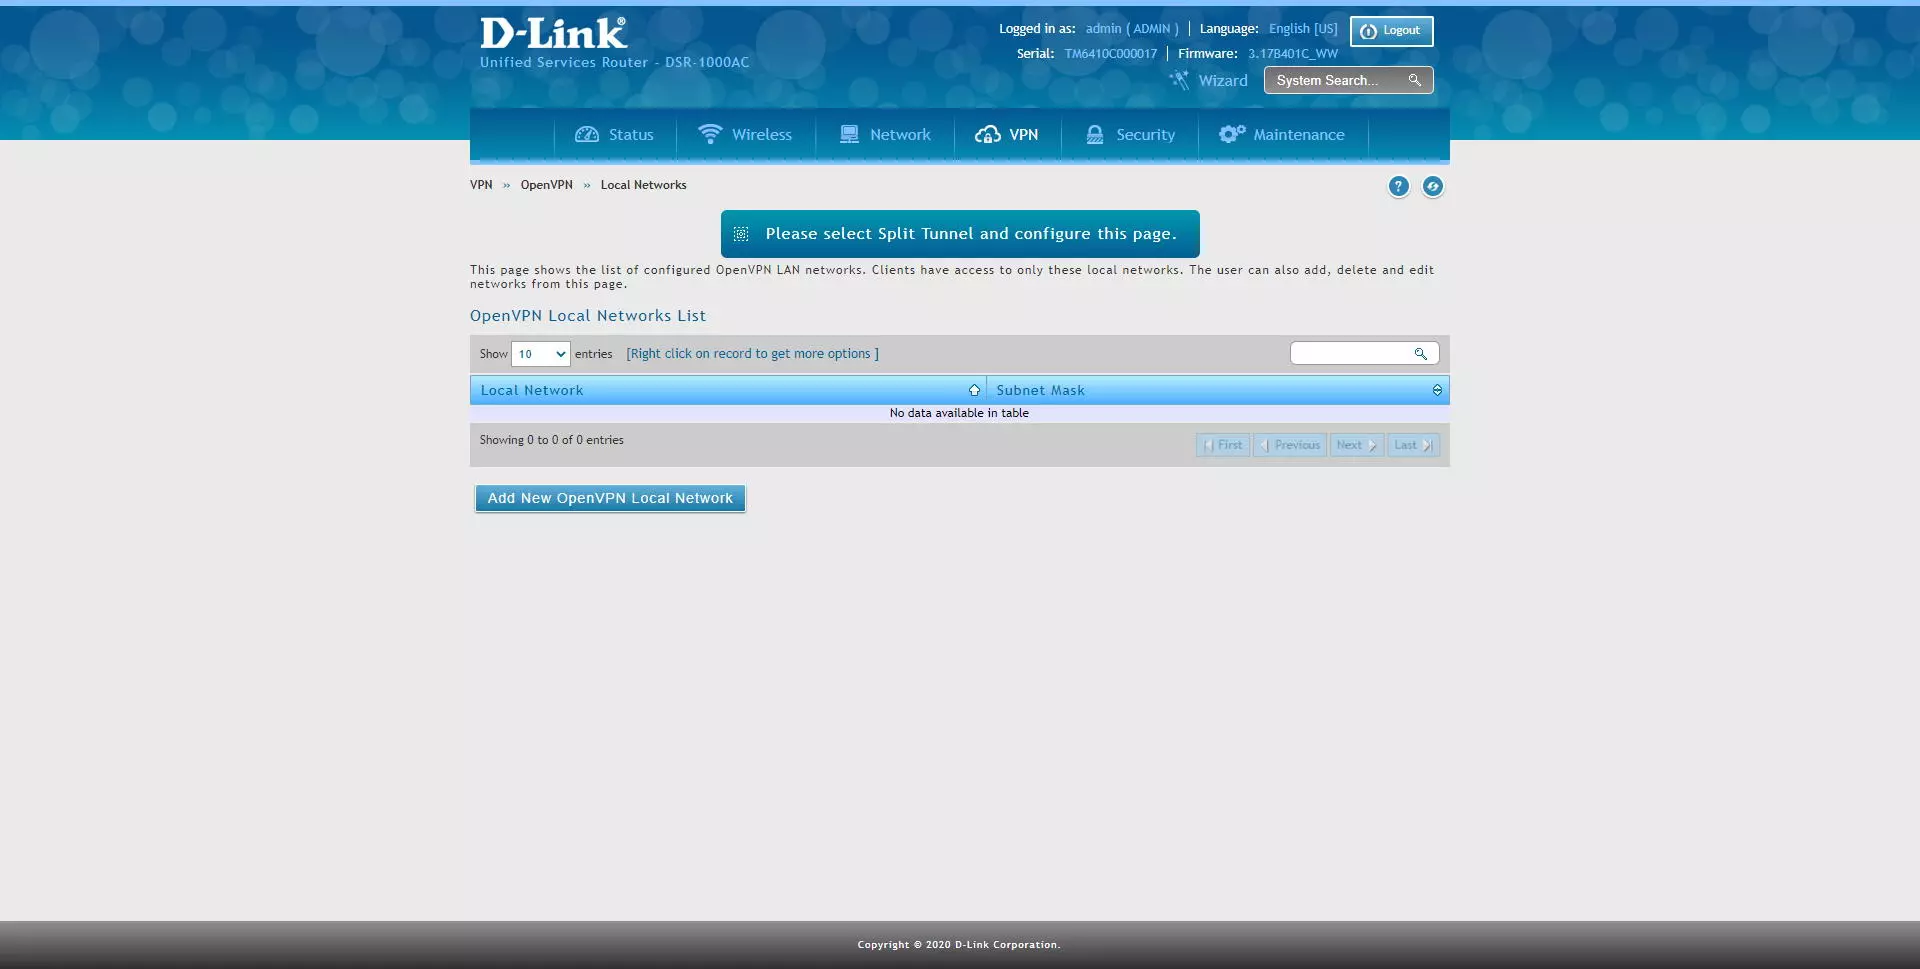
In the section of “OpenVPN / Local Networks»Is where we can register the different subnets that we want OpenVPN clients to access, we must bear in mind that, if we have a Full Tunnel, we will go to the Internet through the router’s public IP and we will have access to all subnets , unless you have created specific rules in the firewall. This configuration option is specifically geared towards configurations of «Split Tunnel«.
Create the users to connect to the server
Previously we have configured that the second authentication in OpenVPN is the username and password, to create a user with OpenVPN permissions we must go to the following section: «Security / Authentication / Internal User Database / Users«. Once we are in this menu, click on “Add New User” and add it to the administrators group, we could also create another group and add it to it.
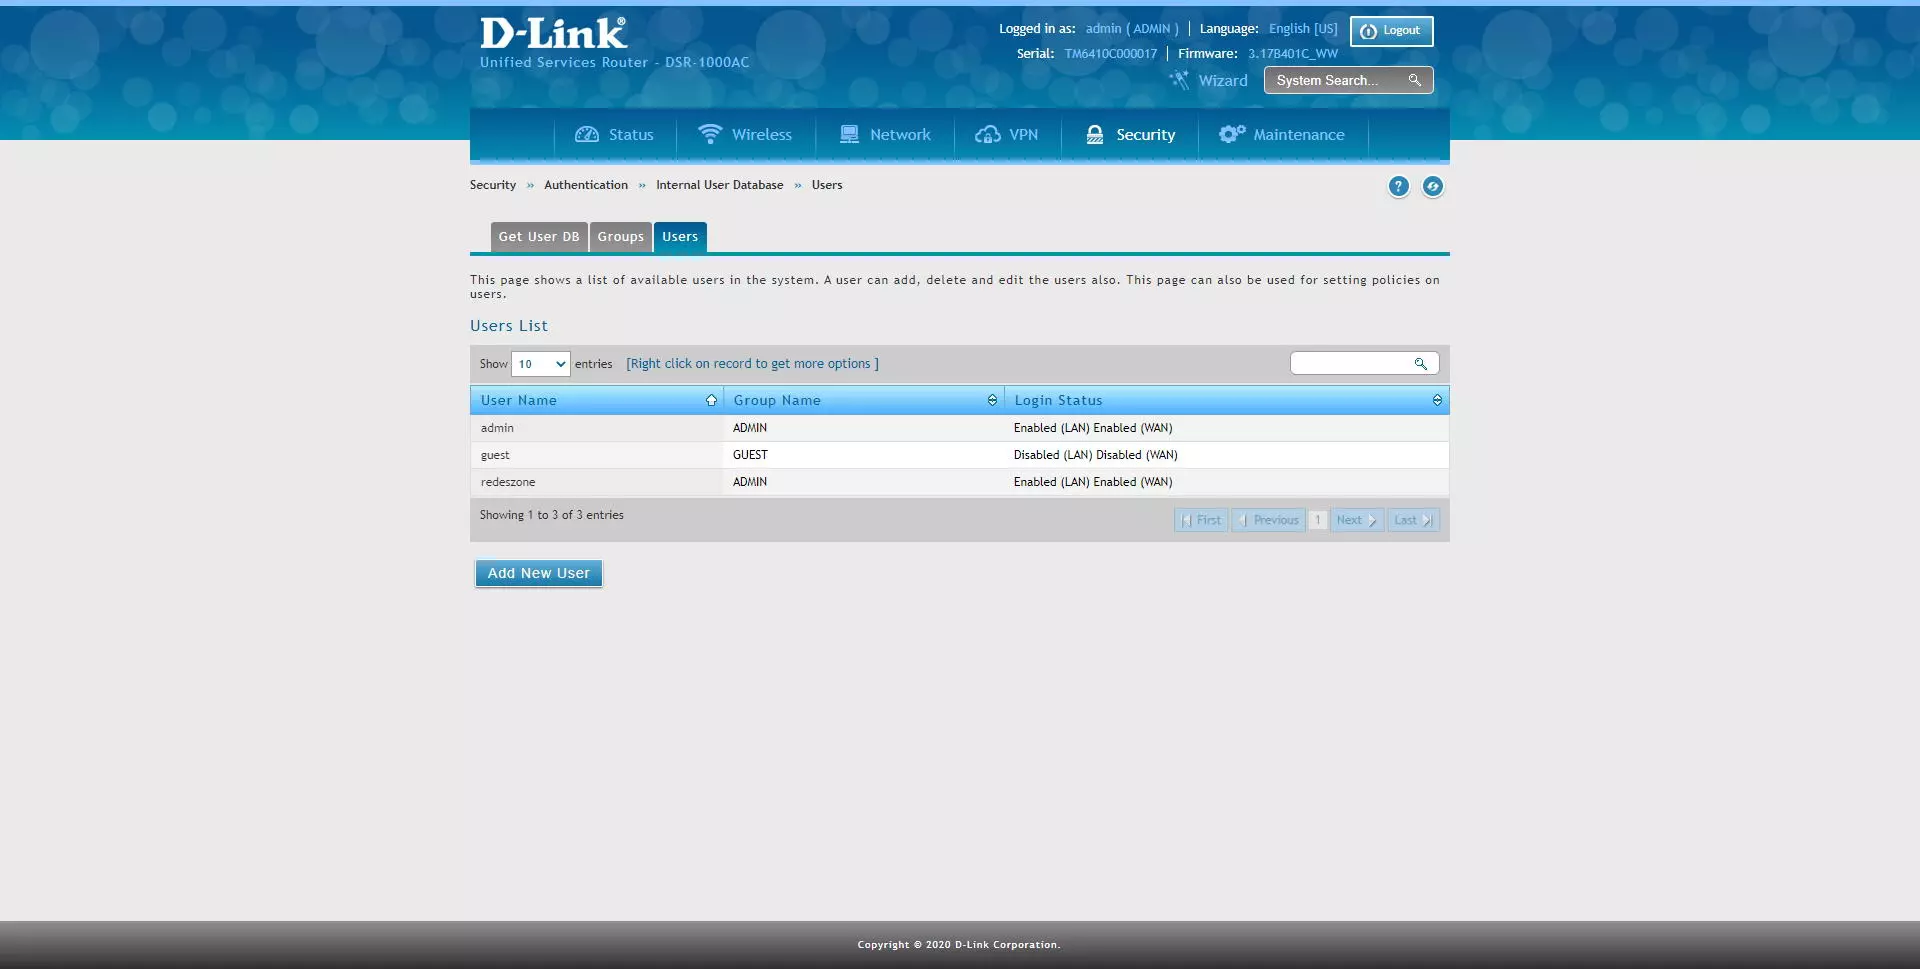
We will have to enter the username, name and surname, the group and the password that we want.
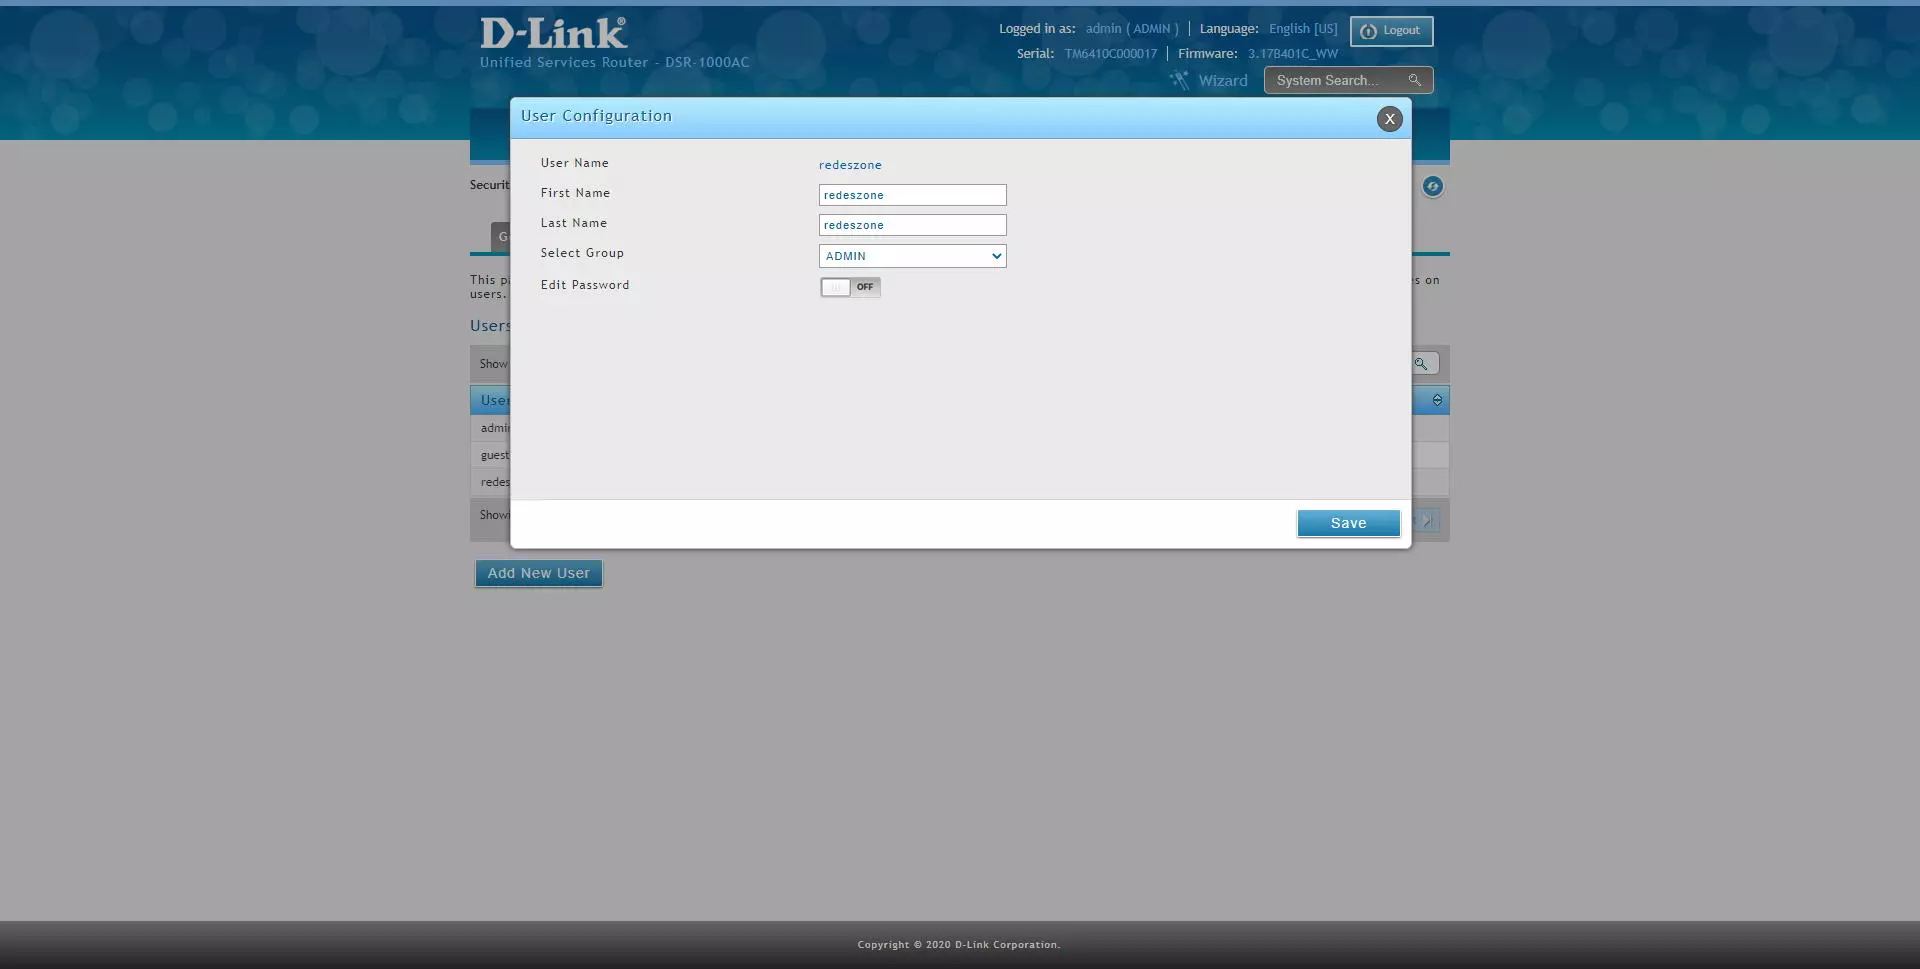
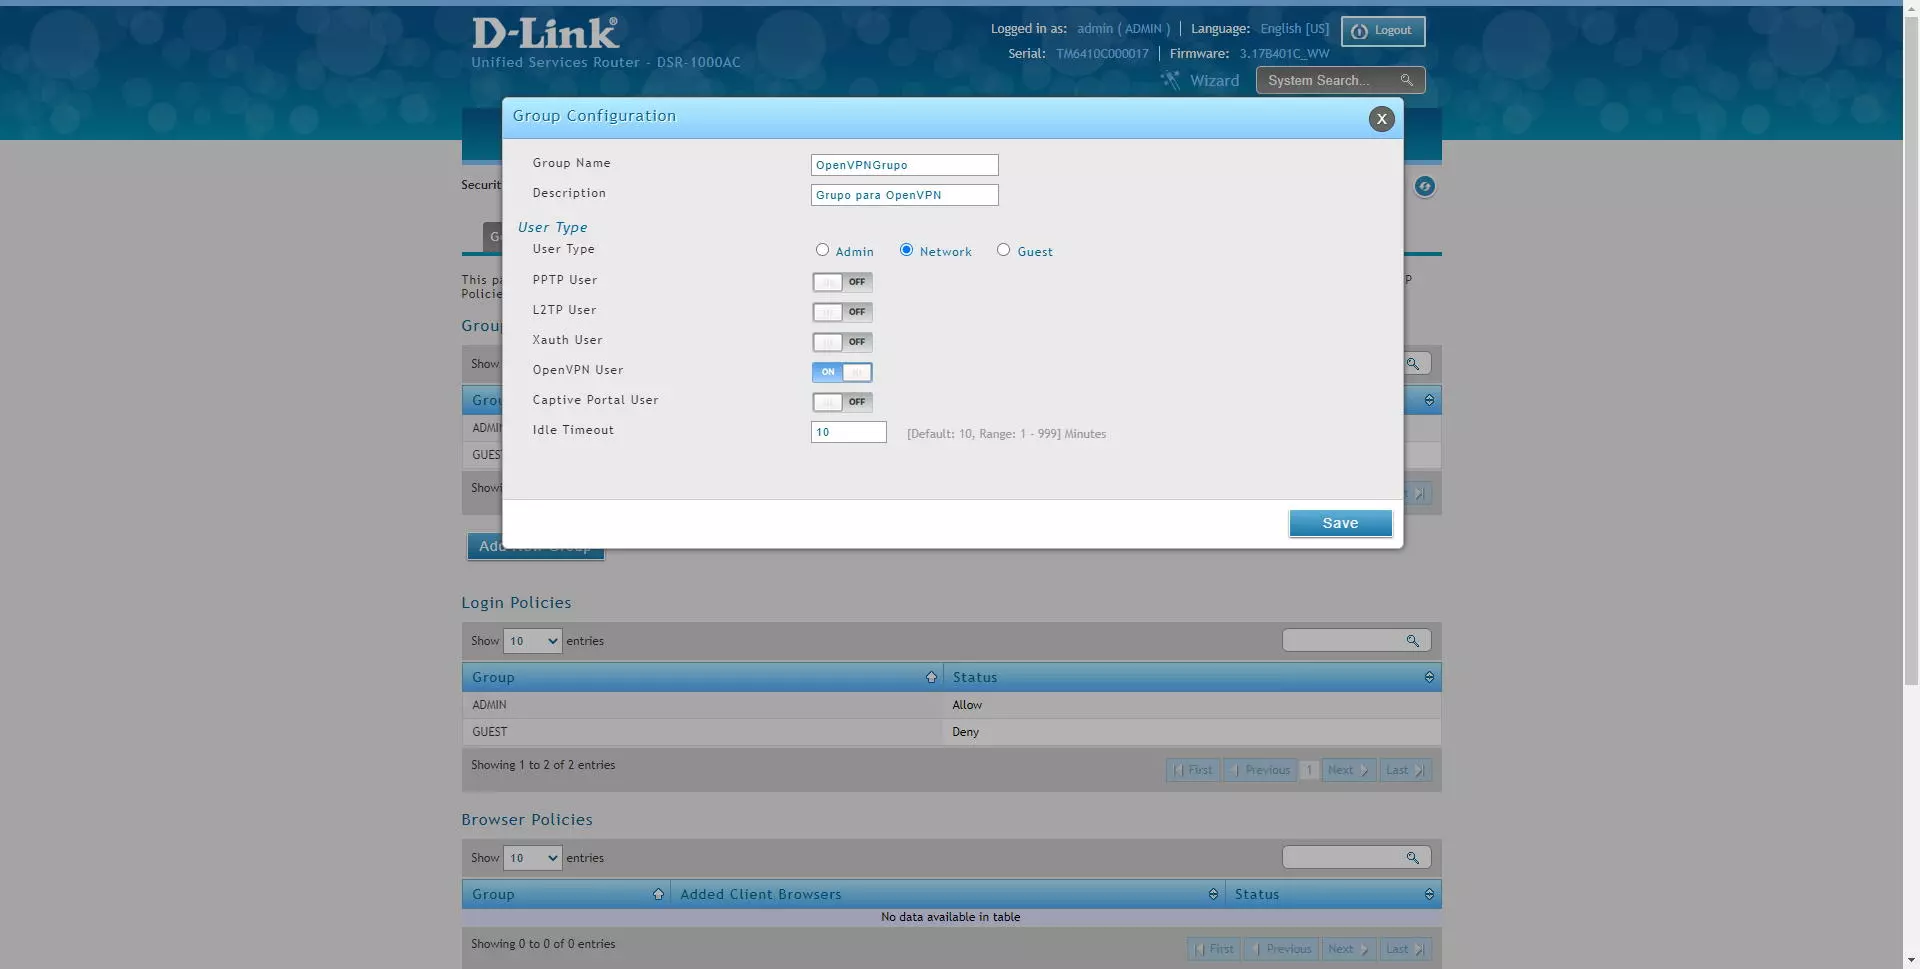
To have access to OpenVPN, we will have to configure the group with certain permissions. If we choose to put it in the administrators group, we must activate the “OpenVPN User” option.

Although we will always be able to create an OpenVPN group with user type “Network” so that the different OpenVPN clients can access correctly and without problems.
Once done, we can edit or directly create one or more users, and put them in that group that we just created with “OpenVPN User” permissions.

Generate the client configuration file and connection to the server
Once we have the user created, we go to the section «VPN / OpenVPN / OmniSSL Client Configuration«, As you can see:
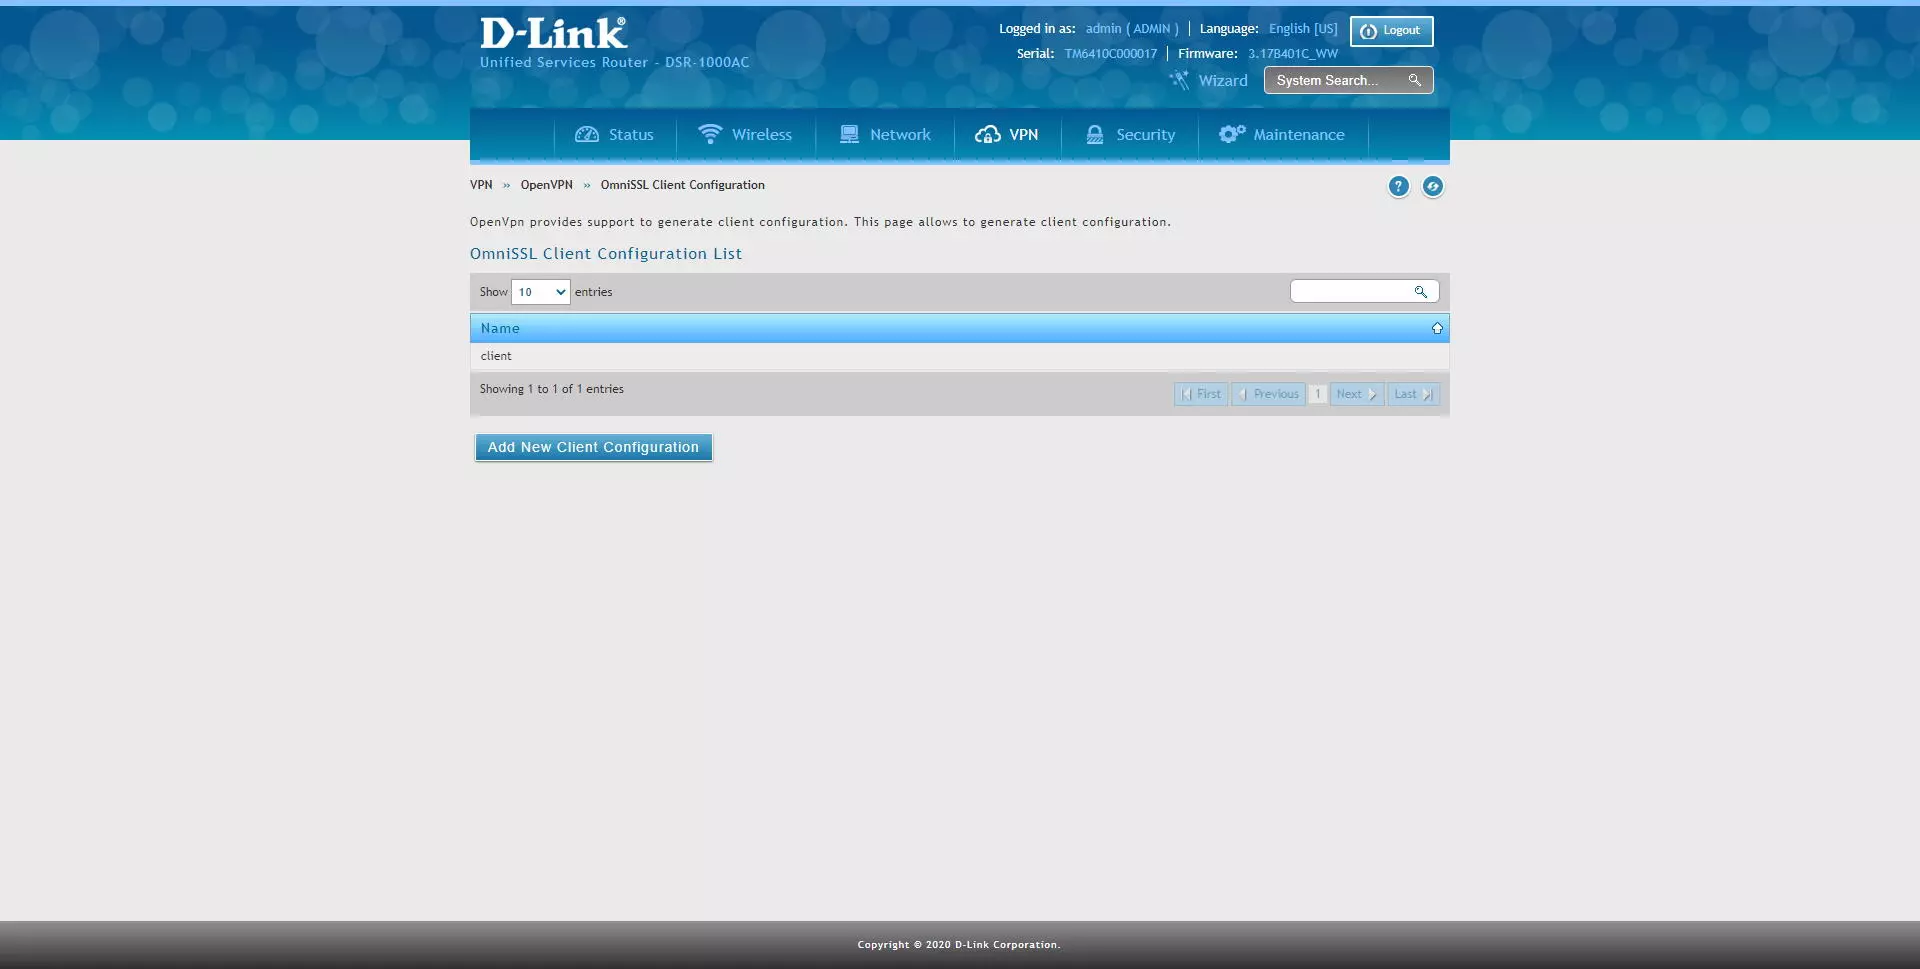
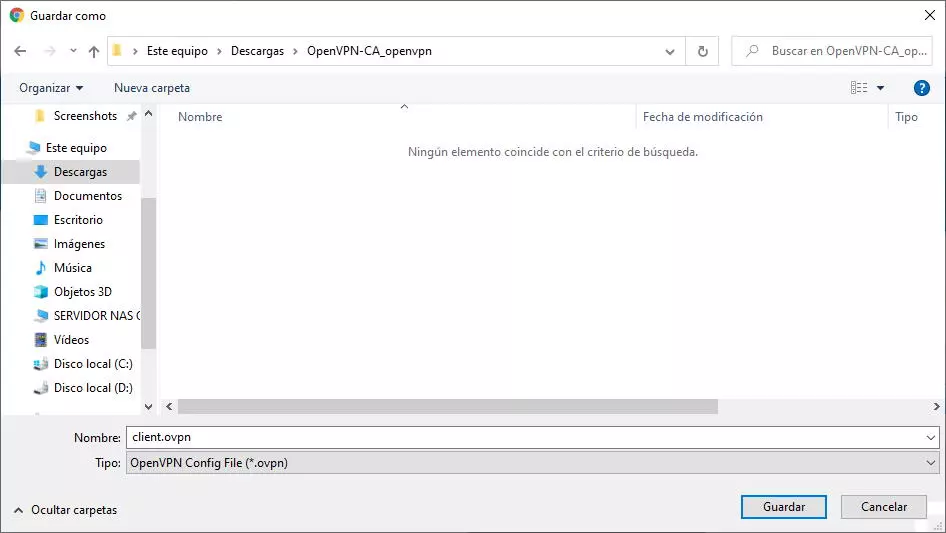
If we click with the right mouse click, we can see the automatically generated configuration, and we can also export this configuration to an OpenVPN configuration file.
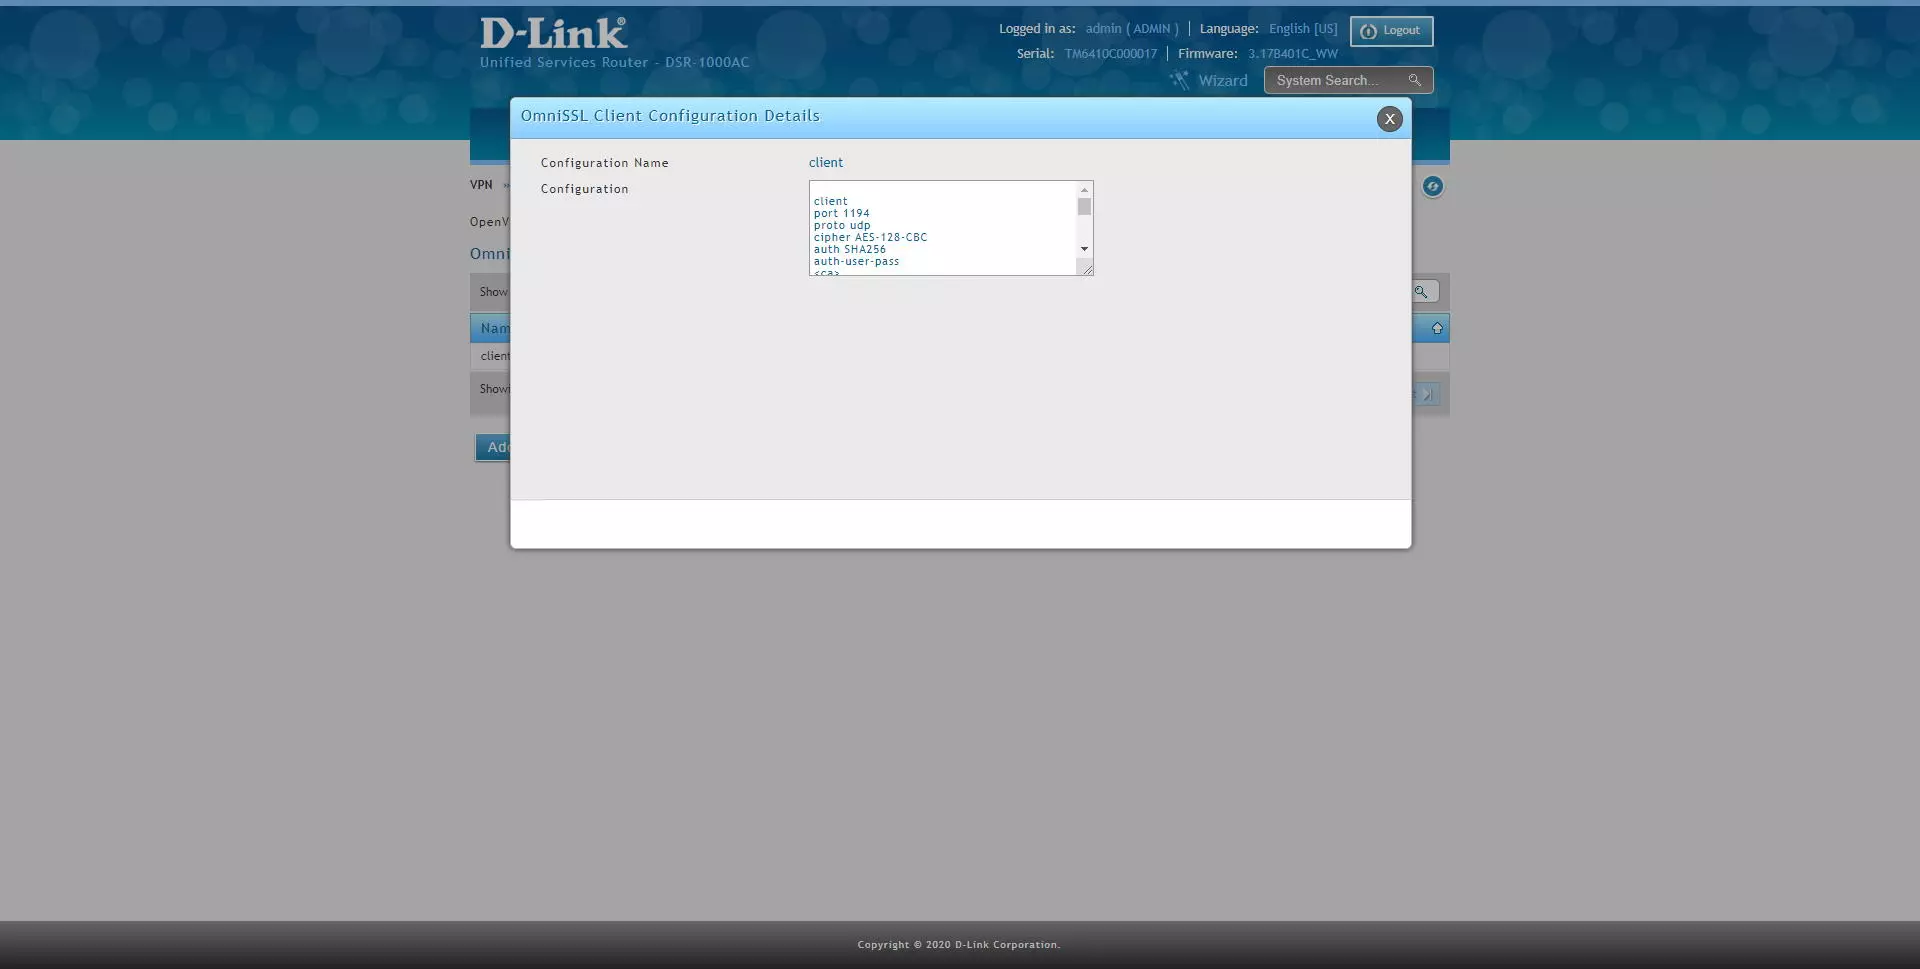
When you save this configuration file, it will be of the type “client.ovpn” and will contain almost everything you need to successfully connect to the OpenVPN server.
Within this configuration file, we will have to indicate the following to be able to connect correctly:
dev tun
This statement is mandatory in all operating systems, indicating which virtual interface should be used for the creation of the VPN tunnel.
remote dominio_o_IP 1194
This sentence is mandatory to connect to the server from the Internet, putting the domain and also the UDP or TCP port. The “port 1194” statement can be commented with a # symbol, because it is redundant to have both.

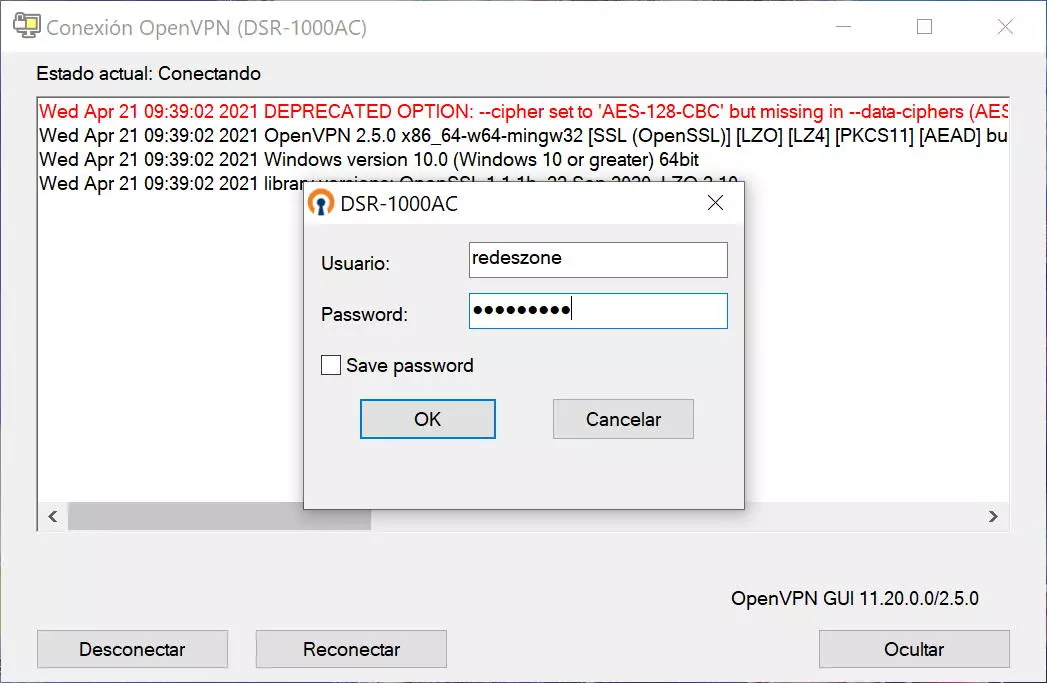
Once we have done it, we double-click on the file, or we place it in the path C: UsersUsuarioOpenVPNconfig so that it always appears in the task menu for a quick connection. By double clicking, it will show us that we have to enter a username and password to connect successfully.
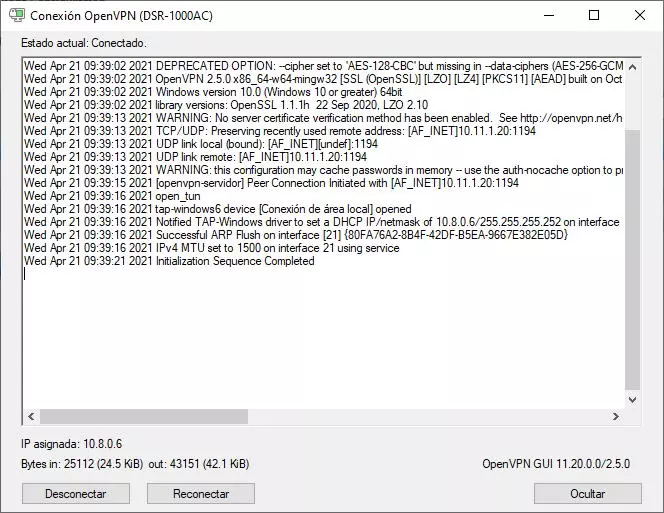
The connection to the OpenVPN server has been a success and we will already be connected to it, to share data in the different subnets and to go out to the Internet through the company network.
As you can see, the possibilities of configuring the OpenVPN server in this D-Link DSR-1000AC router are quite wide, especially regarding the «Split Tunnel» because it will allow us to create different advanced rules to allow or not access to those subnets.