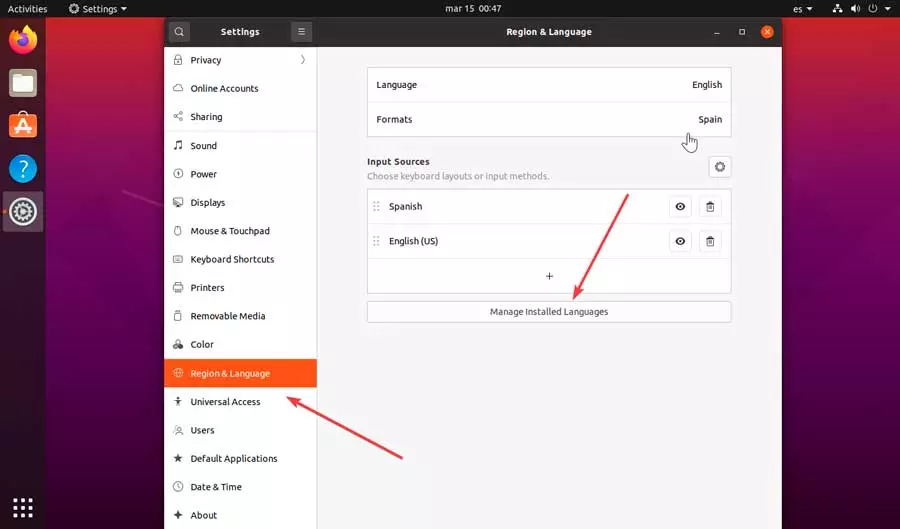
In the new window that appears, we go to the bar on the left and locate the section of Region & language and we press it. This will cause the current language, English, to be displayed on the right. To be able to put it in Spanish it will be necessary to add it, so we must click on the Manage installed Languages.
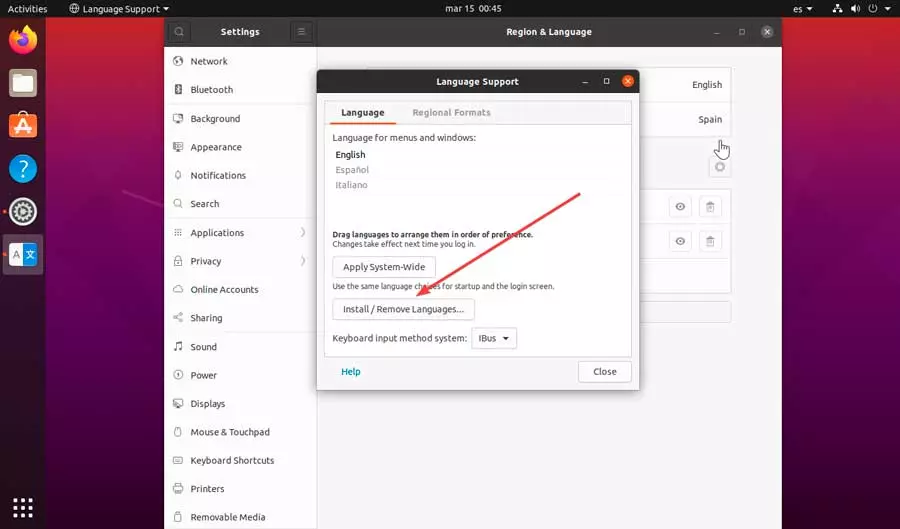
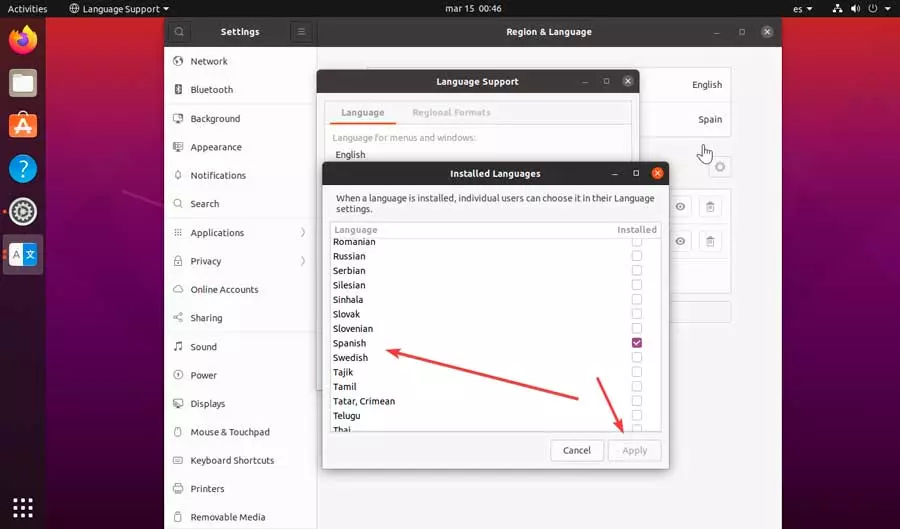
This will open a new window where we can see the languages supported by Ubuntu and how to add or remove them, if necessary. For this we must click on the button Install/Remove Languages and the system will ask us to authenticate ourselves to continue.
In the new window that will appear, select Spanish (or switch to another language). Afterwards, we check the box installed and click on the button Apply to start downloading, something that will last a few seconds.
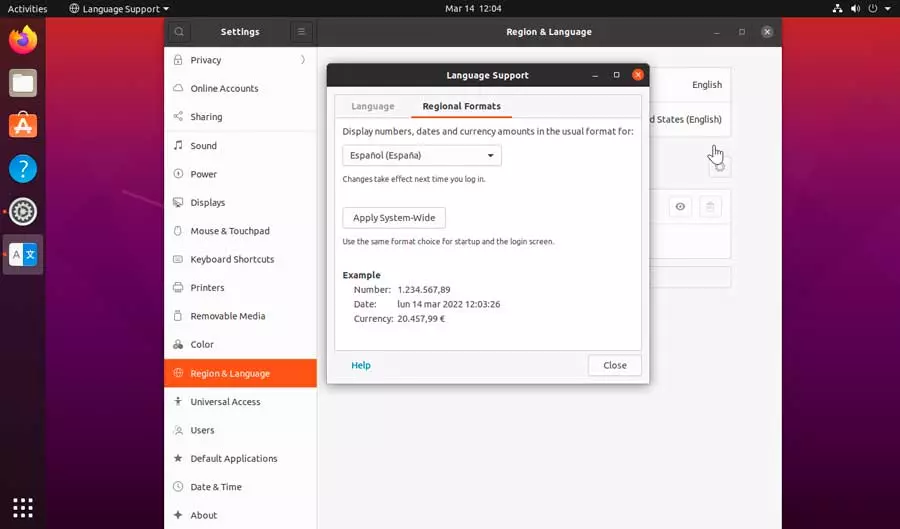
We will now return to the window Language Support where we will click on the tab Regional Formatsselect “Spanish (Spain)” and then click on Apply System wide. Finally, click on the button Close.
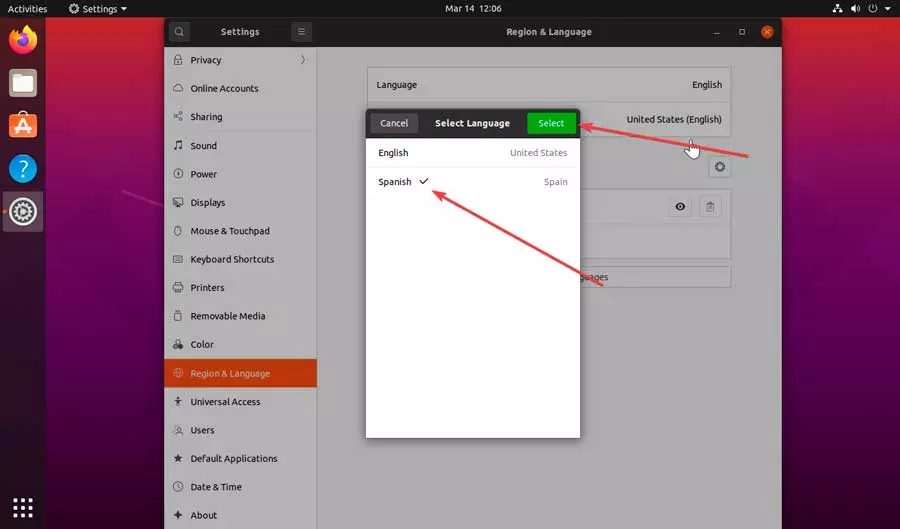
Now back in the window Region & Language, click on the section languagea new window will open, where we will click on Spanish and later in Select.
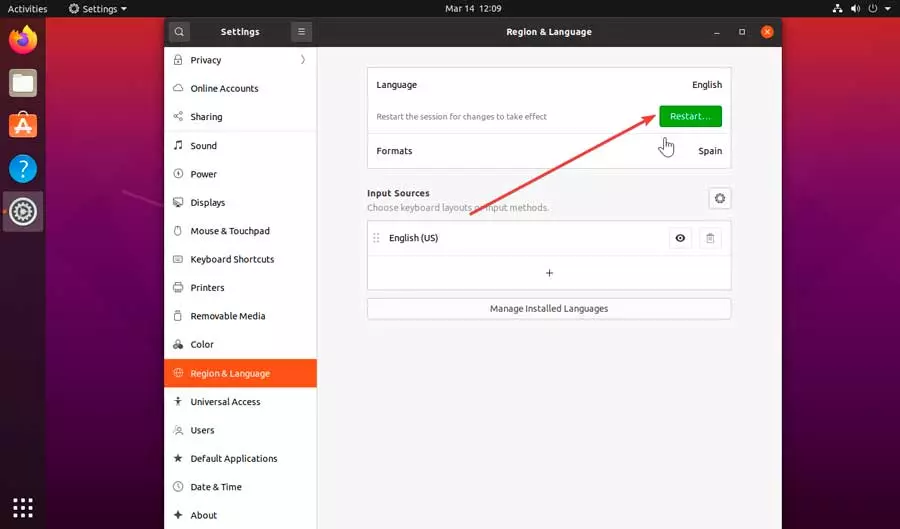
Then we click on formats. Here, we select Spain and then on the button donate. Now we only have to press the green button restart to restart the system so that the changes are applied correctly.
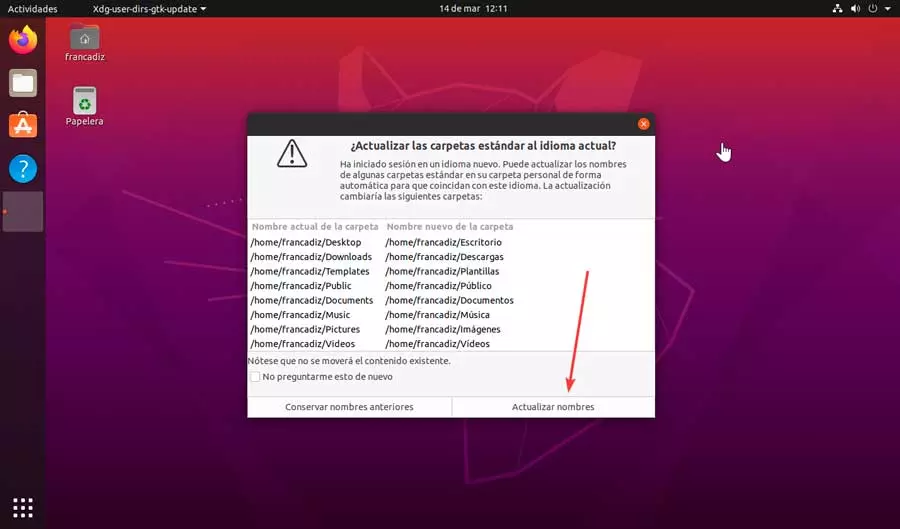
Once restarted, we already have Ubuntu configured in Spanish and a window will appear to ask us if we want to update the folders to our current language, so we click on the button update namesand the process will be finished.
Put the language in Spanish using the Terminal
The most classic way to perform actions in a Linux operating system is to carry them out through the Terminal. It is a command console that may seem similar to Windows Command Prompt or PowerShell, but is much more advanced than these. It is especially used by advanced users to control the entire system. In addition, it is specially designed for execute actions that must be done by commands since it is not possible to execute them through the graphical interface.
That is why from here we can also install the Linux language packs to be able to use them in Spanish. To run it, click on the application drawer at the bottom left. Then we click on Utilities. Lastly, we select the Terminal.

Now, we must write the following commands individually by pressing Enter to execute them:
$ sudo apt-get install language-pack-es $ sudo apt-get install language-pack-es-base $ sudo apt-get install language-support-es
Now we will see the commands to execute to install the dictionaries in Spanish. Likewise, we install them individually by pressing Enter.
$ sudo apt-get install aspell-es $ sudo apt-get install myspell-es
Next, we can reconfigure the language in the system and put it in Spanish with the following command:
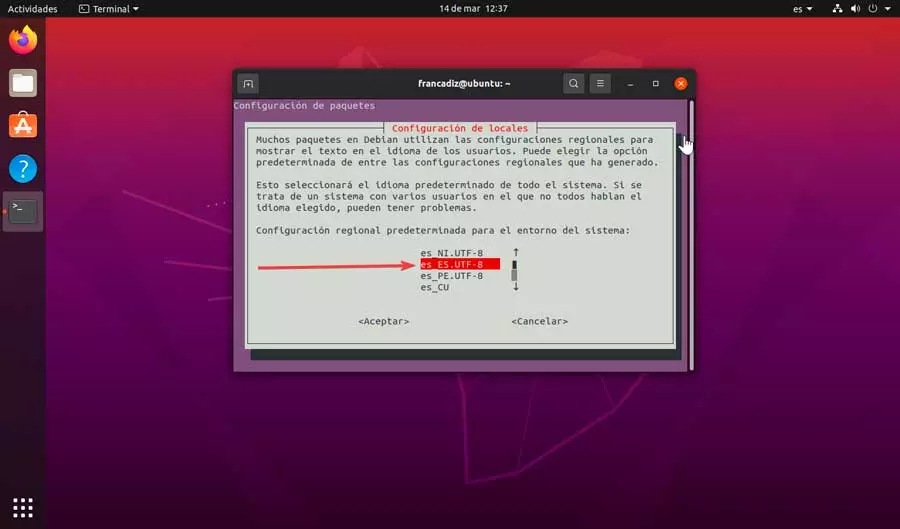
$ sudo dkpg-reconfigure locales
At the moment we execute this command, a window will open to confirm said operation and will give us the option to choose the language that we want to install in the system. Here we must choose the option _ES.UTF-8 and accept. Once this is done, we accept and restart the system so that the changes are applied and it is already available in Spanish.
Change keyboard layout
When we install an operating system like Ubuntu, we can find ourselves with the unpleasant surprise that the keyboard does not work correctly. If we see that the Ñ key does not work or that the symbols are altered, it is because we have it configured in another language, possibly in English.
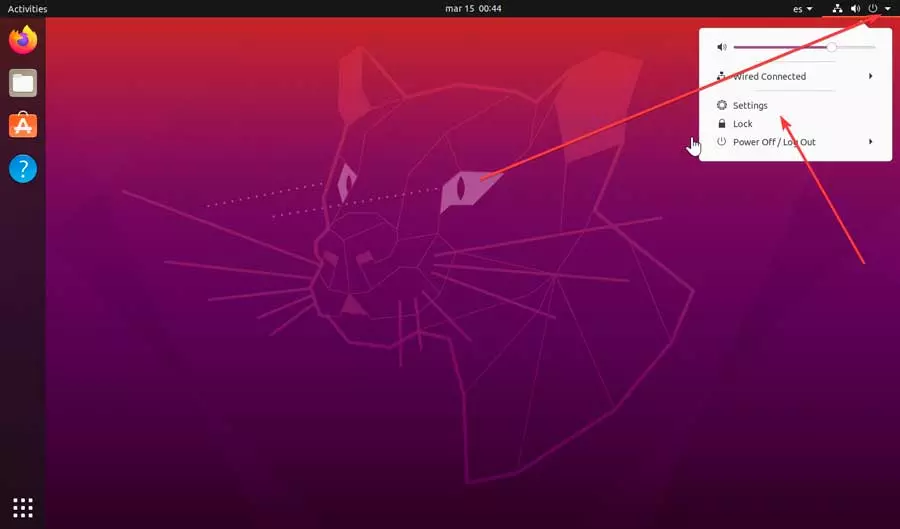
In order to change it, we are going to click on the dotted box located at the bottom left of the screen, which will open a menu where we must select the option Setting.

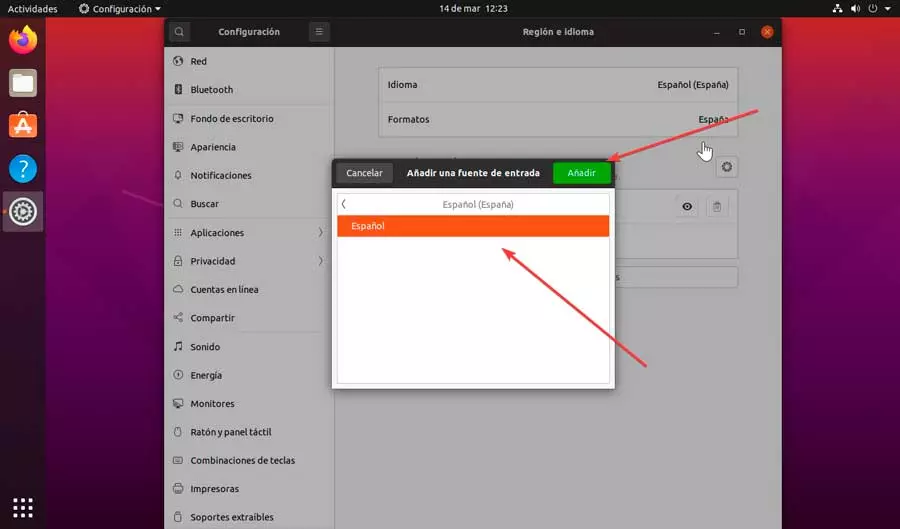
In the new entry that appears we will see the section of input source, from where we will be able to choose the keyboard layout or input methods. Here, we will surely have English set, so we must add Spanish to be able to change it. That is something we can do by clicking on the symbol icon plus (+).

Now a new window will appear from where we can choose and add the input source, so we select “Spanish – Spain)” and click on the button Add.
Now we only have to drag the “Spanish” language above the English language or simply delete it by clicking on the trash can icon. In this way, we only have the one that interests us. Once this is done, click on the X to close the window.
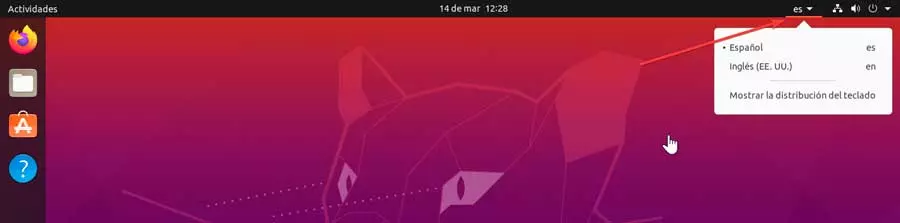
Finally, we must note that in the upper right appears “is” along with a down arrow. This tells us that the input language is Spanish. If it appears in, press and choose the option “Spanish”.