That is why, in general, always You have to do this on MacBook 2016 backwards. In the event that you have a more recent model, it does not mean that you cannot make the change, but you must do it in an authorized establishment. In the market you cannot find the glue that Apple uses for its components or it is also really difficult to assemble all the pieces. Likewise, even if this limitation exists, it must be taken into account that there are many models available to be able to make this change. In this case we are going to focus on the MacBook to be able to make this change. This is because eOn an iMac the operation is much more complex and it is not recommended to do it in the event that you do not have the necessary knowledge.
Can it be done by a basic user?
This is another of the great questions that anyone will be able to ask when facing a failure in their fans. Of course, we are not talking about a minor repair, since a large part of the device must always be disassembled. That is why you should always have at least basic computer skills in order to avoid breaking the equipment at all times. Likewise, the most important thing in these cases is to be patient and above all not to apply any type of force.
It is recommended as long as you have previous experience making fan changes. You should always keep in mind that you are dealing with really expensive equipment, and that if you do not do it correctly it can stop working. In these situations, if you are not sure, it is best to go to a specialized center where an expert can make the repair without any problem.
Main problems that will arise
During a repair of this caliber, there are many problems that can occur on a MacBook. Obviously, the most relevant, and also the most serious, is that the fan stops working. This can happen if, for example, the connection port that provides power to this component is broken. In the event that the Mac is not able to cool down due to not being able to connect a fan, the interior temperature will increase without any limit and they can be terminated. causing damage to other components such as on the motherboard.
Keep in mind that all these failures are irreparable by Apple itself within the warranty. This is something that is included within the conditions of the limited warranty, and is that any manipulation by a person who is not authorized by the company cannot be repaired free of charge. In these cases, the repair will have to be paid in full and we will certainly not be talking about a low figure. That is why the repair should always be carried out when you are completely sure of what you are doing, since a simple mistake can end up being very expensive.
Preparation of material
Before starting to follow the different steps to be able to change the fan, you have to gather everything you will need. In this case, it should be borne in mind that you have to buy the necessary tools to be able to carry out the disassembly and also look for a replacement, which can become somewhat complicated.
Tools you should use
The screws that can be found in MacBooks are unconventional. In this case, the size is quite small and you cannot use the traditional tools that you can have at home. To be able to make the repairs, you have to opt for a set of tools that are specific for technological products. In this case, both the Mac and many other devices such as mobiles of any brand are included. It is vital to have these to be able to unscrew these screws that exist on the back cover.
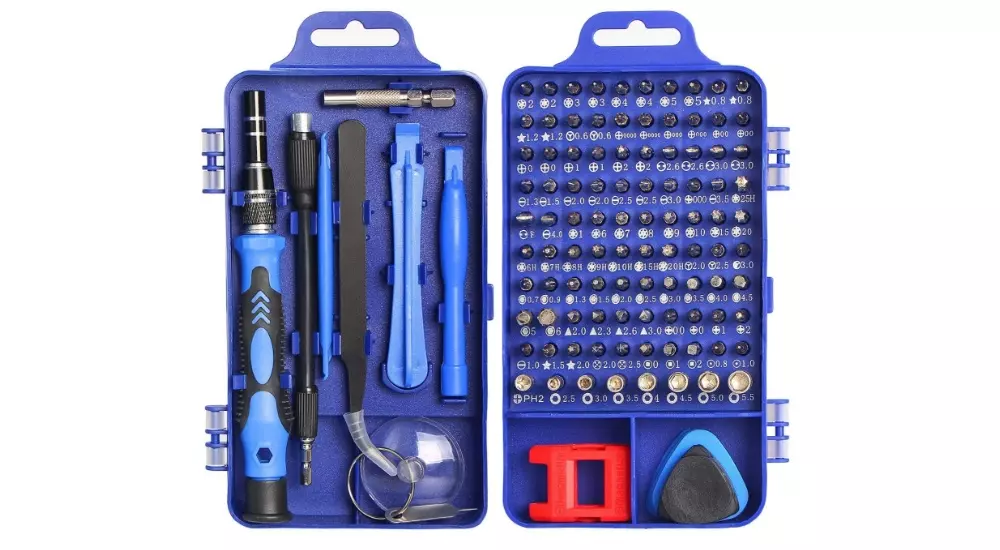
In Amazon you can find several sets to be able to do these tasks that are undoubtedly optimal and at a fairly competitive price. You always have to look for those sets that have a great variety of tools and especially of different sizes to be able to face in this way any type of screw that you have in an electronic device.
Get the spare part
Another important point when changing the fan of your Mac is to have the necessary spare part. The most advisable, of course, would be to have the original part that will finally work best on the Mac. Unfortunately, this in a domestic environment cannot be achieved, since Apple only markets these replacements to specialized people like the SAT. In this way, you will have to opt for other replacements that are not original, but must always be compatible.
On the internet, with a simple search, you can find different spare parts that are of quality and that have all the necessary elements to be able to carry out the installation. Obviously, you should always check that the part is compatible with the Mac model where it will be repaired. In this way, the piece will fit perfectly and you will ensure that it works correctly.
Steps to follow
Once you have all the tools and components ready, it’s time to get down to work. As we say, it is an operation that can become complex when having to remove very small cables and that is why you should always do it when you have time to spare. In this case, the following steps must be followed to make the change:
- Remove the 3.1 and 2.3 mm screws at the back, so that the cover can be removed from the closest edge.
- Be sure to disengage the pins that may exist on the lid of the MacBook.
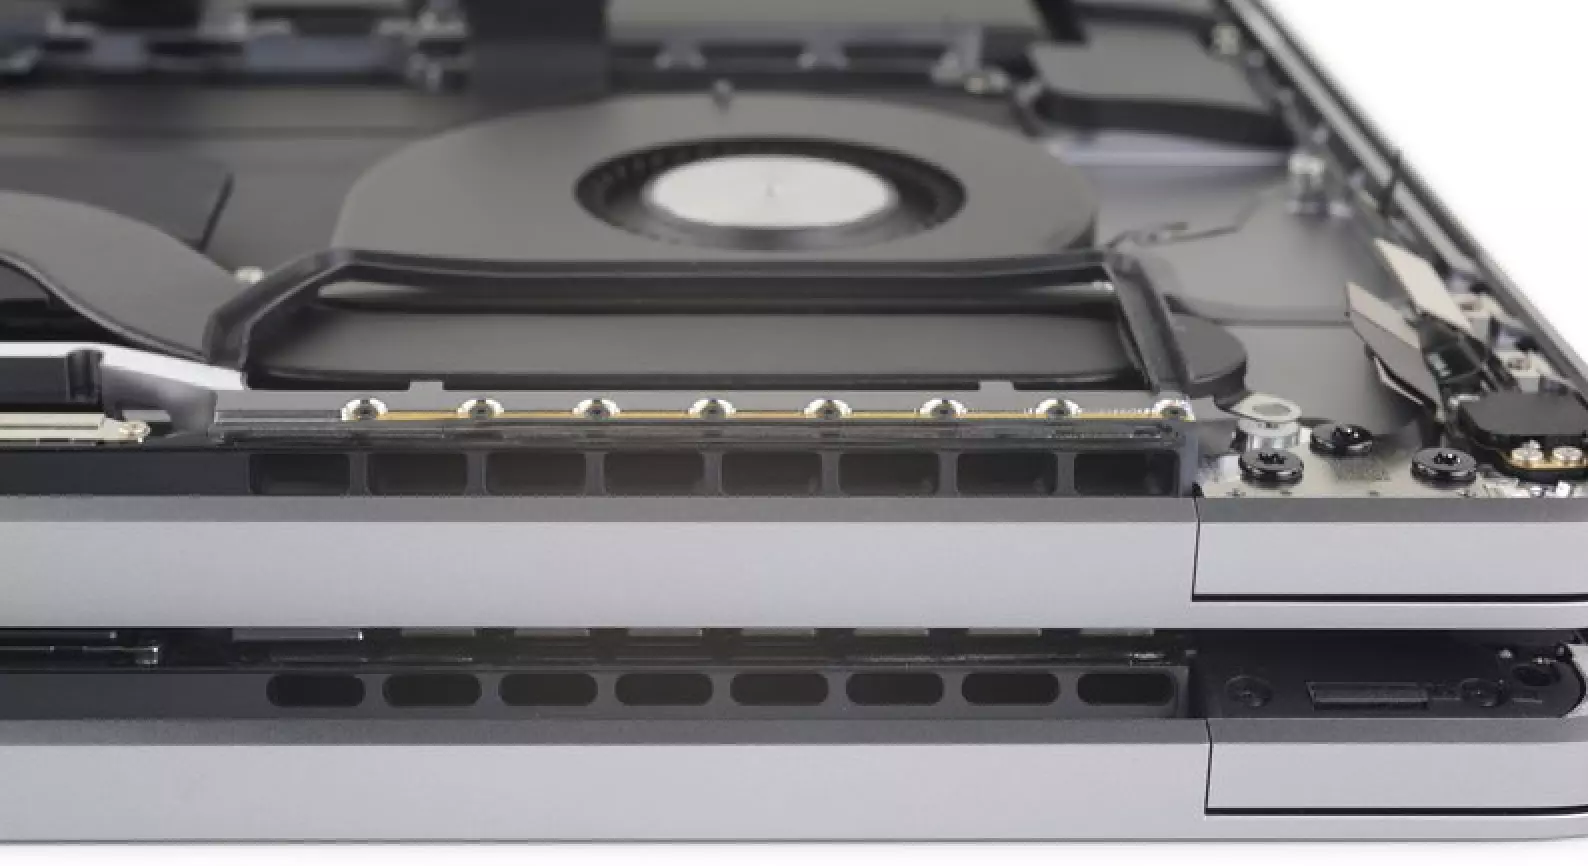
- Locate the fan in one of the corner of the computer.
- Remove the protector which will have the battery connector on top.
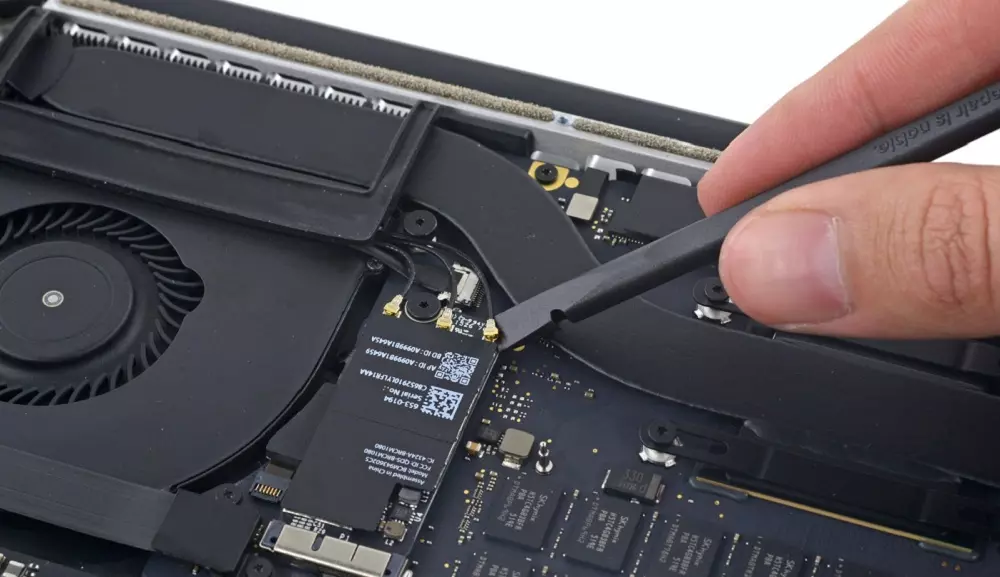
- With the help of a Spudger, pry up the battery connector.
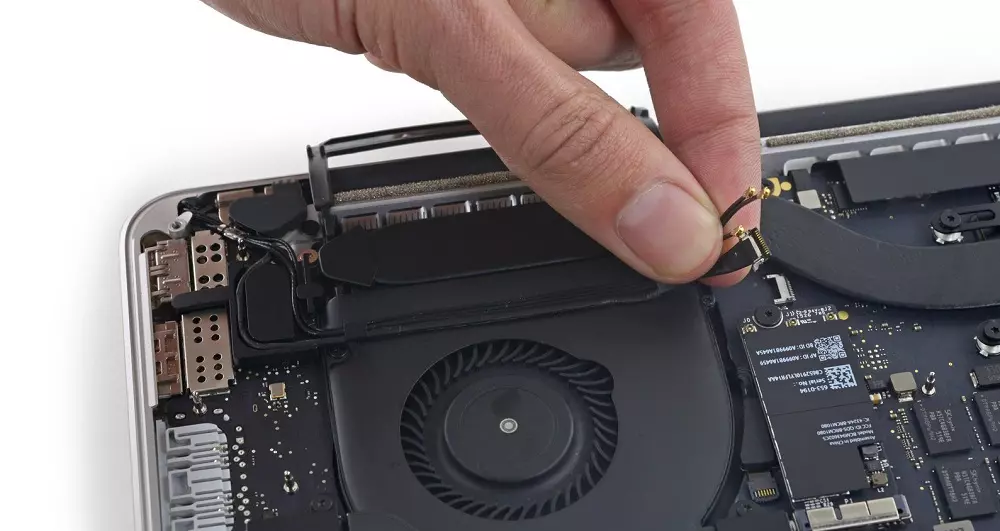
- Disconnect the Airport antenna connectors and fold them up.
- Detach the rubber cover from the fan.
- Remove the cable connector from the camera of its connection to the motherboard with a Spudger.
- Use your fingers to remove the cables that you have disconnected.
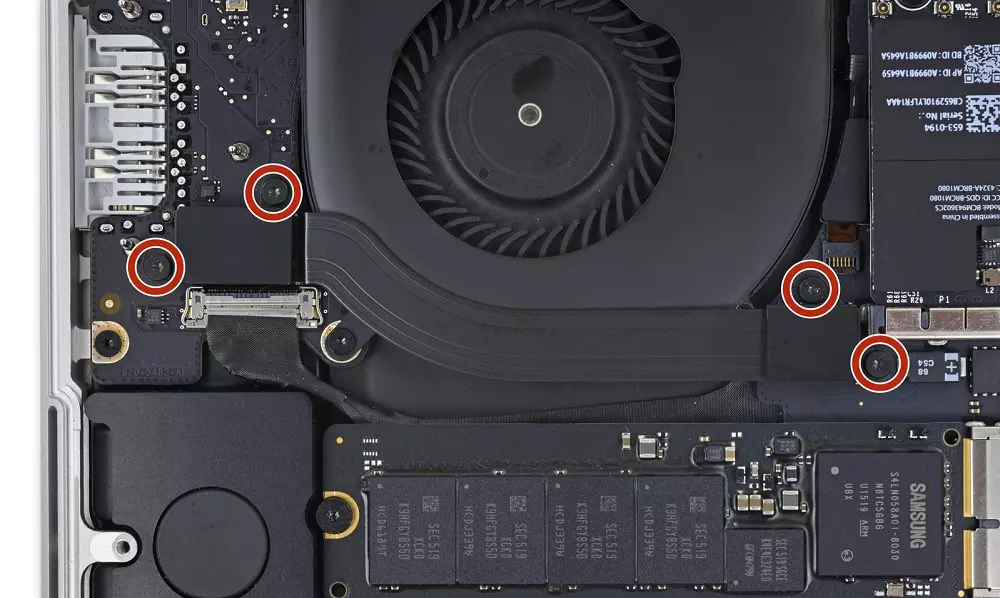
- Remove the four screws that hold the connection caps.
- Remove the motherboard I / O cable prying.
- Remove the screws that secure the fans.
- Prying the fan to release it from its location, making sure to unplug the power cord.
Once all these steps have been completed, the fan will be completely removed. Now you simply have to install the new component and for this you have to follow the steps in reverse, making sure to leave it completely connected again and coupled to the motherboard. This is vital to avoid posterior vibrations, although a fair force must always be applied.