Telegram is the application par excellence for notifications from different software, and we can integrate notifications with a bot for our router, NAS server, for our monitoring system, and also for our home automation system. If you want to know how to create and configure a bot, and how it is incorporated into HAOS, we will show you all the steps you must do.
What is this for?
Although we could launch push notifications through the Home Assistant app For smartphones, we believe that Telegram is much better, because we can see it directly from our smartwatch and we can even see a history with all the notifications that have been sent to us, something that we would not be able to with push notifications. When we are going to configure the home automation system, we do not have any limitations when it comes to registering the bots and we can even send notifications directly to a group where there are more people.
For example, one use that we make of these notifications is that the notices that have to do with the administration of the home automation system, such as HAOS updates, updates to the different home automation devices such as Shelly, or any problem that we have automated, a notification will automatically be sent to our smartphone individually. However, if there is notifications that have to do with household memberssuch as, for example, if we have left the garage door open, if the doorbell has been rung, or if there is too much electricity consumption at a certain time, we can send these notices directly to a group where we and our partner are also present, children etc.
In order to register this type of notifications, the first thing we must do is create the corresponding bot in Telegram, create a group with the bot within said group, and then remove both the API KEY Like the IDs of the different bots and chats that we want to configure.
Create a bot in Telegram for Home Assistant
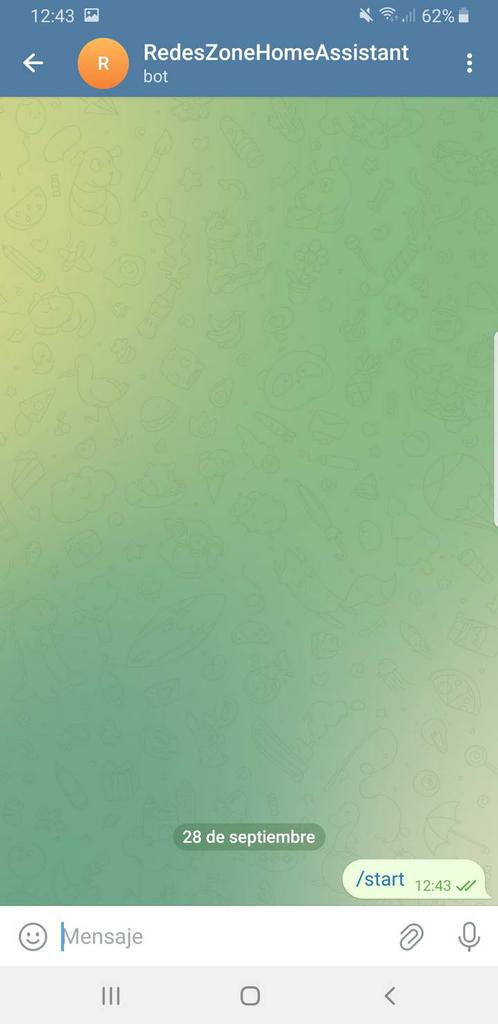
The first thing we have to do is look for the popular «BotFather» via Telegram and start it. Following the steps, we can click on “newbot” to create a new bot. We will give the bot a name and then the bot username, the latter must end in “bot” or “_bot”, otherwise we will not be able to configure it. It is Telegram’s way of differentiating a bot from one that is not. The most important thing about this step is the HTTP API KEY that you provide us.
Once created, we can start the bot in our Telegram without any problem. If we return to BotFather we can see the entire list of bots by entering “mybots” as you can see. We also have the possibility of making certain configurations such as adding a description, a photo and other settings.

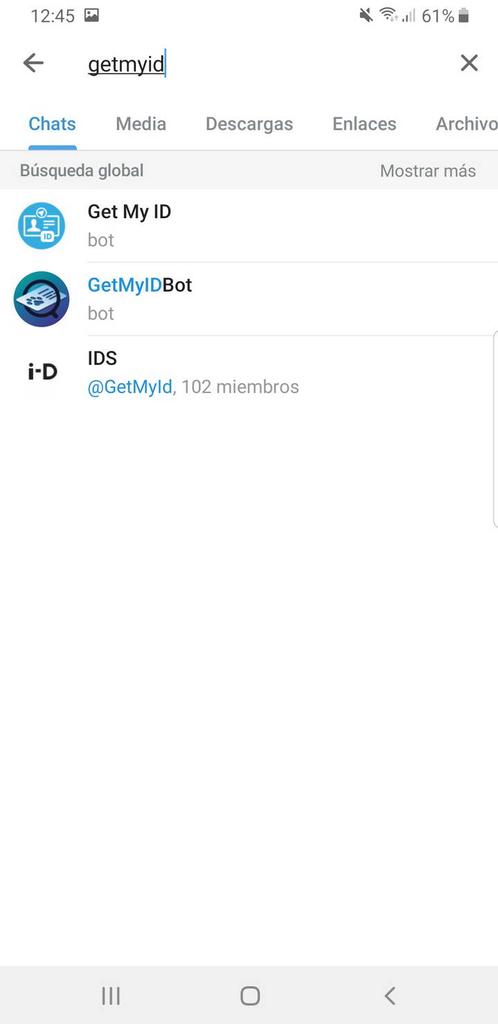
After creating the bot, we need to call a bot called “getmyid”, there are many currently, we can use any of them. This bot is responsible for providing us with our Telegram ID so that the bot we have created can send us messages.

With the ID, we can now send messages individually to our smartphone, but the most interesting thing is to create a group so that more people in our family can receive these notifications.
Set up a group with the bot inside
To configure a group with the bot inside, all we have to do is create a group with several people as we normally do. Then we will add the Home Assistant bot that we created earlier, but we also have to add the “getmyid” boy so that it provides us with the ID of the group chat (which is different from the individual chat). All group chat IDs have a minus sign in front of the ID, as you can see:
Now Telegram is ready to receive notifications, and we will only need to configure Home Assistant to send them.
Home Assistant Settings
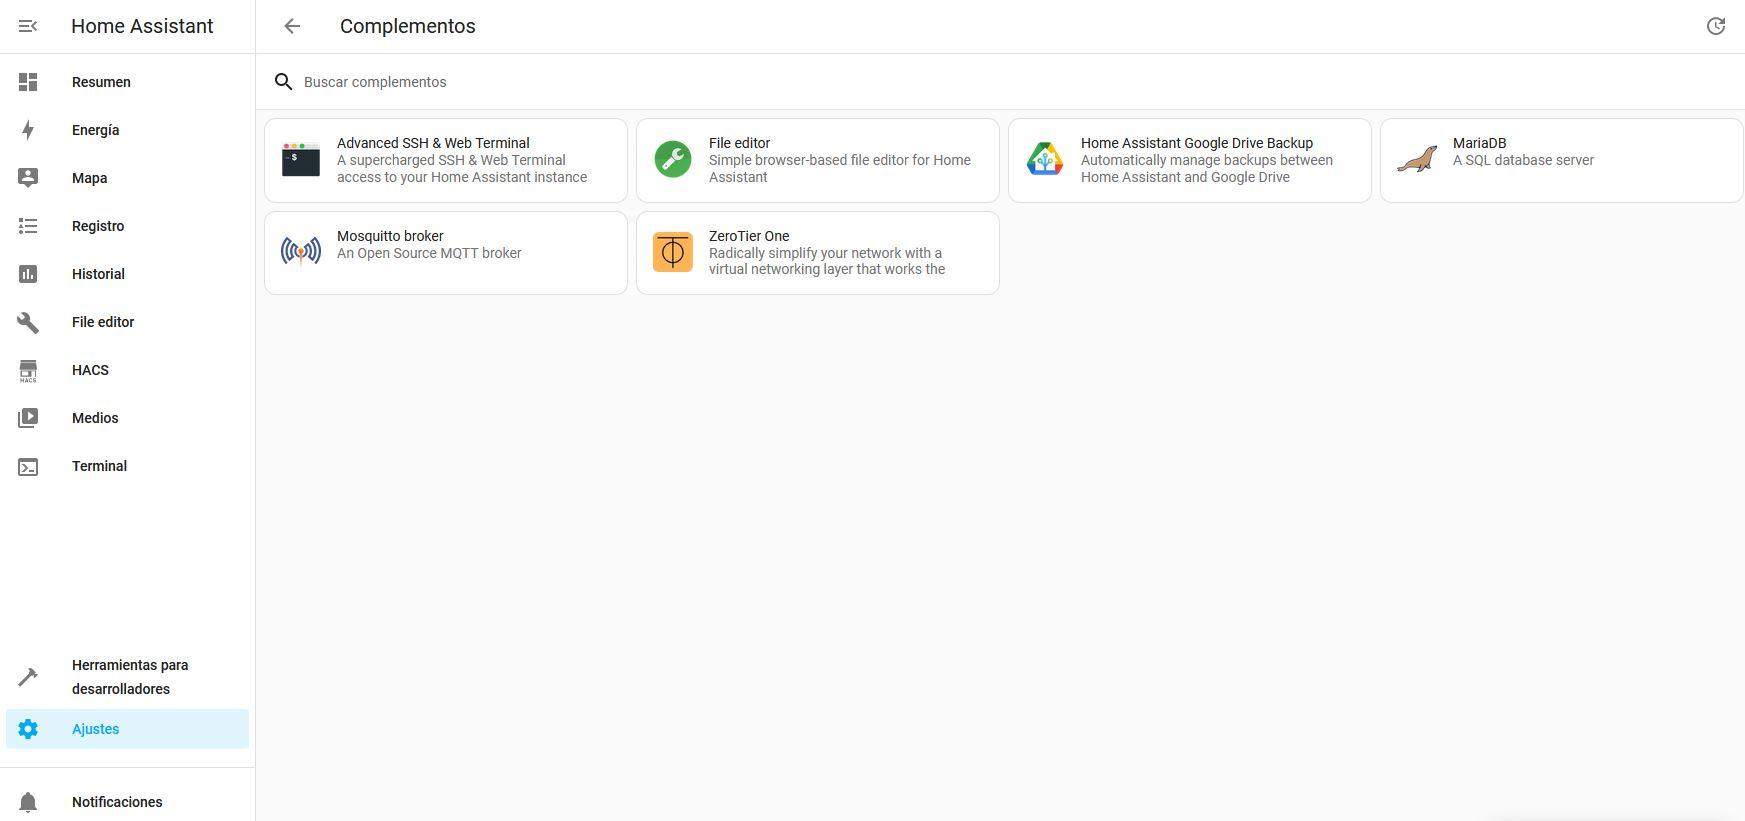
The first thing we recommend you install in Home Assistant is the «File Editor«, if we go to the «Settings / Plugins“we can go to the store”Accessories» and install this very useful software that will allow us to navigate through the internal files of Home Assistant in a very simple way.
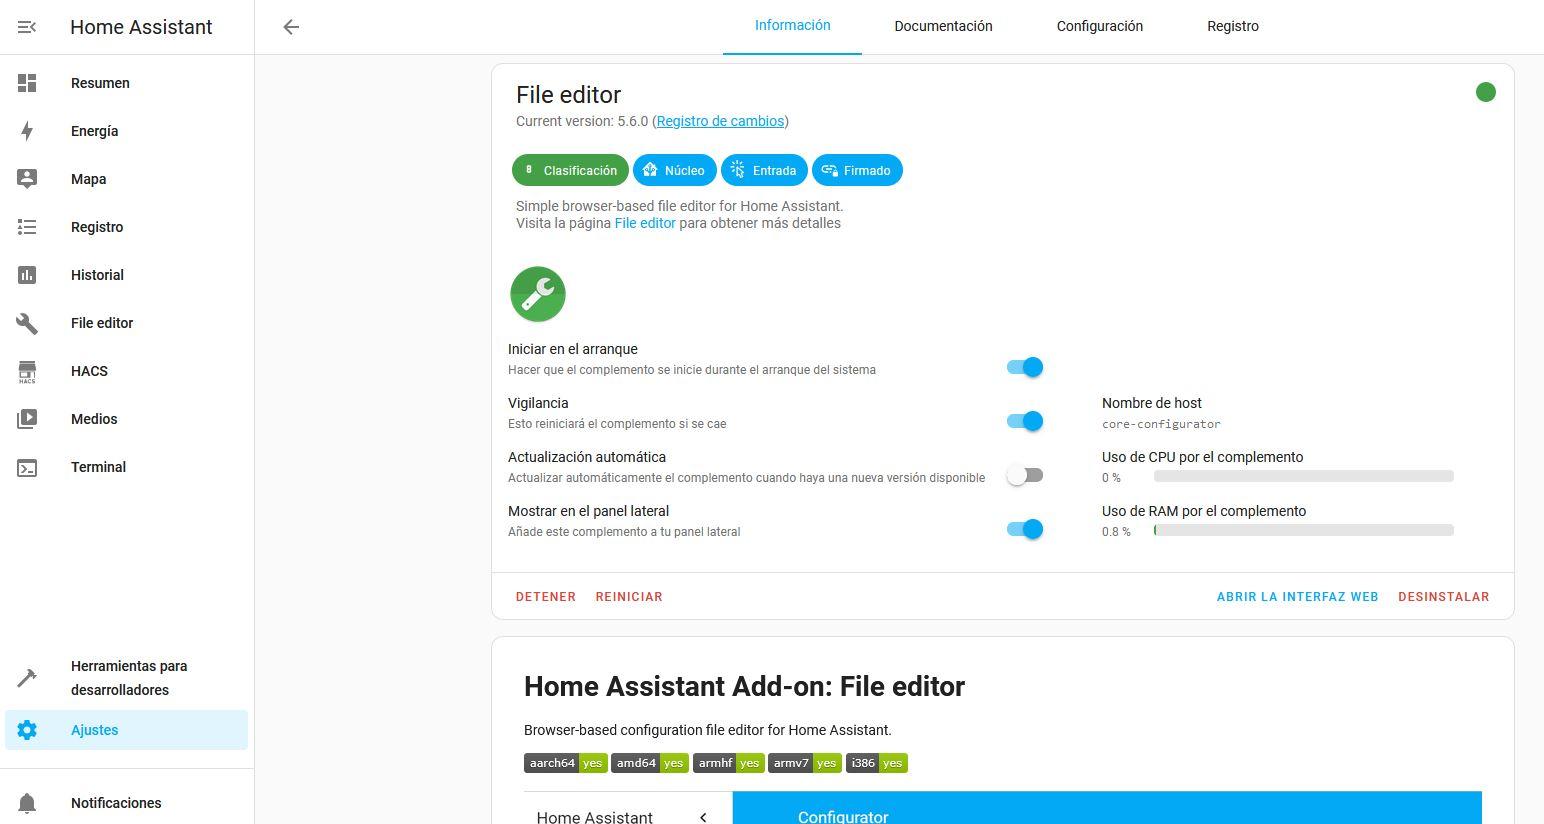
It is recommended that this plugin always starts at startup, and also that the system itself monitors if it crashes at any time. Another recommended configuration is to select the option “Show in side panel«.
Once we have everything ready, we can start using it. If we click on «File Editor» and then on the folder icon, we can browse the different files that we have created by default. The two files that we are going to deal with in this tutorial are:
- /config/secrets.yaml: All passwords or API KEYs that we do not want to appear directly in the general configuration file will be stored here.
- /config/configuration.yaml: here we will have the general Home Assistant configuration file, it is essential that everything is written correctly because it could cause the system not to start. However, HAOS itself always checks this file and will notify us if there is something wrong so we can fix it.
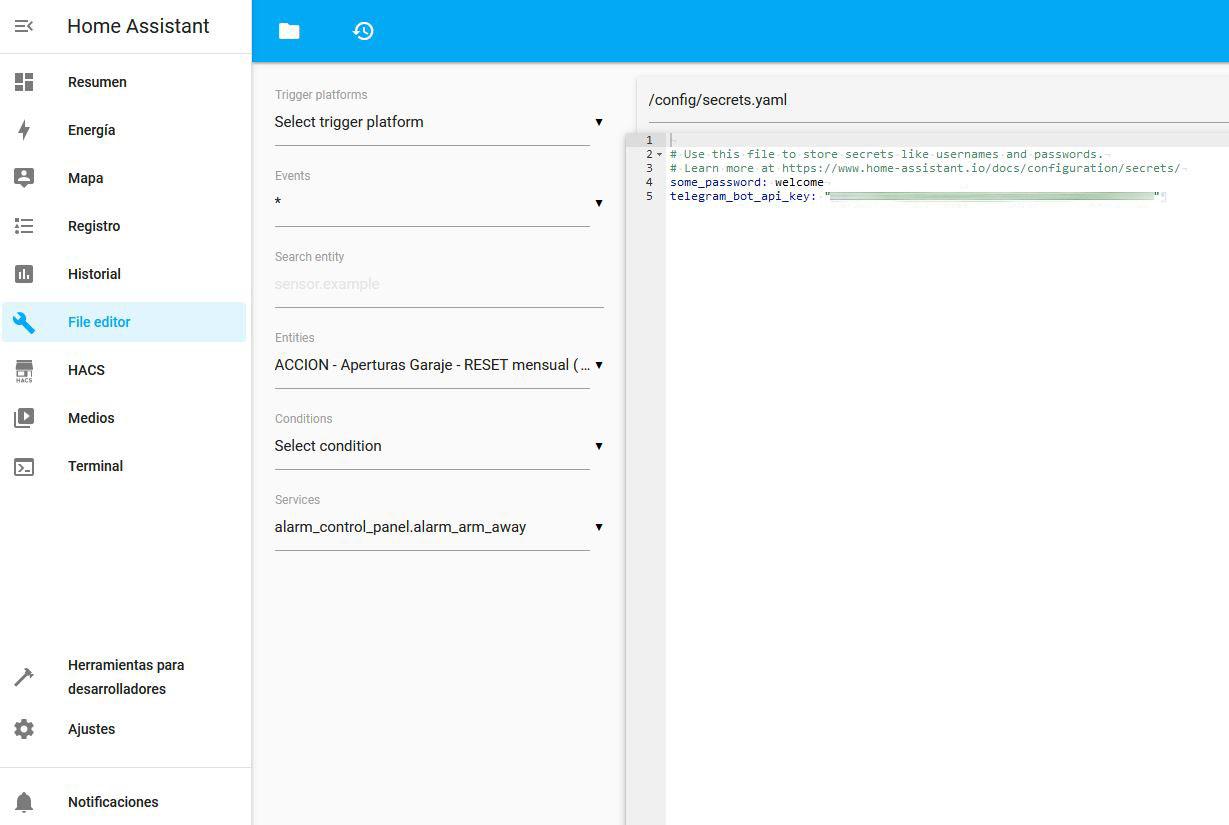
The first thing we must do is enter the file secrets.yaml and put the following line:
telegram_bot_api_key: "API_KEY"
In API_KEY We must directly paste the API KEY that we have obtained from Telegram, it is important that we do not pass this information on to anyone because it must be secret.
Once we have done this, we must now go to the configuration.yaml configuration file and put the following at the bottom:
#Configuracion del bot de Telegram e integracion en Home Assistant.
telegram_bot:
- platform: polling
api_key: !secret telegram_bot_api_key
allowed_chat_ids:
- ID
- -ID
It is very important that we put a hyphen in front of the group ID (-), that is, in the configuration file a hyphen, a space and a hyphen plus then the corresponding ID should appear. Below we attach a screenshot so you can see it.
Once we have registered the Telegram bot, now we are going to create the notify service with two different types of notifications, the individual ones that the bot will only send to us, and also the group ones where the bot is with more people .
# Notificacion individual y en el grupo
notify:
- platform: telegram
name: Telegram_Notificacion_Individual
chat_id: ID
- platform: telegram
name: Telegram_Notificacion_Grupo
chat_id: -ID
In this case we must also put the hyphen before the group ID. The configuration would be like this:

It is very important to correctly identify the configuration file following the YAML syntax, as you write the text, it will tell us if there is a syntax error or not, so there is no problem when doing it.
As you have seen, configuring a Telegram bot in Home Assistant is very simple, now we are going to test it through the system itself to check that it works correctly, to do this we simply have to go to «Developer tools» and in the «Services» we put the following:
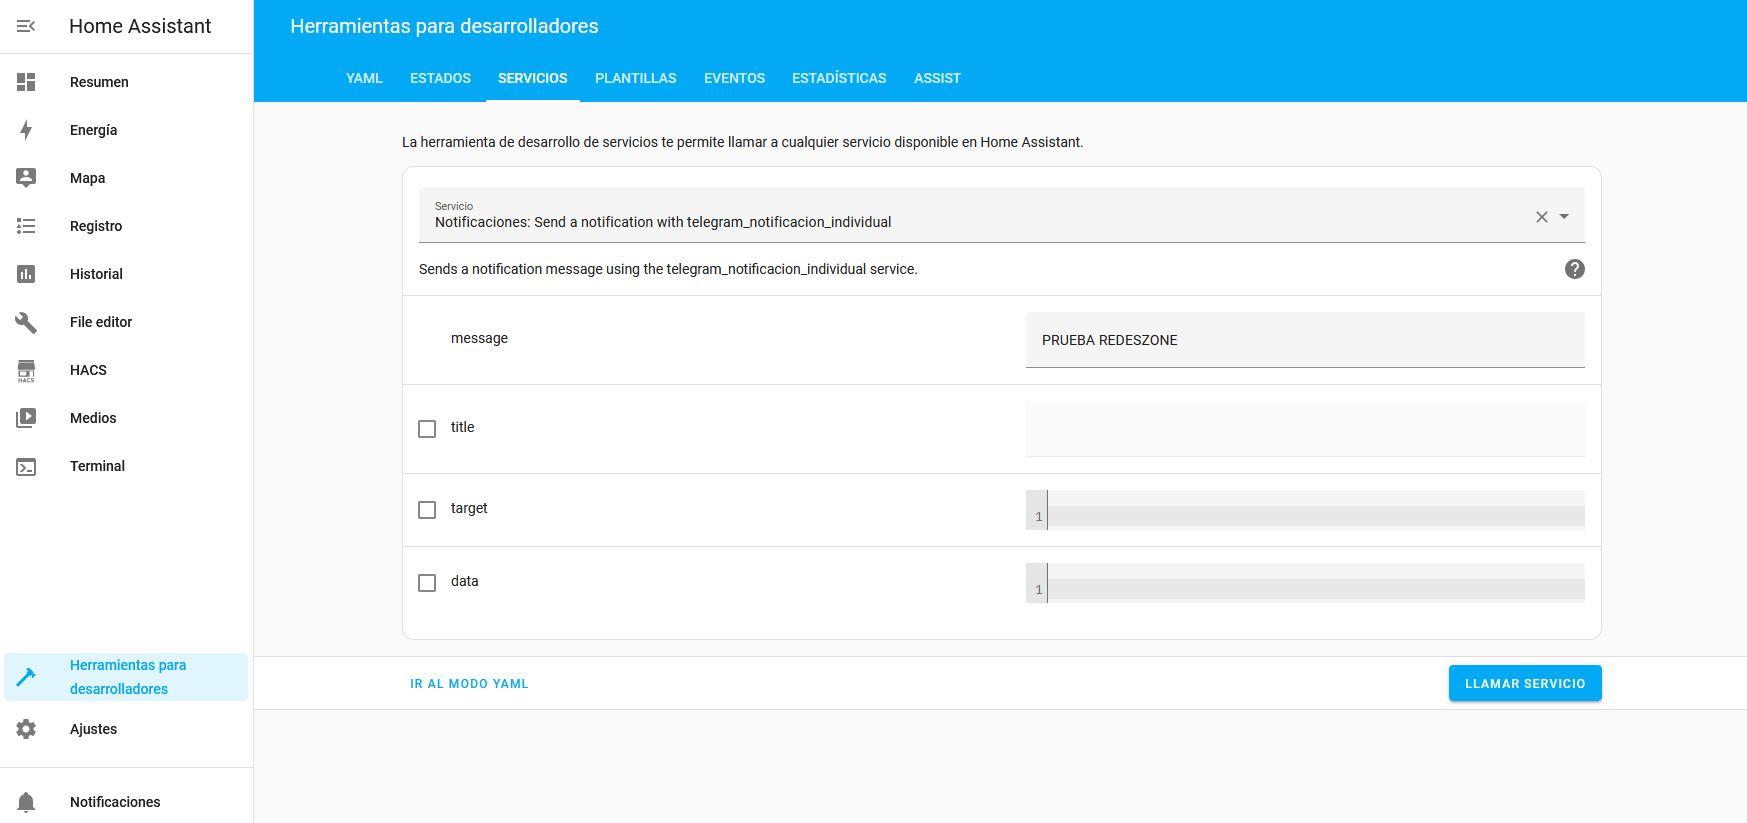
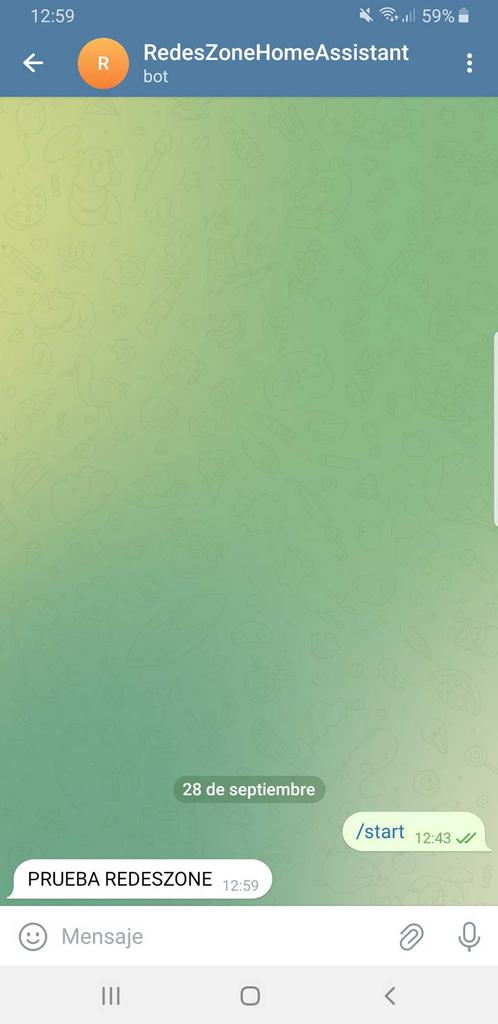
Once we have this, we click on the «CALL SERVICE» and we will instantly receive a notification via Telegram on our smartphone. This is the best way to check that everything is working correctly. You can also try the group notification, and thus check both forms of notification. Below, you can see screenshots of the messages sent directly from our Home Assistant instance.

As you can see, the process of creating a bot and adding it to Home Assistant is quite simple, we can create different bots and groups, there is no type of limitation in this aspect. In this way, we can send certain messages to a specific user, and other messages to another.