Requirements before configuring it in router mode
When we configure a router in router mode we will have the DHCP server, NAT, port forwarding, QoS services and even parental control activated. However, it is essential that our operator has provided us with a router that allows us to put it in bridge mode or bridge mode, in order that the COVR-X1862 configured as a router has the public IP address on its Internet WAN, otherwise, We will have double NAT and many problems with port forwarding, however, we would have two possible configurations in the operator’s router that we could do:
- Configure the operator’s router in bridge mode. This configuration option is the ideal one, because in the COVR AX we will configure the Internet connection, either with PPPoE, DHCP, static IP and we can even configure the VLANs that the operator uses to have the public IP address.
- Configure the DMZ of the operator’s router to the private IP address obtained from the router’s WAN port. This second option is also feasible to avoid double NAT problems, however, our recommendation is always to have the public IP on the WAN of the neutral router, in this case, the COVR AX.
In case you have a ONT of your operator, then you will not have to put your router in bridge mode, just disconnect the network cable that goes from the ONT to the operator’s router, and place the COVR AX directly to the “Internet” port in yellow. This scenario is also ideal, because we will have the public IP address on the Internet WAN, and we will be able to manage the opening of ports and the router’s firewall. If your operator is cable, and you have a cable-modem with the possibility of configuring it in bridge mode to pass the public IP to the neutral router, it is also a perfect scenario.
The most important thing is that the COVR AX has the public IP address in the Internet WAN, for this we will have to correctly configure the “Internet” tab with the DHCP or PPPoE data and also the VLAN of your operator, if that is the case. uses a VLAN.
Configuration from scratch of the COVR AX
The first thing we have to do is connect any of the two or three nodes incorporated in the pack to the electric light, once we have connected one of them, we will have to connect to the device via cable or WiFi. If you are going to connect via WiFi, on the installation card you will have the SSID and password data, but you can also look at it at the bottom of the equipment on the typical sticker.
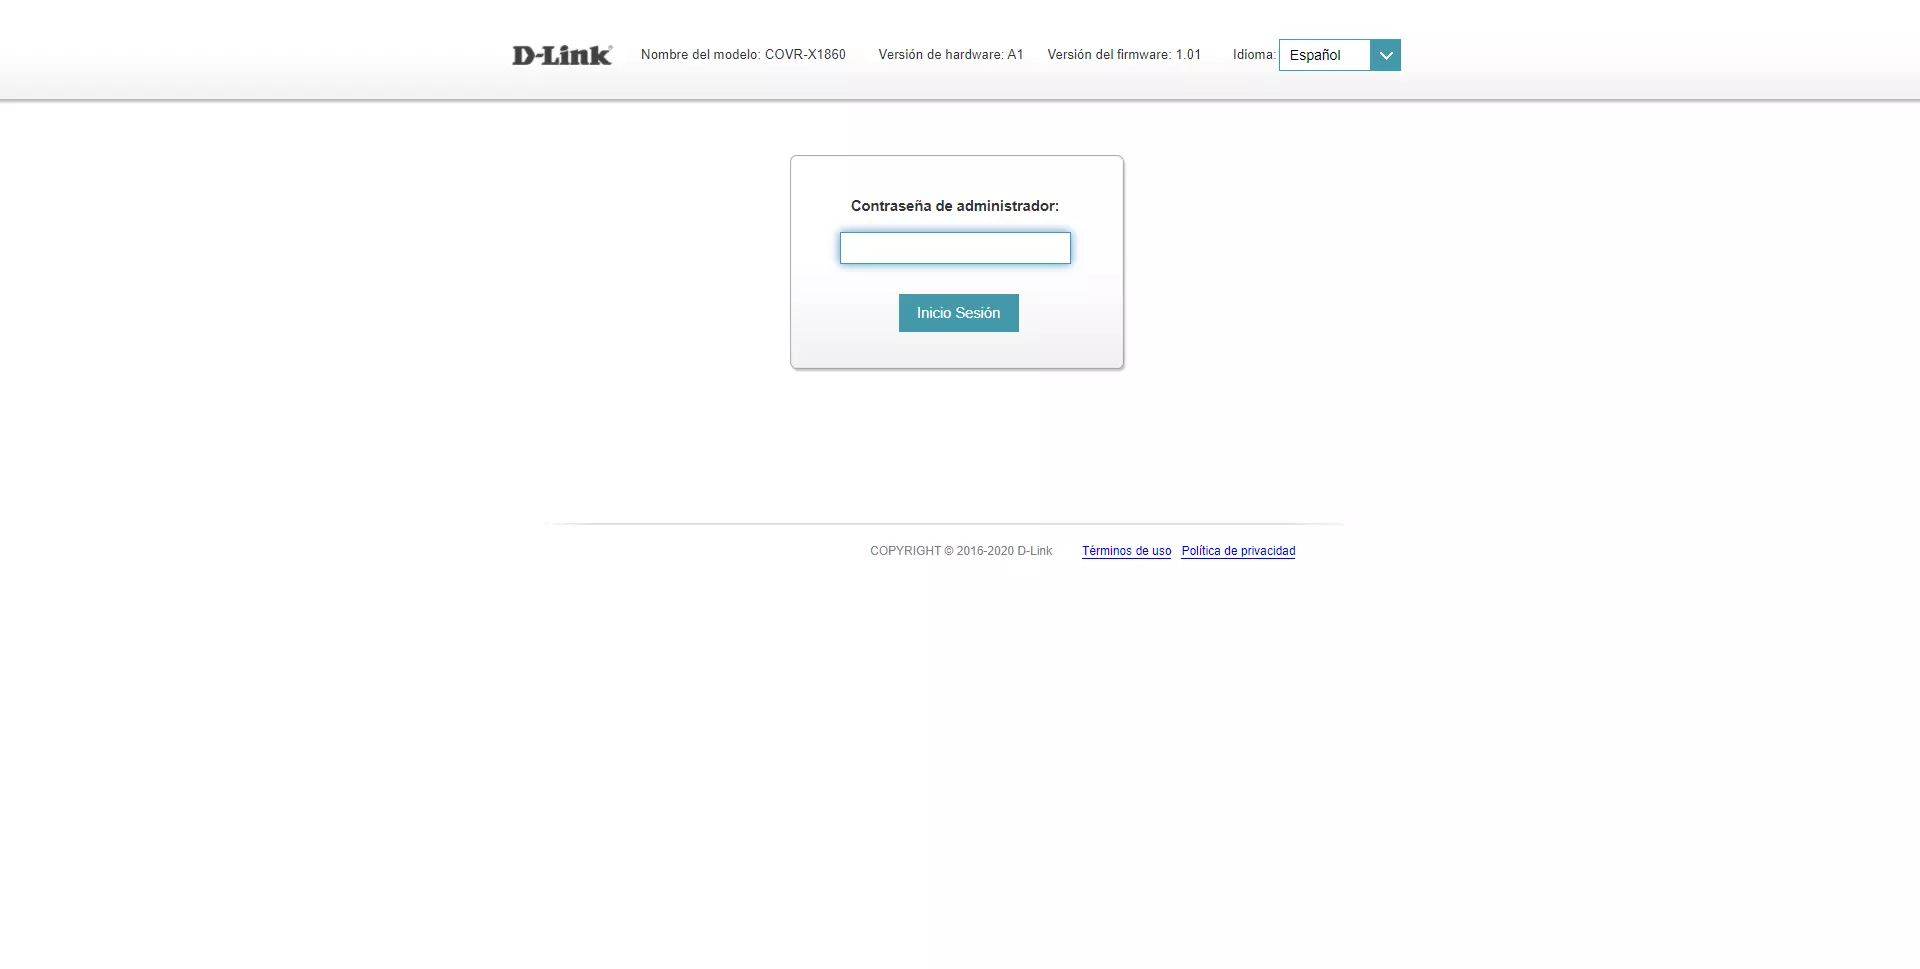
Once we have connected, we have to put the IP address 192.168.0.1 in the web browser and we will directly access the configuration menu, here we will have to enter the password «password» which is the default password, and click on «Start session» to access the configuration wizard via the web.
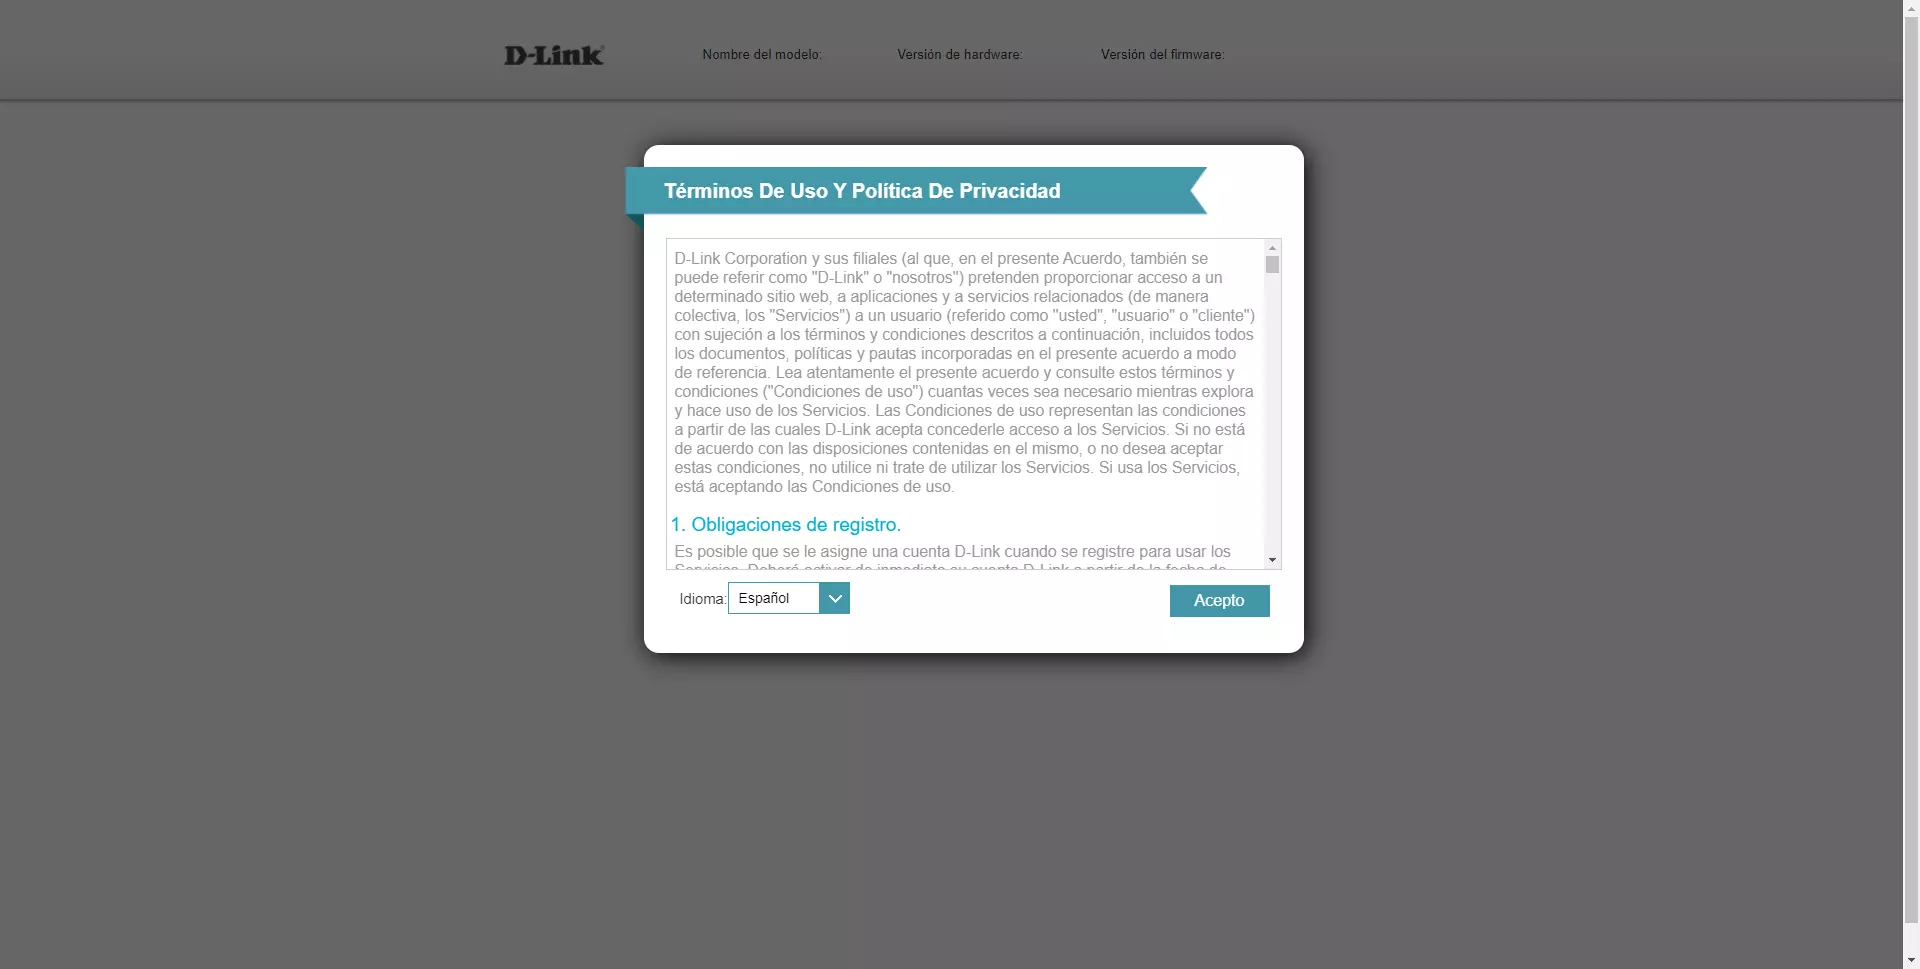
In the first menu we can see the terms of use and the privacy policy, click on “I accept” to continue with the configuration wizard.
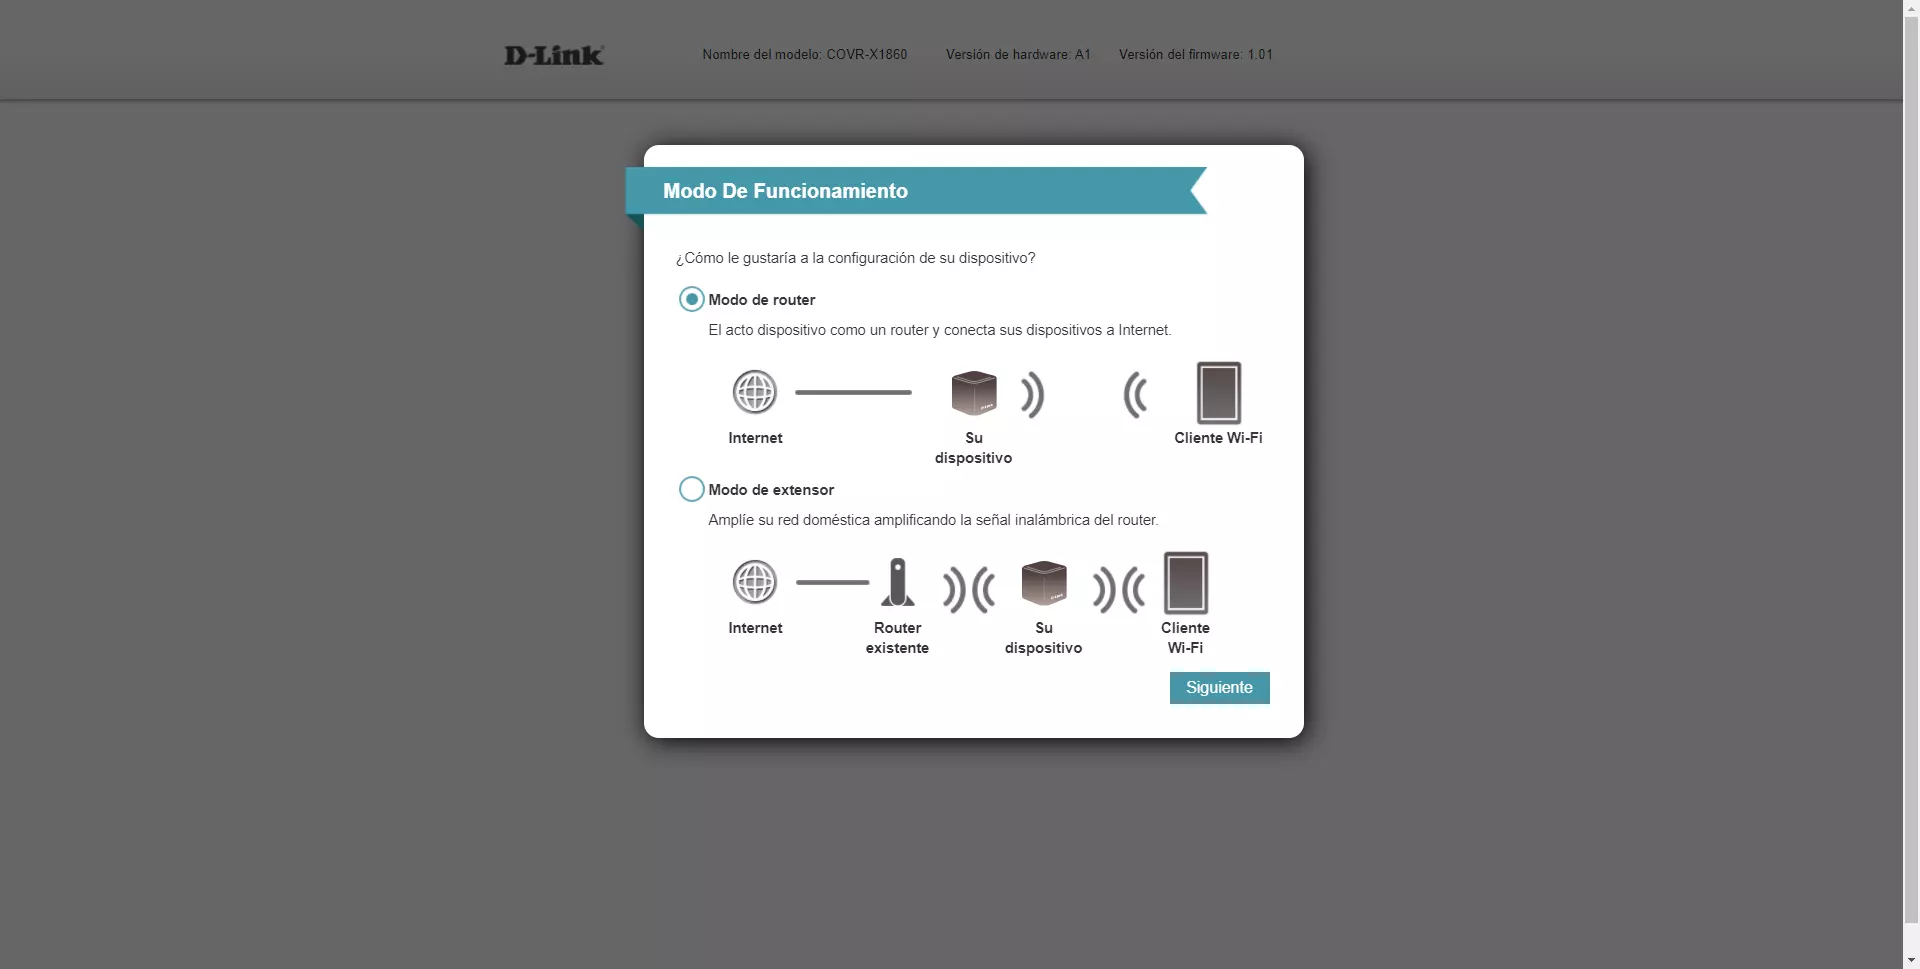
In this menu is where we will have to configure the equipment in router mode, by default, the default option is precisely this, so we leave it as it is and click on «Next» to continue with the wizard.
In the following menus we will configure the Internet connection if it is obtained by DHCP or PPPoE without VLANs, but if you have fiber optics, it is unlikely that your operator does not use VLANs to access the Internet, therefore, the Internet connection will give you an error, but later in the firmware we will be able to configure the Internet connection in detail. Other configuration options are the possibility to change the WiFi SSID network name and the WPA password, change the router’s administration password, configure the update policy of the WiFi Mesh system and, finally, it will show us a summary with everything we have. configured.
We can connect the different nodes of the WiFi Mesh system now, it will automatically detect the main node that acts as a router and they will be added, we will not have to perform any other action, it is all fully automatic and without the need to press WPS buttons or add them manually.
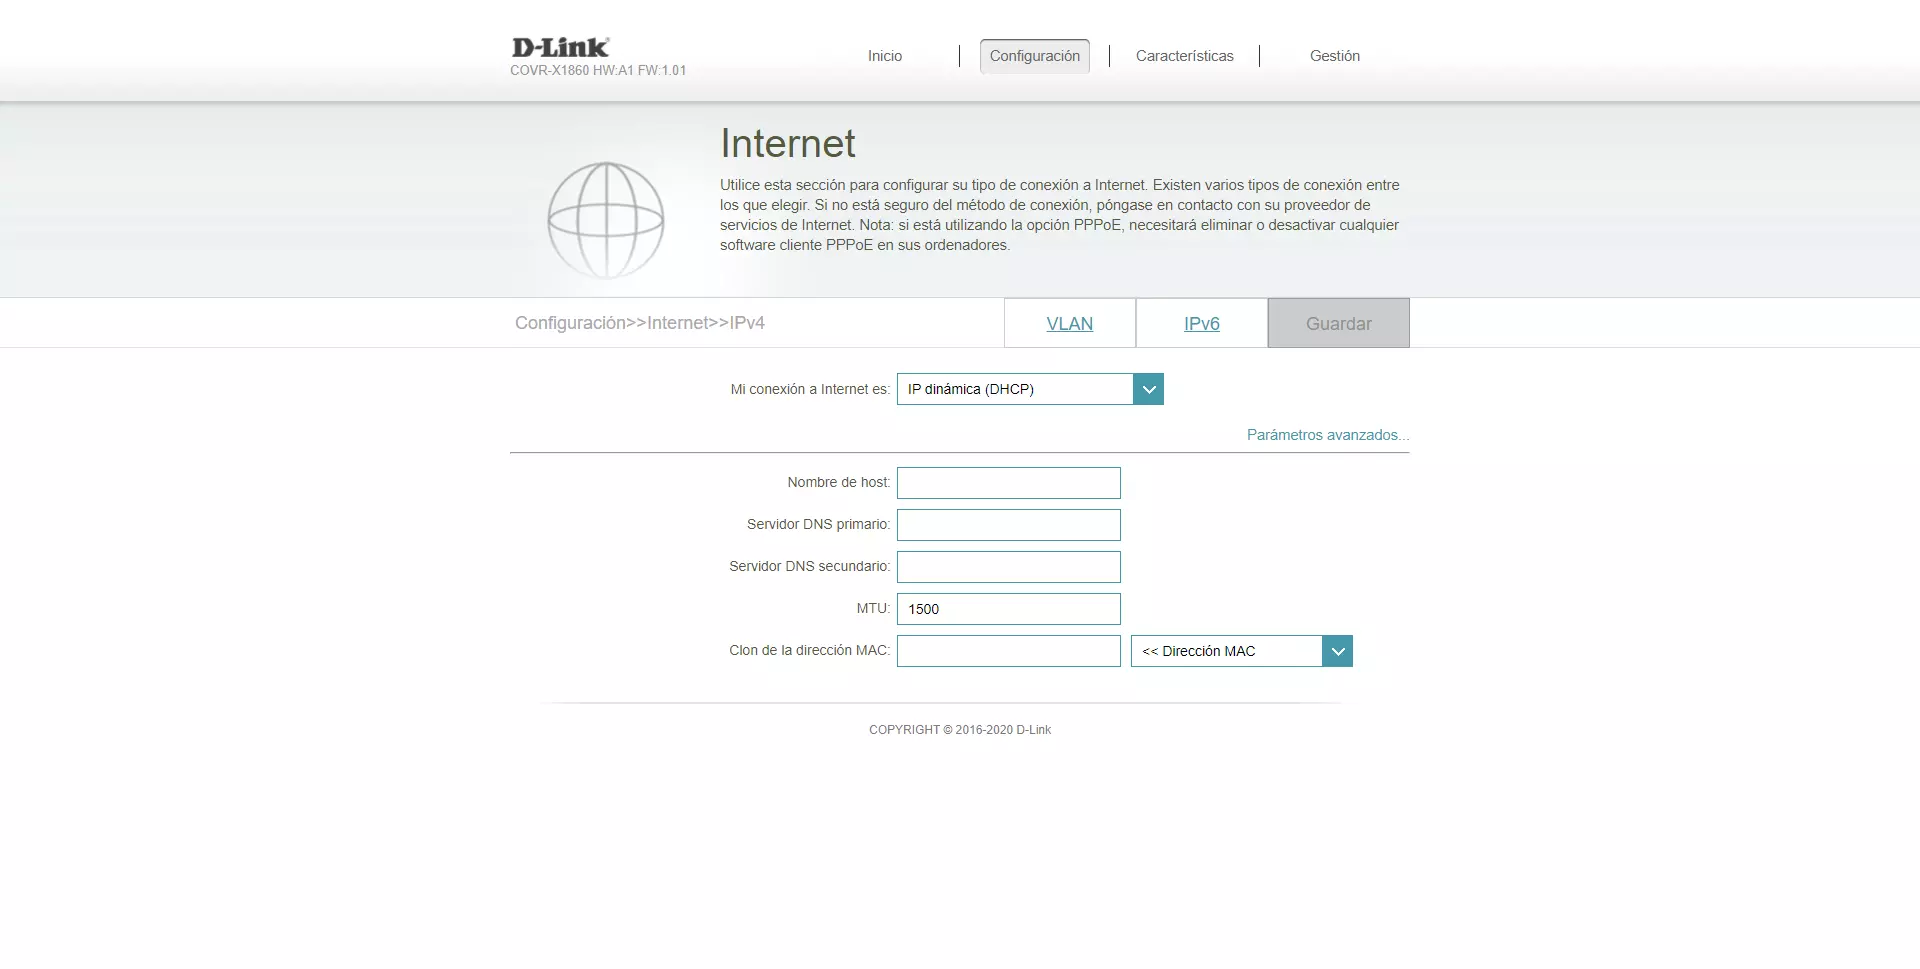
Once we have turned on the rest of the Mesh network devices, we will go to the «Settings / Internet»To configure all aspects of our connection. The first thing we must know is if we are using dynamic IP by DHCP, static IP or PPPoE. Each operator uses a different type of connection, D-Link incorporates a very complete firmware that allows us to cover all the possibilities.
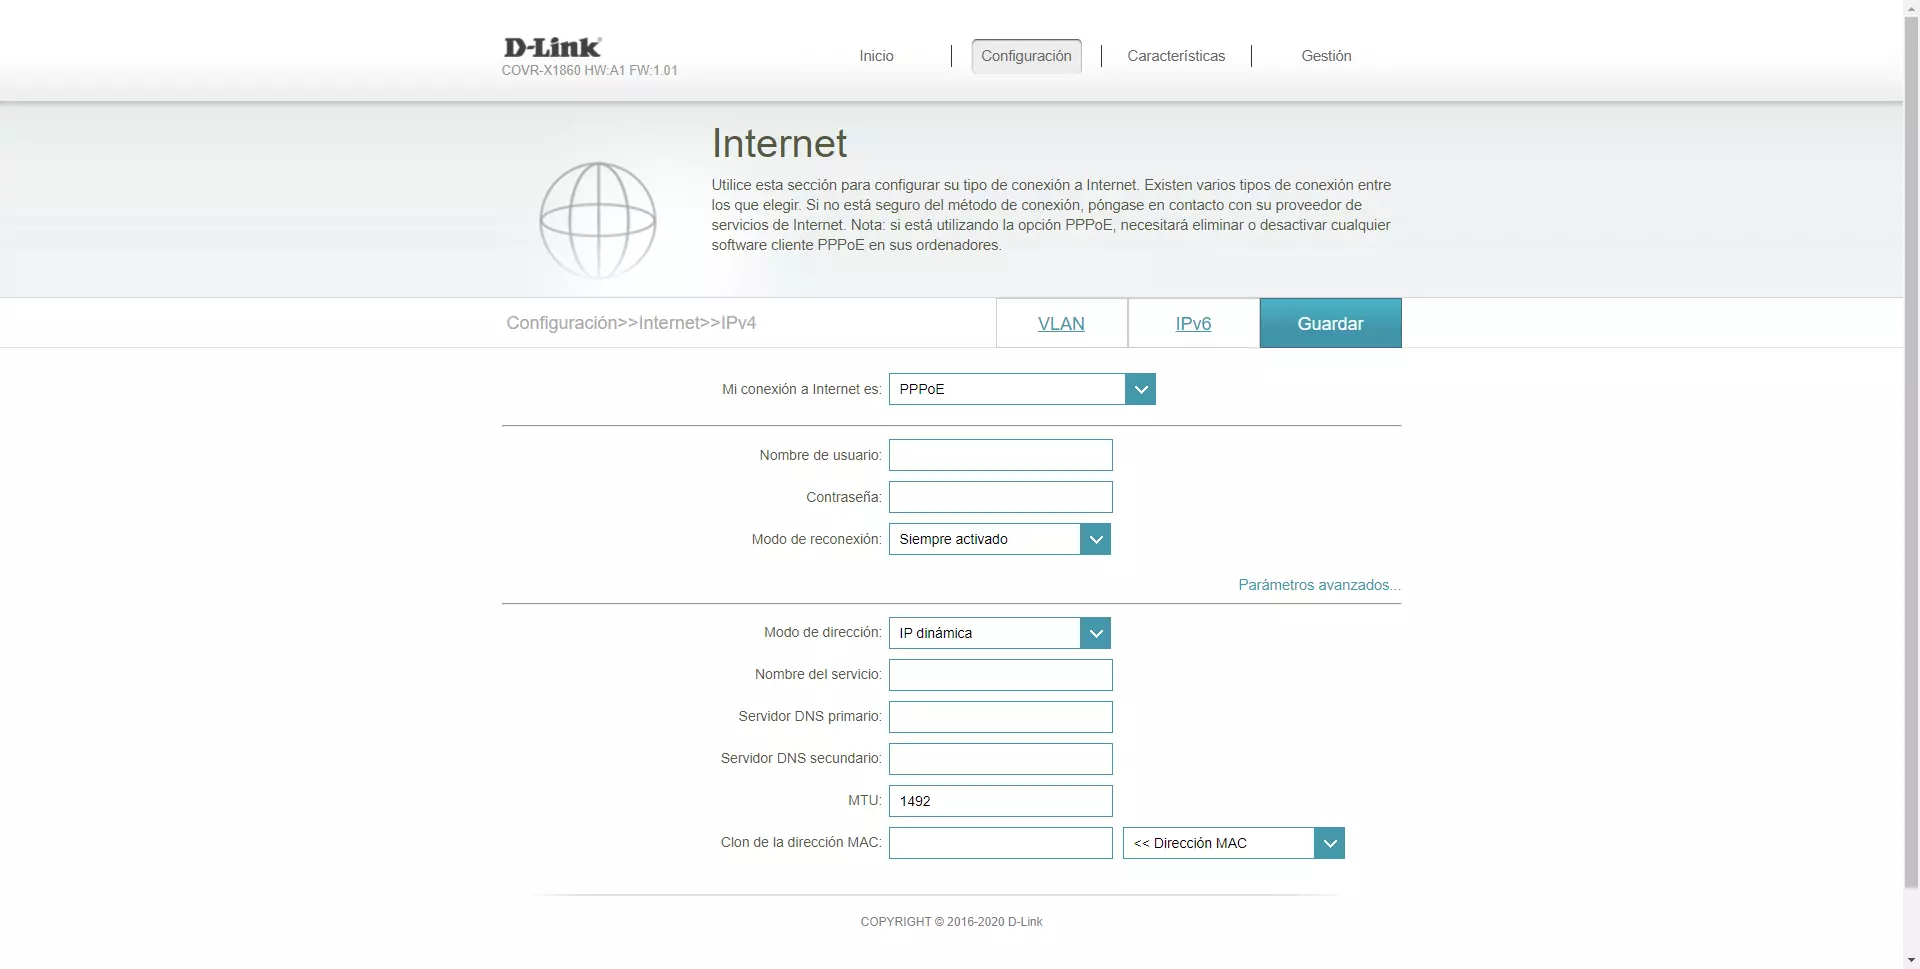
In the event that your operator uses PPPoE, we can configure whether the IP address is dynamic or static, as well as the associated MTU and also the DNS servers that we want to use.
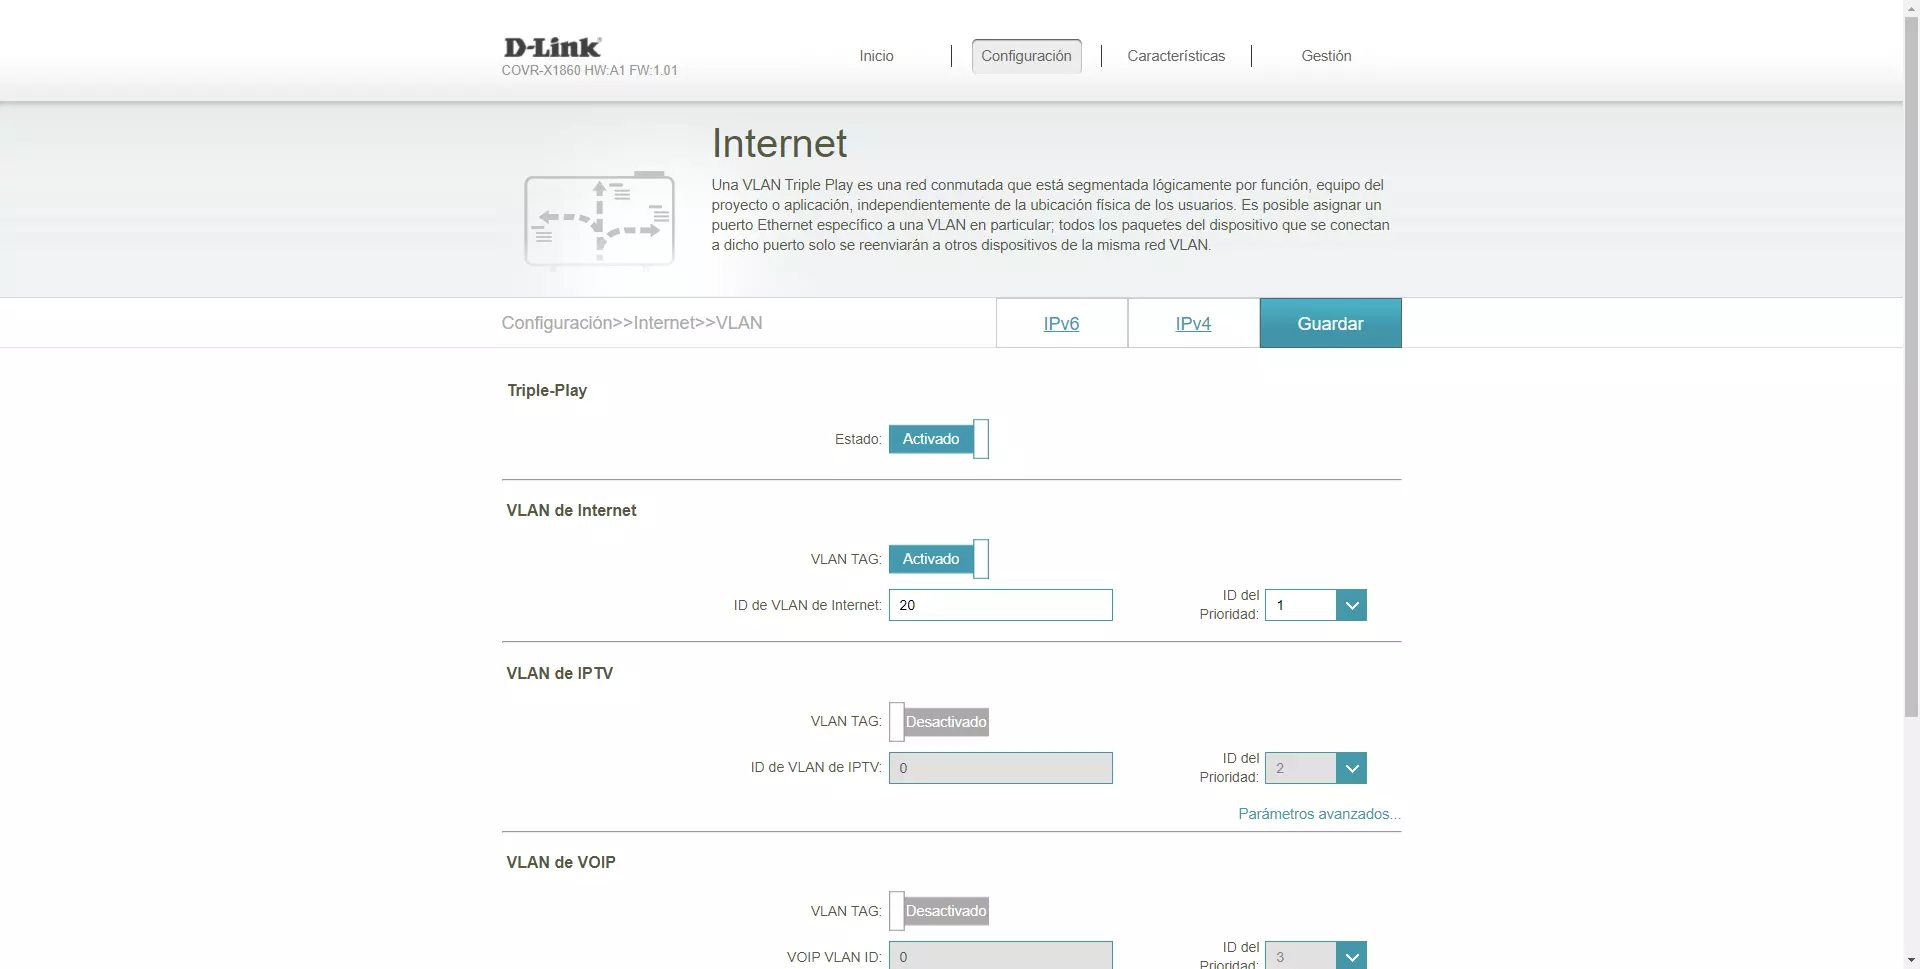
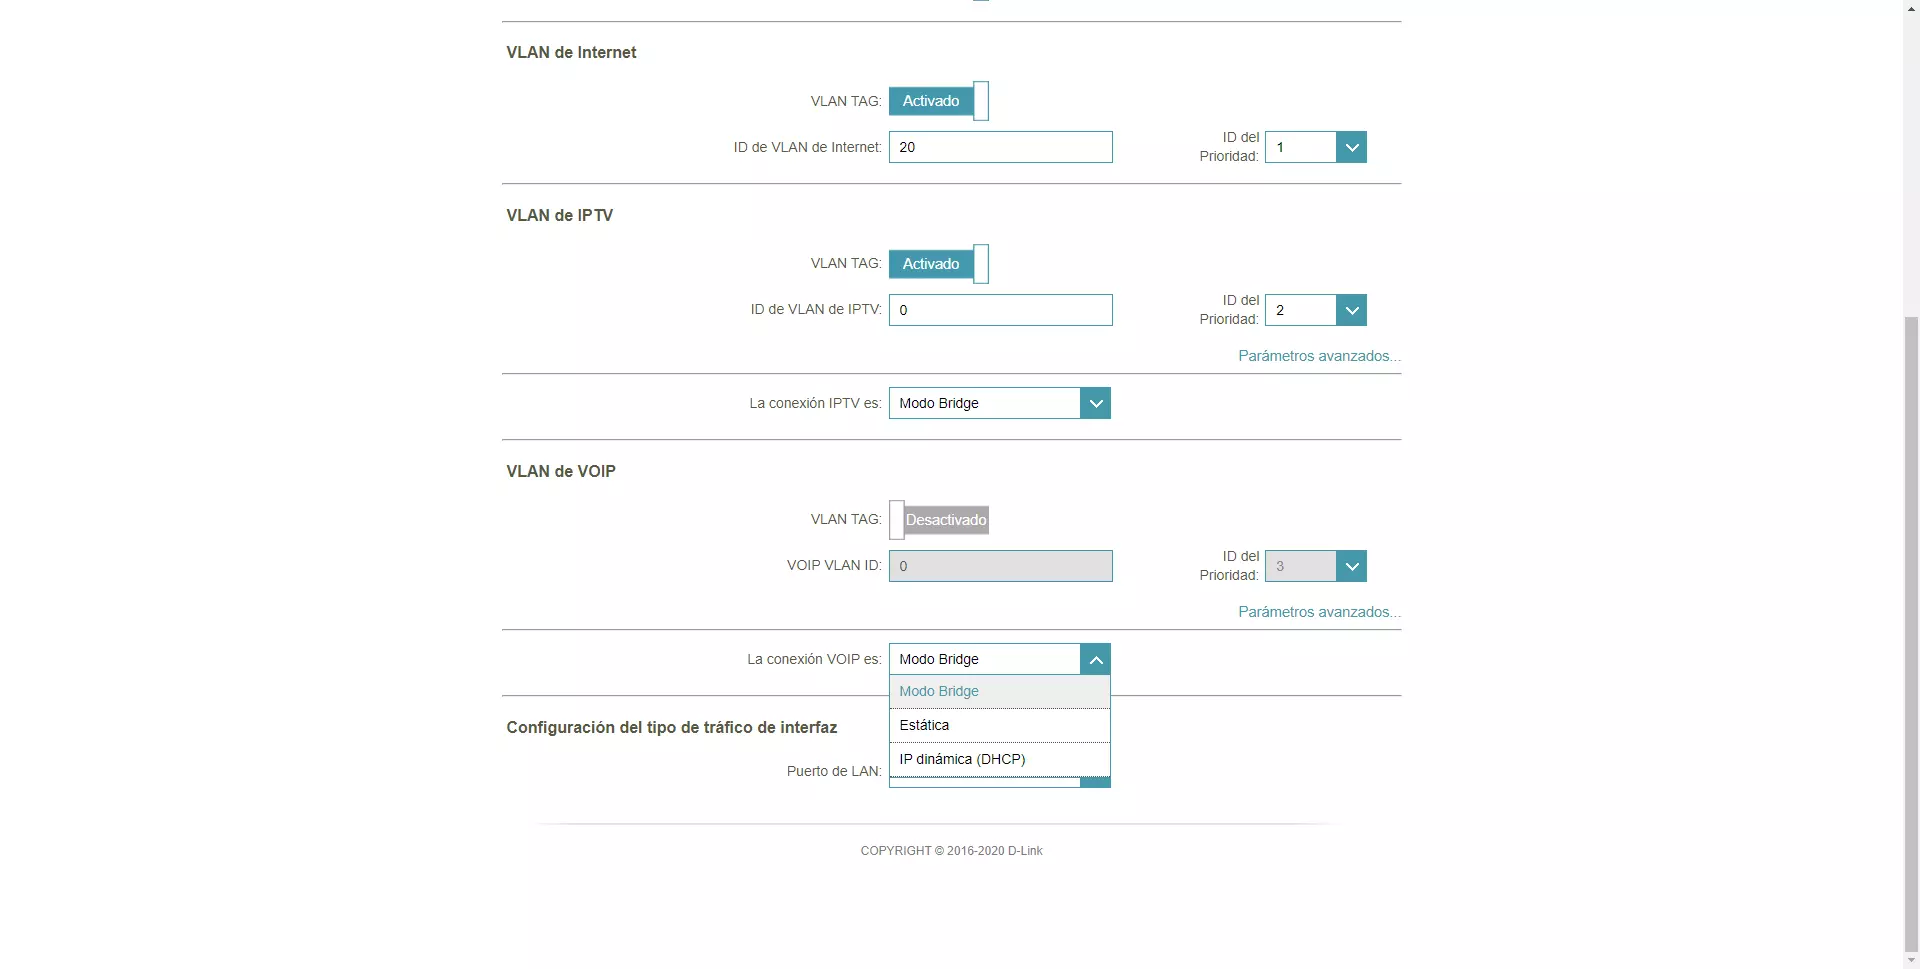
The most important part of the Internet connection is found in the VLAN menu, here we can activate the VLANs in the Internet WAN, VLAN per port and even configure the Triple-VLAN of Movistar FTTH. If our operator uses only one VLAN for Internet and / or voice, then we will have to enable VLANs and activate only the Internet VLAN with the VLAN ID of the operator and the priority ID. For example, in the case of Grupo MasMovil, VLAN ID 20 is used, we put it this way and click on «Save»
In the event that you use the triple VLAN of Movistar FTTH, you will also have to configure the VLAN of IPTV and VoIP, to perform this advanced configuration you will have to extract the data from the Movistar router and adapt it to the D-Link firmware, in RedesZone We have a complete step-by-step tutorial on how to do it with D-Link routers and WiFi Mesh.
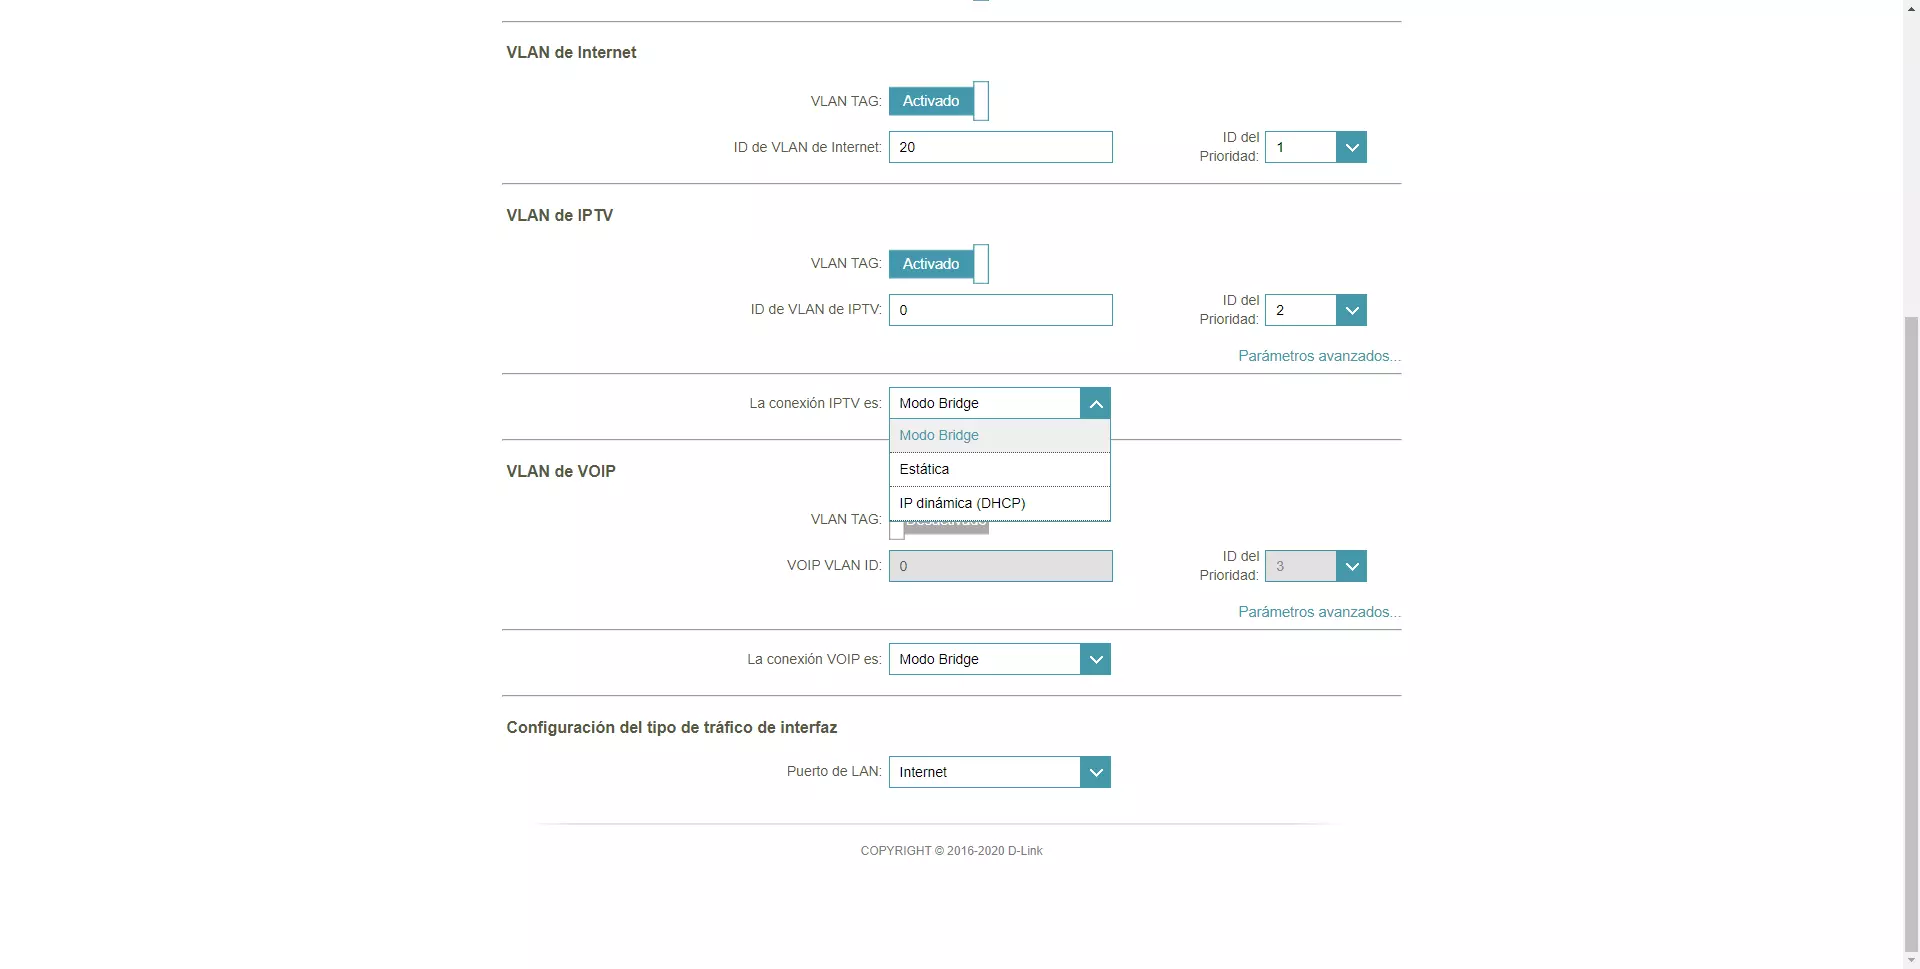
The options regarding the VLAN of VoIP are bridge mode, static or by DHCP, as you can see.
Once we have correctly configured the “Internet” section and also the VLAN part, we should already have a public IP address on the Internet WAN. A very important detail is that on some occasions it is not necessary to use VLANs, for example, the Movistar / O2 router when putting it in single-user mode automatically removes the tag from the VLAN, so we only need to configure the PPPoE. If you are going to use an operator router that does not allow bridge or bridge mode to pass the public IP to the neutral router, then you will not have to use VLANs of any kind, simply put it as DHCP and open the DMZ on the operator’s router to the IP WAN of the D-Link router.
We hope that with this tutorial you can correctly configure your WiFi Mesh D-Link COVR-X1862 system in router mode, to take full advantage of the equipment’s potential.