The first thing we are going to do is see what SyncThing can offer us and what its tools are. Then we will see how to install one of them, SyncTrayzor in Windows 10. Next, we will learn to connect two devices and a folder in which to share files.
What SyncThing offers us
SyncThing we can define it as a continuous file synchronization program. Its way of working consists of synchronizing files between two or more computers in real time and, in addition, it does so by protecting it in a safe way to avoid prying eyes. Our data is ours alone and thanks to SyncThing, we will be able to choose where it is stored, if it is shared with a third party and how it will be transmitted over the Internet. In that regard, there is no central server that can be compromised.
We are facing a software private and secure. It improves privacy in the sense that our data is stored exclusively on the computers of the interested parties. It should also be noted that communication is protected thanks to its encryption using TLS. In addition, each computer is identified by a strong crypto certificate and only computers that have allowed access can connect.
We also work with an open protocol whose documented specification can be found here. On the other hand, a very important detail is that it is a open source program and its code is available on GitHub. In addition, it has an open development in which faults are quickly visible.
SyncThing is easy to use and will allow us to:
- Synchronize as many folders as we need, with different people or between our own teams.
- Two different ways to have this program on our computer. A portable or “portable” that does not require installation, and another with an installer if we plan to use it more often.
- It is available among other operating systems for Windows, Linux, Mac OS X, FreeBSD, Solaris, OpenBSD and Android.
- It stands out for its simplicity, the synchronization does not require IP addresses or advanced configuration. Its operation is simple, each computer is identified by an identification. Thus, giving our ID to those interested, sharing a folder, and obtaining everyone’s permissions we can easily share.
As for SyncThing, you have several tools available. One is SyncTrayzor which is a Windows application with graphical interface. This is the one we are going to work with. There is also another call Syncthing Base more complex to use in which we would work with a command line.
Installation and first steps
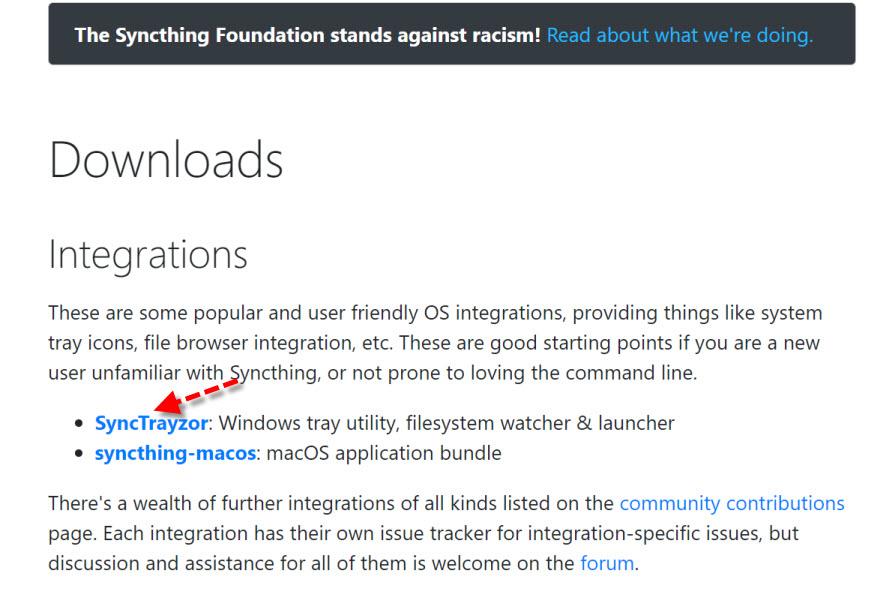
As we have already commented, the SyncThing tool that we are going to use is SyncTrayzor and to download it we will do it from the download section by clicking on this link. So what we have to do is click on the link indicated by the red arrow.
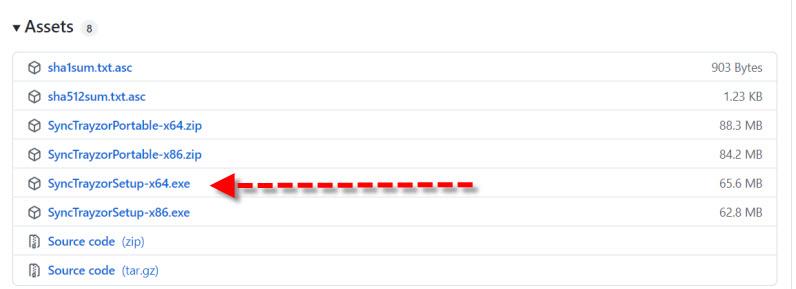
Then we will go to the bottom and choose the version that corresponds to us. The x86 ones are for 32-bit operating systems and the x64 ones are for 64-bit ones. In my case we are going to install the version with installer for Windows 10 64-bit.
Once we have the installer on the hard disk, a screen like this will appear, where we can change the installation directory if we are interested:
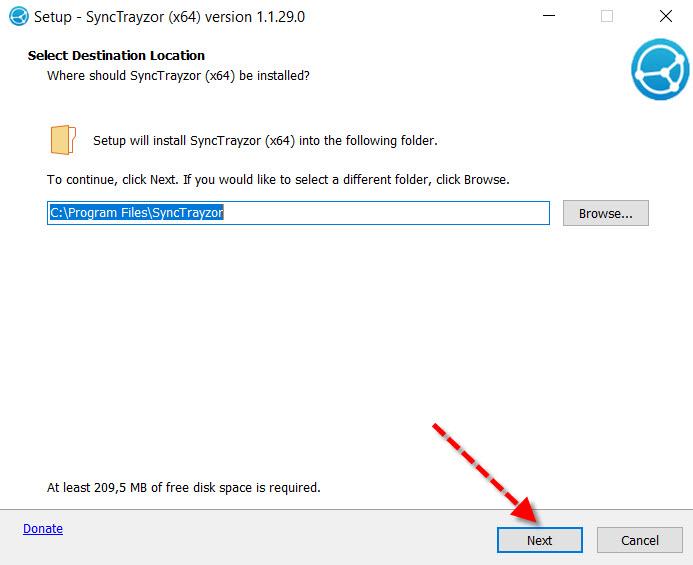
Except for some special circumstance, we recommend leaving the default one and clicking on Next. Then we continue and if we leave it as it is, it will create a section in the Windows start menu:
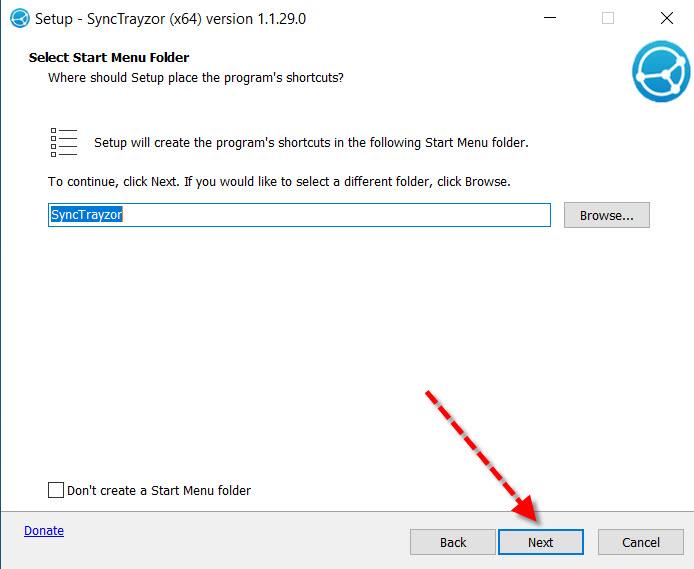
Then we click on Install to proceed with the SyncTrayzor installation.

Then we will see how the program is installed and its progress thanks to a bar.
The moment we see that this SyncThing tool has completed the installation successfully, we will see a screen like this.
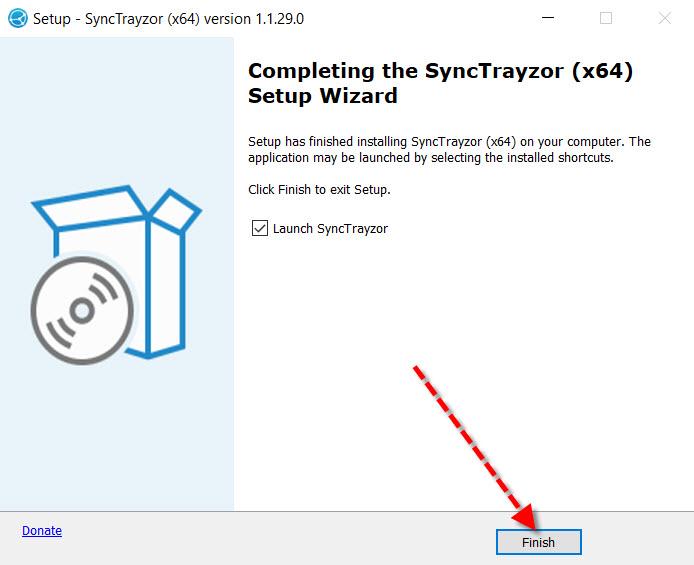
If we click on FinishSince the box above SyncTrayzor is checked, it will initialize for the first time. So the first thing the Windows firewall will ask us is if we give it access to public networks.
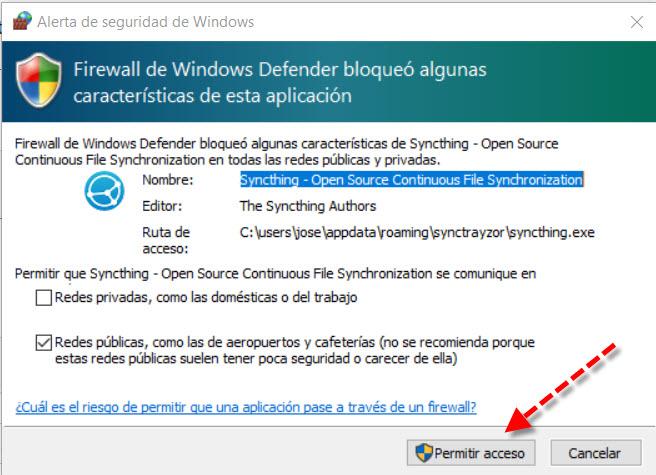
In this case for it to work we have to give Allow access. Next, we will see the initial SyncTrayzor screen.
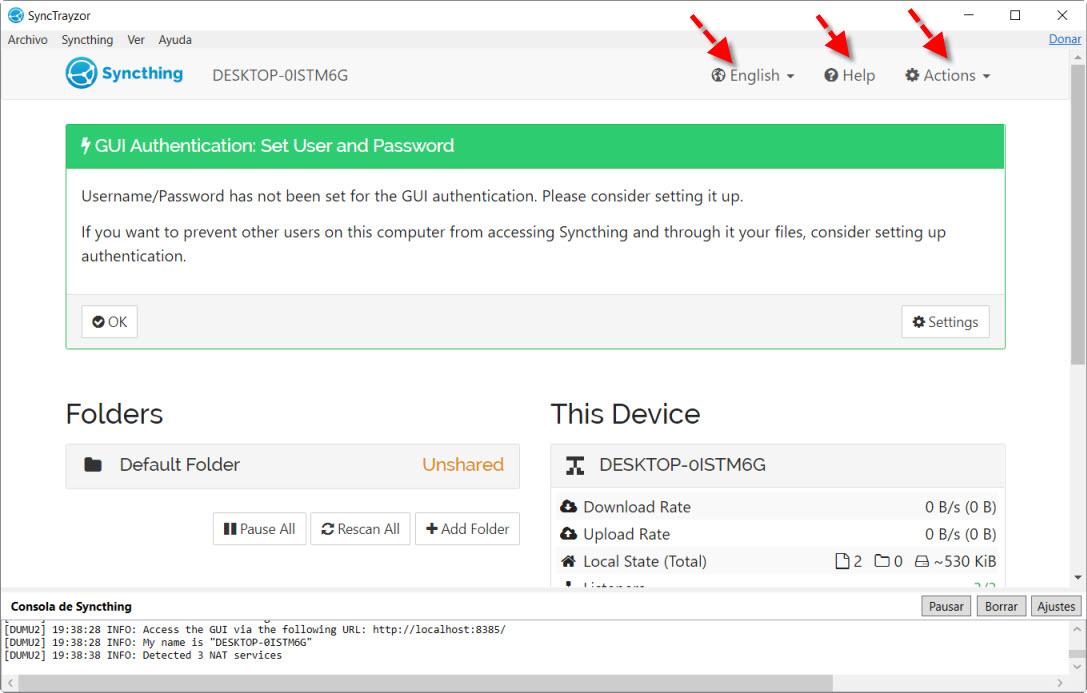
Here marked with red arrows we have the most interesting options:
- English: if we click on it we can switch between several languages including Spanish.
- Help: offers us online help through our Internet browser to solve our doubts and make more advanced configurations.
- Actions: actions, allows us to shut down or restart the program. Also get the identifier to be able to share files with other computers.
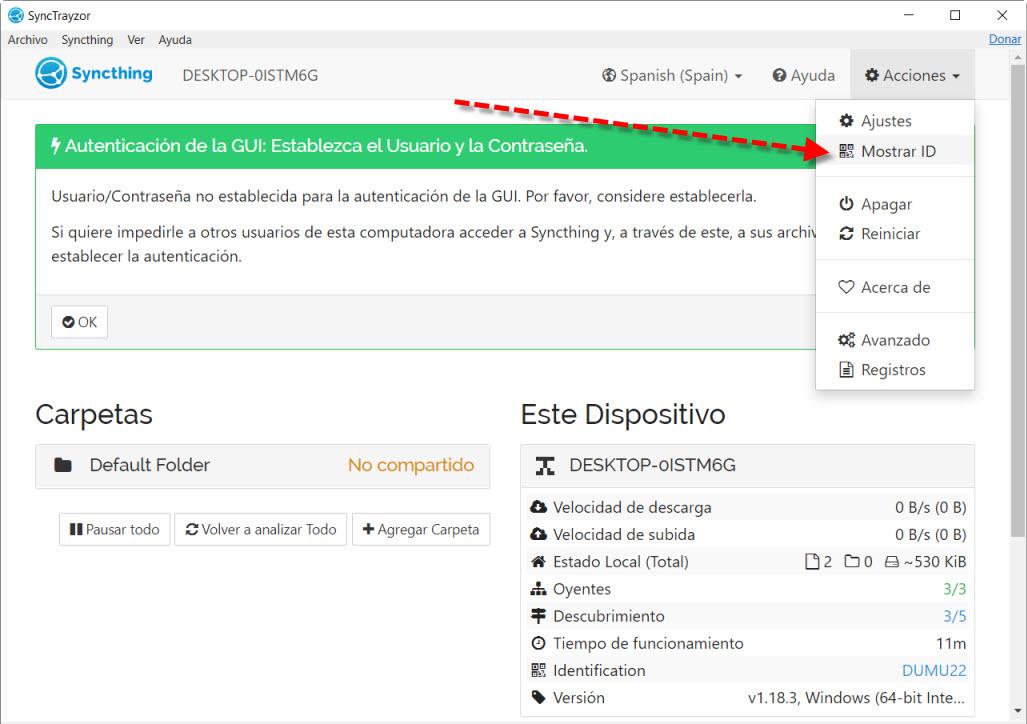
The first thing we are going to do is go to English and put it in Spanish for which we will choose Spanish (Spain).
So you can share files
We already have it in Spanish, now what we need is to get our ID to facilitate the other device so that it can connect. Then we will go to Actions and click on Show ID.
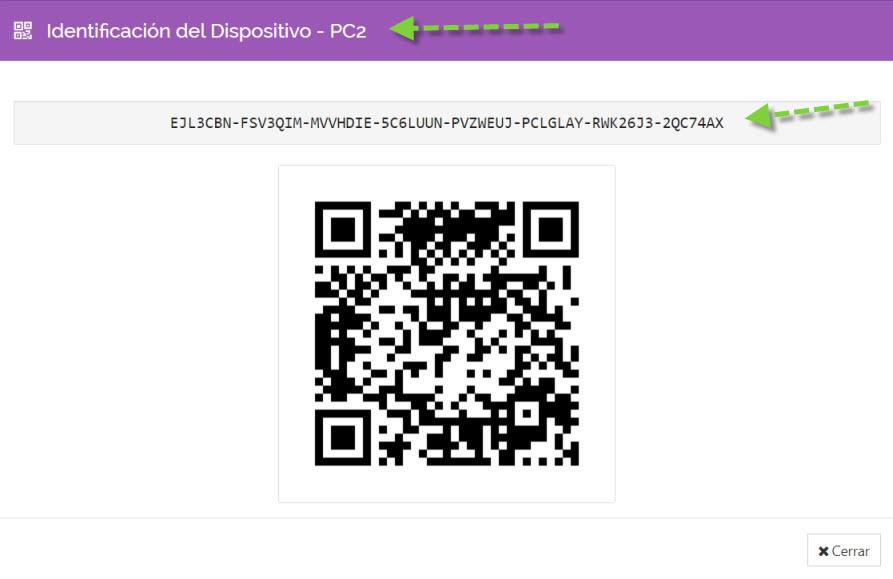
This is an example of an ID that we could also use with a QR code reader if you allow it. In this case, we will need the one of the team with which we want to share the files, so you will have to provide us with information like this.
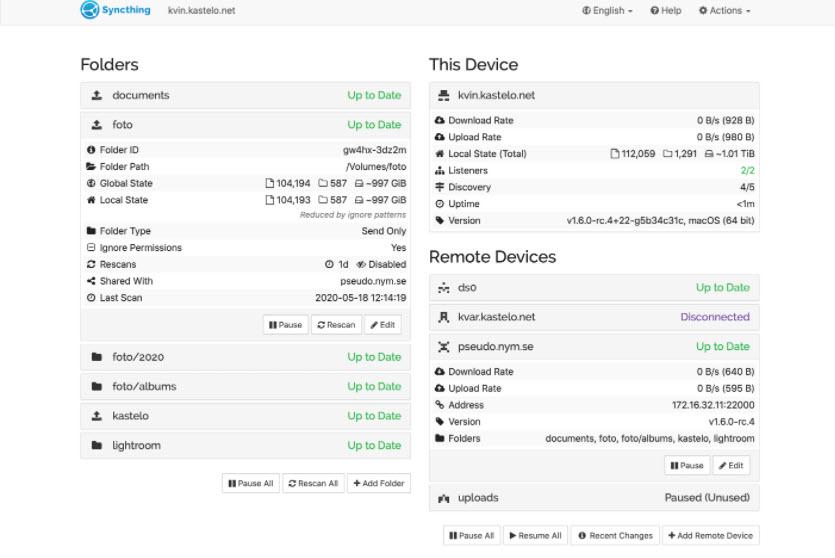
Now is the time to prepare to share and we must mention three elements.
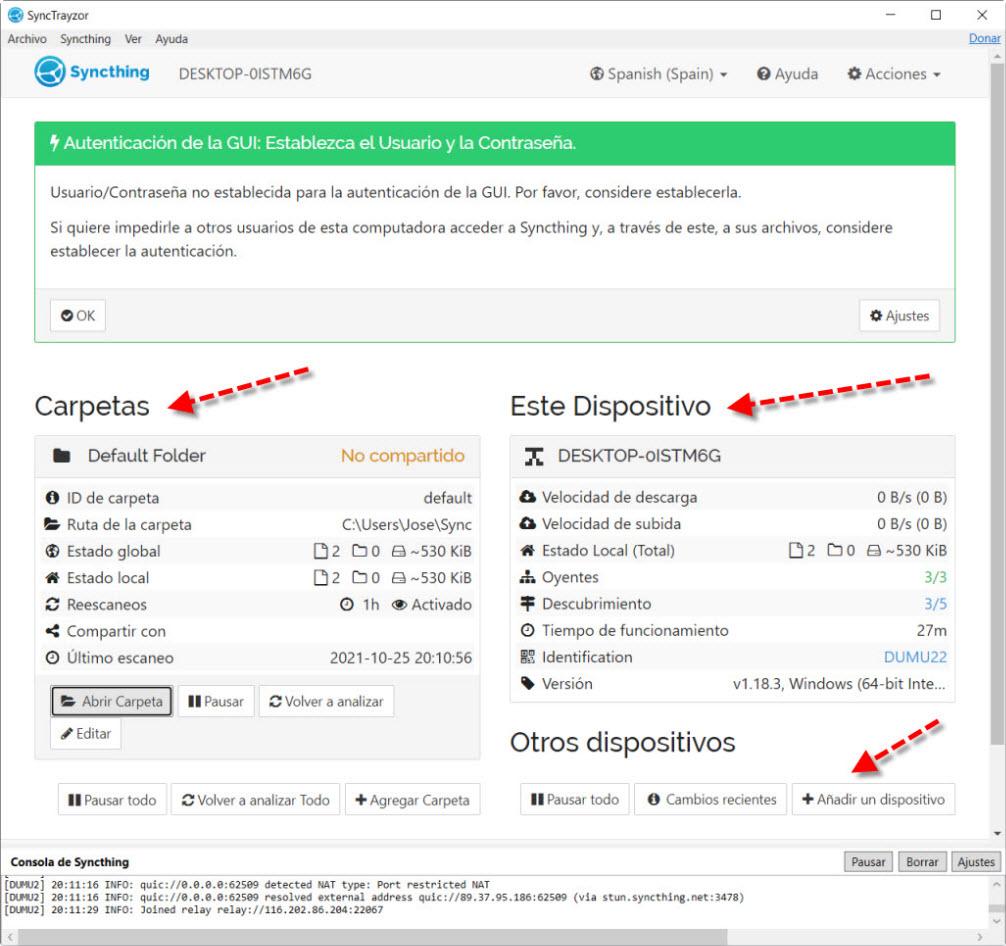
Here we would have to talk about Folders which are the directories that are shared. For example, I have gone to open folders and in the one that comes by default I have put two images. Then we have «This device»That offers us a summary of the situation of the computer we are using. Then «Other devices»In which by clicking on«Add a new one » We can synchronize files and what we are going to do.
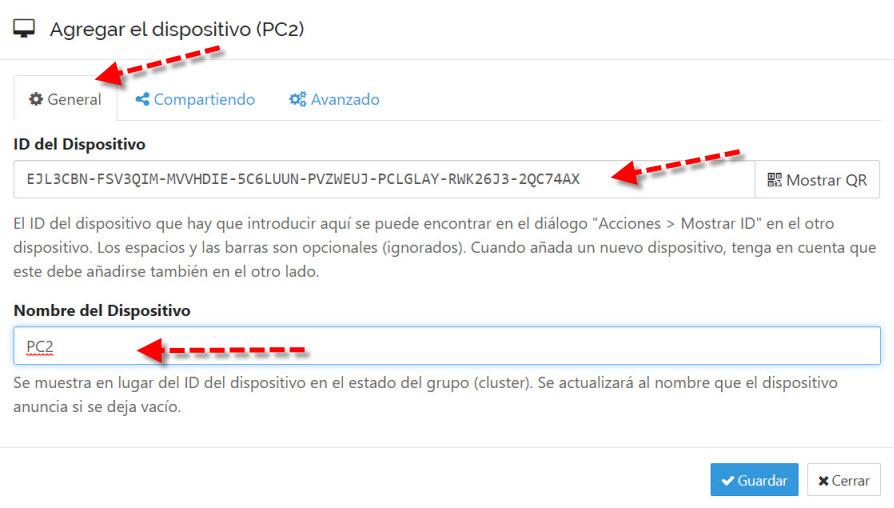
The next thing we have to do is add the ID of the other device as indicated below and click on Keep.
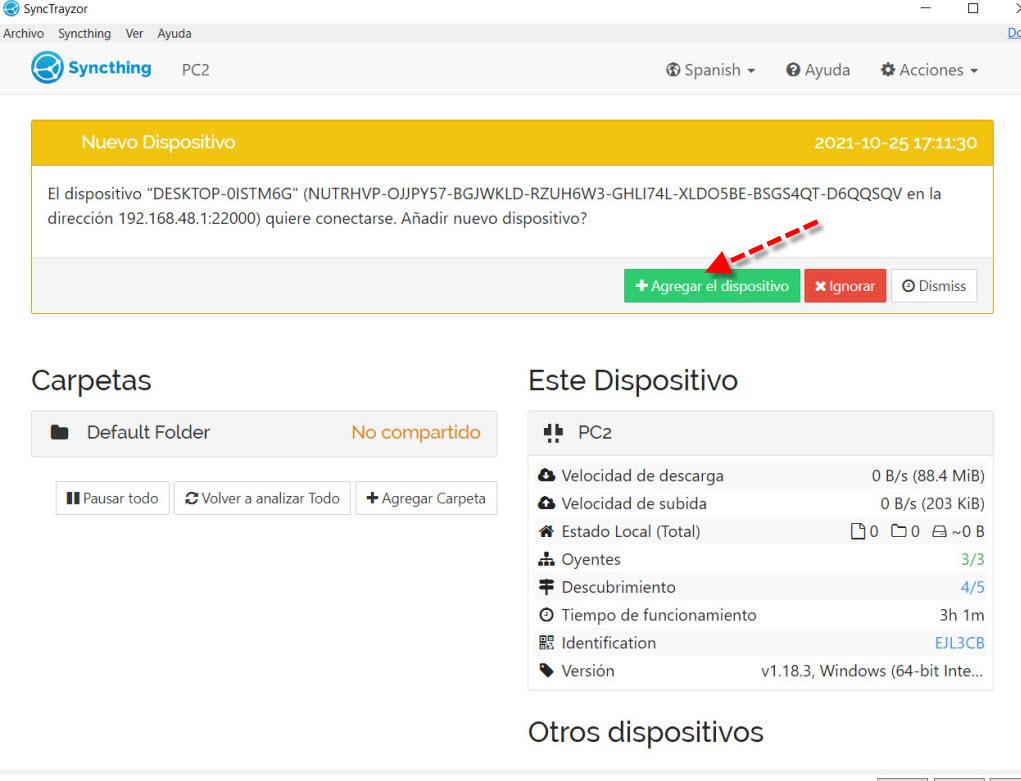
Then the other device asks if it accepts our device. As in this case, we want to do it, we will click on Add device.
Next, what we have to do is share a folder on our team. In the folders section for example in Default Folder or another that we create and click on Edit. There we have to go to the tab Sharing, select the device, we could also establish a password if we are interested and we will configure it like this:
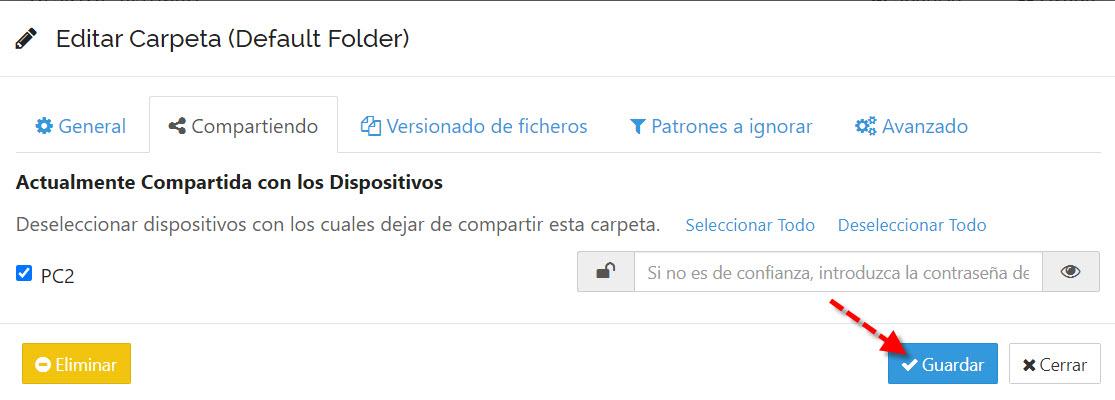
What we should do is click on Keep. However, in the tab Advanced we can choose how that folder behaves. There we could choose between sending and receiving (the one that comes by default), only sending and only receiving.
Next, the other team asks if they want to share that folder, and since they are also interested, they will click on the button Share.
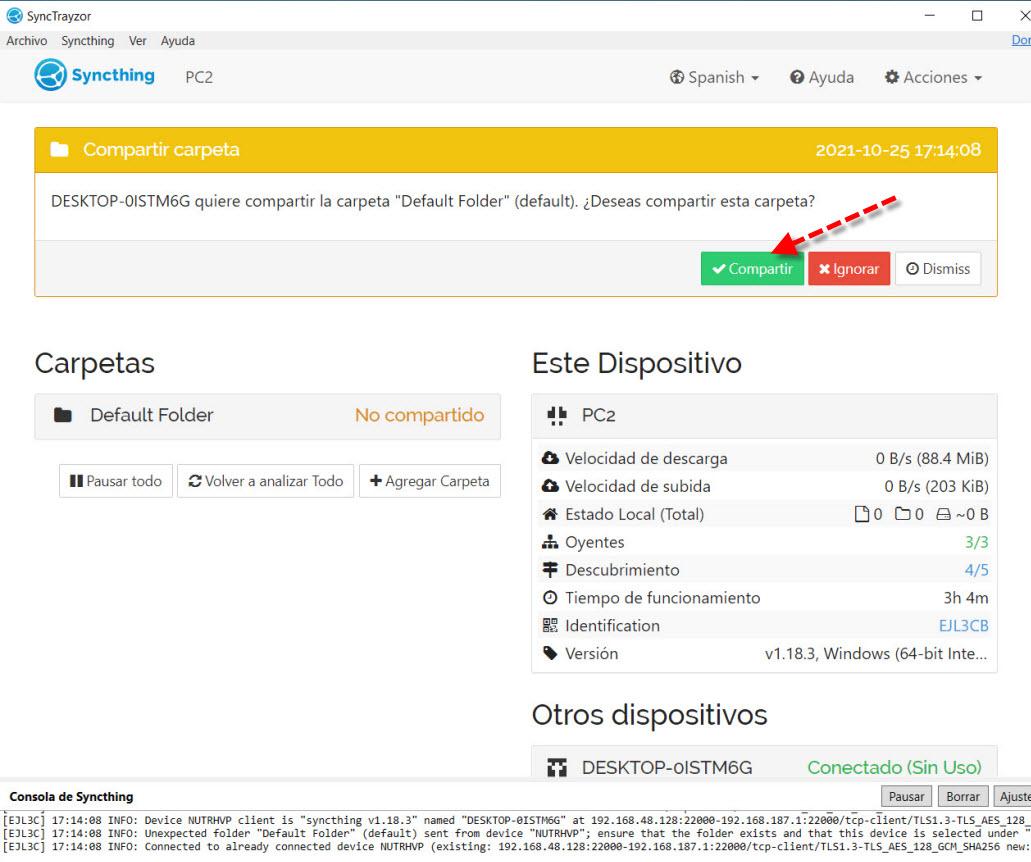
Then, as can be seen in the image below, both computers are active and have access to the Default folder to share files.

As you have seen, sharing files in an encrypted way with this tool is really simple, in addition, we can see at all times the status of the device and what is happening in the system.