Android is the Google operating system that we all know from smartphones. However, this OS is also present in many other devices, such as, for example, sticks to turn any television into a Smart-TV. The Raspberry Pi has enough power to run this operating system, although it does not have official support for it. However, thanks to the community, it is possible to install this Google OS on the micro-computer. And, also, do it very easily. Let’s see how.
Reasons to install Android on the Raspberry Pi
If the Raspberry Pi is designed to run Linux operating systems, and we have a wide variety of systems for it, what can lead us to use this operating system on it?
One of the main reasons why we can choose to install Android is because of the excellent touch screen support. There are several projects that allow you to place a touch screen on this device and be able to use it, for example, as a pocket computer. However, the support of standard Linux systems leaves a lot to be desired. Thanks to Android, we can control the Raspberry Pi with our fingers without a single problem.
Another reason that can lead us to this is the possibility of install Android apps and games on this device. Android apps can generally only be installed on smartphones with this operating system. And all other devices are out of support. Thanks to the possibility of installing this system in the RPi, we can have these applications at hand whenever we want.
Finally, a very interesting reason is the possibility of set up our own TV-Box with Android. We can install this OS on the Raspberry Pi, a comfortable launcher, connect it to the television and use it as a multimedia center without having to buy any device at large.
Different projects
There are several projects that allow us to bring Android to the Raspberry Pi. One of the best known is Emteria. This is one of the most complete projects that allow us to install the Google operating system on the micro-computer. A very complete and updated system that guarantees us a functioning almost as native as that of the operating system on a smartphone. Its main problem is that it is paid, and although its price is more than affordable, we already have to go through the box.
Another very interesting project, especially for those who do not want to pay, is LineageOS. If we’ve ever been digging into the world of roms, this is the best known. A free and open alternative to install unofficial versions of Android on almost any smartphone. Of course, there is also the one who has taken the opportunity to bring this ROM to the RPi. We can find up to LineageOS 18.1 (based on Android 11) for the Pi 3 and Pi 4. In addition, it has its variants based on Android TV in case we are looking to create our own TV-Box as we have explained.
There are also “almost official” projects such as Android Things. This project allows us to bring an almost original version of Android to the Raspberry Pi through a process that is not easy at all. It is more focused on application development and testing, but it can be one more option to have this OS on the device.
Lastly, we couldn’t forget about RaspAnd. Despite how neglected its website is, in it we can find excellent projects that will allow us to install this operating system on our beloved Raspberry. To do this, all we need is to choose the version we want according to the Raspi model we have, and that’s it. Of course, your license has a cost of $ 9. Little money for what it offers us, but it already forces us to go through the box if we want to try it.
Step by step process
Regardless of the version we choose, the process will be more or less the same. What we do need to do is make sure we meet the following requirements before we start:
- Raspberry Pi 3 or higher.
- A powerful power supply (3 amps if possible).
- A high-quality memory card of at least 16 GB.
- A touch screen (optional).
- Mouse and keyboard if we do not use a touch screen.
In addition, we will also have to download a program with which to record the image to the memory card. For example, we can use the well-known Raspberry Pi Imager, or bet on one of the classics: BalenaEtcher.
And, with all the above, we will lower the project that we like the most from the previous options. From our point of view, the best options we can choose are, on the one hand, LineageOS, as a free option, and on the other RaspAnd, if we don’t mind paying 9 dollars.
In both cases, we will download a ZIP file. We must unzip this file in order to extract its content, which will be a .IMG filethat is, an image on the memory card. And it is this file that we must record (not copy), to the micro-SD.
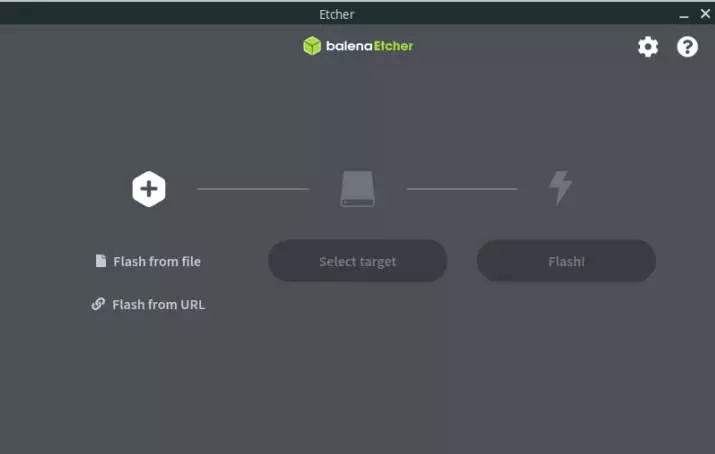
We must select in this menu (in our case we have used BalenaEtcher) the IMG image that we are going to record, followed by the unit (the memory card) where we are going to install the system. We must pay attention not to make mistakes, since the process formats the card, and if the unit is not the correct one we can lose the data.
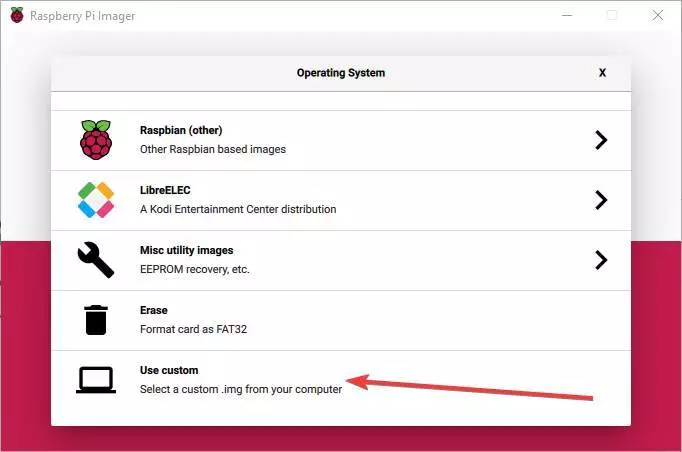
If we prefer to use the Raspberry Pi Imager, the option that interests us is the following.
When the image on memory cardWe can now disconnect it, and insert it into the Raspberry Pi. The first time you start it, it will take a long time (several minutes) to finish the installation and prepare everything you need to be able to work.
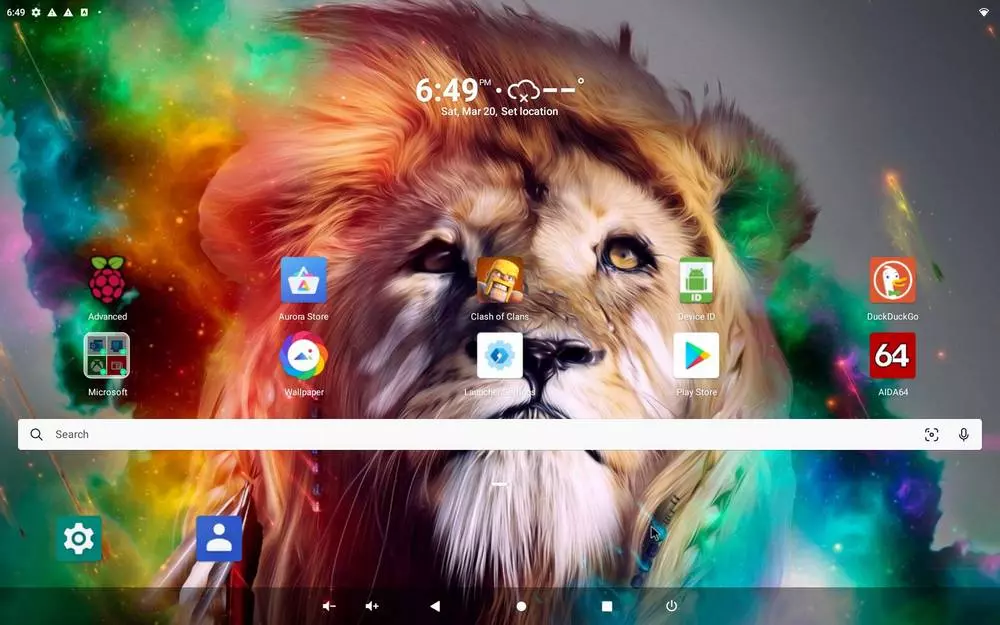
When finished, we can see the default Launcher of this system. We recommend rebooting a couple of times for the installation to settle properly, and voila.
Enjoy Android on the Raspberry Pi.