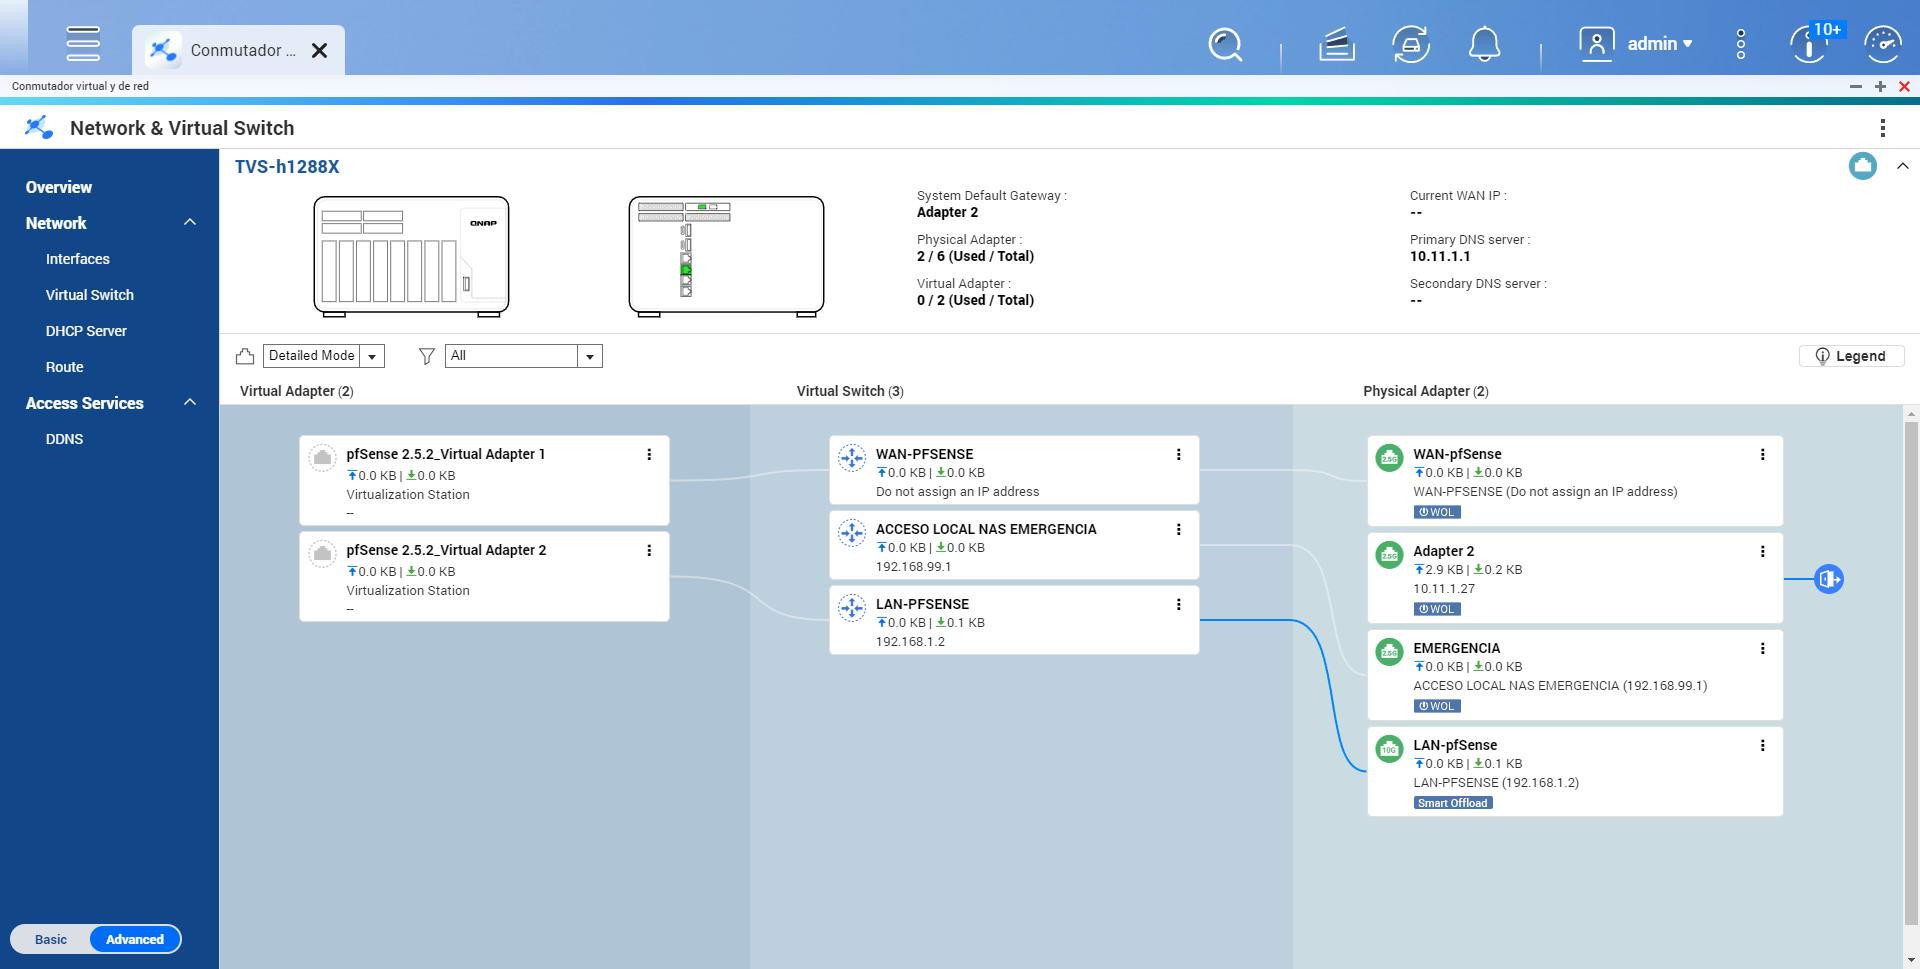
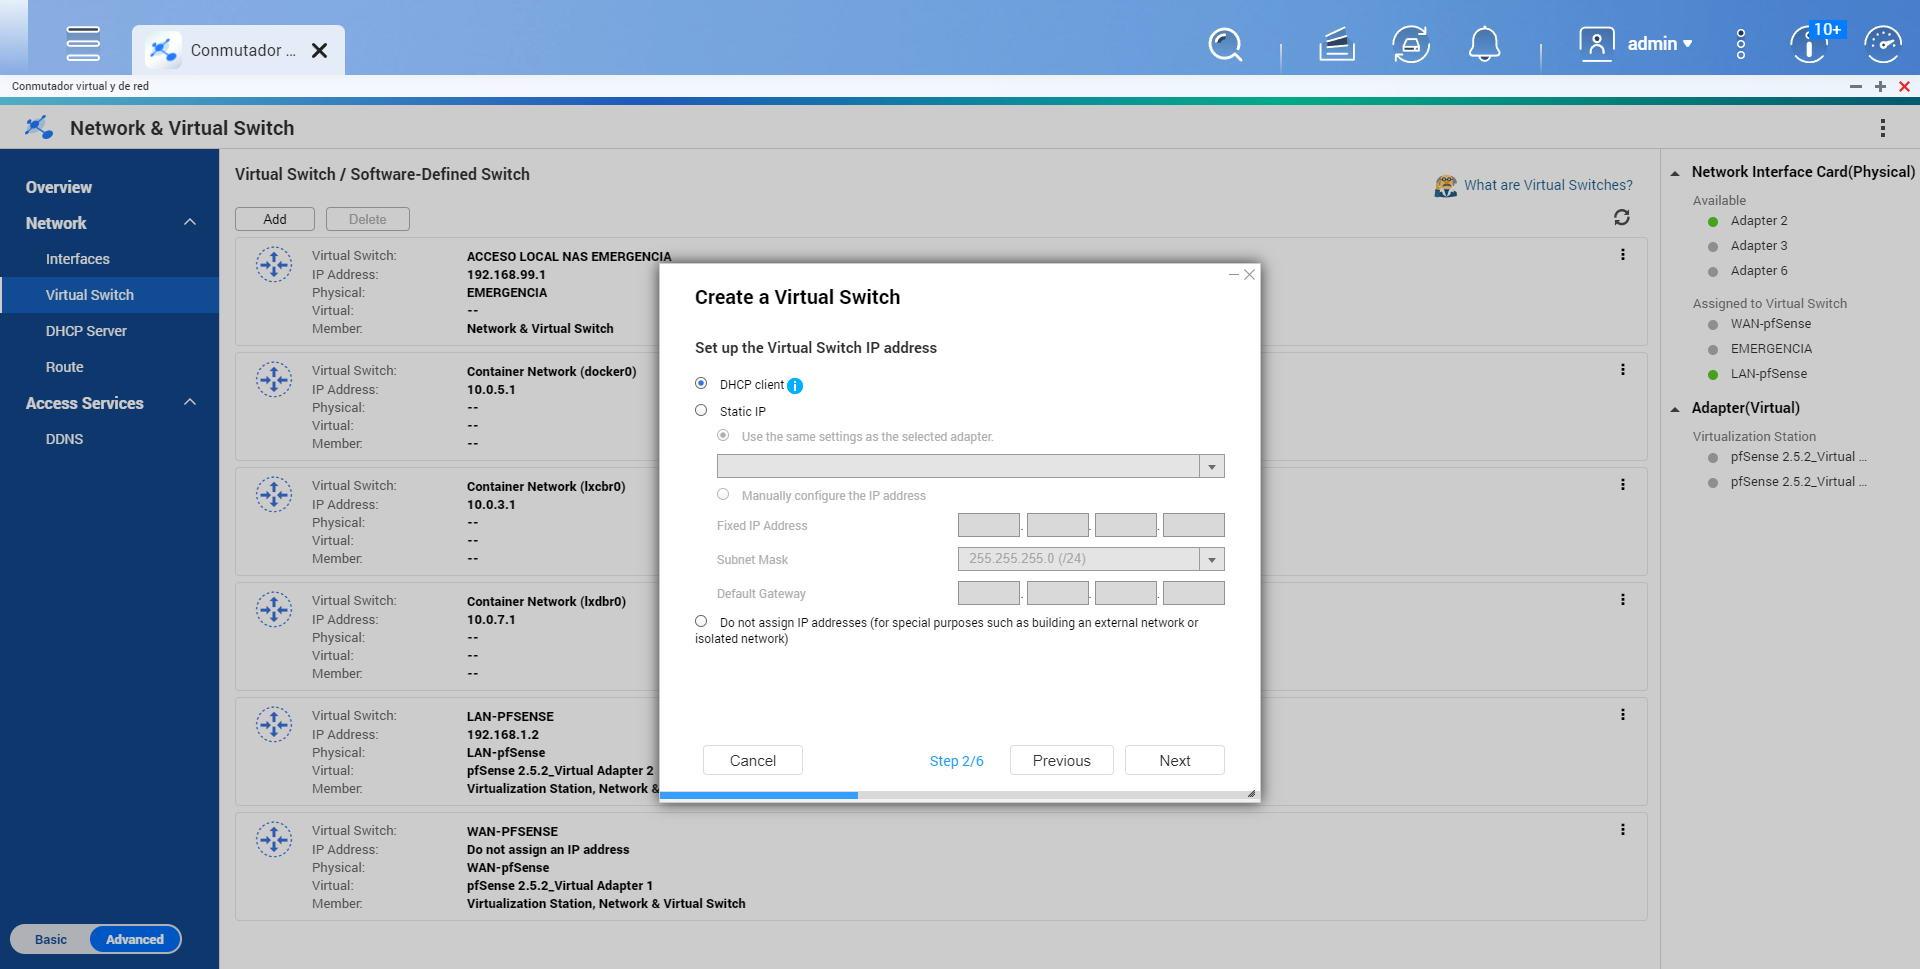
To correctly configure the interfaces, we have to go to the section «Network / Virtual Switch«, In this section we always have to use the option«Advanced mode»To configure all network interfaces. Although it is possible to create them with the «Basic Mode», our recommendation is that you have it in the other option to have all the configuration options.
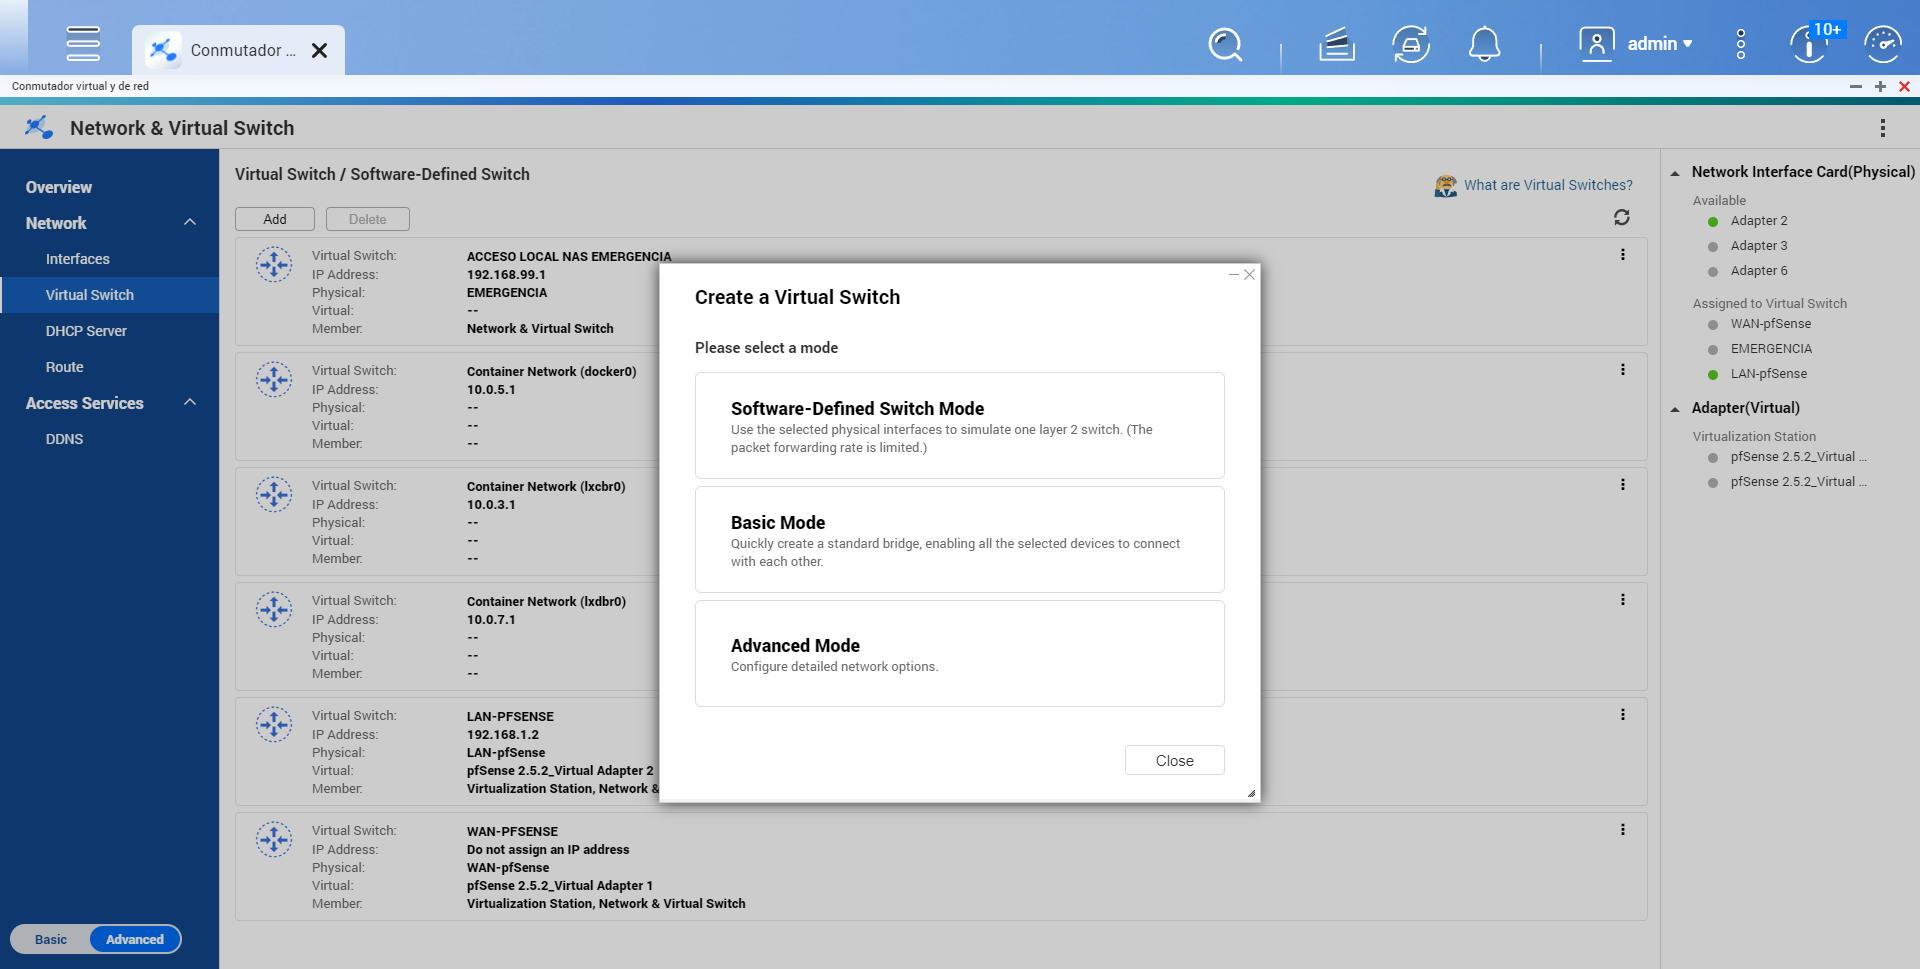
Once we have clicked on «Advanced mode«, We will have to select the physical interface that we are going to configure, we do not have to configure anything in Virtualization Station yet. And we have to uncheck the option «Enable the Spanning-Tree Protocol to prevent bridge loops«.

Depending on the interface configuration, we will have to choose one option or another:
- WAN: Do not assign IP address.
- LAN: assign a fixed IP address such as 192.168.1.2/24 and default gateway 192.168.1.1
- Emergency: assign a fixed IP address such as 192.168.99.1/24 and no default gateway because there is none, it is for local access only.
Once we have configured the network, we now have to properly configure Virtualization Station 3.
PfSense Configuration in Virtualization Station
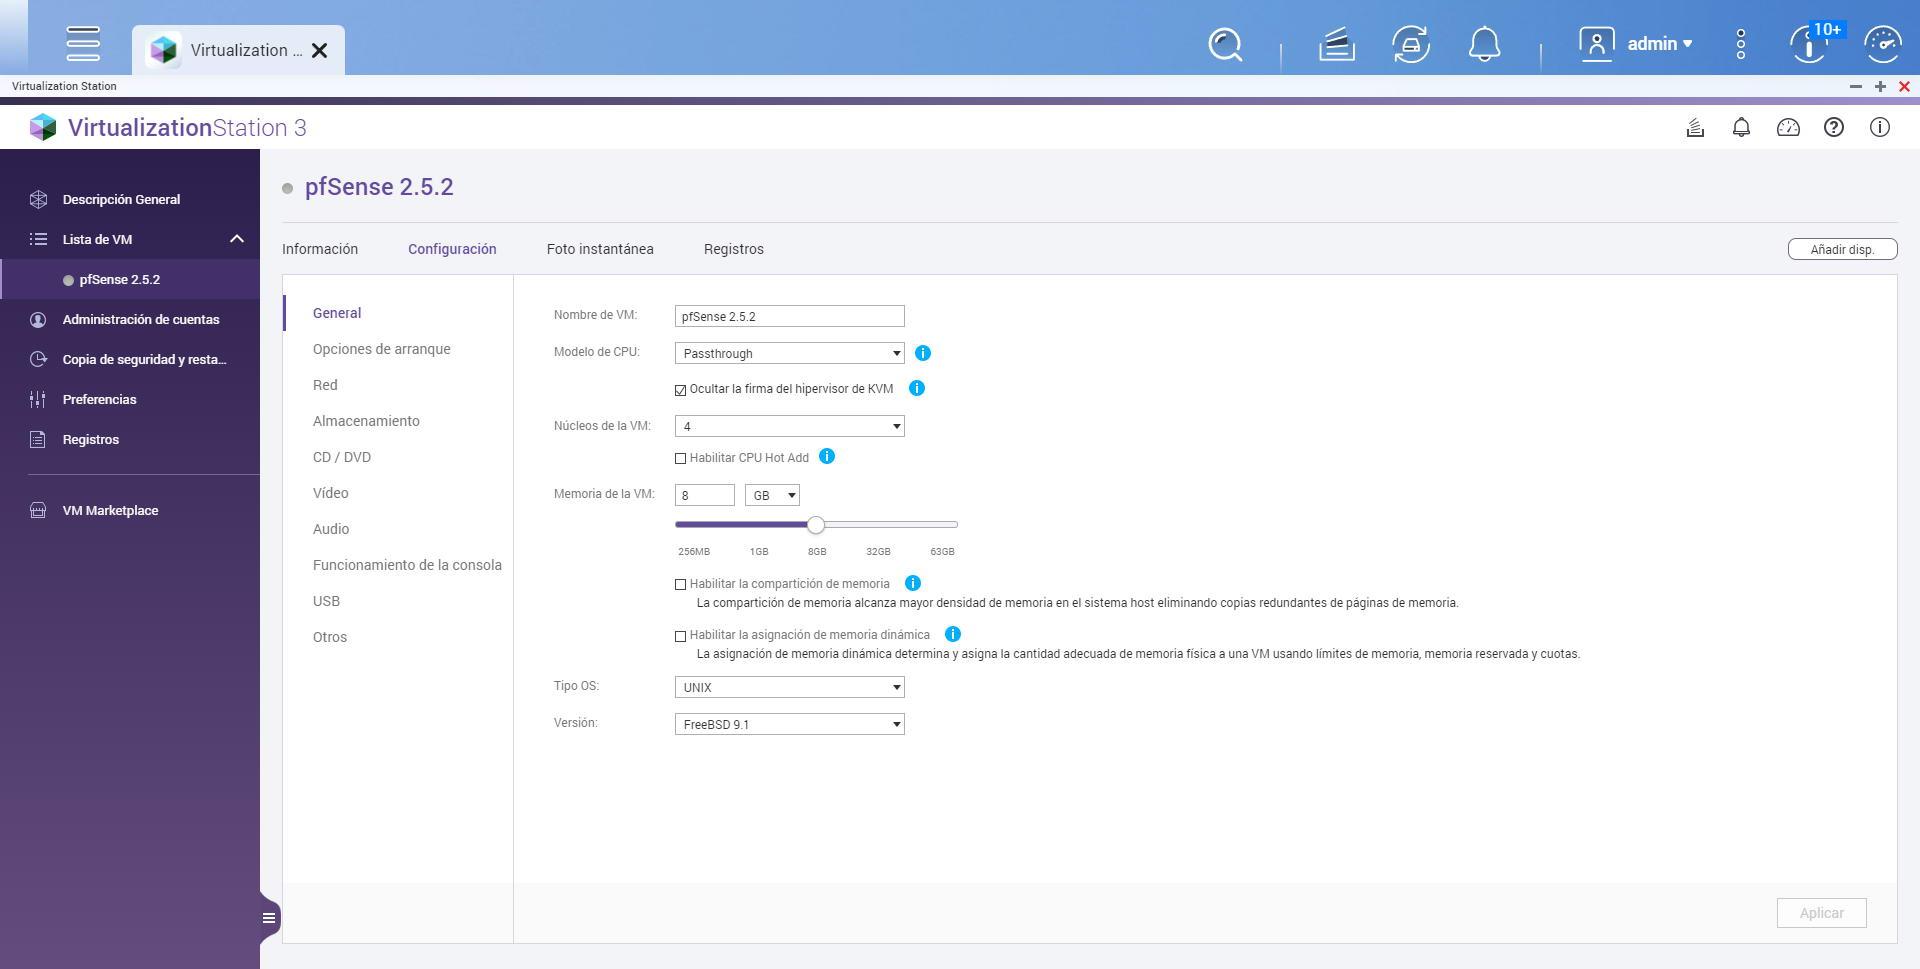
In the Virtualization Station menu we will have to add a new virtual machine, give it a name, select the ISO image and the destination, as well as select that the operating system is UNIX with the latest FreeBSD version that appears. Once we have created the virtual machine but have not started it, our recommendation is to make some advanced configurations before starting it.
In the part of “general»You can set the CPU to be” Passthrough “and hide the KVM signature, in addition, we can select the number of CPU cores that the virtual machine will use as well as the RAM memory of the VM, in pfSense with few services, 4GB is enough If you are installing additional software with many services, you may have to allocate 8GB for everything to go smoothly. We leave the rest of the options as they are in the following screenshot:
In the part of “Boot options»We choose legacy BIOS, and leave the boot devices as they are.

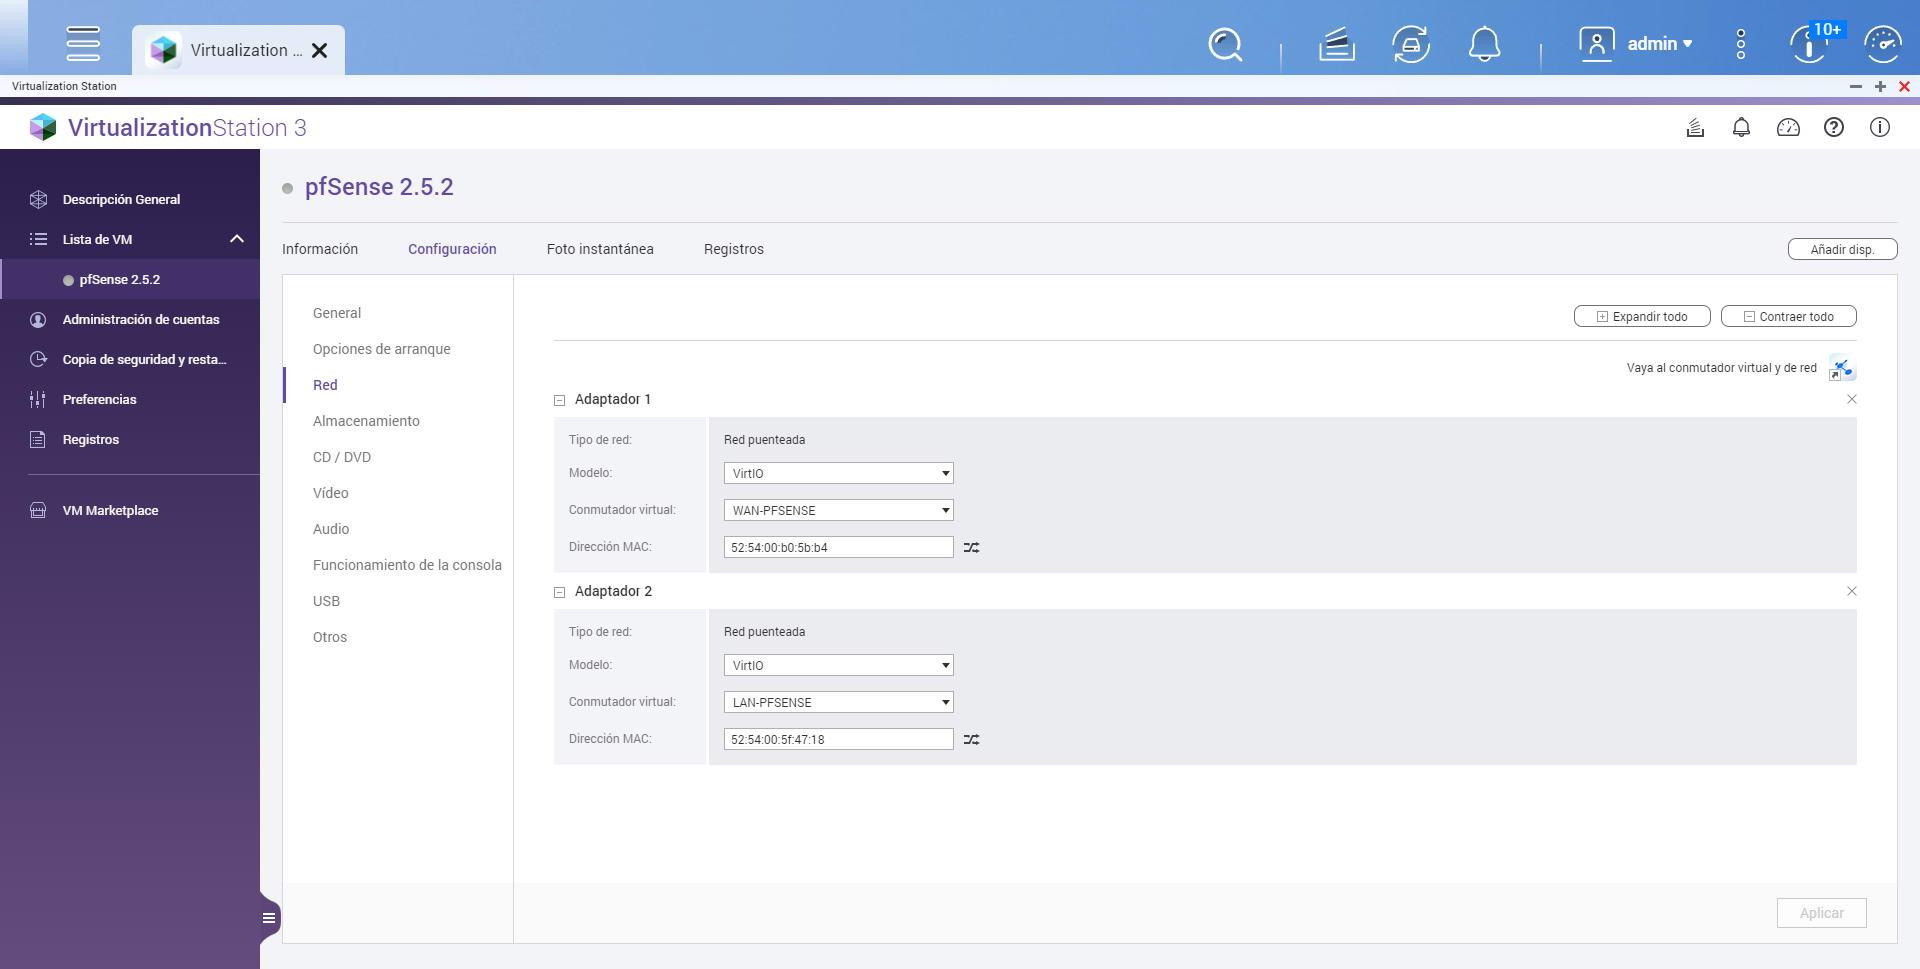
The network section is the most important, here we must configure the network interface that it automatically creates as:
- Model: VirtIO
- Virtual switch: WAN-PFSENSE
- MAC address: we must take it into account, to later assign it to the Internet WAN in pfSense.
Now we will have to add a new device, select “Add device” and select “Network”, create a new network with the following options:
- Model: VirtIO
- Virtual switch: LAN-PFSENSE
- MAC address: we must take it into account, to later assign it to the LAN in pfSense.
In the following screenshot you can see the summary:
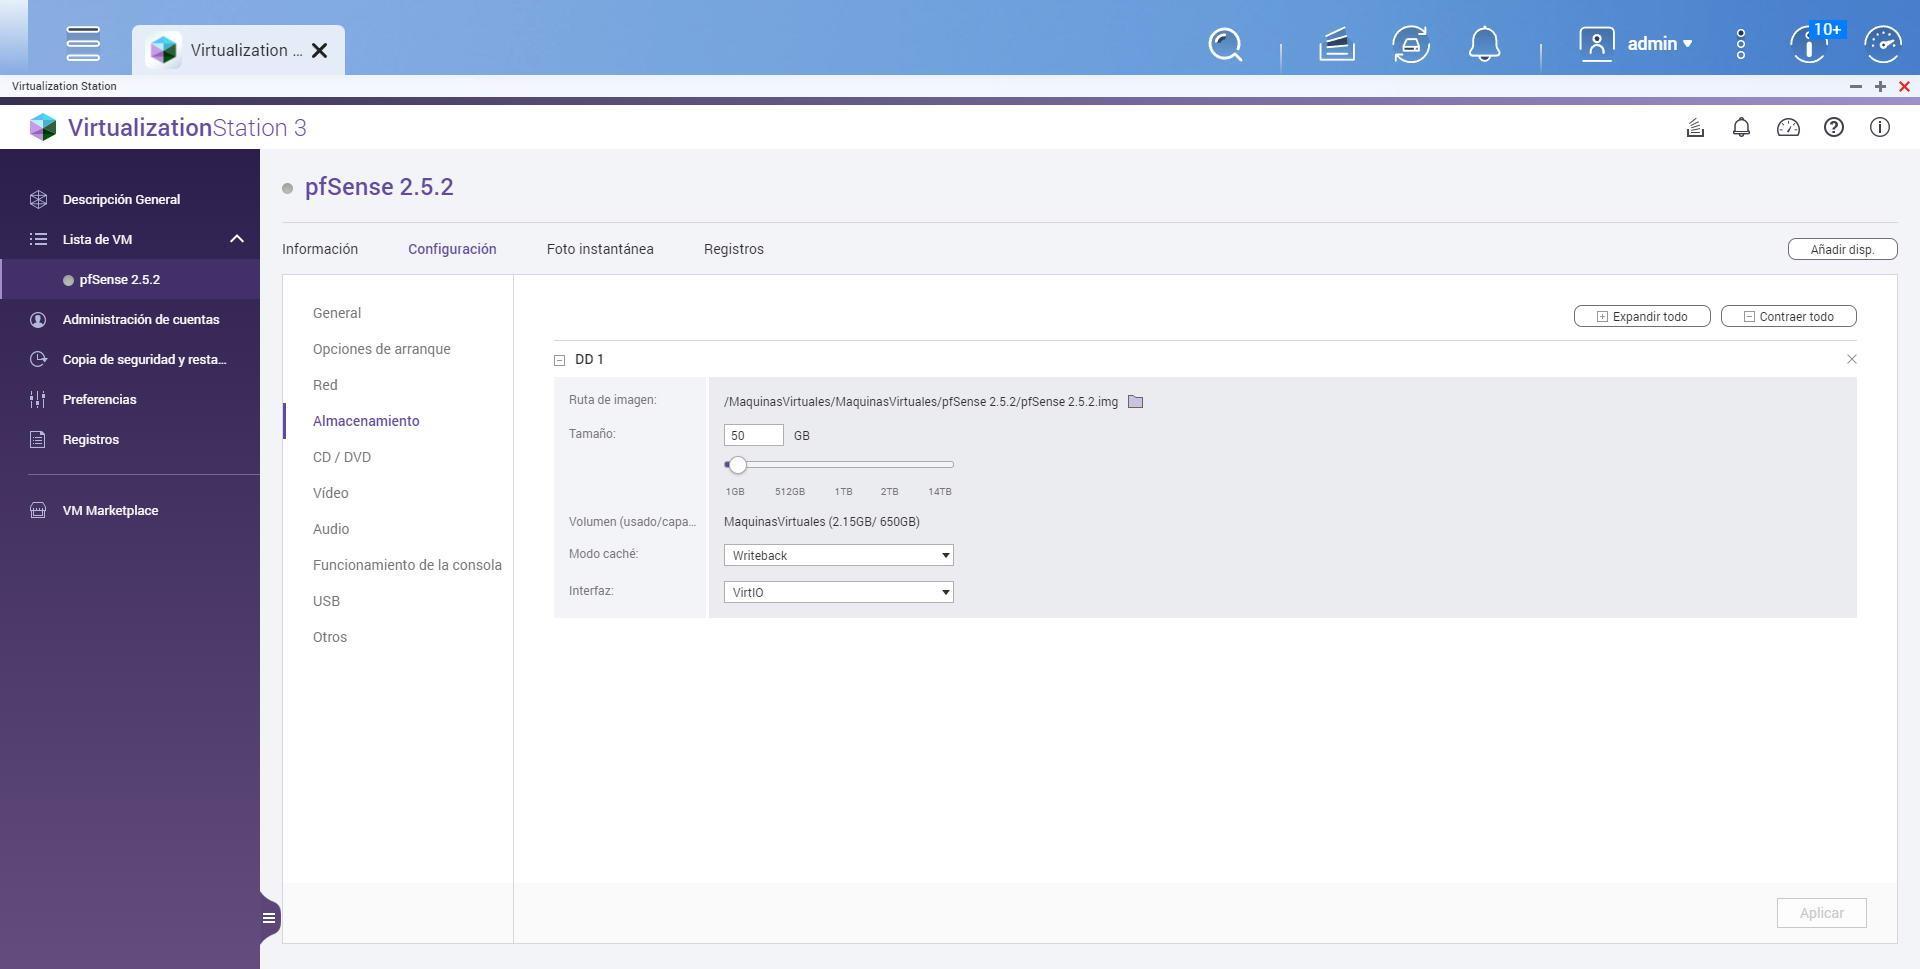
In the section of “Storage»You can allocate the storage you want, in principle pfSense does not take up too much space, so with 50GB of size it is enough, later we could increase it if necessary.
In the CD / DVD section we make sure that it will load the ISO image of pfSense, and the interface that is IDE:

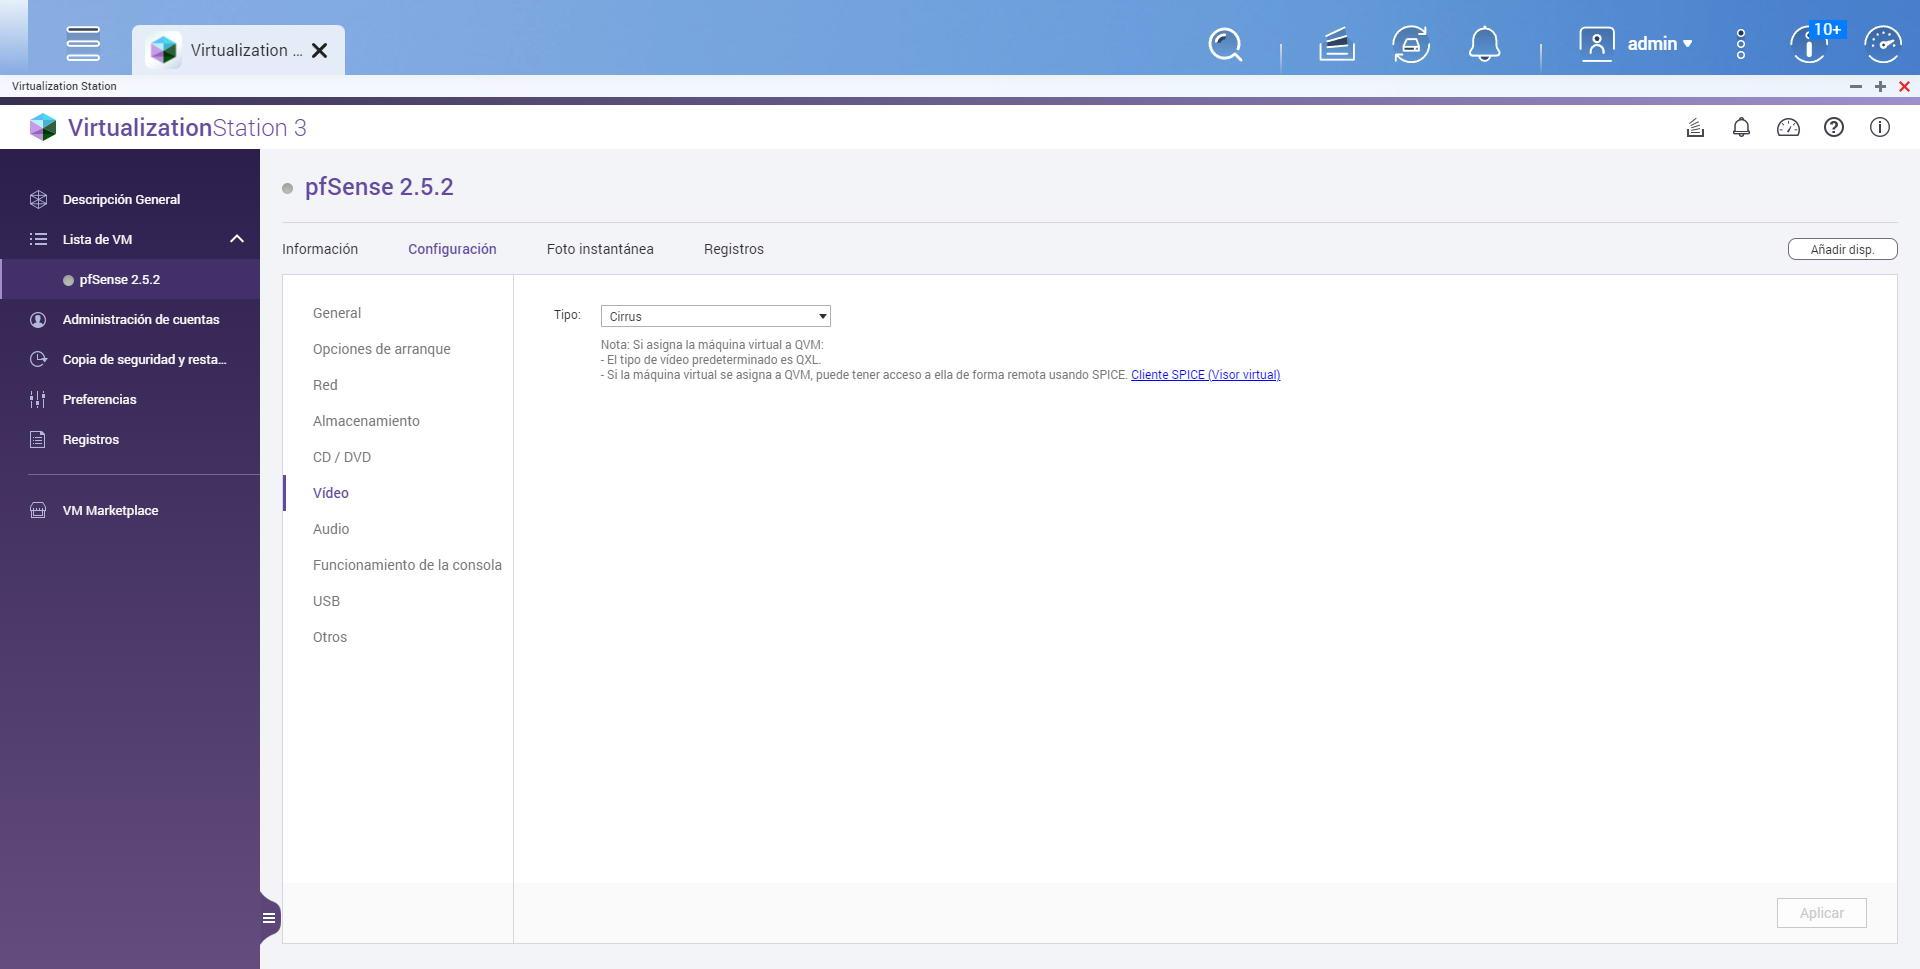
In “Video” we leave it with the default parameters.
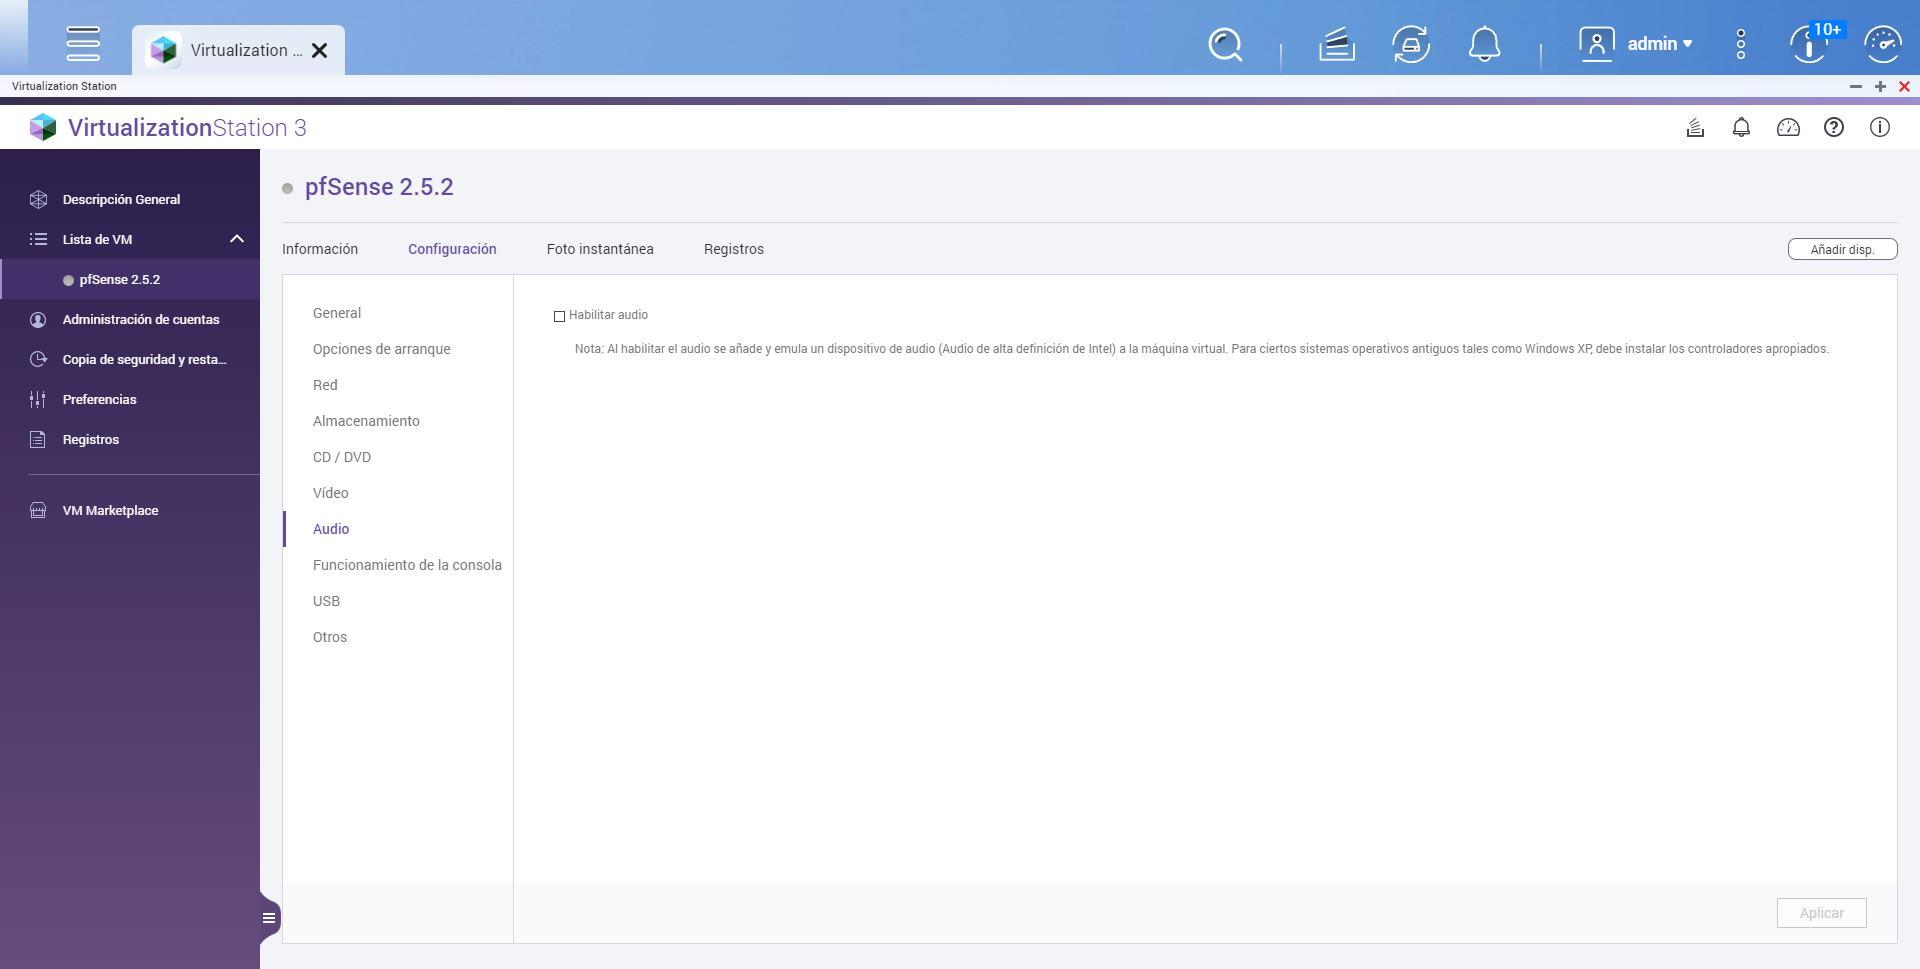
In «Audio» we leave it with the default parameters.
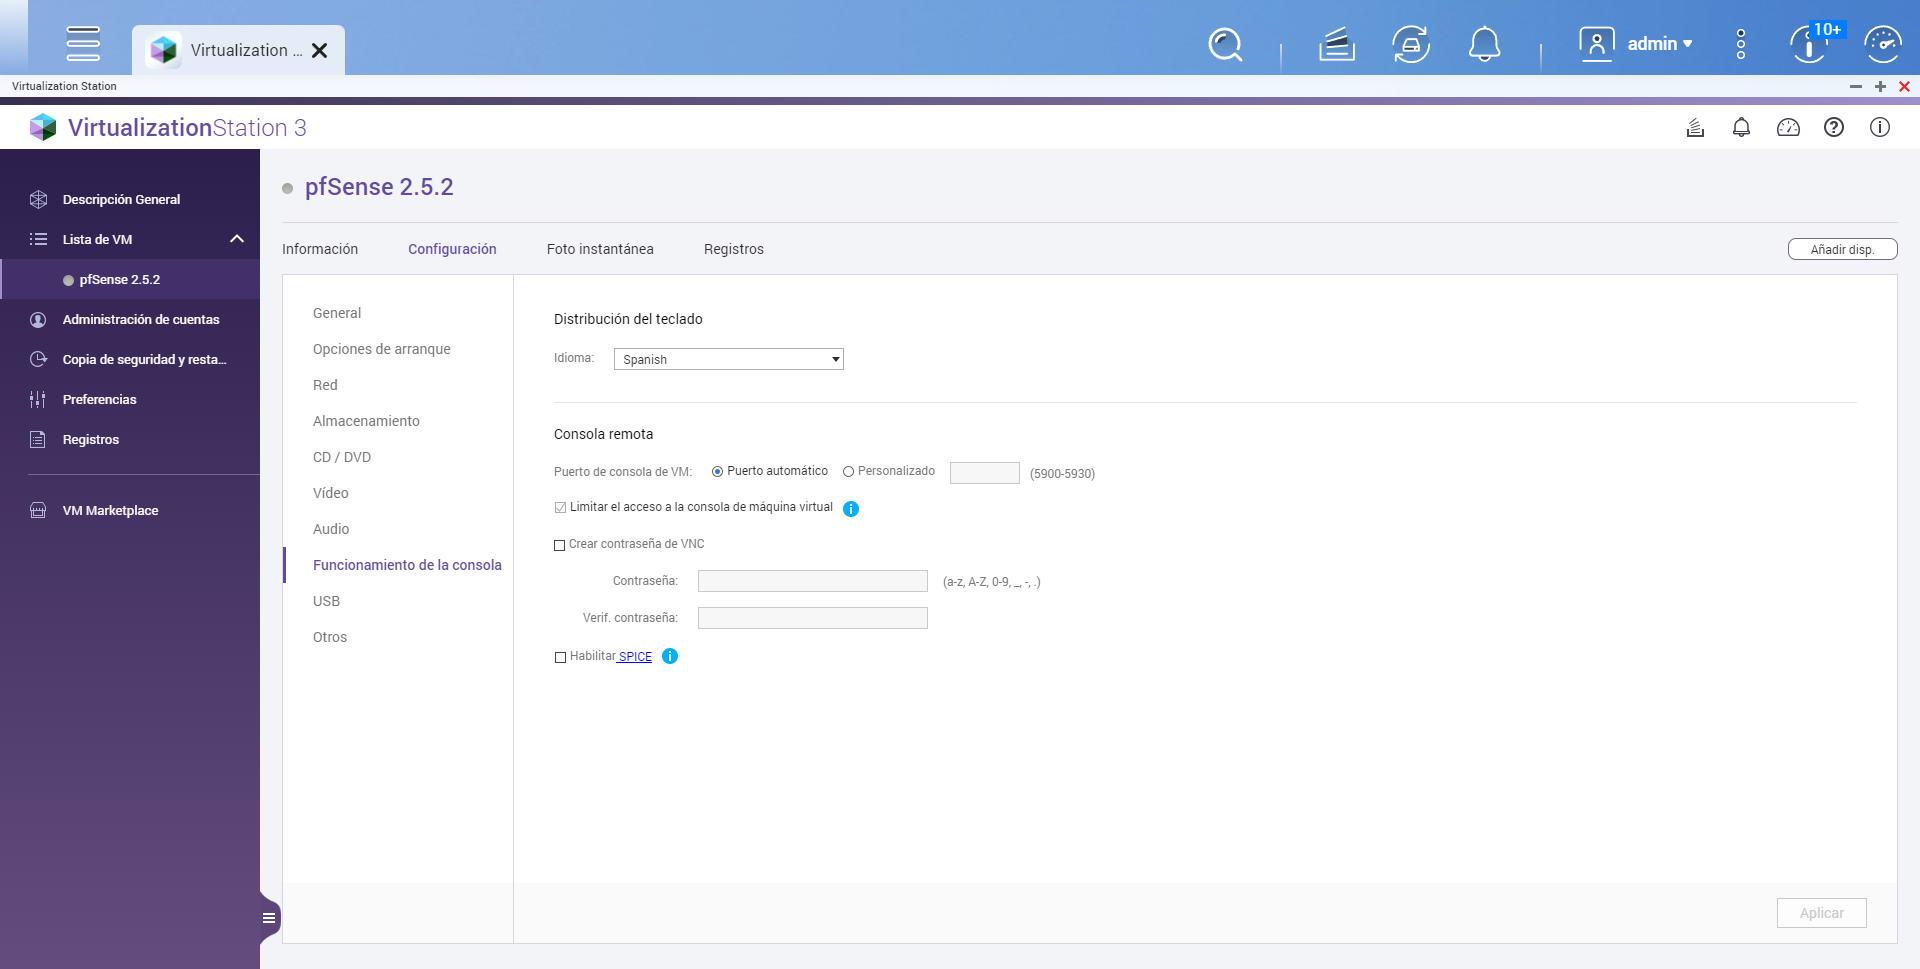
In the “Console operation” section we choose “Spanish” and leave the rest of the options by default.
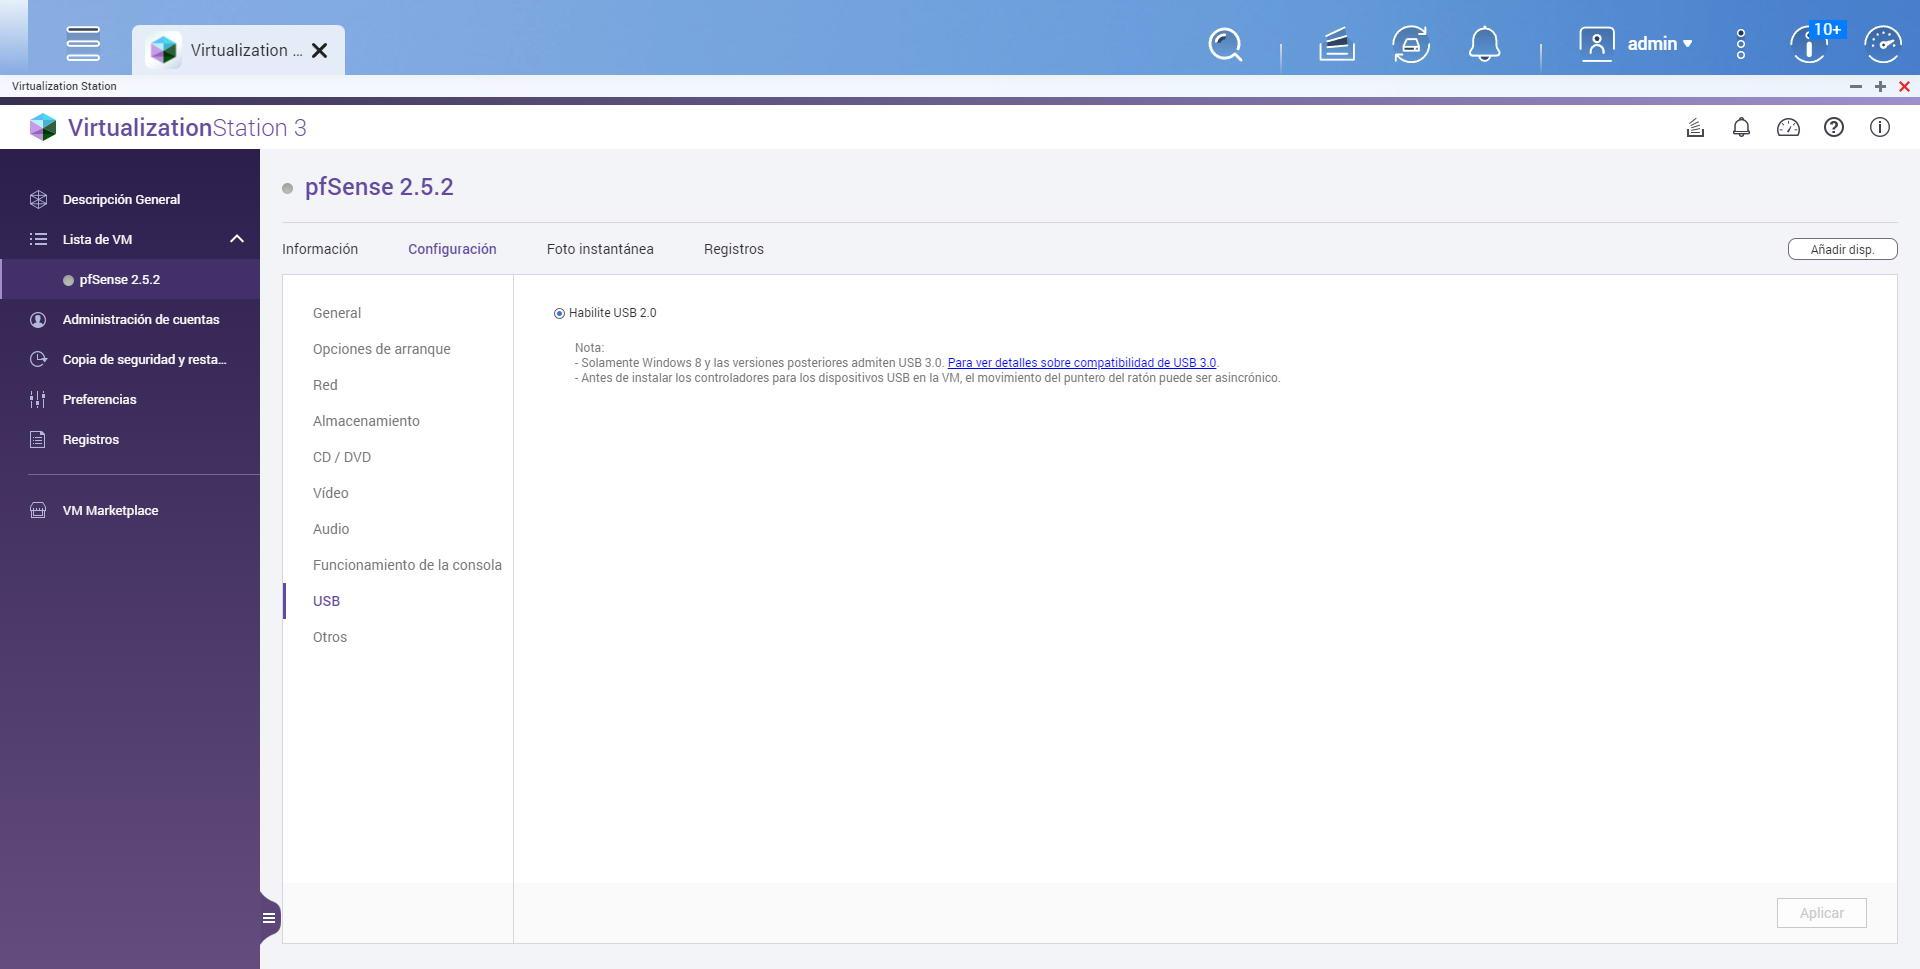
Now in USB we leave the default parameters.
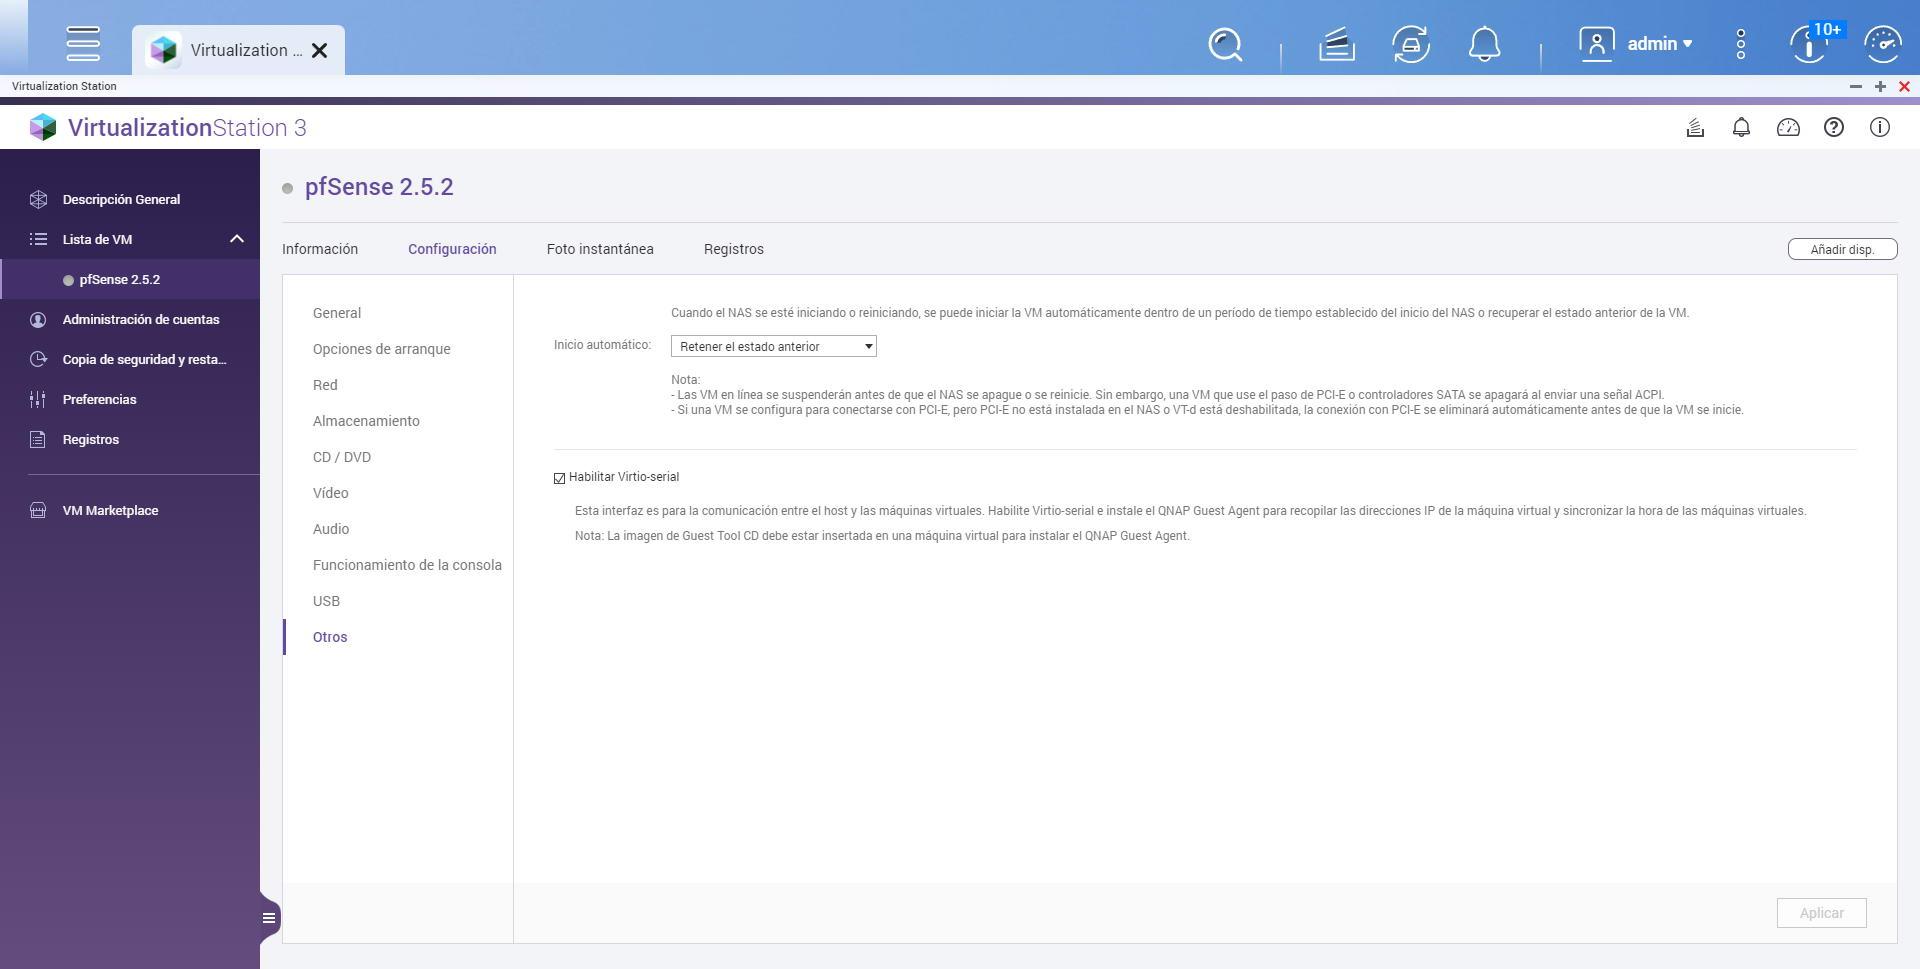
In the menu «Others»Our recommendation is to always choose«Retain previous state«, Because if we update the NAS server the virtual machine will start completely automatically and without us having to do anything at all. However, you can always choose to lift it manually if you want.
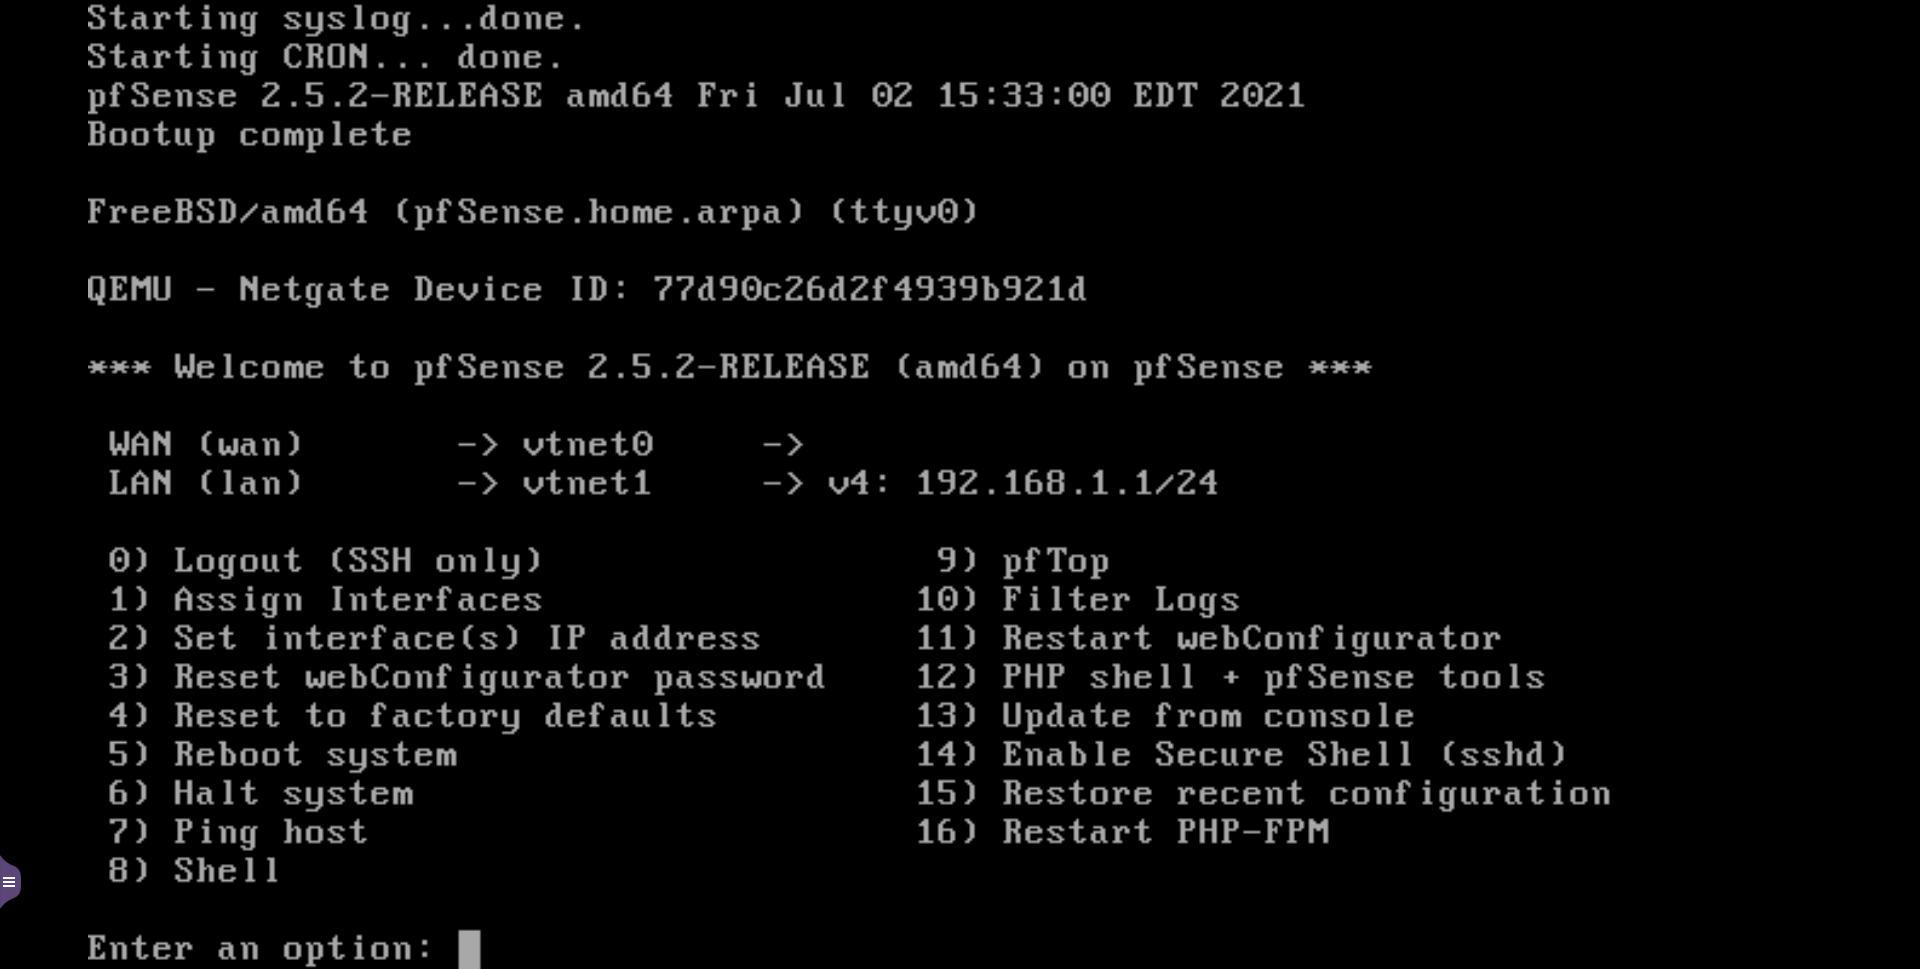
When we have already configured everything, we start the machine, we follow the pfSense installation wizard, and the most important part is to assign the physical interfaces to the Internet WAN or to the LAN, for this we must pay close attention to the MAC addresses of both interfaces , and choose them correctly.
In RedesZone we have recorded a complete video with everything step by step, there you can see a detailed explanation of how we have to create the different network interfaces, how to configure the part of the virtual machine in Virtualization Station, and we also show you the installation process of pfSense, assigning the interfaces correctly, and we will check how we directly access the pfSense operating system through the default IP 192.168.1.1, and the NAS server through the 192.168.1.2 that we have configured specifically in the interface:
Once we have done everything, we will have a working pfSense in our local network to act as the main router. If our operator uses VLANs on the WAN, we will have to create them directly in pfSense, we do not have to touch the QuTS hero operating system at all. The same happens if you want to use VLANs on the LAN, we simply pass a trunk to it from a manageable switch, and in pfSense we create the different VLANs and we create the different interfaces, without touching anything on “Virtual and network switch”.