How to fix WHEA_UNCORRECTABLE_ERROR
Next, we are going to see different methods that we can carry out to eliminate the blue screen with the message WHEA_UNCORRECTABLE_ERROR. These options can be carried out both in Windows 10 as in Windows 11.
Previous checks
As we have mentioned, this error is especially related to the hardware that we have installed in our system, so it is important to physically verify them. For example, we must check that the ventilation systems They are not sealed which could cause the components to overheat, preventing them from working properly.
We must also check that the RAM is well and securely fixed in its slots and check that the CPU has not been released. In case we do not have the necessary knowledge to do so, let’s go directly to the possible solutions that we can carry out from the system.
Update Windows
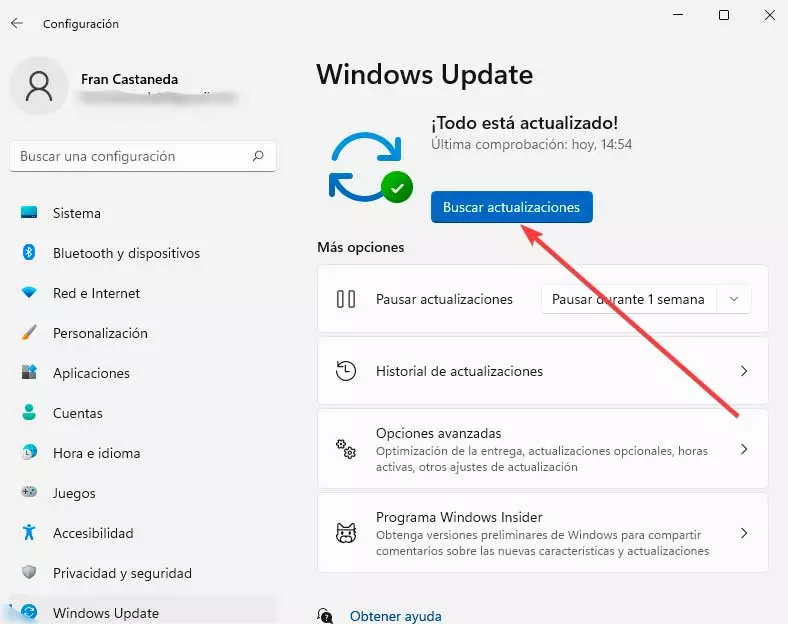
In the event that this blue screen appears, Microsoft itself confirms on its support page that it is a hardware error, so it recommends having Windows updated to the latest version available. That is why we must check from Windows Update if there is any update available, and in that case, download it.
To do this, press the Windows + I keyboard shortcut that will take us to the System Configuration section. Once here, click on the “Update and security” section. Then click on “Windows Update” and click on “Search for updates”.
If there is any pending update, we download it and the system itself will install it. Once finished, we restart the system and check that everything works correctly.
Run CHKDSK
Although the error may have been caused by a hardware error, it may be possible to solve it from the system itself, so it is advisable to run Windows CheckDisk from the command line. It is a useful tool that is included in the operating system by default and is responsible for verifying the file system and correcting certain problems.
To do this, it will be necessary to open the Command Prompt, something that we will do by typing cmd in the Start menu search box and running it as administrator. Next, we type the following command and press Enter.
chkdsk / r

Once this is done, the command will take care of scanning our entire system for errors and solving any problem that it is capable of finding.
check drivers
It is also important to check the proper functioning of the installed drivers of our components. It is always recommended to keep them updated, although sometimes it may cause a certain hardware component to present problems.
Both Windows 10 and Windows 11 take care of control the update of most drivers of the team. That is why it is convenient to check the update history to check if there are any errors, as well as to see which ones have been updated recently to return to a previous version and check if this solves the appearance of the error.
To do this, press “Windows + I” and access the “Settings” menu. Later we click on “Update and security” and “View update history”, from where we can find the driver updates made.

Then click on Uninstall updates, to remove the latest updates and check if it is the source of the problem.
Reset overclock and BIOS
Overclocking to seek greater computer performance can also be a cause of the appearance of the blue screen with the message WHEA_UNCORRECTABLE_ERROR. In this case, it is convenient to reset the BIOS to leave it as it was and eliminate any problem that this action has caused on the computer. This is something that we must do by entering our BIOS/UEFI and looking for the Overclocking option.
Depending on its version, we can do it in one section or another, although the most normal thing is that it is within the advanced options. Once found, reset all overclocking options and save the changes.

In addition, it is recommended to take advantage of reset bios. This is that we can access from its own options menu where we can find a section where we can return to the default BIOS settings. Once finished, we exit and restart to see if this solves the problem.
Test the RAM
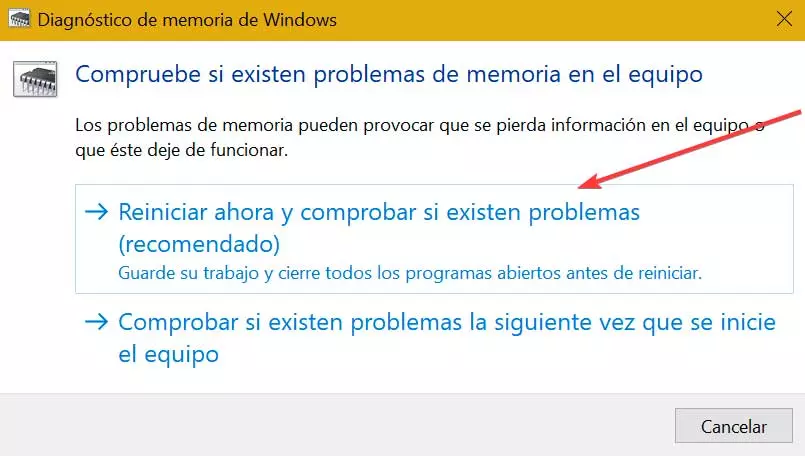
RAM is one of the most important components of our computer. To be able to test it and check if it has errors, we can use our own utility integrated into Windows called Memory Diagnostic or Windows Memory Diagnostic. To run it, just type “Windows Memory Diagnostic” in the Start menu search box and run it. This will bring up a window where we choose the option to Restart now and check for problems.
We can also use a third-party application like MemTest86 that we can download for free from the developer’s website. With it, we can do an analysis and check the status and operation of the RAM.
Restore the system
As a last option, as recommended by Microsoft, we can perform a system restore to an earlier point where this error did not exist. By doing this, the system should work properly again, thus fixing any subsequent errors.
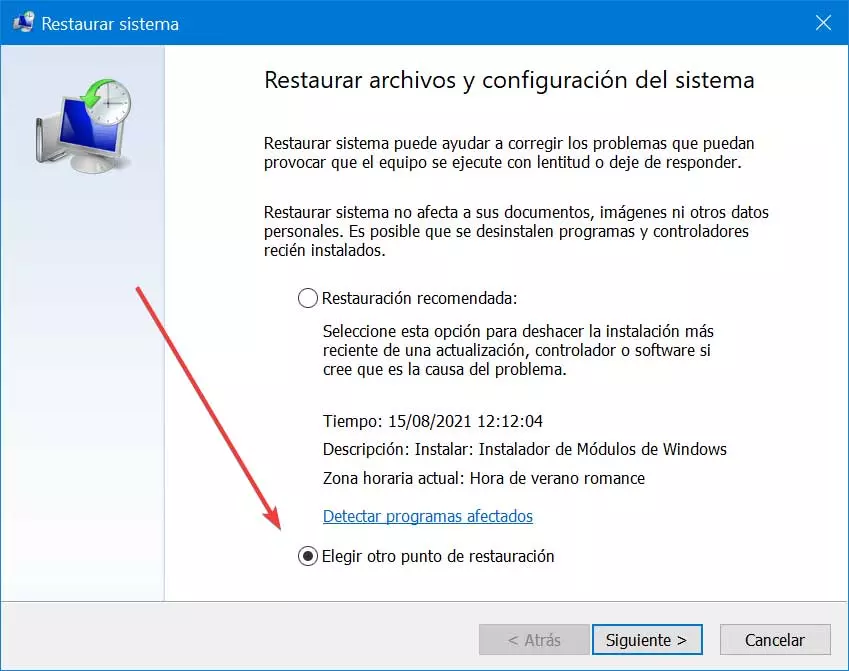
For this we write restore system in the Start menu search box and select “Recovery”. In the new window we select “Open System Restore”, so that it undoes the changes made recently in the system, but without modifying or deleting the files that we have saved.
This will make the wizard appear from where we can access the last available recovery date where there was no error. Once the system is restored, the computer will reboot and should work fine.