What is video in HDR?
Before getting into the way you can edit these files recorded in HDR, we want to tell you what this file system really is. Its acronym corresponds to the words high dynamic range in English, High Dynamic Rangewhich means that the files recorded in HDR have much more information than the usual ones, since they are capable of capturing and representing a greater dynamic range between the light differences of the lightest and darkest areas.

After all, the objective of recording the different video clips in HDR is that in the final result, the image that the viewer is seeing is as close as possible to reality. In this way, the image that users see after having edited these clips maintains the differences between the different tones, in the dark areas there will be more details, while in the lighter areas the light will be greater. It also affects color, since it is fully associated with a color space greater than the one used in a standard way, which is Rec.709.
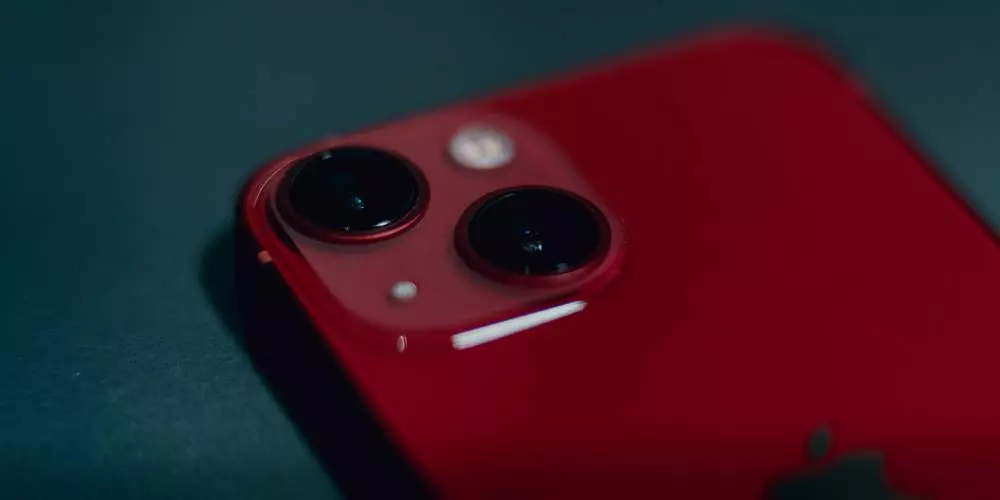
In short, if you have an iPhone and want get the most out of cameras that this device has to be able to squeeze it later when you start to edit it, you can do it, since then we are going to tell you what applications can do it and, of course, how you can easily carry it out.
HDR Video Editing Apps
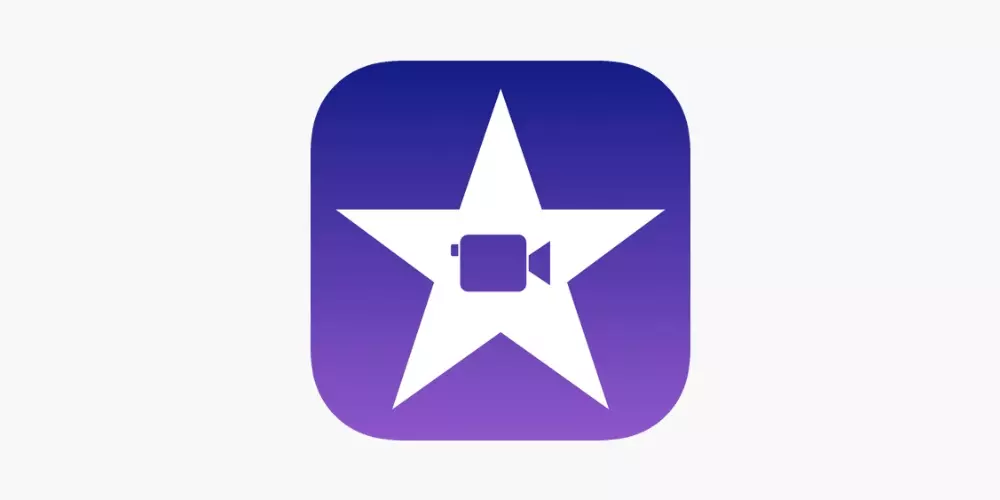
It would really be a shame if the iPhone had the ability to record content in HDR and Apple itself didn’t give users any tools to really take advantage of all the benefits of this practice. For this there are the two video editors of the Cupertino company, which are iMovie and Final Cut Pro.
Steps to do it in iMovie
If you’ve come this far, you’ll surely know that iMovie is the video editor that Apple has conceived, designed and developed for all those people who want to get started in the world of video editing or who simply don’t need more than what it offers this application, because although it is designed for beginners, the functions offered to the user are sufficient to perform work of the highest quality.
As usual, despite the fact that people who use HDR videos for their audiovisual creations will usually be professionals, all those who have an iPhone and have installed iMovie on their Mac will have the possibility, in a few steps, to take advantage of this such an interesting feature.
Of course, everything has its nuances, and that is that you can use the files that you have recorded in HDR, but unfortunately the file that you finally export will have to be in SDR, that is, in the standard dynamic range. Now, if you want to export that content that you have edited in HDR, you will have to use Final Cut Pro, following the steps below.
- in iMovietap Edit.
- click on Send movie to Final Cut Pro.
- Follow the steps that we indicate a few lines below.
Unfortunately Apple does not allow users of iMovie on the Mac to export content in HDRHowever, and it is something that surely makes you wonder about this movement, the Cupertino company does allow you to edit and export content in HDR if you do it from the iMovie app for iOS.
Steps to edit HDR video in Final Cut Pro
We now come to the professional editor that Apple has provided to all the users who have a Mac and are engaged in video editing. Is about one of the best programs that you can use if you want to develop your knowledge, skills and creativity in the creation of audiovisual content, although its price is not entirely cheap.
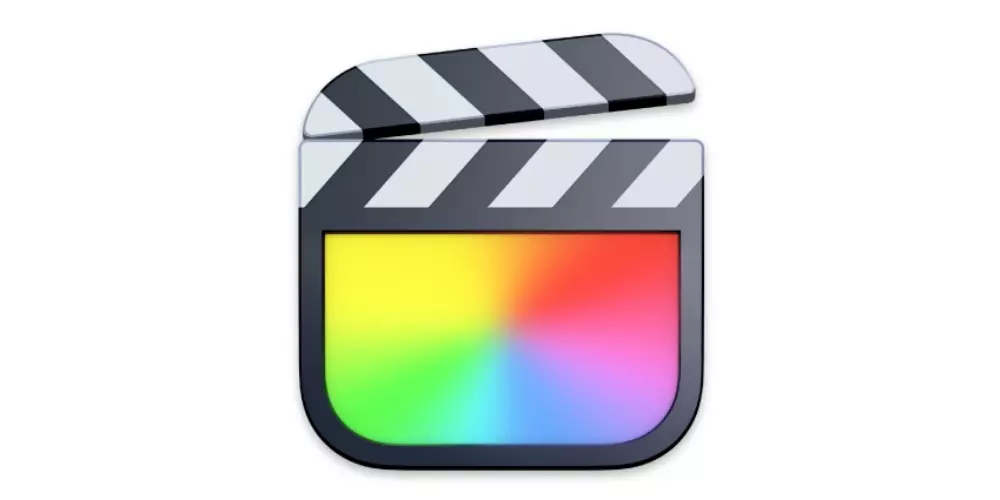
As we told you before, all those users who want export videos in HDR through an Apple computer it has to go through this application, either because they edit the project from scratch in Final Cut Pro or because they have created and edited it in iMovie and need this program to be able to export it in HDR. Here are the steps you have to follow to achieve it.
- Create a new library of Final Cut Pro.
- Configure color rendering for the Wide Gamut (HDR) library.
- matter videos recorded in HDR.
- Create a new project and configure the color space for the project in Wide Color Gamut (HDR) – Rec. 2020 HLG.
- edit the project.
- When you’re done, export a master HLG file or share to Apple devices with the video codec set to HEVC 10-bit.

In addition, within Final Cut Pro, being a professional editor, it has an option to speed up the export, this is called hardware acceleration for exporting videos HEVC 10-bit HDR in Dolby Vision. If you are interested in how it can be done, here are the steps you have to follow to achieve it.
- In the Settings panel under Compressor select the Apple 4K Devices (HEVC 10-bit, HLG, Dolby Vision 8.4) setting.
- Choose “Duplicate” from the Action pop-up menu at the bottom of the panel.
- Open the inspector, select the Video tab and set the following options: – Click the “Encoder type” pop-up menu and choose “Faster (standard quality)”. – Select the “Includes Dolby Vision 8.4 metadata” checkbox to have Compressor include the Dolby Vision 8.4 metadata in the output file.
- Select the General tab in the inspector and type a new name.
- Click Preferences > Destinations.
- Double-click Compressor Settings.
- Click Custom and select the Accelerated Apple Devices 4K preset that you created in Compressor.
- To share the HDR project, select it in the browser, click File > Share, and choose the Accelerated Apple Devices 4K preset.