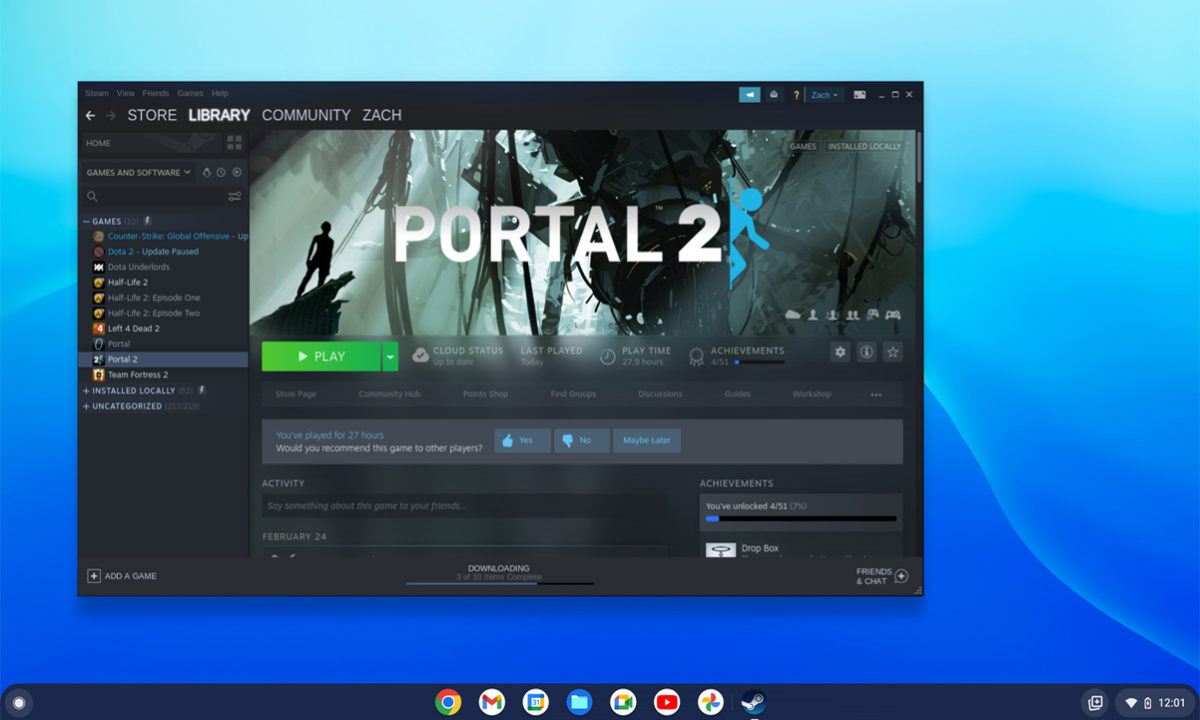
Just a few days ago Google announced the imminent arrival of Steam support for Chromebook laptops in a very early alpha test format, and today has finally come true. However, we are still far from reaching the expected situation, as it seems that it will only be limited to a fairly limited number of devices, mainly due to the high system requirements.
As specified by Google itself, devices with Chrome OS will need to be equipped with at least Intel Iris Xe graphics, 11th generation Core i5 or i7 processors, and at least 8 GB of RAMspecifically noting that configurations with Intel i3 processors or limited to 4 GB of RAM are not supported.
Putting these specifications on the table, We will barely have seven Steam compatible devices left: Acer Chromebook 514 (CB514-1W), Acer Chromebook 515 (CB515-1W), Acer Chromebook Spin 713 (CP713-3W), ASUS Chromebook Flip CX5 (CX5500), ASUS Chromebook CX9 (CX9400), HP Pro c640 G2 Chromebook, and Lenovo Chromebook 5i-14.
In addition to this great limitation, we find some additional drawbacks, such as the fact that Google only guarantees good performance in games for a maximum resolution of 1080p. And it is that in fact the devices that come armed with a Full HD screen or higher resolutions, could present some performance and scaling problems.
How to install Steam on Chromebook
In addition to compatible hardware, Google has also announced that we will have to switch our Chromebook to the Dev channel and type some commands in the Chrome OS Crosh terminal in order to complete the Steam installation.
To do this, we will have to switch to the developer channel, accessing the menu of Settings > Chrome OS Info > Additional Info > Channel. Once the change is made, we will go to the Chrome address bar, we will enter the following line ‘chrome://flags#borealis-enabled‘and we will change the configuration to «Enabled».
After rebooting the device, we will open the Crosh terminal (using the command Ctrl+Alt+T), enter the command ‘insert_coin flip-JOlkth573FBLGa‘ and we will start it by pressing the Enter key. After this, we will only have to follow the configuration instructions to complete the installation of the Valve gaming platform.


