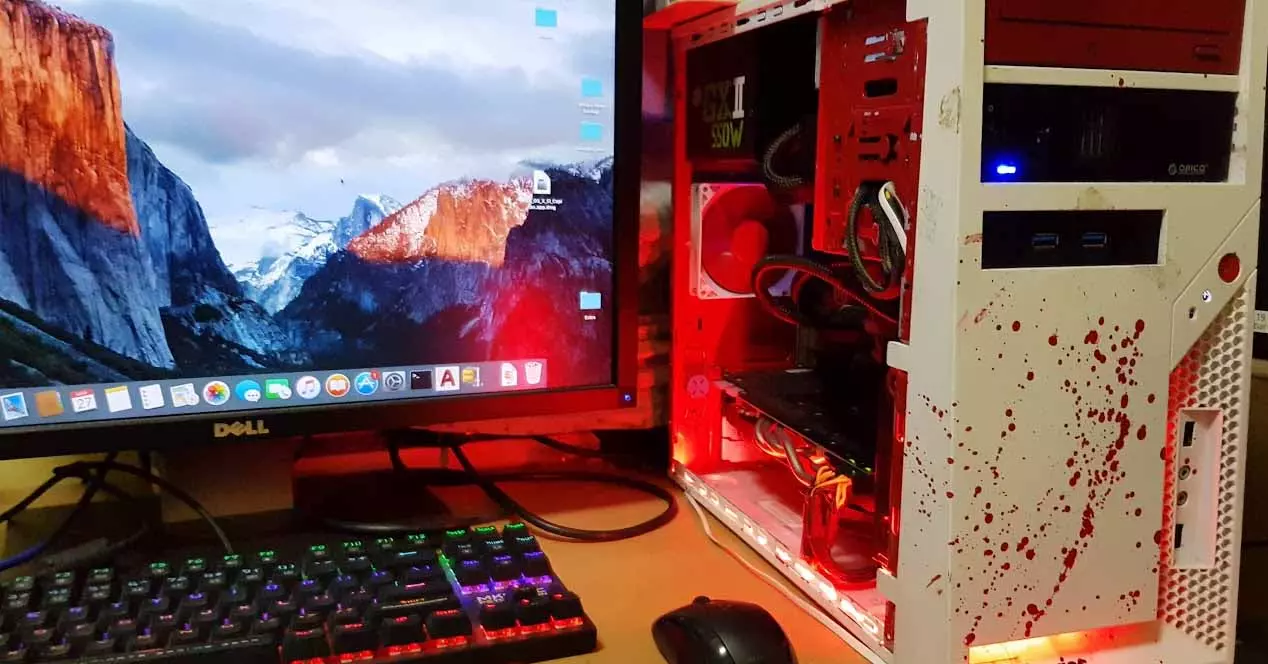
There is no doubt that the PC is the most customizable platform of all, since within a logical and consensual order we can create different internal configurations, but what is not usual is to see configurations in which the external appearance of the PC is different from the rest . It is true that there are less impressive projects in terms of PC configurations that we see from time to time on social networks. The majority of them? They are purely commercial items.
And that is where we enter one of the biggest problems, the fine line that separates design from aesthetics. Many people when they see something that is aesthetically beautiful they let go of opinions about how well designed that product is. Actually when we talk about design we are talking about building something taking into account a series of limitations.
If you want to print and create a custom PC case, please respect the standards
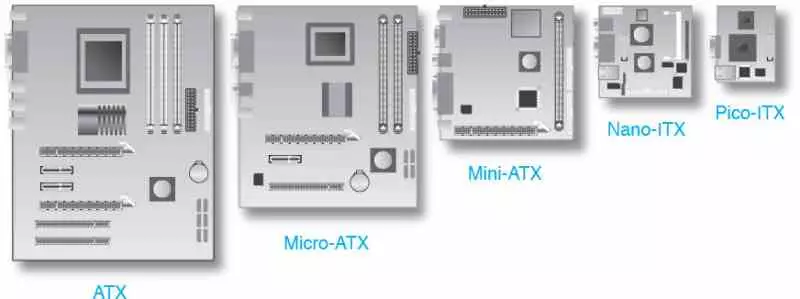
All commercial PC cases follow a series of norms regarding size and distance between components, which have been assumed by the hardware industry, in what we say standards. In the end, a standard is nothing more than the norms that are given by consensus by different manufacturers to implement a technology.
Computer science standards are important for the interconnection of its elements, but they not only make sense when combining the different electronic components, but also when putting them together in a box. Imagine for a moment that there was no standard for the construction of PC cases. The chaos would be tremendous and no one could use a single box, in fact, they could not even be sold.
And in the same way that commercial manufacturers hold onto those standards as if they were inviolable sacred dogma, our initial advice is that you do as well. They have been working for decades now, do not touch them, or give yourself to experiment in that regard.
The reason why we recommend doing this is because of the so-called I / O Shield, which is a rectangular metal plate that comes with the motherboards, which is designed to be placed on the back of the PC and has a series of holes to place the different I / O ports of the motherboard, this is one of the reasons why we tell you not to go beyond the standards.
Common elements in all PC cases

If you want to make a DIY PC case, not only do you have to take into account that there are standard sizes for motherboards, but there are also a series of standard parts that are usually seen in common in different PC cases.
- First of all, keep in mind the issue of the bays, if your PC is not going to use 3.5-inch bays then you can make it a little narrower. You also have to keep in mind that there are “Tool Free” type bays, which are also sold separately and, as their name suggests, do not require tools for assembly.
- Second, locate the part where the CPU with the heatsink is going to be mounted and make an omen with a grill so that the heat goes out much more easily to the outside. By the way, don’t forget to design your case taking into account the height of the heatsink.
- Third, one of the most important pieces is the one that holds our motherboard in place. The call Motherboard Trail, which will be affected by the kind of motherboard you have chosen for your system.
- Lastly, do not forget about other elements necessary to mount elements such as fans, the power supply, and so on.
That is why we consider it important that if you are going to assemble a PC case for the first time and you have no experience that you take the following advice.
Great artists copy, geniuses steal

This phrase falsely attributed to Steve Jobs but by Pablo Picasso refers to how professional plagiarism works. Basically it is not a matter of copying elements as commercial manufacturers do, but of taking individual ideas that in a combined way give you a unique result.
If you take a design from others as a basis, it is best to do an analysis. We are not talking about making a detailed one, but what we propose is that you take a pencil and paper, or any other medium on which to write, and answer the following four questions:
- What items would you remove from that commercial box?
- What are the elements that you would not eliminate, but would decrease in number?
- What additions would you make to the design of the commercial box, which you consider essential, but are not there?
- What are the elements already available in the box, would you increase in number due to the fact that you see them insufficient?
The idea of doing this is to take out a derivative concept, which has a different value than the original PC case. And don’t worry about how the end result can be. In design this is done continuously. Once you have answered the four questions, the next step is to begin to translate the design that you have in your head to the screen or the paper.
Make your custom box design first
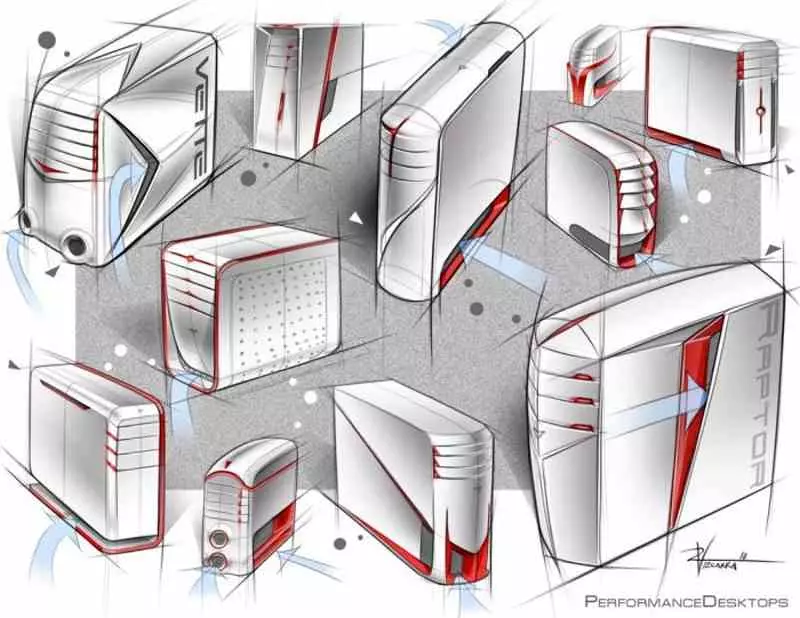
The next step is to make the design plans, in case you are good at drawing then a good approach is to pose the design of your box as if it were a standard industrial design, which means drawing it from different angles.
But not everyone has that ability to draw, so our advice is to take a simple CAD design tool, which does not pose a huge complication to get to use it. That is, we are not talking about using a Maya, 3D Studio, Blender and many others. If not, use applications such as SketchUp or TinkerCAD, which will allow you to have the vision in front of your eyes. Our favorite option? Fusion 360.
3D design will allow you to have a more realistic concept and know which parts of your design are both possible and impossible. It is very likely that your first design, the one you had in mind, is not the one that ends up being the final one. But, we are talking about making a fully functional PC case and not a fancy design.
An important point, refrigeration and temperature

Okay, your custom PC case design looks really nice on the screen, but is it fully functional? By this we do not mean that you can place the parts for your PC well in an orderly way, but that you take into account the cooling. Manufacturers of pre-built PCs often have the opportunity to overcome this by cutting the clock speed of the final hardware as a last resort in the event that your case and other components do not match well. But ordinary users do not have that opportunity.
That is why it is important that your PC case allows good cooling and this is not just putting a lot of holes in the case. We mean blowing the hot air out and keeping the components at a stable and functional temperature. It is not funny to see your pretty box, made by you, be the source of the ruin of the hardware that you have had trouble getting.
This is the reason why we recommend taking an existing box as a reference, since most manufacturers take air circulation into account when designing a box. Of course, there have been failed models with dire consequences that have had to be withdrawn from the market, so if you take a design as a reference make sure that it has not had to be withdrawn from the market due to bad refrigeration.
Assembling our custom box

Here comes the final part of all and the approach will depend on what each one wants to achieve, therefore size and materials will depend on the tastes of each one.
Our recommendation if you are newbies? Avoid building a metal shell and frame. The best thing is to pull a 3D printer to assemble the different pieces. We also recommend that you use standard parts to build it. The important thing is that the design is fully functional apart from looking aesthetically pleasing.
For this you can use a 3D printer to create the pieces, another option is to make it in wood. The options are endless, but propose something that is within your possibilities when it comes to giving your PC a touch of its own with a custom box.