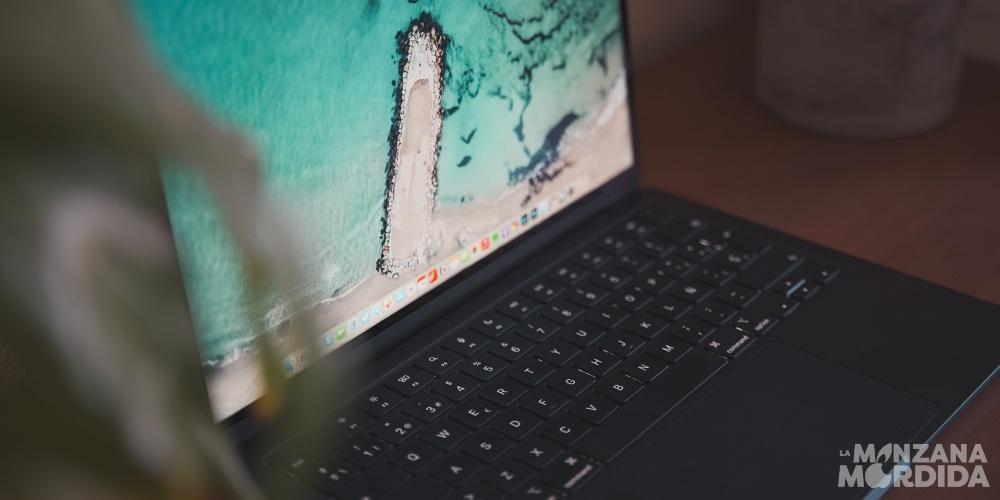
In today’s article, I will show you the various ways on how to take a screenshot on MacBook Air. I will also try to cover all the keyboard shortcuts to do it and also information on how to start a screen recording on the MacBook Air.
I will also discuss how we can change the screenshot settings on our computer, to customize the recording to our liking. Go for it!
How can I take a screenshot of my MacBook Air?
The quickest and easiest way to take a screenshot of the entire screen on a MacBook Air is to use the key combination command + shift + 3 . Press these three keys at the same time to make all elements visible on the MacBook. It’s that simple!
The image will be saved to your desktop as a PNG file and a quick preview of it will appear in the bottom right corner of the screen which you can click to preview, edit, share or delete it. The small preview in the bottom right corner will disappear after a while, so if you’re taking multiple shots in a row, it’s a good idea to wait a moment for the preview slide to disappear.
If you want to speed up that process, you can also slide them yourself with the trackpad or Magic Mouse.
To save a screenshot to the clipboard, add the “CONTROL” key to any keyboard combination MacBook Air screenshot.
How to take a screenshot of part of your MacBook Air screen
To take a screenshot of just a specific part of your desktop or an app on your MacBook Air, tap command + shift + 4. The pointer will turn into a crosshair for you to click and drag so you can select the part of the screen you want to capture in a rectangular shape.
An image of the selected area will appear as a temporary preview at the bottom right of the screen and will be saved to your desktop as a PNG file, just as before.
How to take a screenshot of an application window
If you only want to take a screenshot of an open window or app instead of the entire screen, you’ll need to tap command + shift + 4 + space bar at the same time and then click on the window you want to do it in. The cursor will turn into a small camera icon.
The application window turns blue when you place the mouse cursor over it to indicate which application is being selected.
As with the other methods, a screenshot of an individual app or window it will also be saved to your desktop and will show a temporary clickable preview after it has been created.
How to make a screen recording

Apple laptops come with a pre-installed application called Screenshot. This app offers a variety of screenshot options including more advanced features, and even video recordings.
Press command + shift + 5 to open the Screenshot app on the MacBook Air.
- The first option on the far left of the menu, Capture full screentakes a screenshot of everything currently displayed on your MacBook Air monitor.
- The second option on the left, Capture selected windowwill take a screenshot of a single open app or window that you select.
- The third option, Capture selected part, can be pre-selected when you open the Screenshot app. Creates a selection tool that you can use to take a screenshot of a specific part of your screen.
- Record entire screen It is the fourth option. Choosing this menu item will start a video recording of your desktop and any applications you are using. This can be useful if you ever need to make a video to show someone how to do something on their own MacBook Air.
- Record selected portionthe final item on the main menu, can be used to record a video of a specific section of the screen.
- The application options menu Screenshot contains a variety of ways to customize your MacBook Air screenshot settings.
For example, you can change the way your MacBook Air screenshots are saved choosing a different file or app location in Save to. There you must select another location you want, to find a location or application that is not in the default list.
Other settings Screenshot
Timer settings can be used to create a delay between when you start a screenshot and when it is taken. This can be useful if you need to quickly get something out of the way before taking the screen recording.
The last three settings in Options allow you to further customize your screenshots.
- Show floating thumbnail– This can enable or disable the small preview that appears after taking the screenshot.
- Remember the last selection– This option allows the selection tool to open in the same location and size as when you last used it to take a screenshot.
- Show mouse pointer: This will hide or show the mouse cursor in screenshots and recordings you take on your MacBook Air.
How to take a screenshot of the Touch Bar
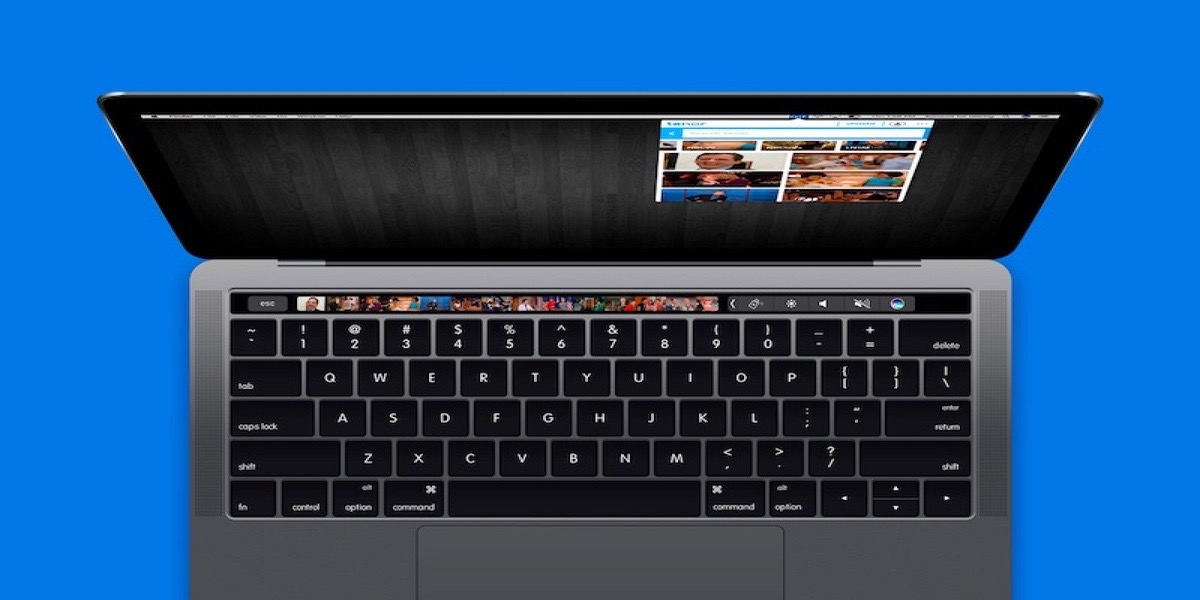
To do the same with the MacBook Air Touch Bar located just above the keyboard, you will have to press command + shift + 6.
And that’s all, here are all the different methods to carry out the process in a simple way. As always, I hope this article on how to take a screenshot on MacBook Air helps you. Don’t forget to save it in favorites to have it on hand for when you need it. If you use other methods, let us know in the comments.